No Products in the Cart
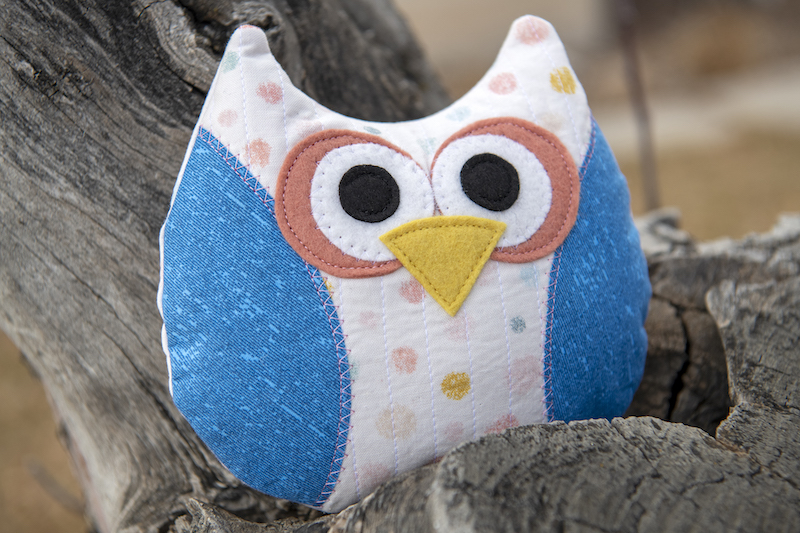 Hi friends! I'm excited to share a new pattern and tutorial for you: a sweet little miniature owl softie! He’s approximately 6.5”x6.5”. It’s a great softie for a child or works for a bowl stuffed or decoration. This project is a fantastic scrap-buster which is always a plus. It takes small amounts of each fabric to complete.
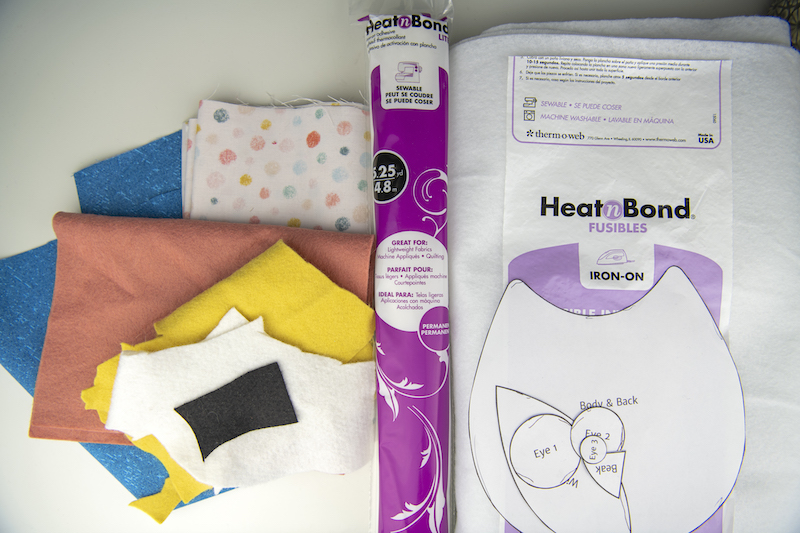
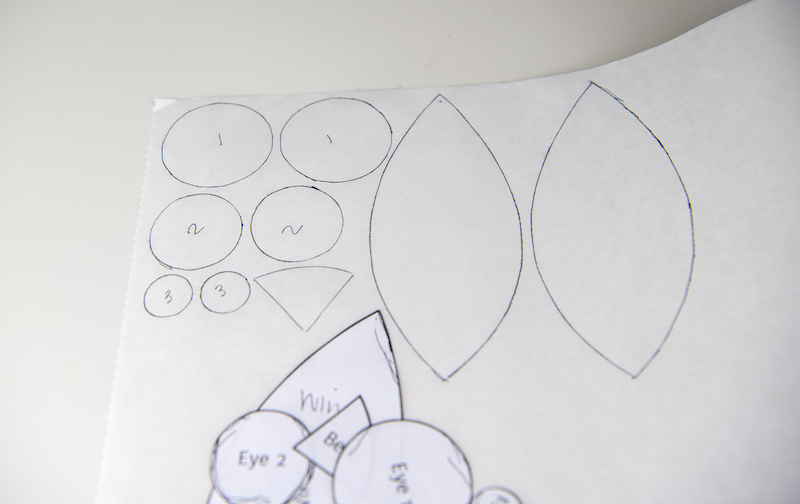 Ok, let’s get going. Print out your pattern and cut out the pieces. Grab your HeatnBond Lite Iron-On Adhesive and trace all your pieces on the smooth side except for the main owl body. You’ll need two of each except for the beak. On the wings, trace one and then flip the pattern and trace the second (so two, mirror image).
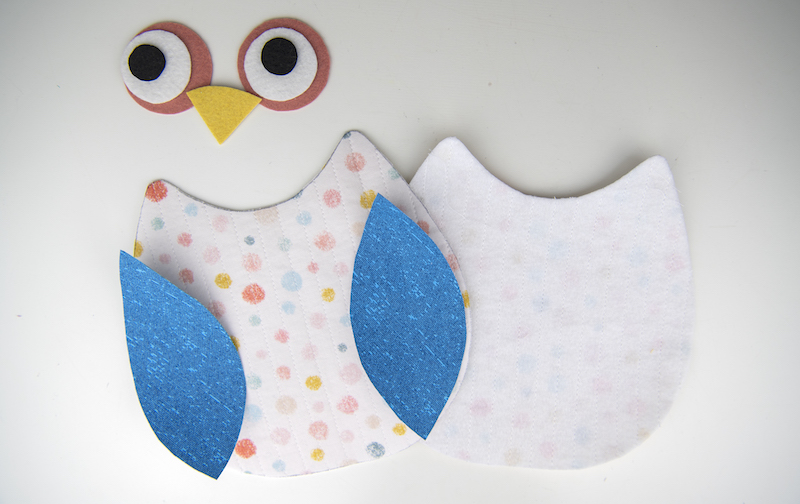
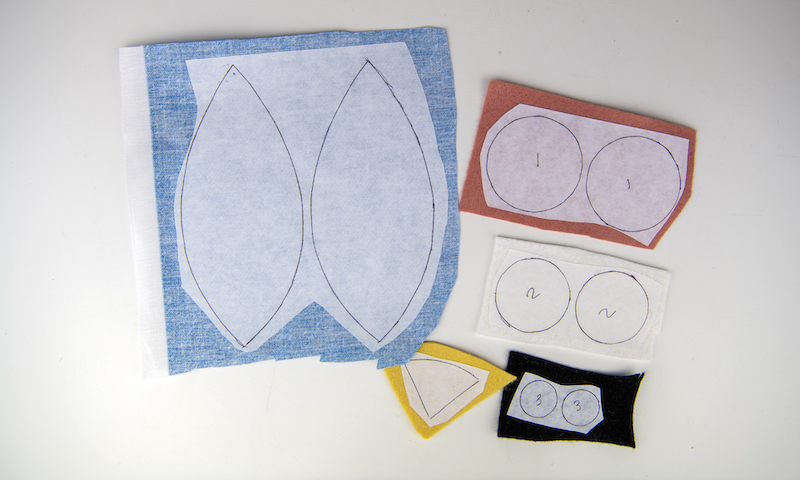 Cut the traced pieces apart, leaving plenty of negative space around each, and iron onto your chosen fabrics following the directions on the Heat 'n Bond Lite. Cut each piece out, on the line this time, and set aside.
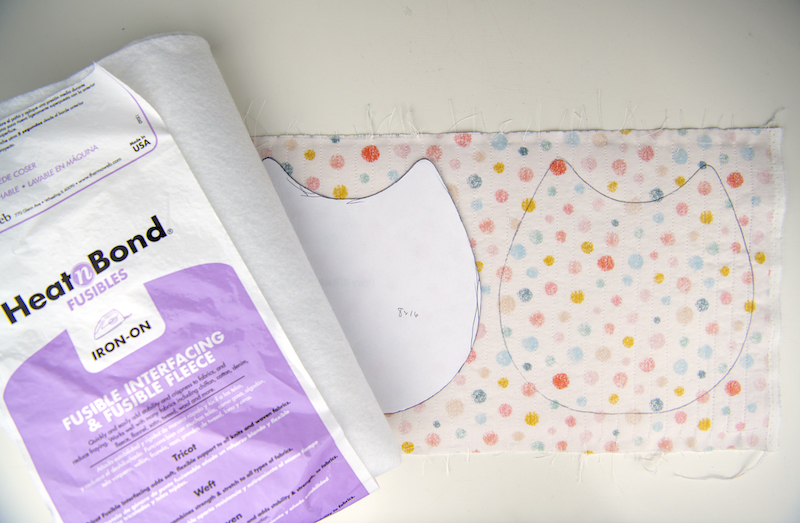 Grab your main owl fabric and your fusible fleece. Cut out an 8”x16” piece of both and fuse the fleece to the wrong side of your main fabric. I am a big fan of quilting and the look it gives my projects. I will be quilting mine just using straight lines sewn with a walking foot. This step is not necessary and is totally a personal choice.
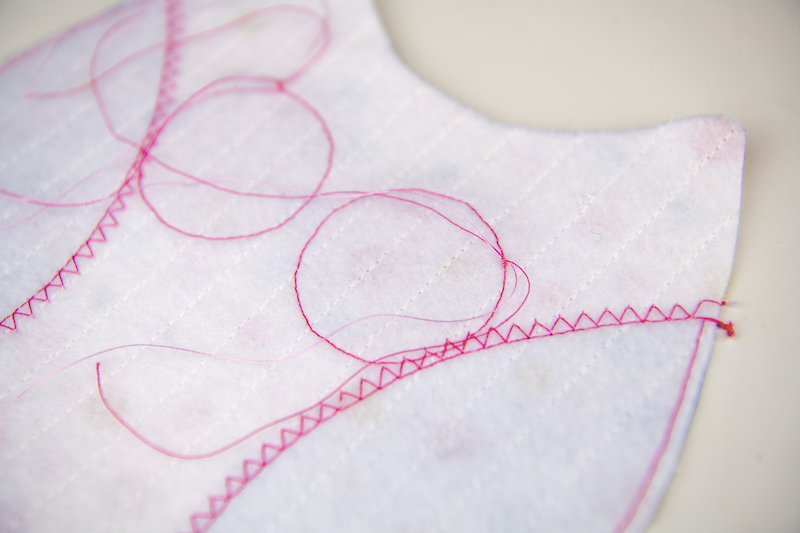
 Trace two (mirror image) owl bodies on your fusible-fleece-backed fabric and cut out.
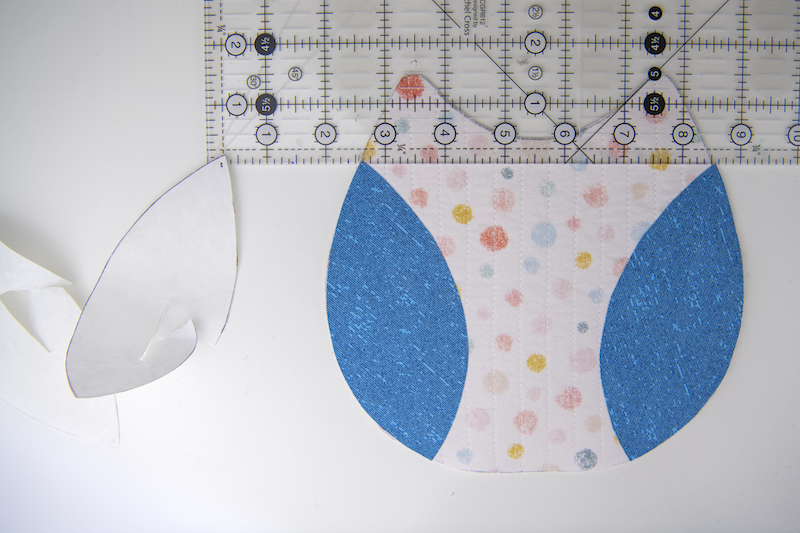 Next, line up your wings with the outside edges of your owl’s body. I like to use a ruler just to make sure they’re at the same height on both sides (the top of the wing hits about 1.5 inches down from the tip of the owl’s head. Iron into place. Top-stitch. You can use a straight stitch or a zigzag or both. Since you are doing raw-edge applique, using a zigzag stitch will help avoid as much fraying. I like to do both for added detail.
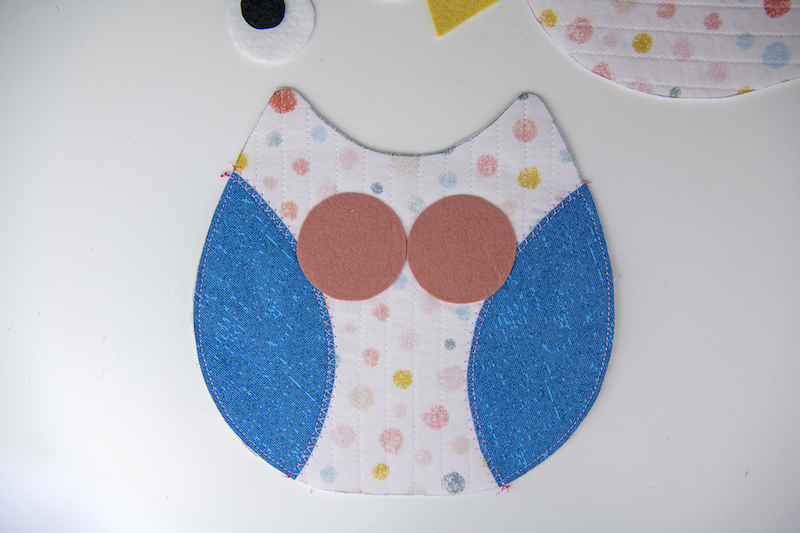 After your wings are done, place Layer 1 of your eyes. Measure down 1 ¾” from the top of your owl's ears and place the eyes in between the wings.
 Top-stitch around each eyepiece. Do not back-stitch. When you're done sewing around each eye, pull your tails to the back and tie off.
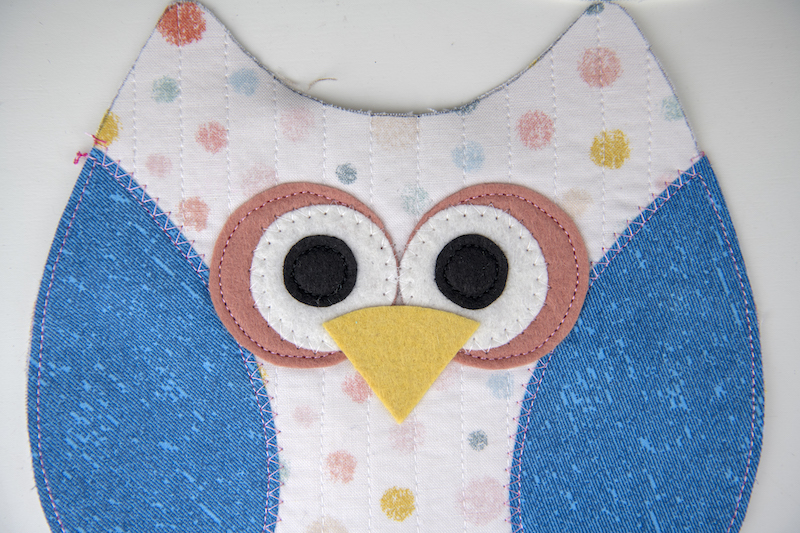 Repeat with Layer 2 and 3, then place the beak in the center and top-stitch.
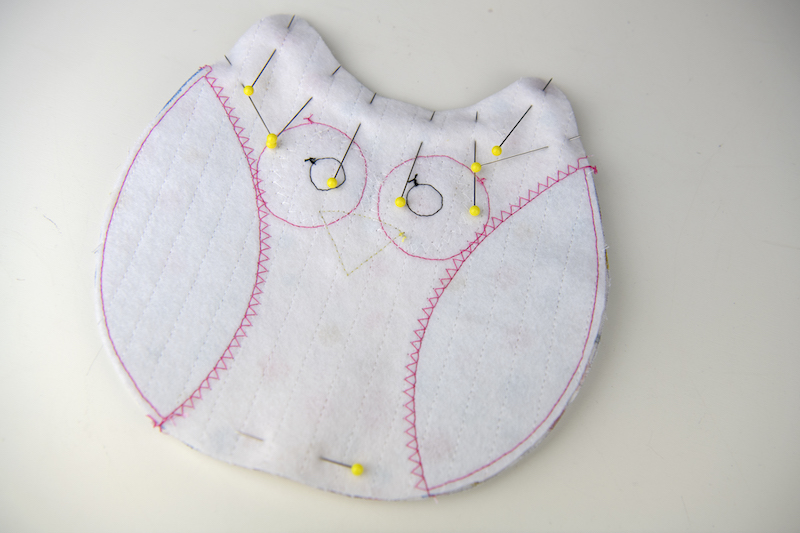 Ok, now all you have to do is pin the owl's front to the owl's back and sew around the perimeter leaving a 2-inch opening on the bottom for turning. You will be using a ¼” seam allowance.
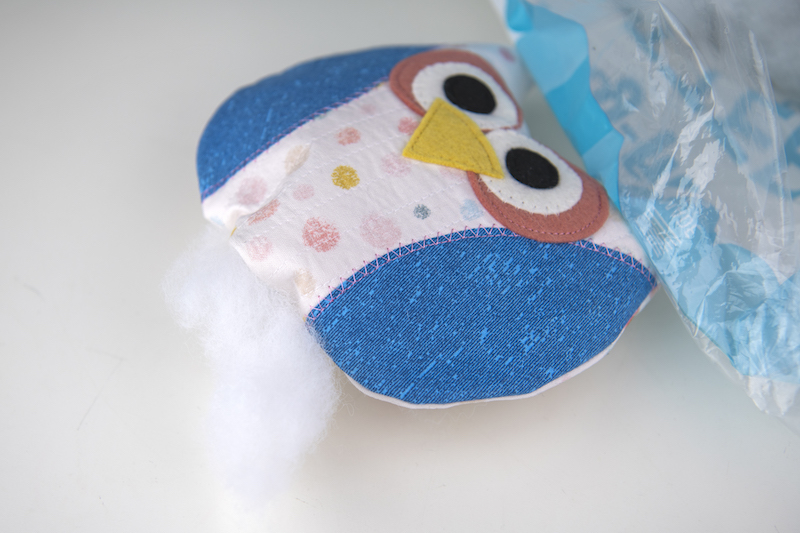 Turn right-side out and iron flat. Stuff your sweet owl will Poly-fil.
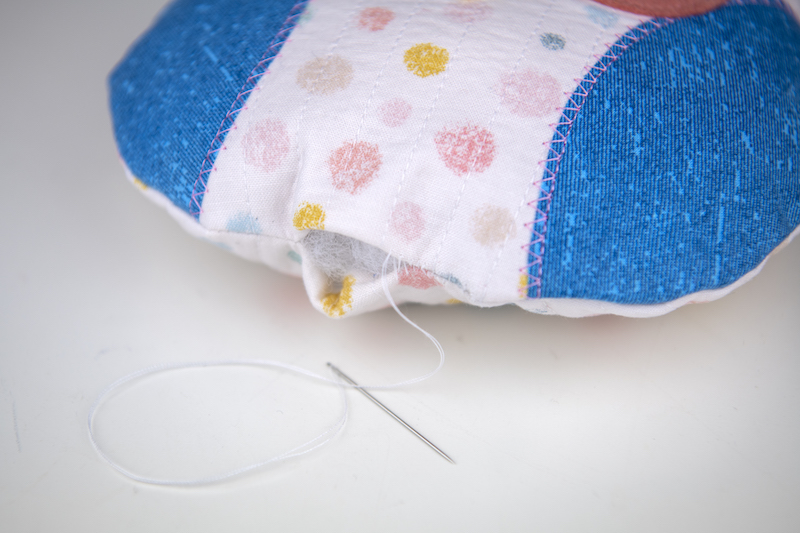 Now all you have left to do is sew your opening closed with your hand-sewing needle and thread.
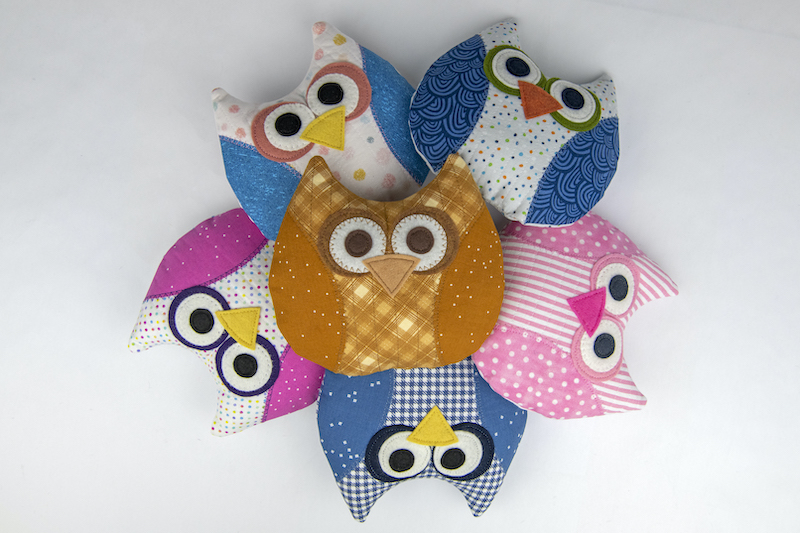 Hooray! All done! Now why not whip up a few friends? Add a sweet tag that reads something like “Owl Always Love You” or “Owl You Need Is Love” and hand them out to friends for Valentine’s Day. Hope you enjoyed this fun little sew. Thanks for sewing along!