No Products in the Cart
 Looking for placemats that are easy to clean? HeatNBond® Vinyl is an iron-on laminate that makes the fabric waterproof. Clean up is a snap, just wipe clean and you're ready to go. Best yet, you can turn any placemat pattern or novelty print into a memorable waterproof, "tablescape".
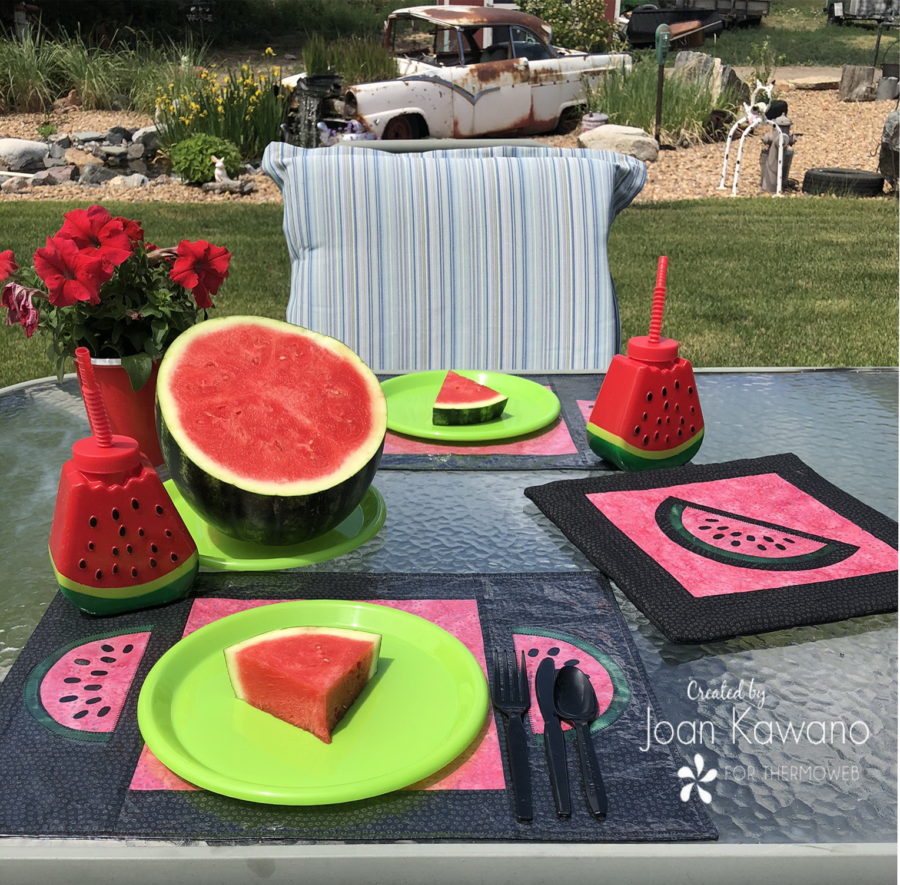
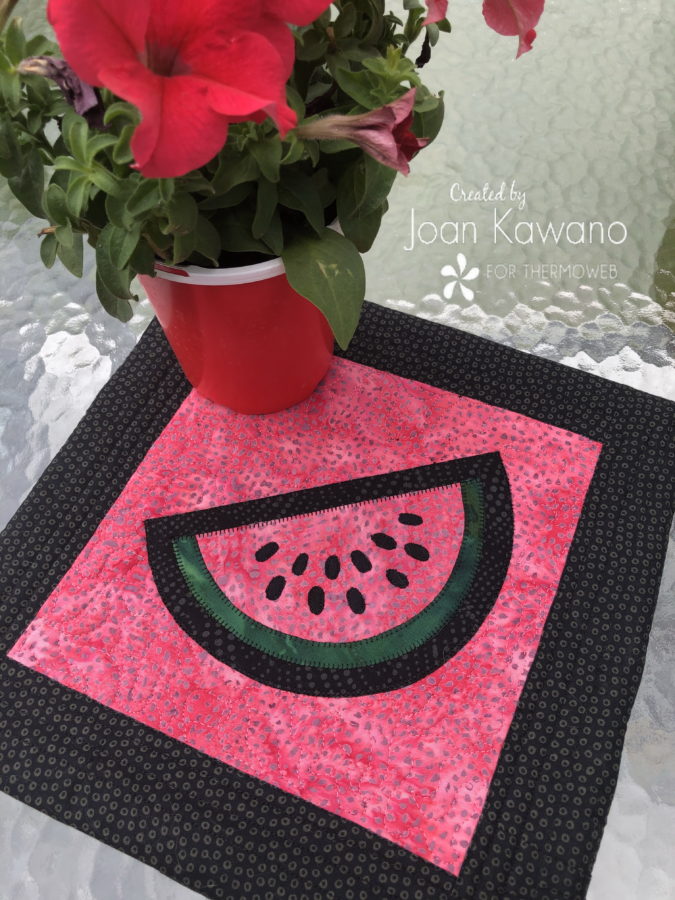
Today we are celebrating Watermelon, with placemats and a matching trivet cover.
Looking for placemats that are easy to clean? HeatNBond® Vinyl is an iron-on laminate that makes the fabric waterproof. Clean up is a snap, just wipe clean and you're ready to go. Best yet, you can turn any placemat pattern or novelty print into a memorable waterproof, "tablescape".
Today we are celebrating Watermelon, with placemats and a matching trivet cover.
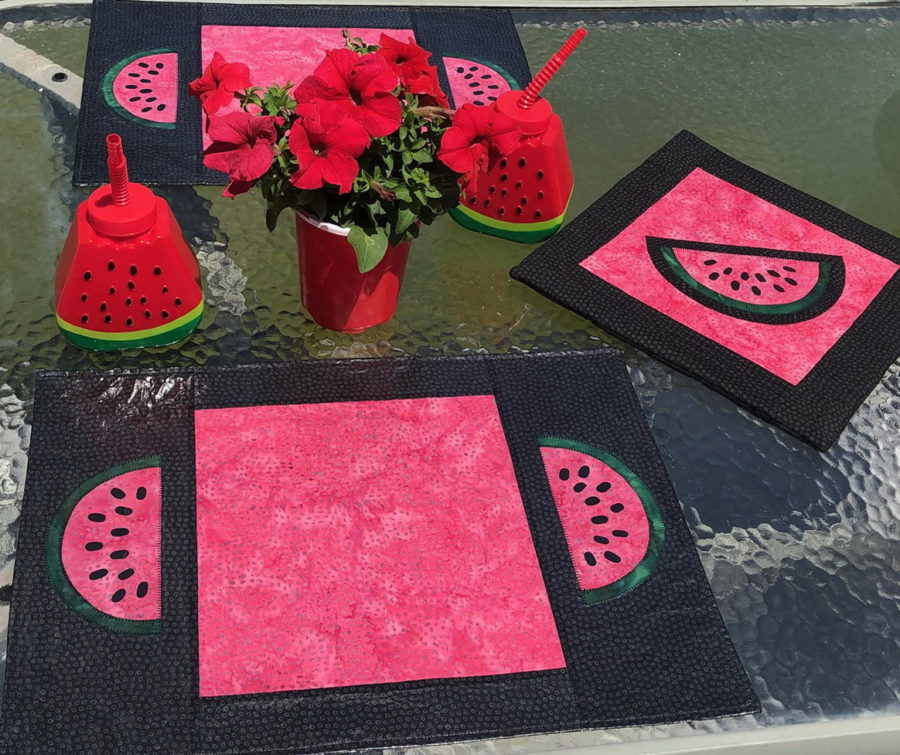 Placemats (2)
Cutting
Cut 2 – 10 1/2” x 10 1/2” squares red fabric placemats
Cut 4- 5 1/2” x 14 1/2” strips black fabric for placemats ends
Cut 4 – 2 1/2” X 10 1/2” strips black fabric for placemat top and bottom sashing
(Vinyl will be cut later)
Placemat Assembly
Stitch 2 1/2" x 10 1/2” black strips to top and bottom of the 2 - 10 1/2" placemat squares Press open
Stitch the 4 – 5 1/2” x 14 1/2” strips on the sides of each placemat. Press open
Placemats (2)
Cutting
Cut 2 – 10 1/2” x 10 1/2” squares red fabric placemats
Cut 4- 5 1/2” x 14 1/2” strips black fabric for placemats ends
Cut 4 – 2 1/2” X 10 1/2” strips black fabric for placemat top and bottom sashing
(Vinyl will be cut later)
Placemat Assembly
Stitch 2 1/2" x 10 1/2” black strips to top and bottom of the 2 - 10 1/2" placemat squares Press open
Stitch the 4 – 5 1/2” x 14 1/2” strips on the sides of each placemat. Press open
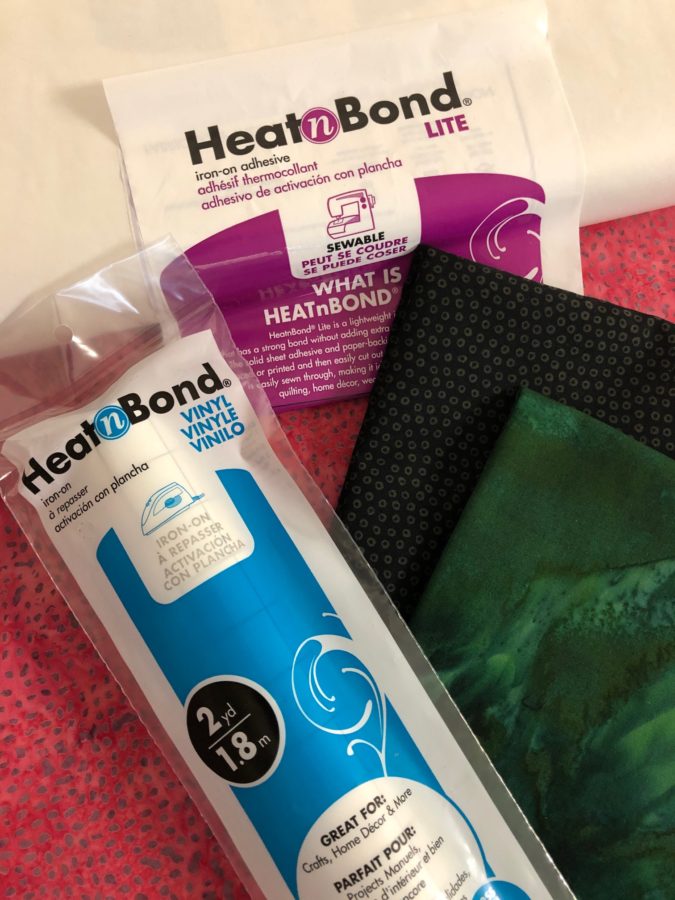
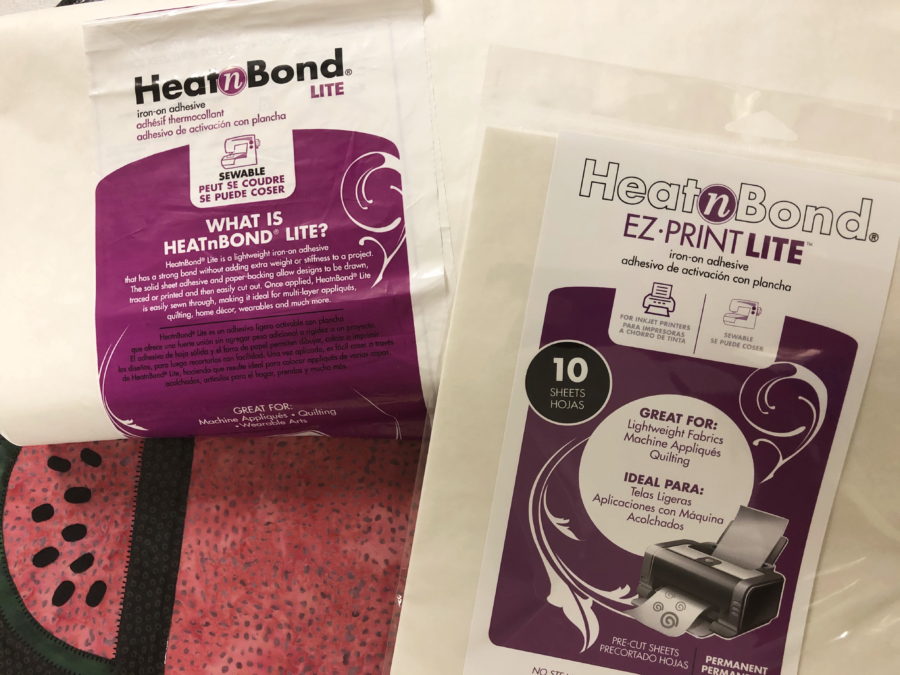 Trace applique shapes, on HeatNBond®Lite or print on HeatNBond®EZ Print Lite.
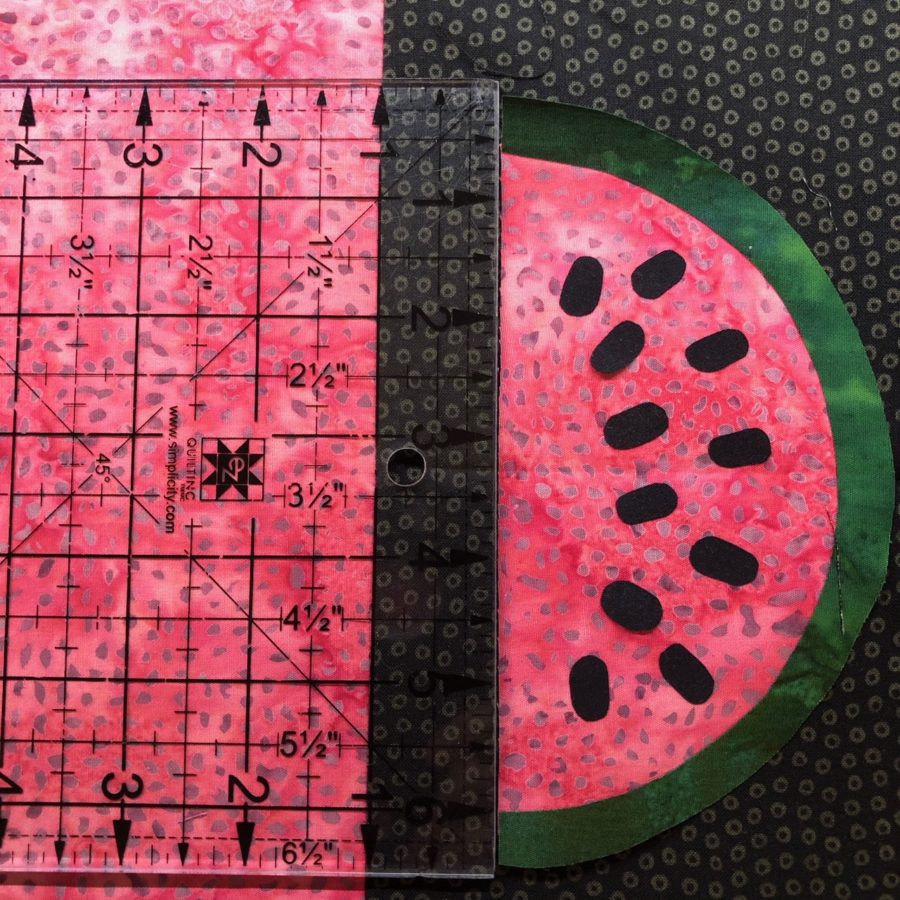
Fuse to the reverse side of fabrics using the manufacturer's recommendations. Cut out applique shapes. Build your watermelon appliques on an applique pressing sheet. Once it is cool, remove and center on sides of placemats, 1” from seam line as shown below.
Trace applique shapes, on HeatNBond®Lite or print on HeatNBond®EZ Print Lite.
Fuse to the reverse side of fabrics using the manufacturer's recommendations. Cut out applique shapes. Build your watermelon appliques on an applique pressing sheet. Once it is cool, remove and center on sides of placemats, 1” from seam line as shown below.
 When using iron-on vinyl, it is not necessary to stitch your applique shapes down. The fusing of the vinyl will seal them to the placemat.
Carefully measure your placemat.
Cut 2 pieces of black fabric for the backings.
Cut 4 pieces of HeatNBond®Vinyl (iron-on)
Following the manufacturer's directions, carefully fuse the vinyl to the front side of your placemat tops and backings. It is a good idea to go over each piece with a sticky paper lint roller first, just to make sure you have all the excess threads and lint off, before fusing. Since I cut my vinyl slightly larger than required, I used freezer paper to protect my work surface.
Once your vinyl is fused and everything has cooled, peel off the paper, and place the placemat tops and bottoms, right sides together.
When using iron-on vinyl, it is not necessary to stitch your applique shapes down. The fusing of the vinyl will seal them to the placemat.
Carefully measure your placemat.
Cut 2 pieces of black fabric for the backings.
Cut 4 pieces of HeatNBond®Vinyl (iron-on)
Following the manufacturer's directions, carefully fuse the vinyl to the front side of your placemat tops and backings. It is a good idea to go over each piece with a sticky paper lint roller first, just to make sure you have all the excess threads and lint off, before fusing. Since I cut my vinyl slightly larger than required, I used freezer paper to protect my work surface.
Once your vinyl is fused and everything has cooled, peel off the paper, and place the placemat tops and bottoms, right sides together.
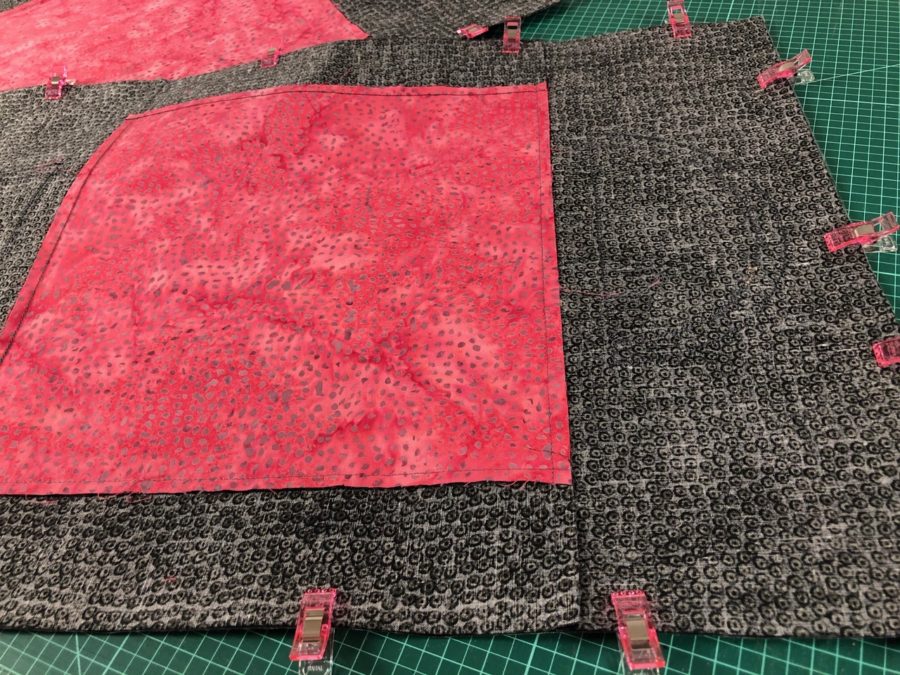 Use clips to hold in place, as pins put holes in the vinyl that will not go away. Stitch around placemat leaving a 3”-4” opening to allow for turning. Do not make too small, or you will have trouble turning the placemat. Carefully turn right side out, taking your time in making sure the corners and seams are pushed out all the way. Hand stitch opening closed. Using a Teflon foot, topstitch around placemat and enjoy!
 Trivet top
*This pattern will only give you updated instructions for cutting and stitching a watermelon trivet top. Additional fabric will be needed for lining, to complete trivet.
Trivet top
*This pattern will only give you updated instructions for cutting and stitching a watermelon trivet top. Additional fabric will be needed for lining, to complete trivet.
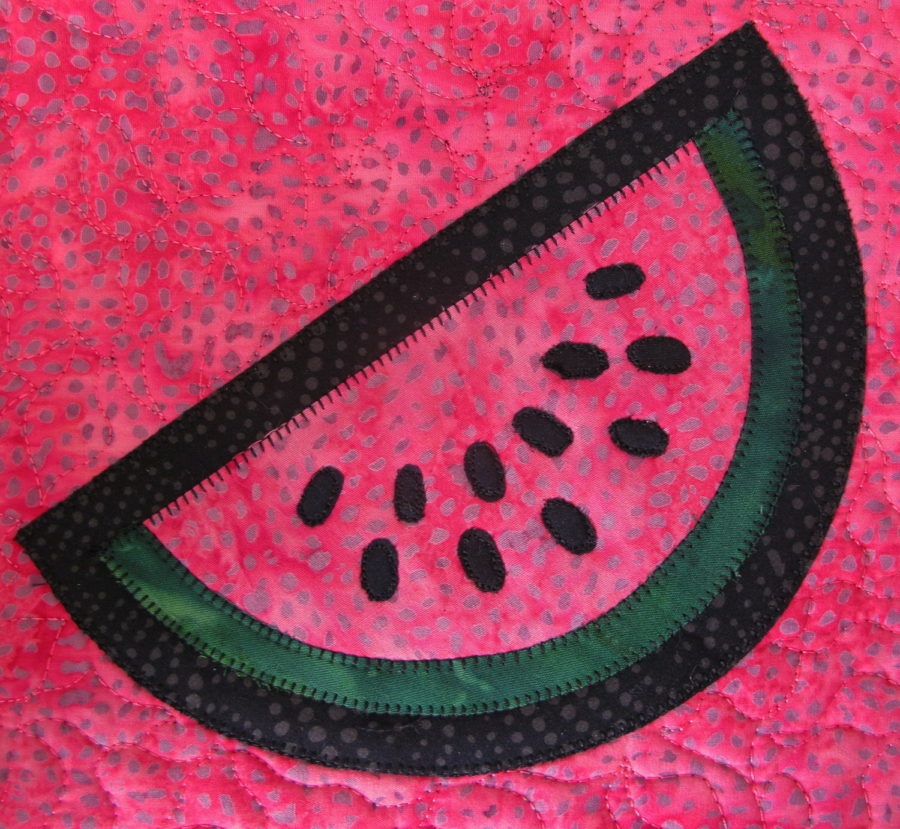 A background applique shape has been provided for you if needed, to show a contrast between the watermelon applique and the background fabrics.
Make every table a happy table, and please pass the watermelon!
A background applique shape has been provided for you if needed, to show a contrast between the watermelon applique and the background fabrics.
Make every table a happy table, and please pass the watermelon!