Hi everyone - it's Andy from
A Bright Corner. I
love taking books with me to the park, to the pool, camping... you name it! What I
don't love, is when my bookmark (which honestly is usually a scrap of paper) gets pulled or blown out and I lose my place! So I made myself an
On-the-go Bookmark!
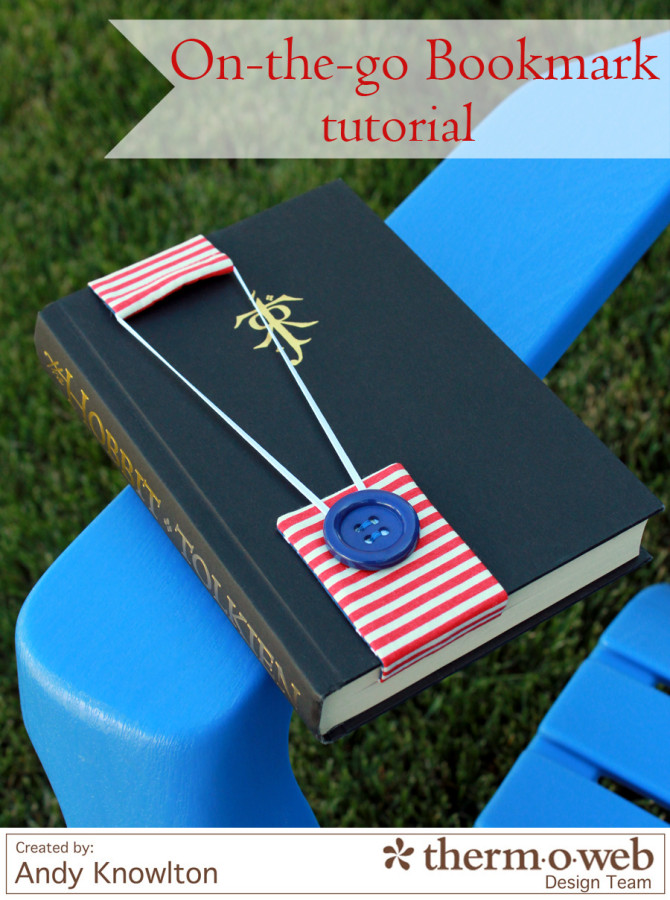
This bookmark will stay in place - even with the book open. I'm looking forward to putting this to good use this week!
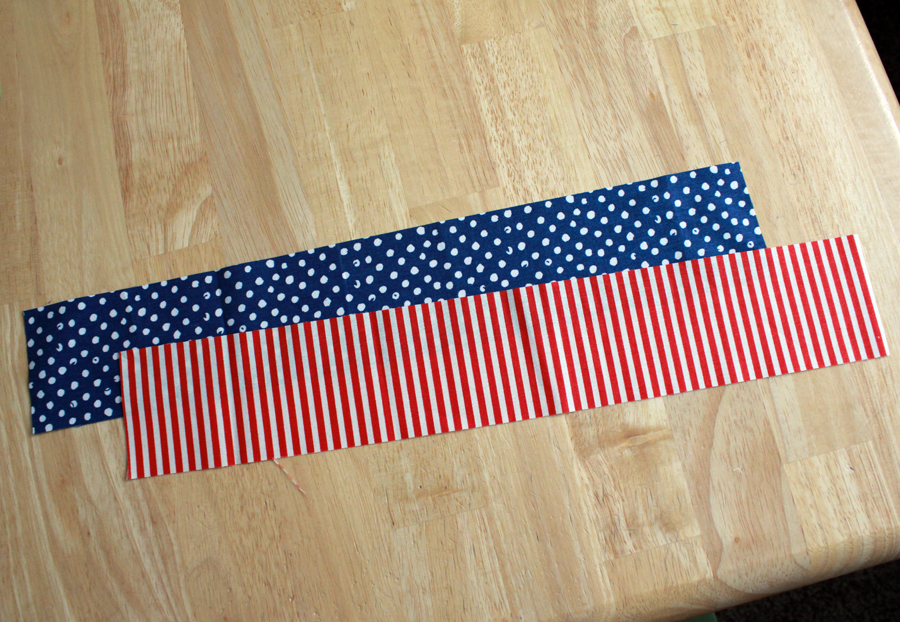
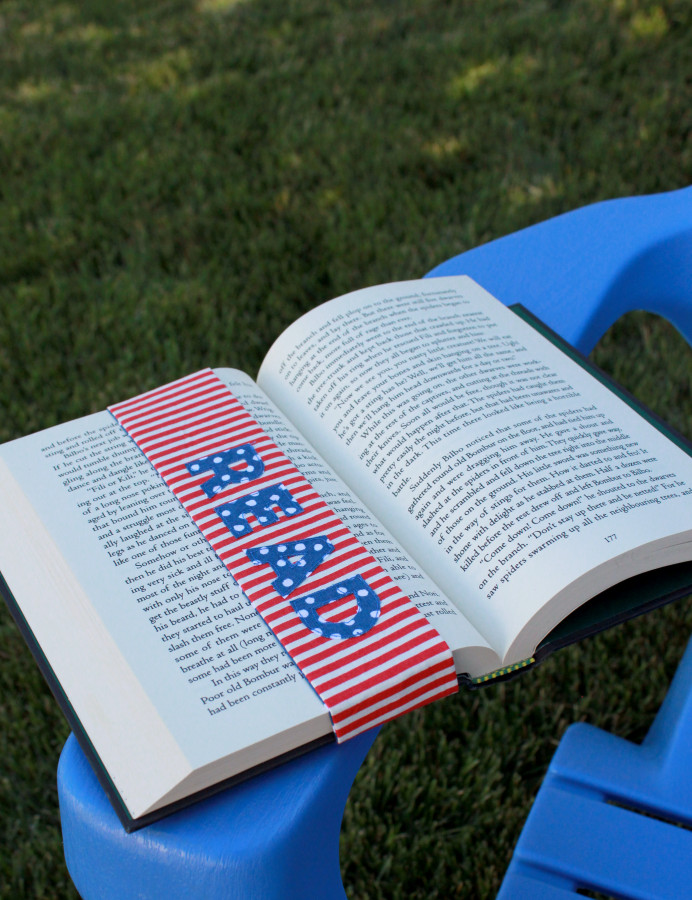 What you'll need:
1. From the two fabrics, cut strips that are 2.5" x 15.5"
2. From the
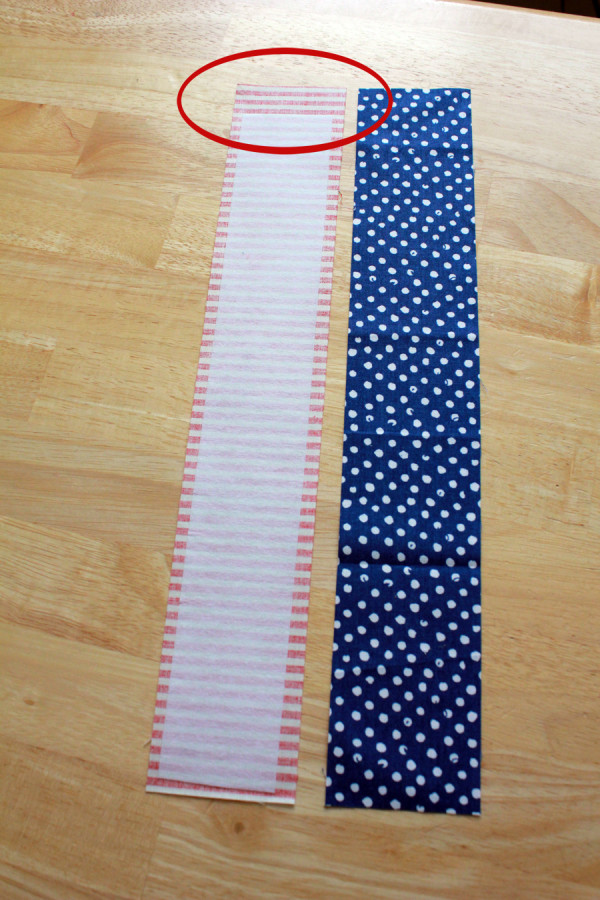
HeatnBond® Fusible Interfacing, cut a strip that is 2" x 14.5". Following the instructions on the package, fuse the interfacing to the wrong side of one of the fabrics. I like to fuse it to the print I'll use as the outside of the bookmark. When you fuse it, leave about 1/4" space around each edge, except one end. That end will have about 3/4" space (see photo below.) I'm going to call this the interfacing gap and I'll refer to it later.
3. Print the applique letters template and using a pencil, trace the needed letters on to a piece of Heat n Bond® Lite. I wanted my bookmark to say "read" but a monogrammed bookmark would be great too!
4. Following the instructions on the package,
iron the Heat n Bond® Lite to the wrong side of a coordinating fabric. Cut out each letter. Nice, sharp scissors come in handy here.
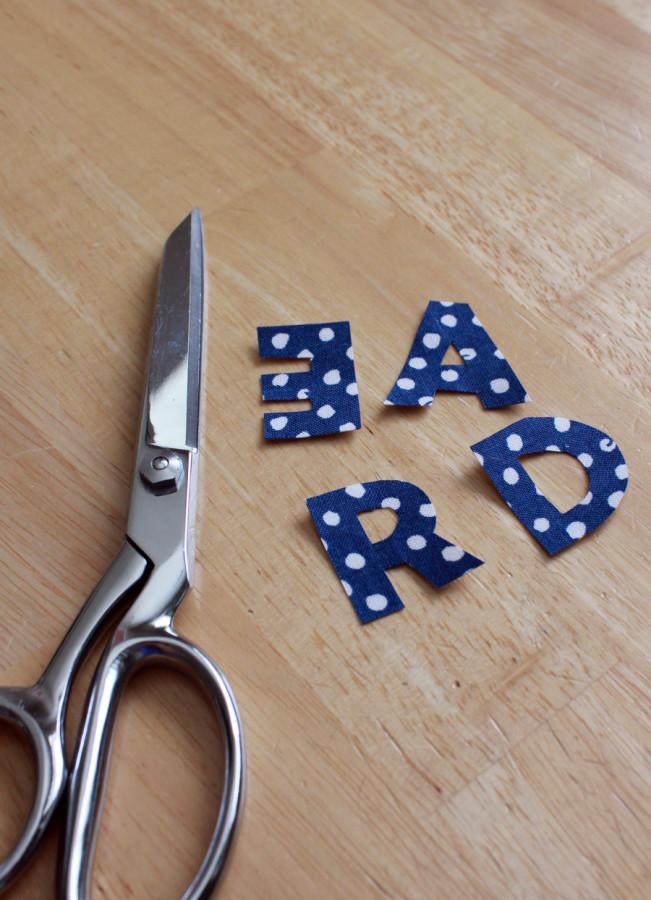
5. Remove the papers from the back of the letters and iron the letters to the bookmark. Stitch in place. I just used a straight stitch in a matching thread.
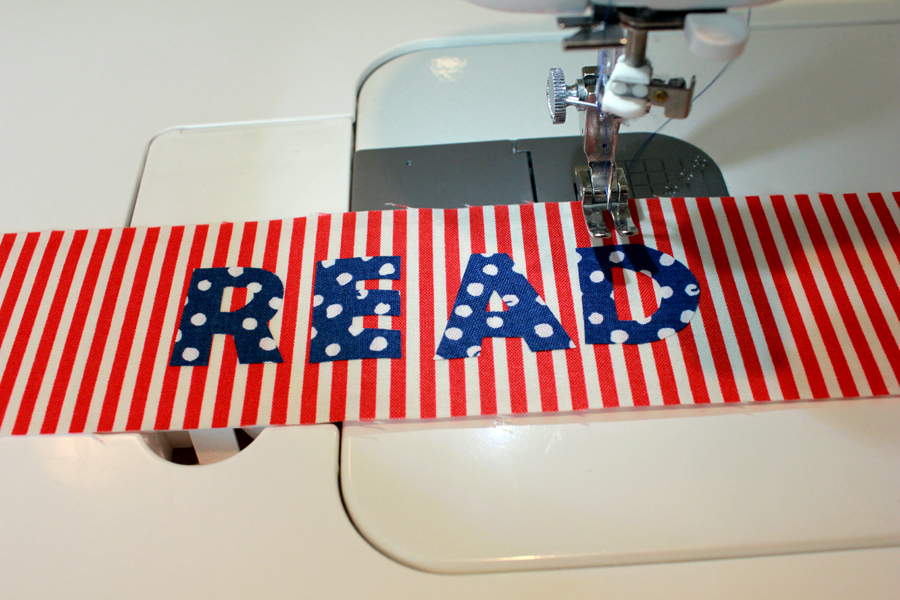
6. With right sides together and using a 1/4" seam, sew the two strips together along three sides. Remember the interfacing gap? Leave that end open for turning.
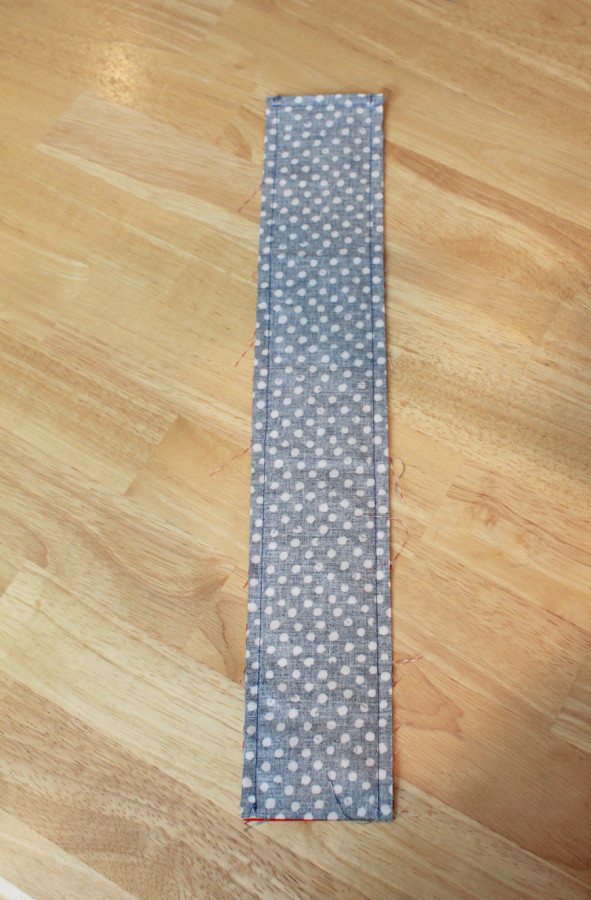
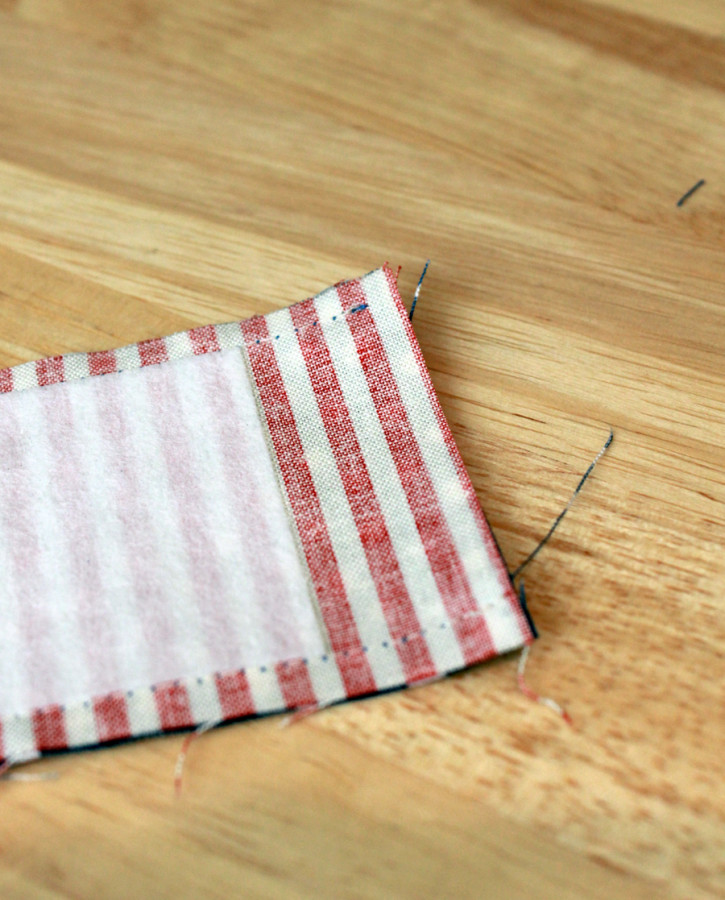
7. Turn the bookmark right sides out now. Use the tip of your scissors to
carefully push out the corners. Press flat.
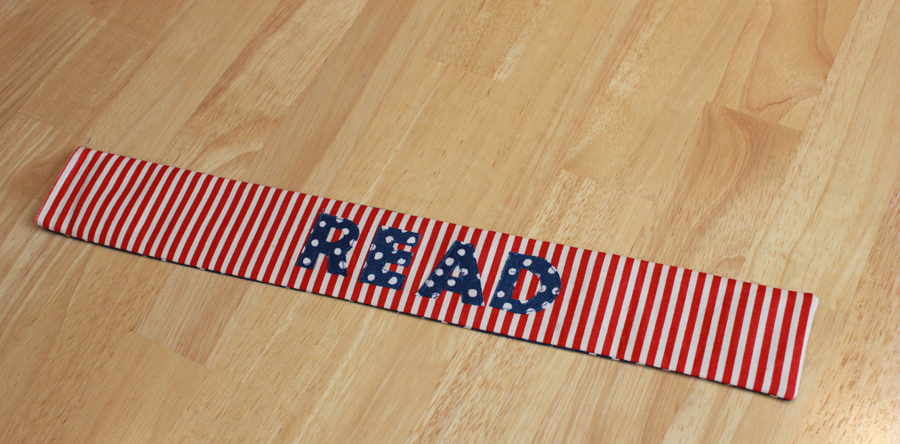
8. Fold the open end in to hide the raw edges. Press flat.
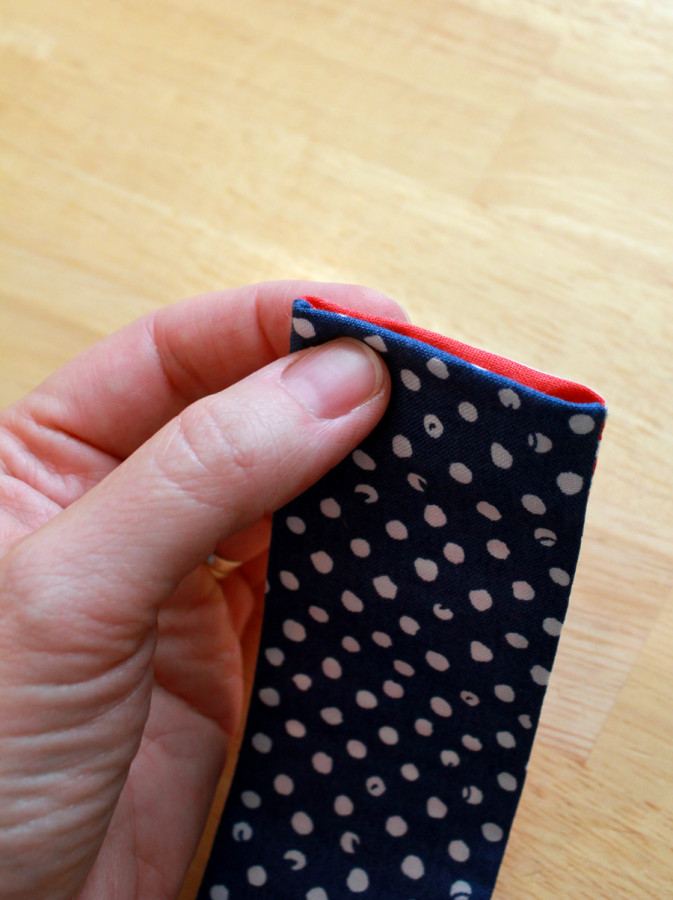
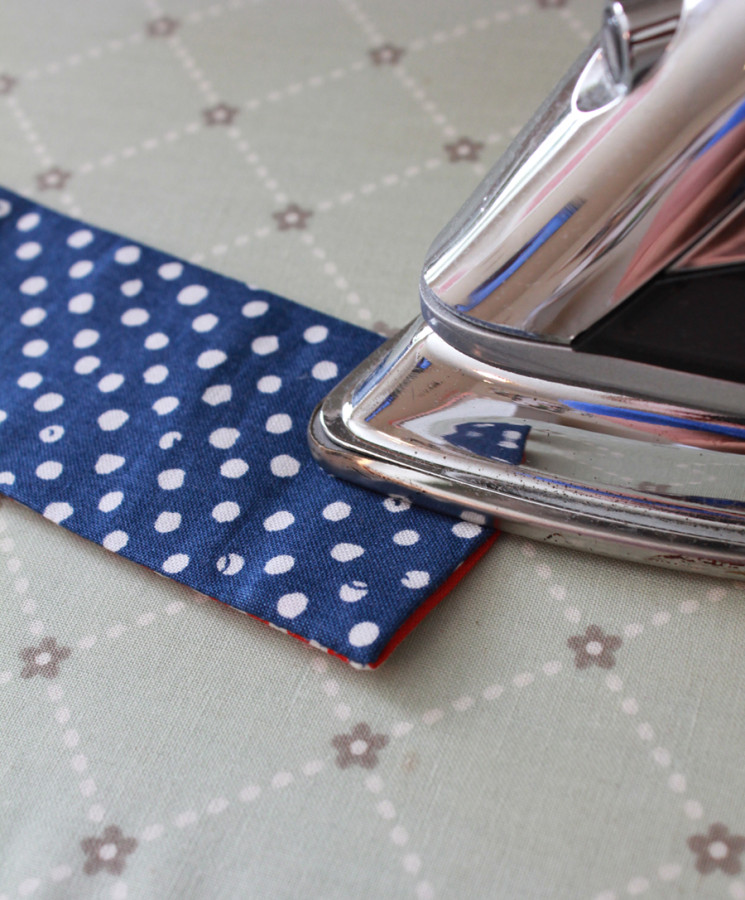
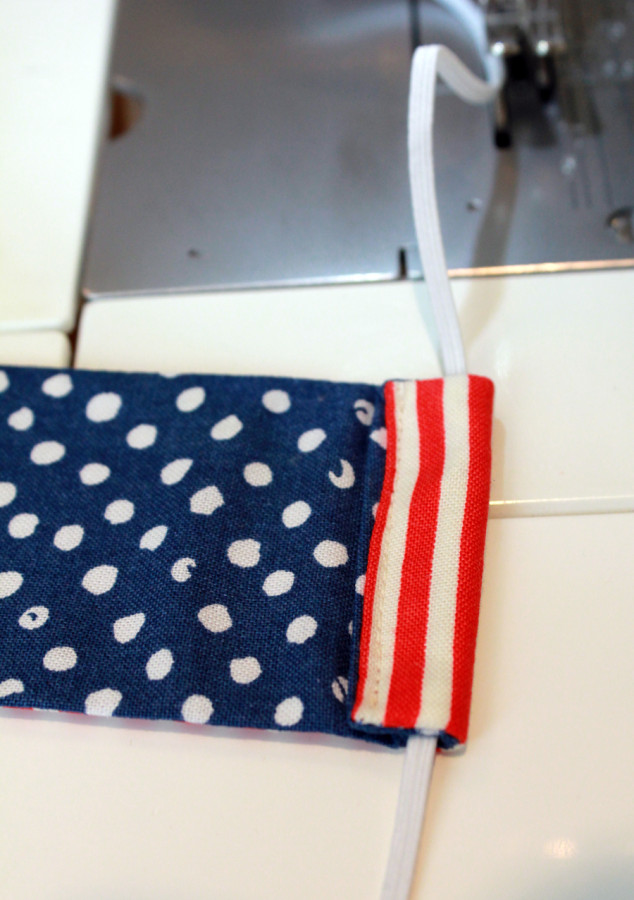
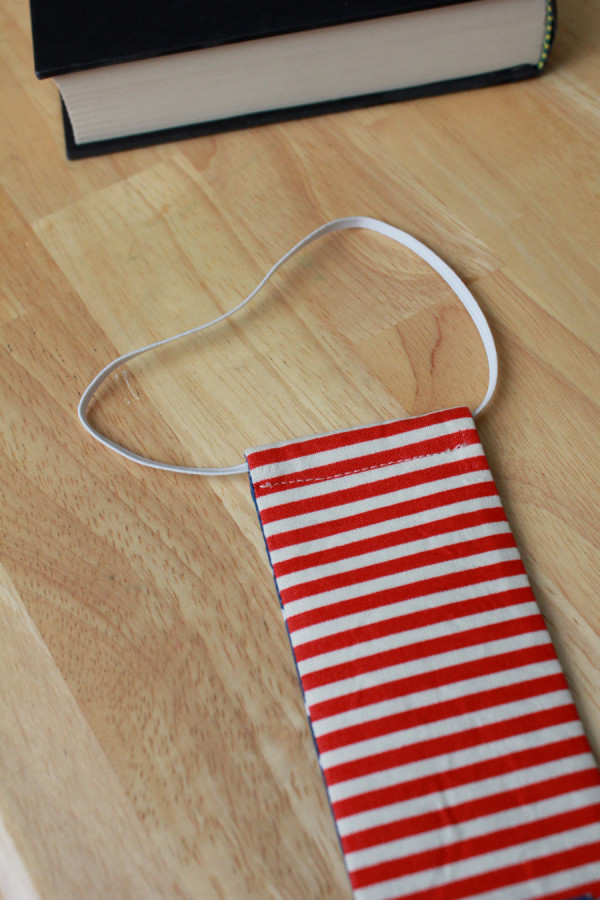
9. Next we will make the casing for the elastic. On the end that you just pressed, fold that over about 3/4" to 1" to the inside of the bookmark. Stitch right along the edge to close up that end and to create the casing. Push one end of the elastic through the casing.
10. On the other end (on the outside of the bookmark) sew the button.
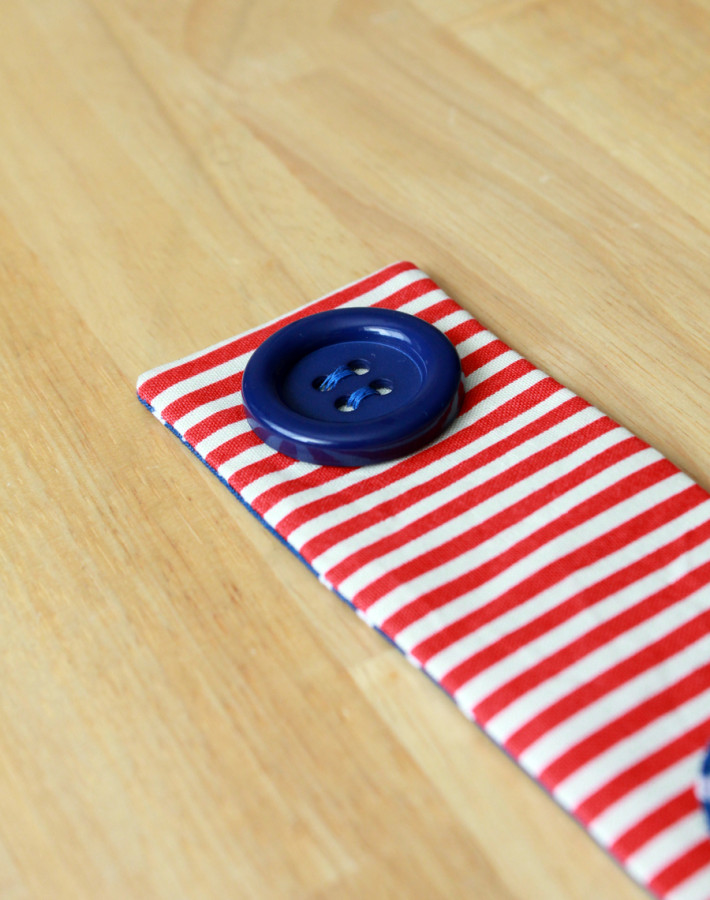
11. Next we need to check the length of the elastic. So grab a book and put the bookmark inside. Loop the elastic around the button and find the needed length of elastic. Cut it to size and sew the ends together.
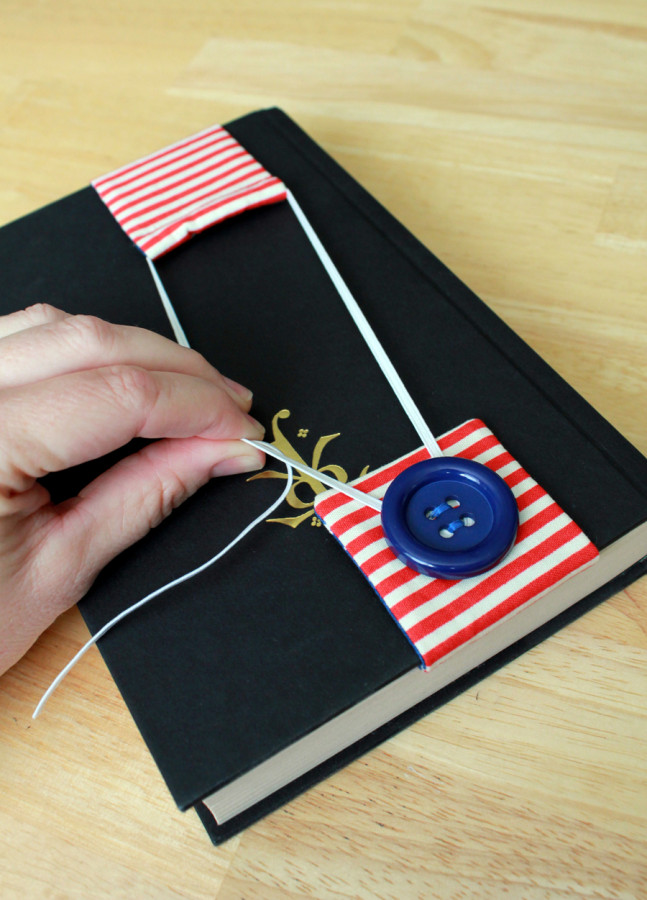
Then to hide that end, pull the elastic until the sewn part is hidden in the casing.
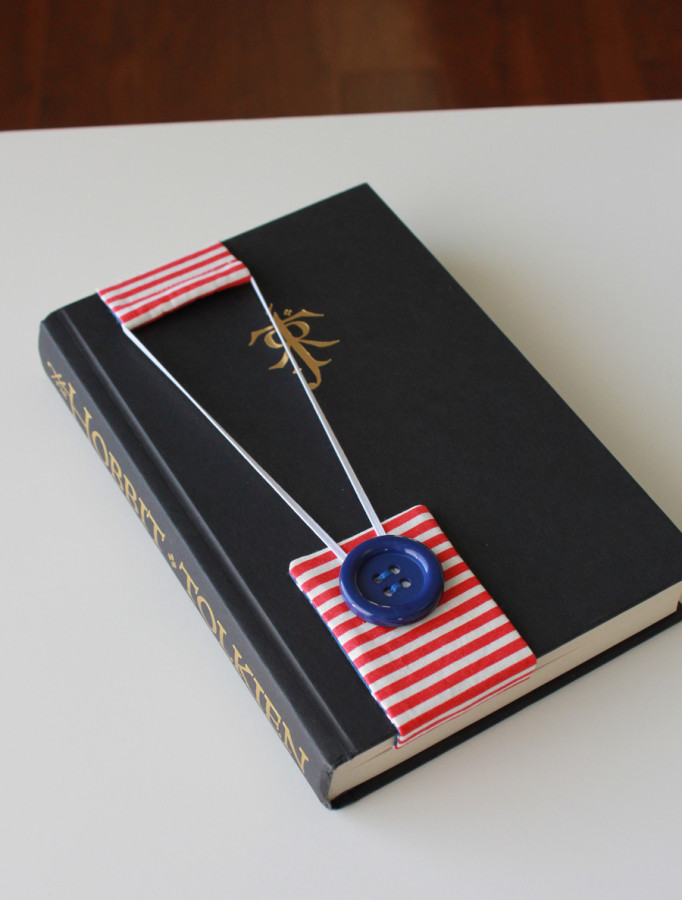
Your bookmark is now ready to use! So grab your favorite book and head outside for some al fresco reading.
Announcing our First Crafty Corners Contest!!
 We're kicking off a fun contest
 and we hope you'll join in! We invite you to pick up our
Glitter Dust™ Photo Corners and our
Decorative Photo Corners to create a Crafty Corner project! Create a fun card, mini book, scrapbook page, mixed media, altered art project ...the skies the limit! Then submit your project to
craftycorners@thermoweb.com by August 15th! Please include your name, address, products used and 2-3 images of your project.
We're giving away prizes for the
Most Creative Out of the Box use of Photo Corners along with
Best Overall Use of Photo Corners. Your project should use our
Glitter Dust™ Corners and/or our
Decorative Photo Corners.
And to help you get started we're offering
25% off those products so you can
get shopping now and creating!
Best of all...we're awarding
a $50 VISA Gift Card to each winner along with an assortment of our best selling iCraft Adhesives™ and Glitter Dust™ products valued at over $100! Plus the winners projects may be chosen to be used in an upcoming ad!
#Craftycorners
Click here for more information on our Crafty Corners Contest!
Written by Andy Knowlton



