No Products in the Cart
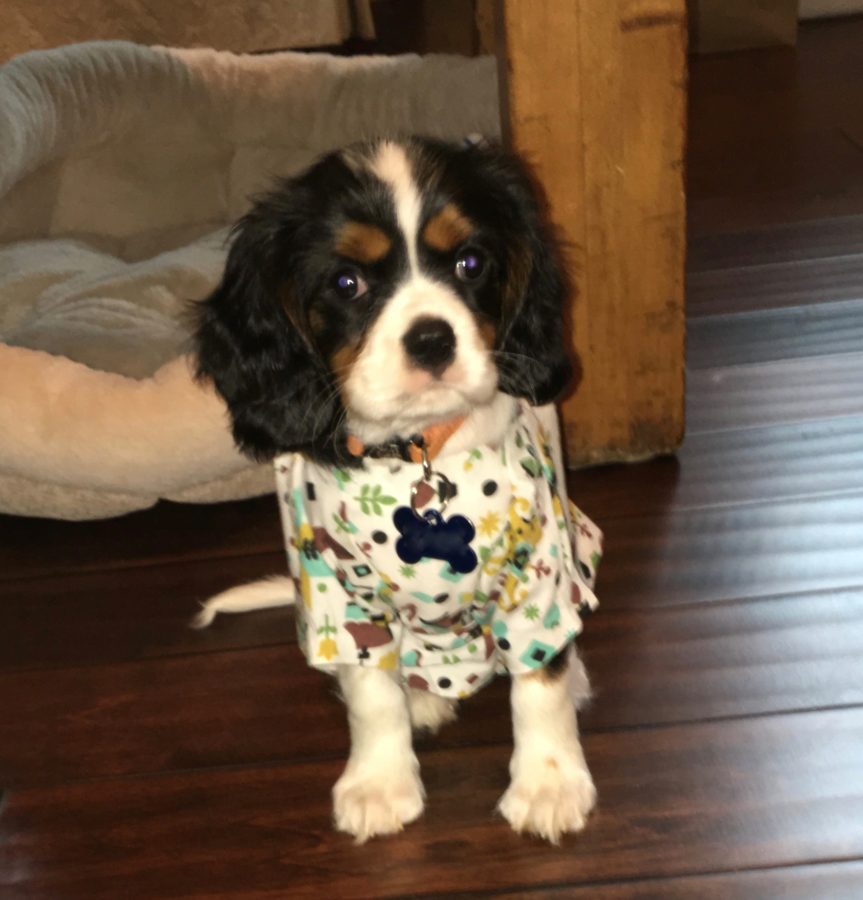
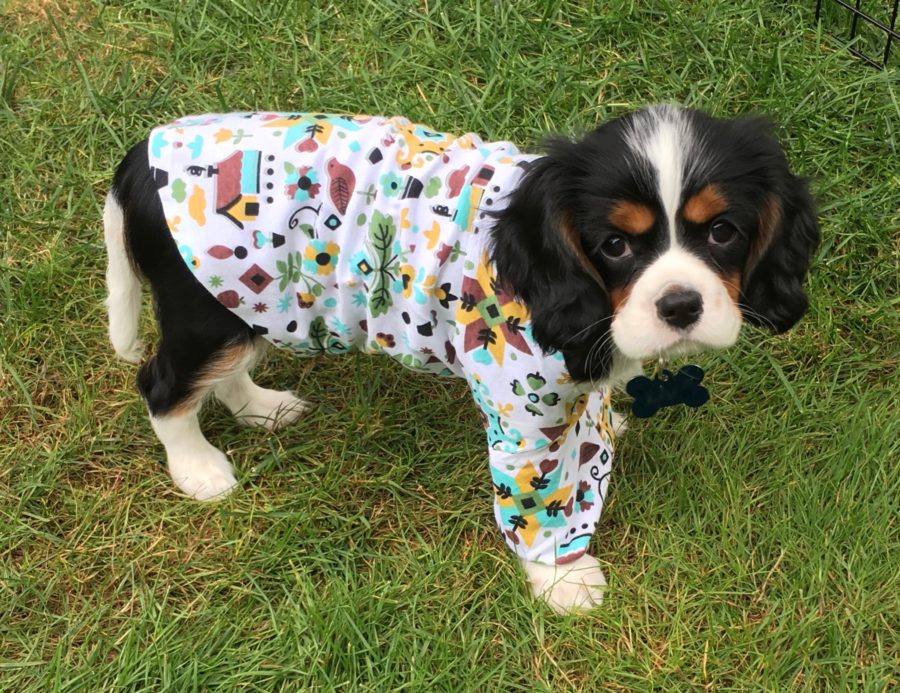 When I saw “PENN DUTCH” 100% jersey cotton fabric from Girl Charlee I knew I had to have it! How perfect is this cute fabric to make sleep pants… Just picture it, cool autumn weather, a cup of steaming tea, a new book and sleep pants with this fabric! Things couldn’t be better, or so I thought until I realized my new puppy would look absolutely adorable in a matching Sleep Shirt!!
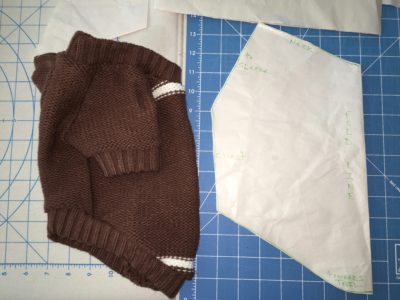
 I find that making a “pattern” from an existing dog shirt is fairly easy. This is also an item that doesn’t need “exact” measurements. Also, don’t fret if you find you need to make changes/adjustments to seams, Therm O Web No Sew Heat n Bond Ultra SOFT STRETCH Fusible Web Adhesive is fantastic because you can reheat it and change placement, yet when it’s cooled, it will be super strong like a sewn seam!
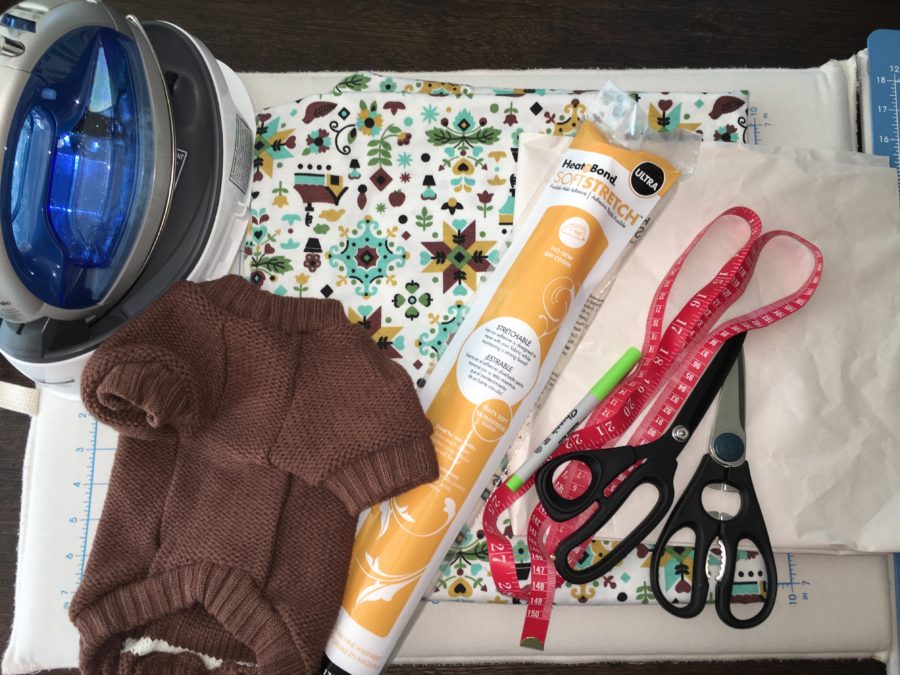 Puppy Sleep Shirt Supply List:
Therm O Web No-Sew HeatnBond Ultra SOFT STRETCH Fusible Web Adhesive
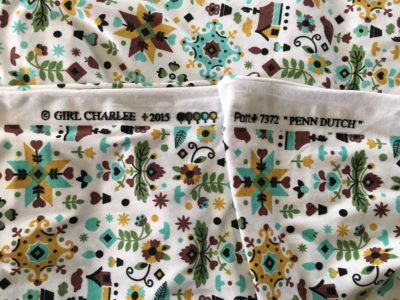
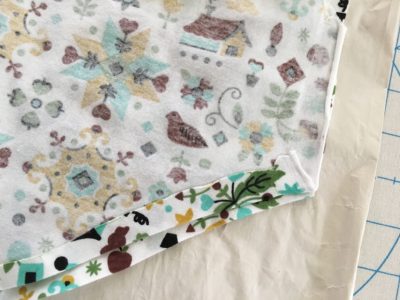
“PENN DUTCH” 100% jersey cotton fabric from Girl Charlee (60” wide)*
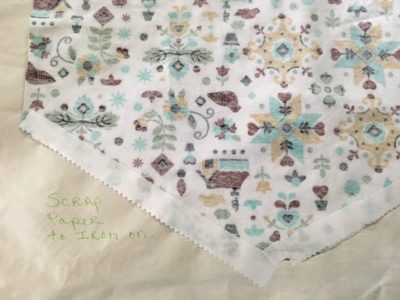
Large piece of scrap paper (I used packing paper that came in a package I received)
Iron
tape measure
marker
fabric scissors
paper scissors
dog shirt for tracing
*amount of fabric depends on size of dog you are making a shirt for), 1/2 yard should be more than enough for most dogs. I used less than 1/4 yard.
Puppy Sleep Shirt Supply List:
Therm O Web No-Sew HeatnBond Ultra SOFT STRETCH Fusible Web Adhesive
“PENN DUTCH” 100% jersey cotton fabric from Girl Charlee (60” wide)*
Large piece of scrap paper (I used packing paper that came in a package I received)
Iron
tape measure
marker
fabric scissors
paper scissors
dog shirt for tracing
*amount of fabric depends on size of dog you are making a shirt for), 1/2 yard should be more than enough for most dogs. I used less than 1/4 yard.
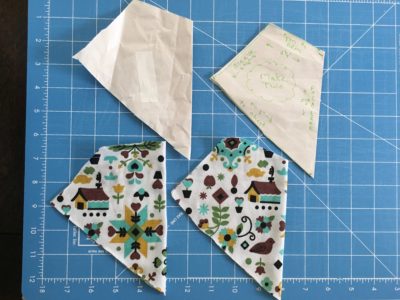
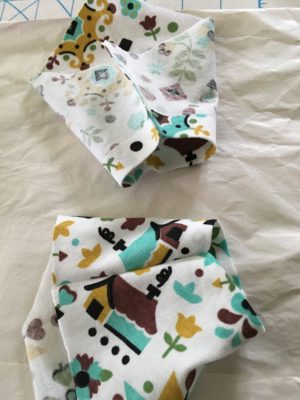
 Next, fold the sleeve as shown, trace the sleeve (you’ll need to make two sleeves). Cut out the traced pieces.
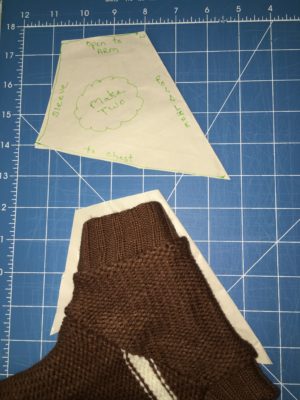
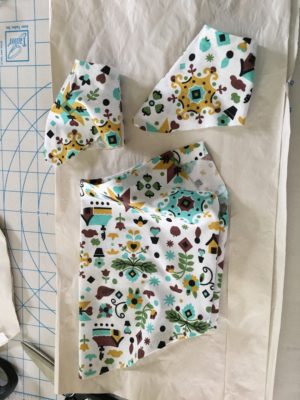
 Now cut out a tummy panel, I made this one approx. 4” wide by the length of the main body.
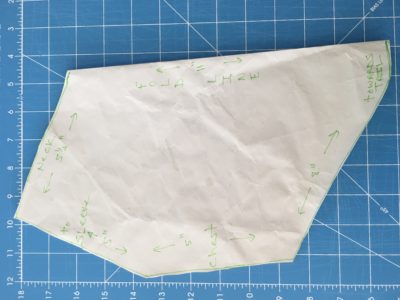
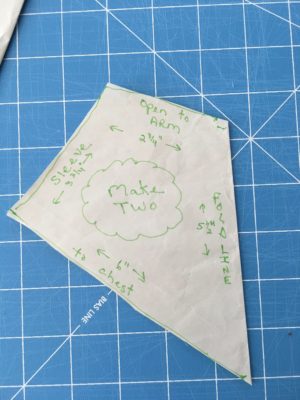
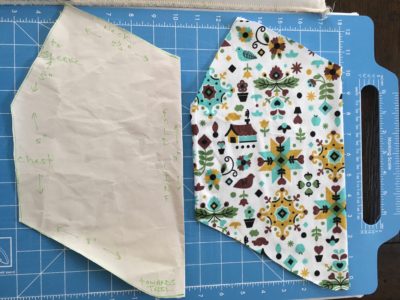
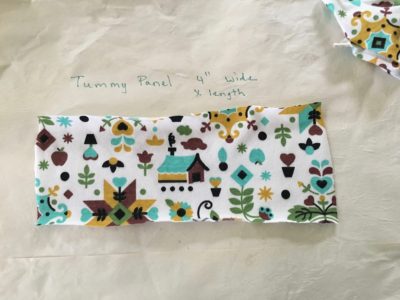 Here are a few more photos to help see the tracing and cut material with measurements.
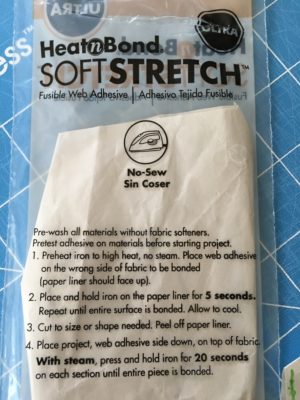
 On a safe surface for ironing, following the Heat n Bond directions (shown above), cut 1/2” strips of Soft Stretch for hemming edges to the wrong side of fabric. Do this to:
sleeve cuffs
body bottom ( the edge that lays above tail)
neckline
top and bottom of tummy panel
On a safe surface for ironing, following the Heat n Bond directions (shown above), cut 1/2” strips of Soft Stretch for hemming edges to the wrong side of fabric. Do this to:
sleeve cuffs
body bottom ( the edge that lays above tail)
neckline
top and bottom of tummy panel
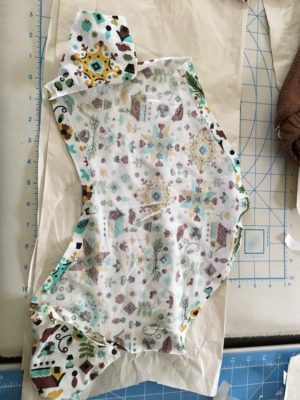
 Next, apply Soft Stretch to the right side of fabric of sleeves then adhere to the right side of main body.
 Look at the existing dog shirt for help with the layout of where to adhere pieces.
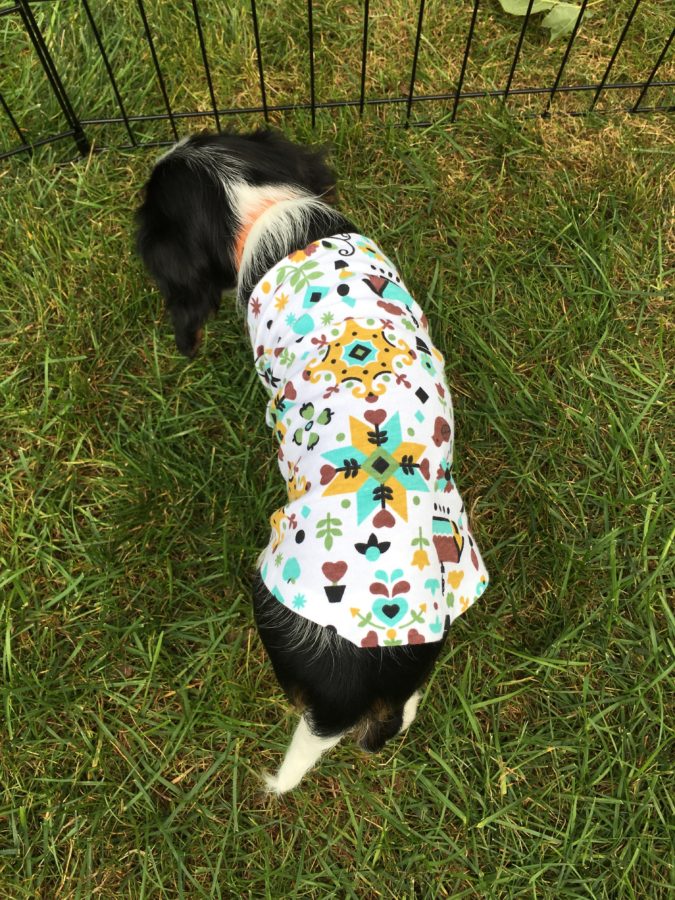
 Lastly, apply Soft Stretch to the right side of the fabric of tummy panel sides then adhere to right side of the fabric of main body and sleeves. If needed, adjust the neck to fit then adhere to tummy panel and sleeves. You may need to play with this step to get it to come together, remember you can reheat it and change placement, yet when it’s cooled, it will be super strong like a sewn seam!
It’s that quick and easy! Now your baby can be warm and comfy on these cool autumn evenings!
Lastly, apply Soft Stretch to the right side of the fabric of tummy panel sides then adhere to right side of the fabric of main body and sleeves. If needed, adjust the neck to fit then adhere to tummy panel and sleeves. You may need to play with this step to get it to come together, remember you can reheat it and change placement, yet when it’s cooled, it will be super strong like a sewn seam!
It’s that quick and easy! Now your baby can be warm and comfy on these cool autumn evenings!
 We’d love to see your projects so leave a message with a photo below! As always, if you have any questions let us know and we’ll be happy to help.
Happy Autumn!
Jane
We’d love to see your projects so leave a message with a photo below! As always, if you have any questions let us know and we’ll be happy to help.
Happy Autumn!
Jane