No Products in the Cart
 The pattern for "B" - Download HERE
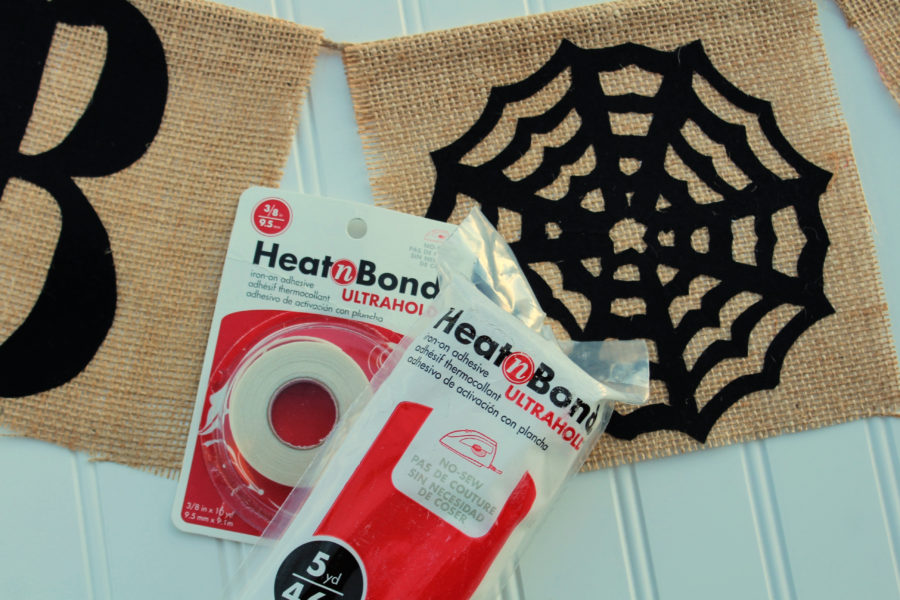
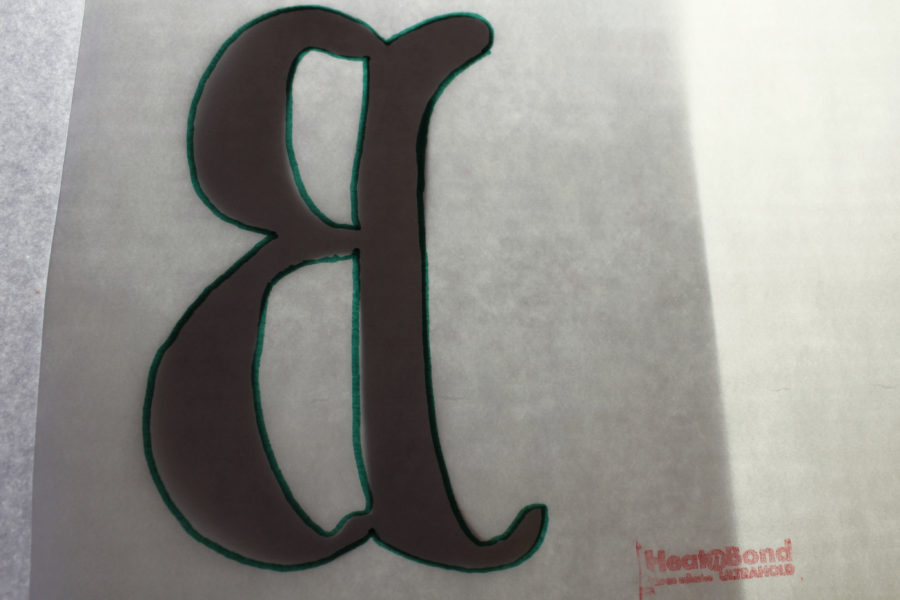 Follow the manufacturer’s instructions for bonding the HeatnBond® Ultrahold to the wrong side of the 5 1/2" x 7 1/2" piece of black cotton fabric. Next, cut out the "B", peel off the backing paper and place applique with the adhesive side down on one of the background pieces of 7 1/2" x 8 1/2" burlap. Place the "B" so the background is 7 1/2" across and the bottom of the letter is close to the bottom edge of the burlap to allow a hem at the top of the burlap. Finally, fuse the "B" to the background following the manufacturer package instructions.
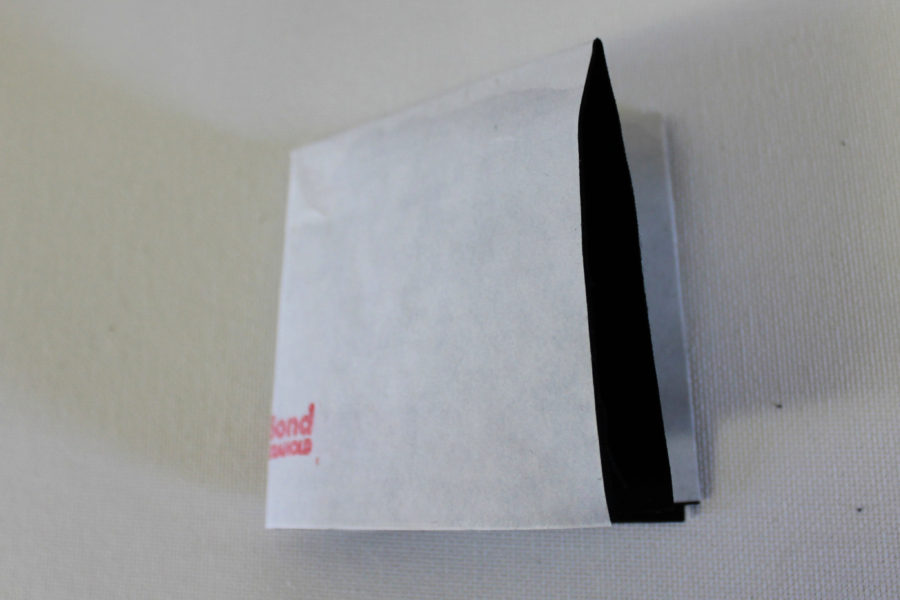
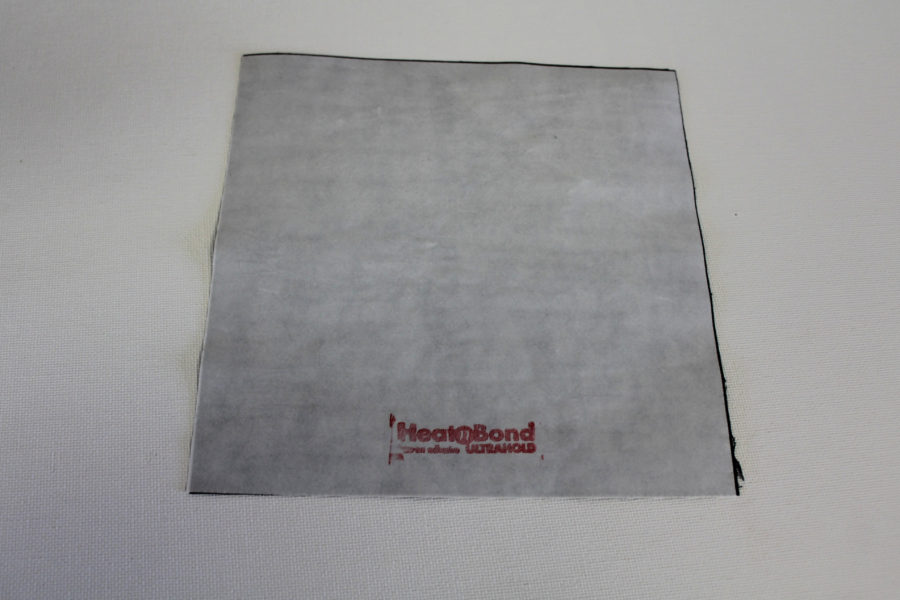 Let the fabric cool, then take one of the squares and fold it in half with the paper side out and the fabric inside.
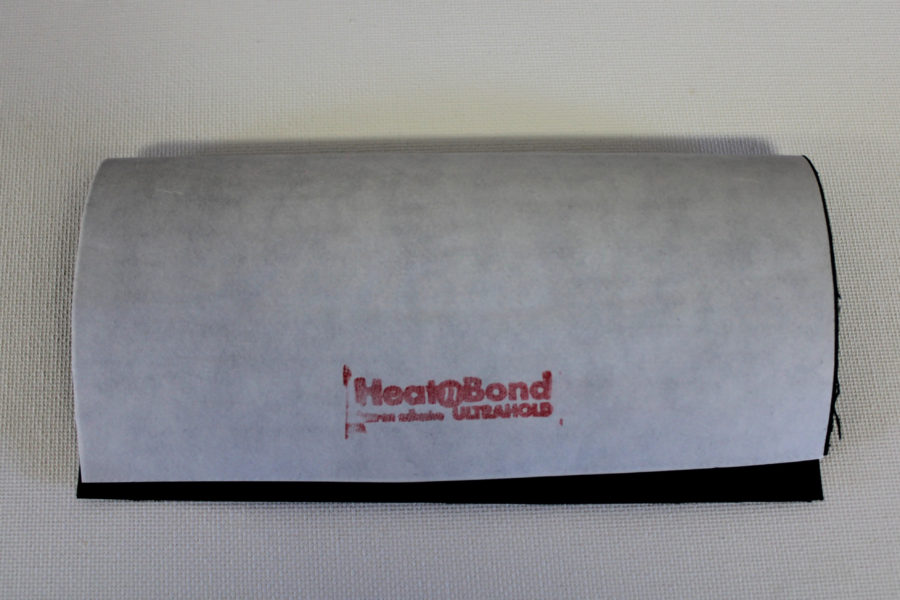 Next, fold it in half again to form a square.
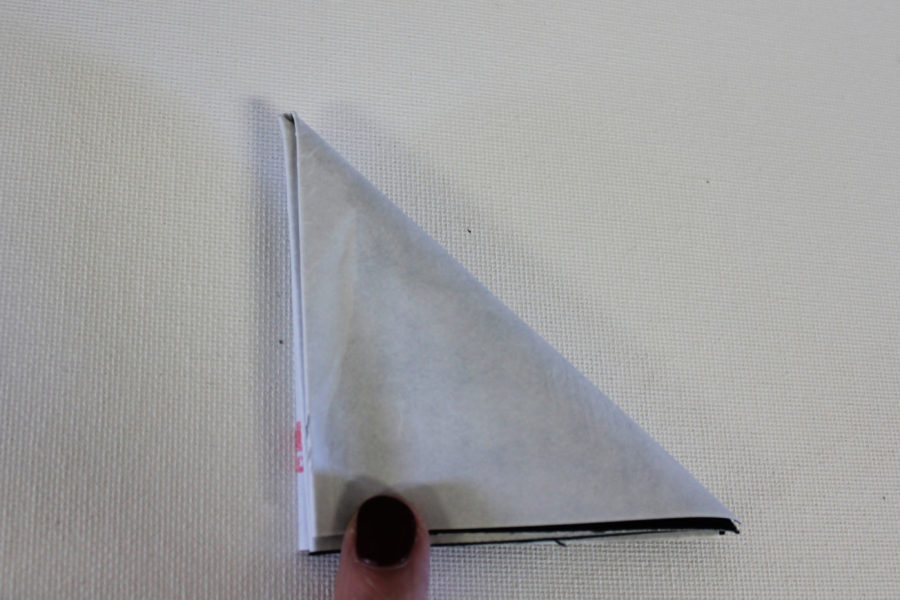
 Then, fold the unit one more time to form a triangle by bringing the top edge with 2 folds down to meet the edge with 1 fold.
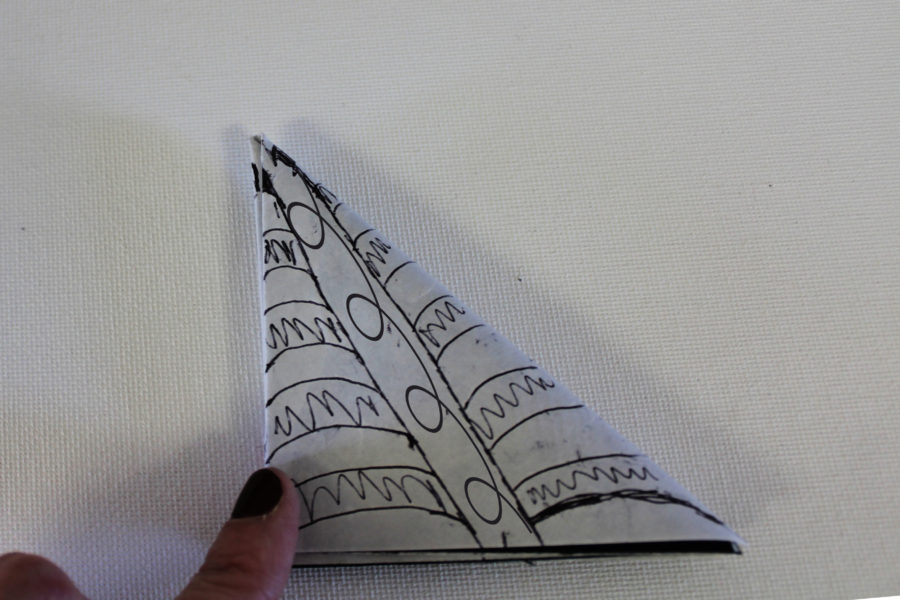
 Make the spider web pattern by drawing lines on this triangle as pictured below. Draw a center line from the top point to the middle of the bottom. Next, draw web lines in arches. The filled in lines are not cut. This is a paper spider web technique that can be found on the internet with a search of paper spider webs.
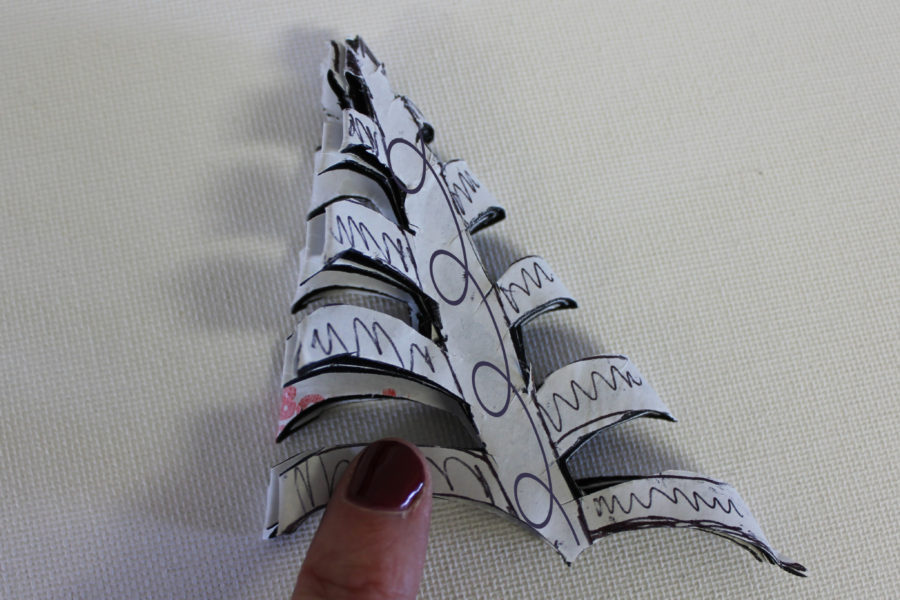
 The next step to making the fabric spider web appliques is to cut the blank spaces of the triangle. Use very sharp scissors and cut in layers. This step requires patience, but the result is worth every bit of it. Snip a piece out of the top of the triangle also.
 The magic happens when the triangle is gently unfolded. Next, peel off the backing paper and place the applique web with the adhesive side down on a background piece of burlap. Place the spiderweb so the background is 7 1/2" across and the bottom is close to the bottom edge of the burlap to allow a hem at the top of the burlap.
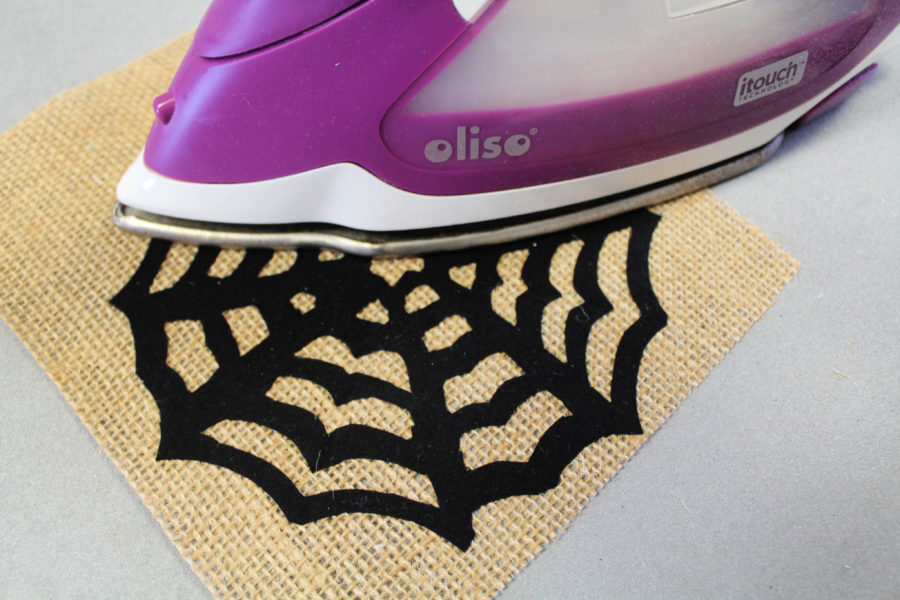 Finally, fuse the spider web to the background following the manufacturer package instructions.
Make 2 spider webs.
Finally, fuse the spider web to the background following the manufacturer package instructions.
Make 2 spider webs.
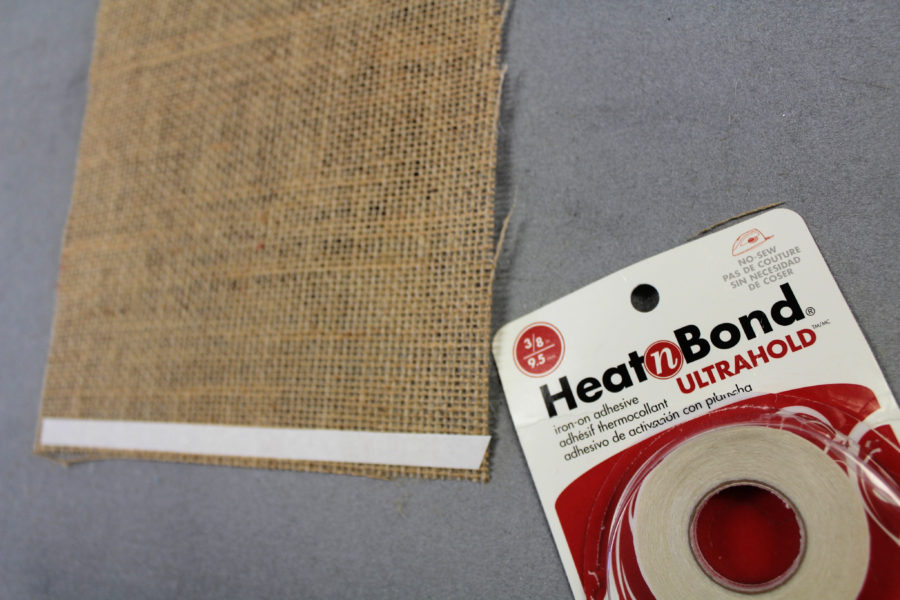 Place the jute twine in the hem, peel away the backing paper, fold the hem over 1", and iron the hem in place. Follow the package instructions for thick fabric and hold the hem in place with pressure until it is completely cool.
 Finally, tie loops in the ends of the jute twine and trim the banner to the desired length.
Optional: Tie a little purchased paper spider to the jute twine with fishing line for a little more creepiness.
Finally, tie loops in the ends of the jute twine and trim the banner to the desired length.
Optional: Tie a little purchased paper spider to the jute twine with fishing line for a little more creepiness.