No Products in the Cart



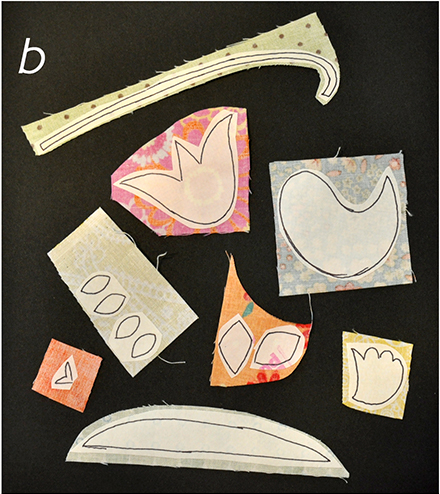
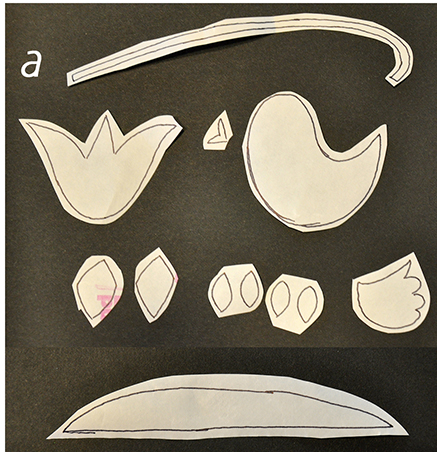 Set iron to medium-high, no steam. Iron shapes to the WRONG side of fabric or paper scraps. See photo b. Cut out shapes online. Remove paper backing.
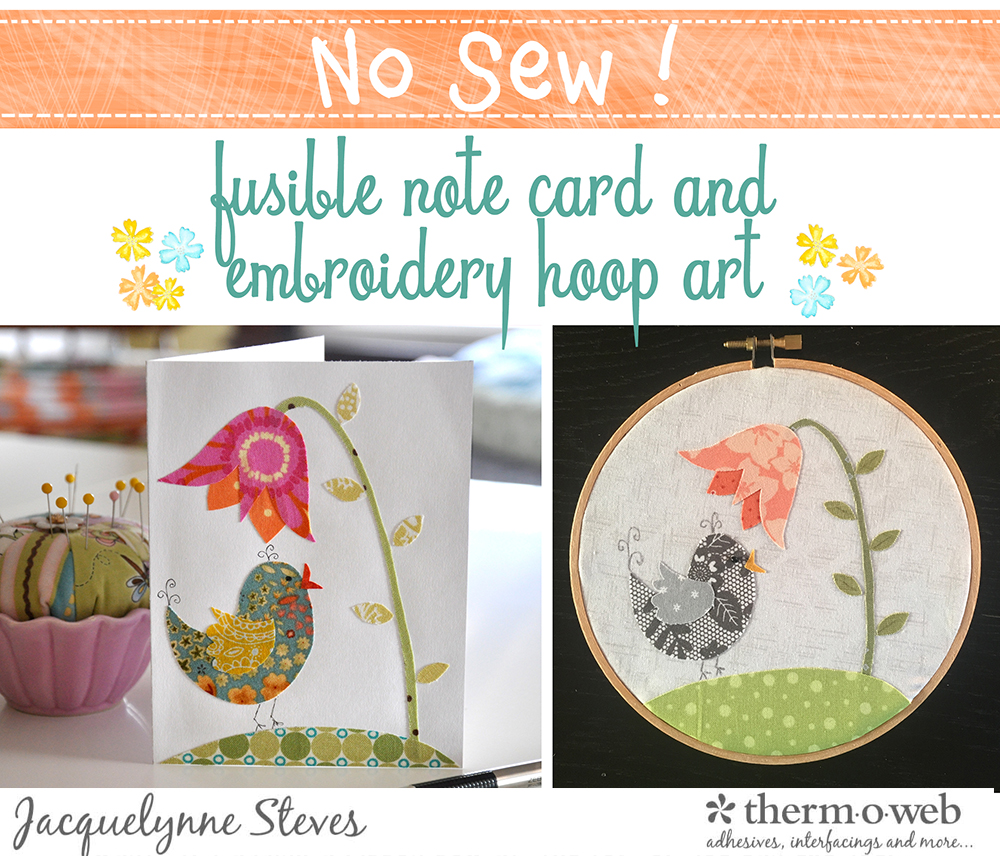
 For note card- Cut cardstock in half horizontally, then fold in half to make a card which is 4 1/4” x 5 1/2”. Place note card on ironing board. Arrange shapes (except for beak) on the note card, noting that some shapes overlap each other (note the dotted lines on the pattern.) Use tweezers if necessary.
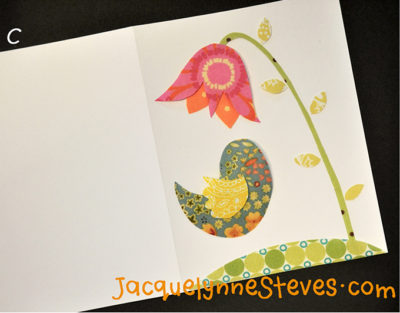
Now it’s time to fuse the shapes to the card. This is very important- hold the iron several inches above the card. Press the iron to the card in one straight, downward movement- you don’t want to slide the iron as this will cause the shapes to shift. Hold the iron for just a second or two. Lift the iron and repeat, until all of the shapes are fused to the card. Once the shapes are fused, you can go over the card lightly with the iron to make sure that you’ve gotten all the edges. See photo c.
For note card- Cut cardstock in half horizontally, then fold in half to make a card which is 4 1/4” x 5 1/2”. Place note card on ironing board. Arrange shapes (except for beak) on the note card, noting that some shapes overlap each other (note the dotted lines on the pattern.) Use tweezers if necessary.
Now it’s time to fuse the shapes to the card. This is very important- hold the iron several inches above the card. Press the iron to the card in one straight, downward movement- you don’t want to slide the iron as this will cause the shapes to shift. Hold the iron for just a second or two. Lift the iron and repeat, until all of the shapes are fused to the card. Once the shapes are fused, you can go over the card lightly with the iron to make sure that you’ve gotten all the edges. See photo c.
 Immediately place the card under the pile of heavy books (while the paper is still warm.) Allow cooling. Add the beak, using tweezers if necessary. Fuse as described above. Use a fine marker to add details like legs, eye, and feathers. You can also glue on a small bead for the eye if desired.
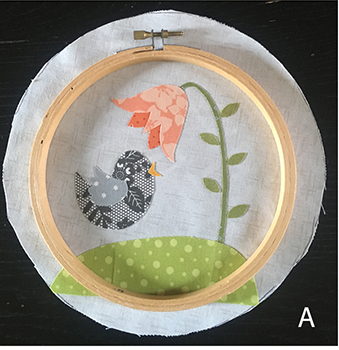
For embroidery hoop- Trace circle pattern onto fabric square and cut out. Arrange applique pieces in the center. Place the embroidery hoop over the top to make sure that all of the pieces are included inside the hoop. See photo A.
Immediately place the card under the pile of heavy books (while the paper is still warm.) Allow cooling. Add the beak, using tweezers if necessary. Fuse as described above. Use a fine marker to add details like legs, eye, and feathers. You can also glue on a small bead for the eye if desired.
For embroidery hoop- Trace circle pattern onto fabric square and cut out. Arrange applique pieces in the center. Place the embroidery hoop over the top to make sure that all of the pieces are included inside the hoop. See photo A.
 Remove hoop. Carefully use the iron to fuse shapes to the fabric. If desired, you can machine applique the edges with a blanket stitch or zig zag stitch, but it’s not necessary.
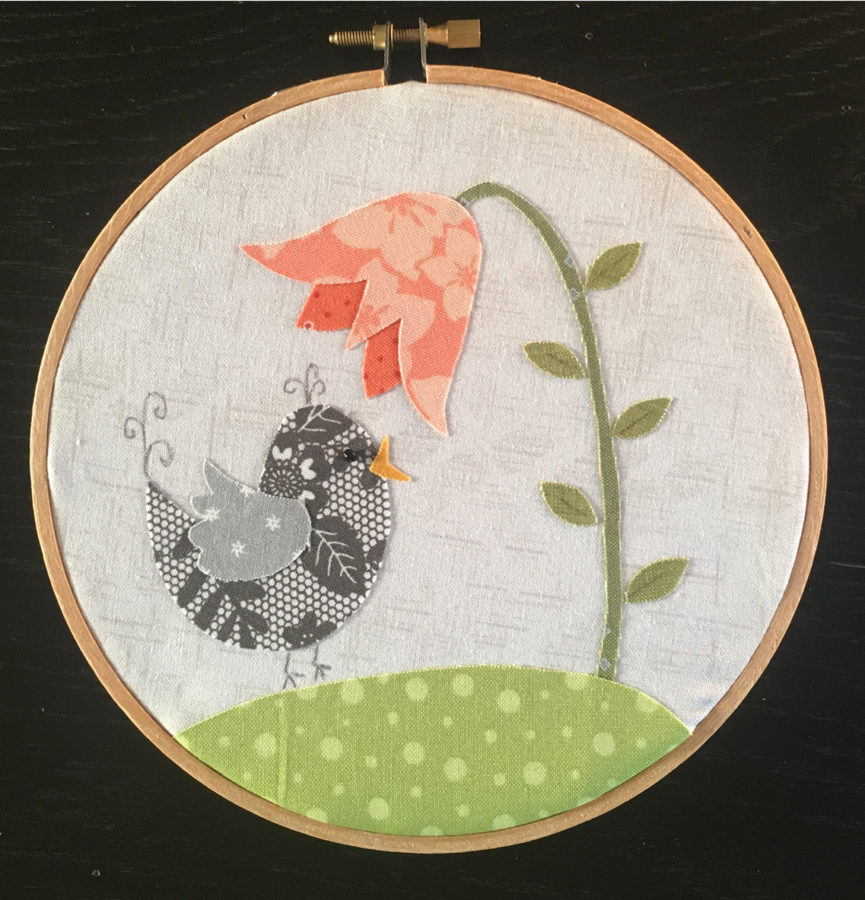
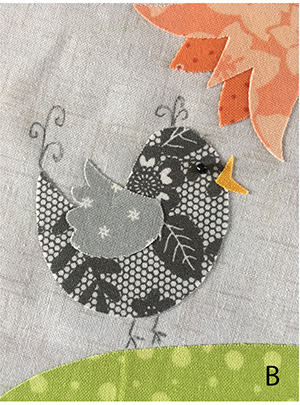
Add details with a fine point marker, or you can embroider them. Add bead for the eye if desired. See photo B.
Remove hoop. Carefully use the iron to fuse shapes to the fabric. If desired, you can machine applique the edges with a blanket stitch or zig zag stitch, but it’s not necessary.
Add details with a fine point marker, or you can embroider them. Add bead for the eye if desired. See photo B.
 Trace the large ring of the hoop onto the wrong side of the scrapbook paper or cardstock. Cut right inside the line, so that the circle is just a little smaller than the outer edge of the large ring. Set aside.
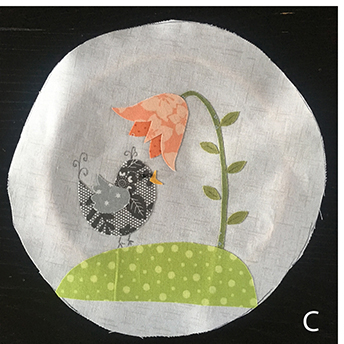
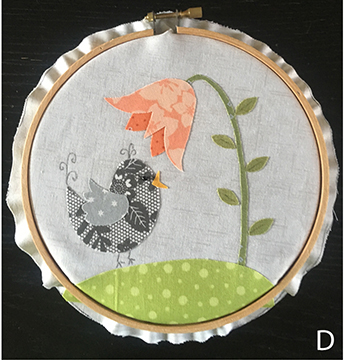
Place a small ring of the hoop on a table. Center the bird design right side up on top of the ring. See photo C. Place large ring on top and tighten the screw, making sure that fabric is smooth. See photo D.
Trace the large ring of the hoop onto the wrong side of the scrapbook paper or cardstock. Cut right inside the line, so that the circle is just a little smaller than the outer edge of the large ring. Set aside.
Place a small ring of the hoop on a table. Center the bird design right side up on top of the ring. See photo C. Place large ring on top and tighten the screw, making sure that fabric is smooth. See photo D.
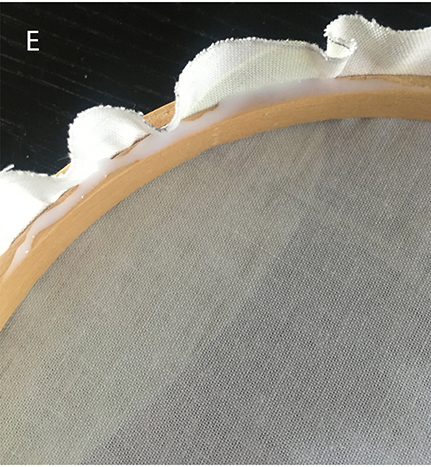
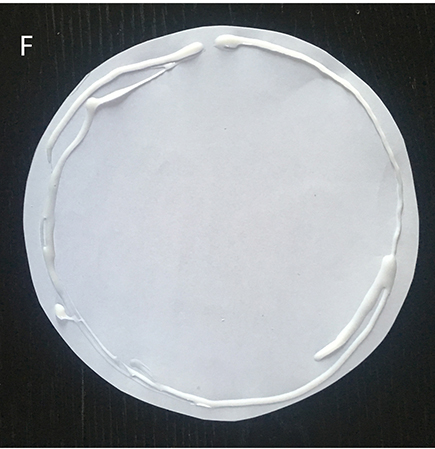
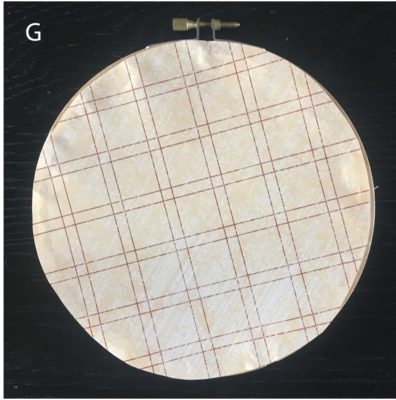
 Place a small line of glue on the back of the embroidery hoop and glue down the fabric edge. See photo E. Place a line of glue around the edge of the wrong side of the paper circle. See photo F. Place on the back of the embroidery hoop art. See photo G.