No Products in the Cart
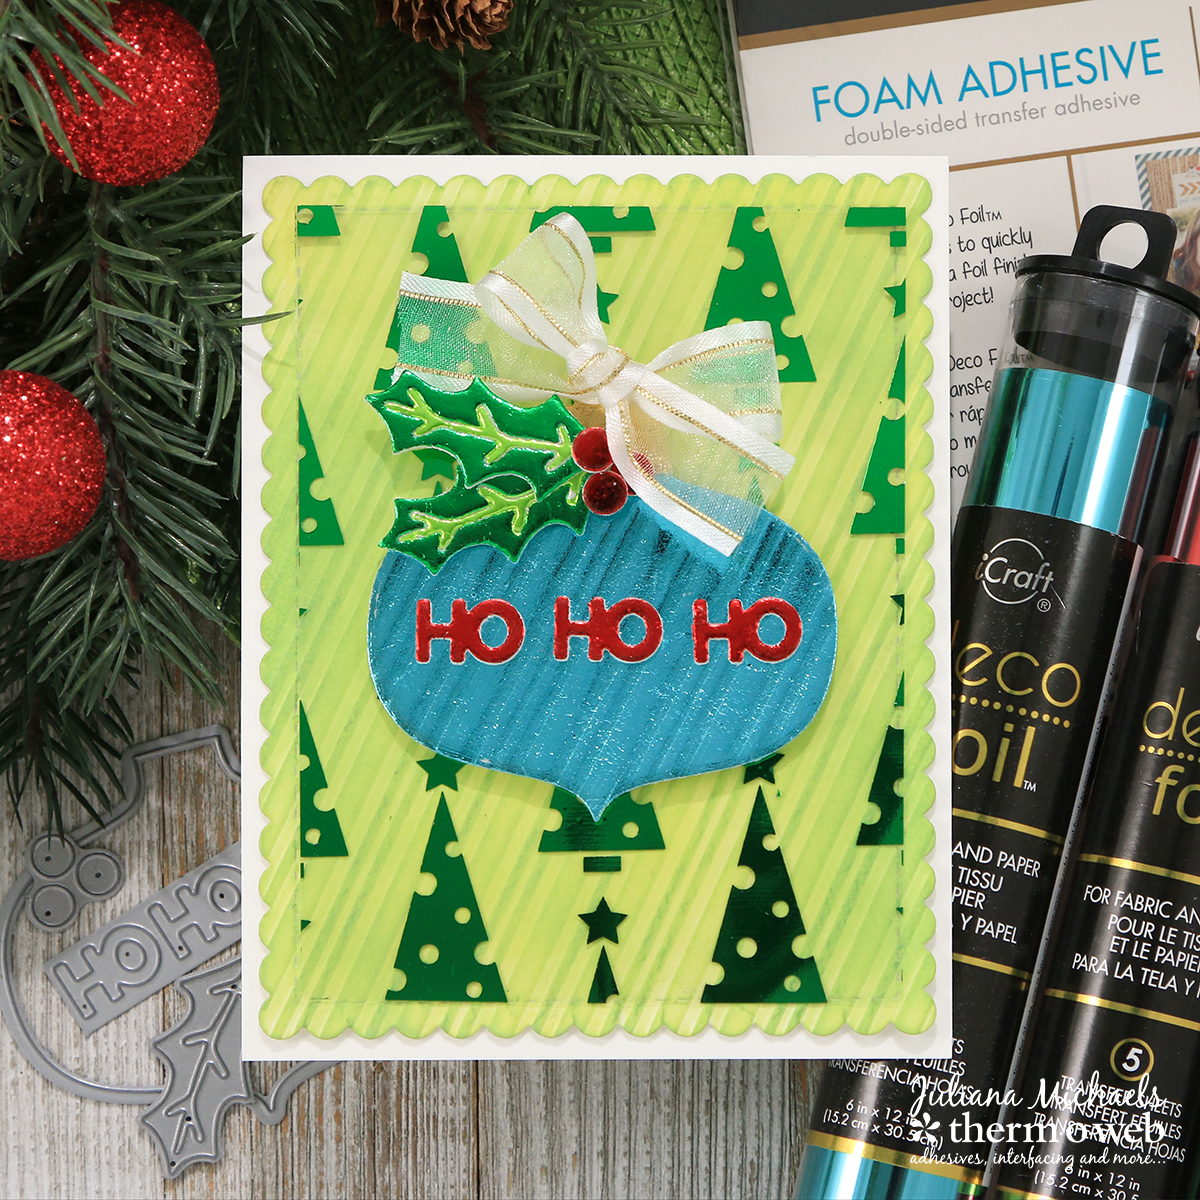
 Hello friends and welcome! It's Juliana Michaels with you today. I'm excited to share how to create foiled die cuts to use on your Christmas card making and craft projects. This card features some fun dies from Newton's Nook Designs and I've combined them with some of my favorite Therm O Web foiling products. You are going to love all the shimmer and shine on this card and how easy it is to create!
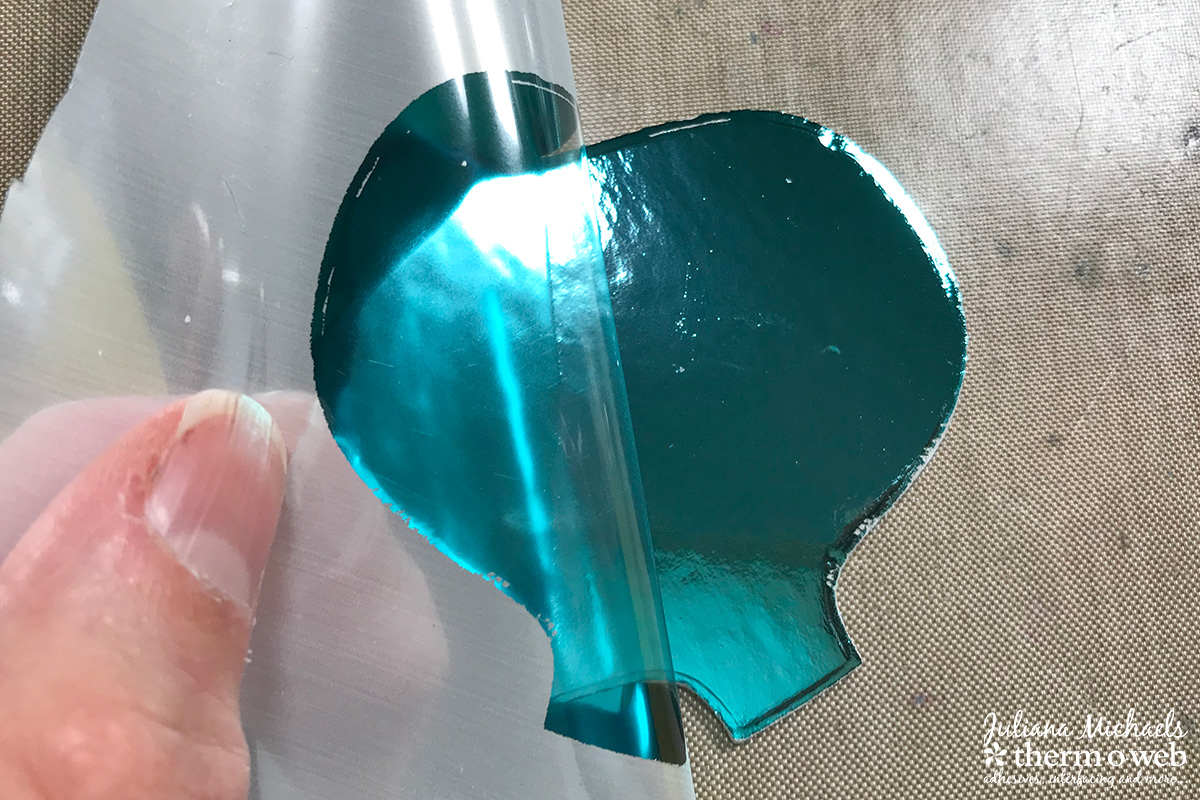
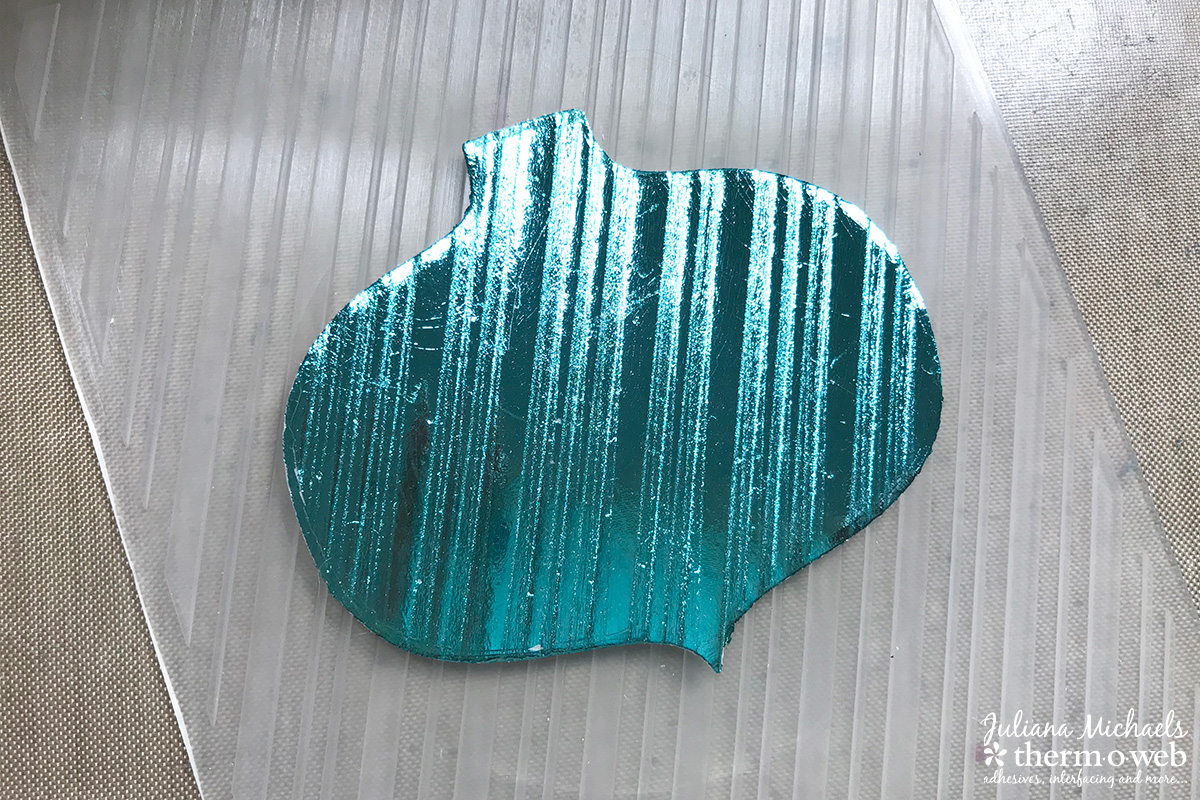
 Peel off the top liner and place a piece of Deco Foil onto the foam. Gently rub the foil to adhere it to the foam. Repeat the foiling process with the remaining die cuts.
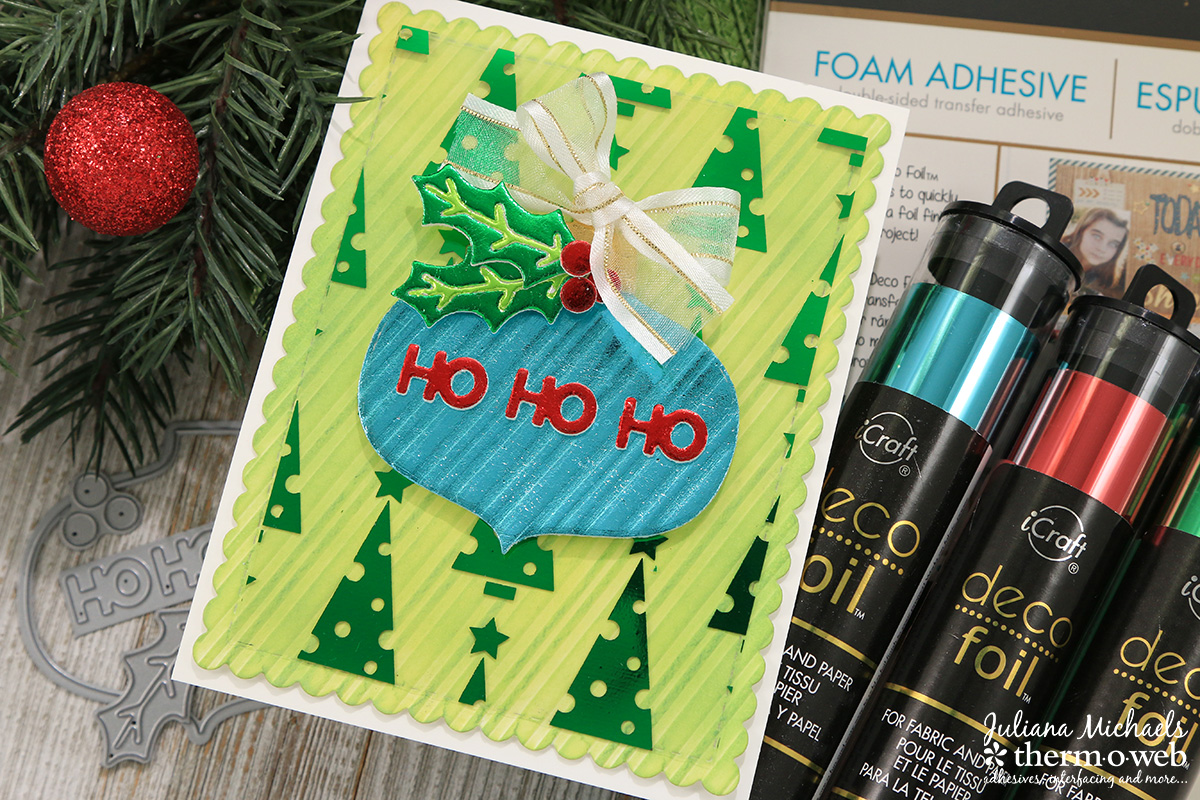
 Once all of the foiling and embossing is complete, adhere the pieces together to decorate the ornament. Add a bit of ribbon using a Zot Adhesive Dot for even more interest.
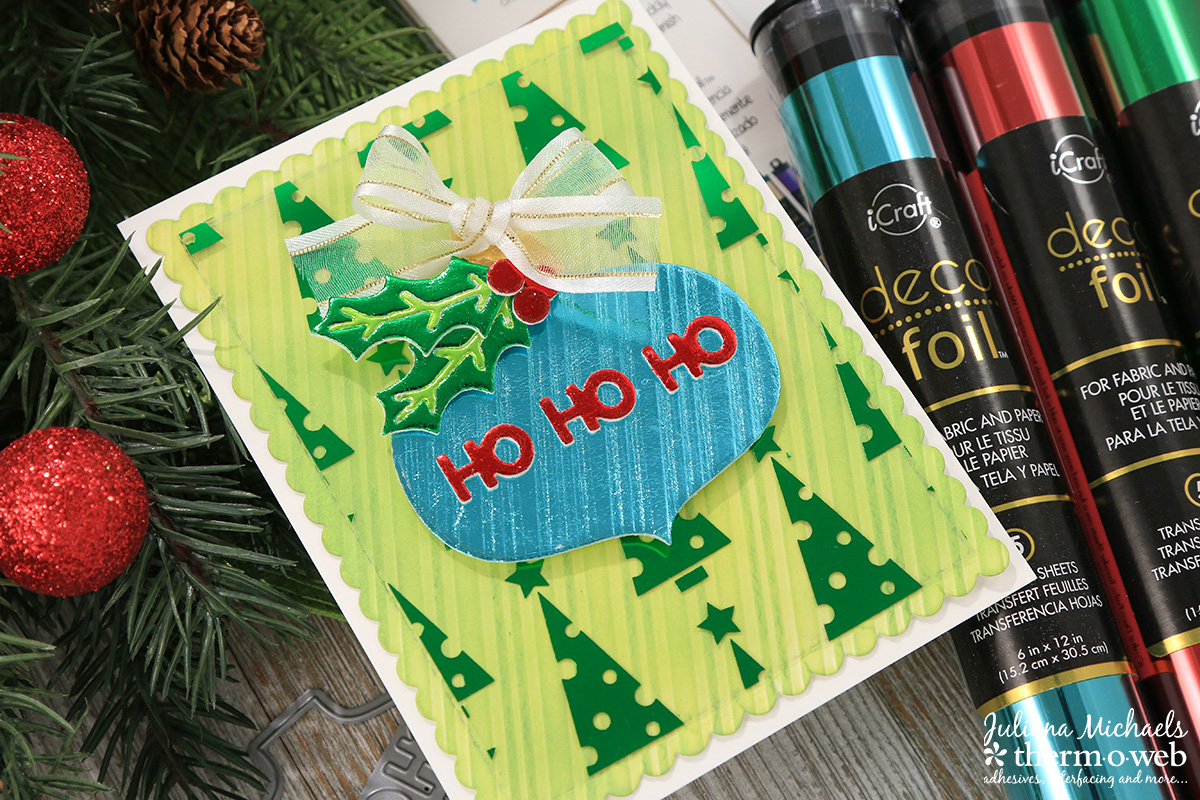 To create the background for the card, die cut a piece of white cardstock using the Newton's Nook Designs scalloped die from the Frames and Flags Die Set. Emboss it using the same embossing folder used on the ornament. To help the texture stand out, apply ink using Distress Oxide Ink and a foam blending tool.
Next, trim a piece of the Deco Foil Clear Toner Sheets O' Christmas Tree to the size of the inside of the scalloped die cut. Cover it with a piece of Deco Foil in green and run it through a preheated laminator. Use a Memory Tape Runner XL to adhere the scallop die cut piece to a card base and then adhere the foiled Clear Toner Sheet on top of that. Finally, adhere the foiled die cut ornament.
To create the background for the card, die cut a piece of white cardstock using the Newton's Nook Designs scalloped die from the Frames and Flags Die Set. Emboss it using the same embossing folder used on the ornament. To help the texture stand out, apply ink using Distress Oxide Ink and a foam blending tool.
Next, trim a piece of the Deco Foil Clear Toner Sheets O' Christmas Tree to the size of the inside of the scalloped die cut. Cover it with a piece of Deco Foil in green and run it through a preheated laminator. Use a Memory Tape Runner XL to adhere the scallop die cut piece to a card base and then adhere the foiled Clear Toner Sheet on top of that. Finally, adhere the foiled die cut ornament.
 I hope you enjoyed learning how to create foiled die cuts. They really are perfect for adding beautiful shimmer and shine to your holiday card making and crafting projects!
 Be sure to take time to go visit our friends at Newton's Nook and see what their team has created! Here's a card that caught our eye from Larissa! We LOVED those Deco Foil Trees! (and look at those sweet singing mice) Newton's Nook Blog!
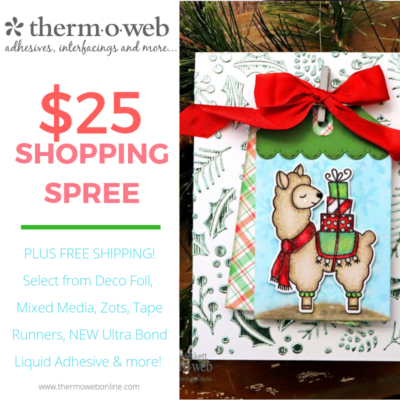
 Before you go...please take a moment to get yourself entered to win a $25 Gift Card to shop with us!
a Rafflecopter giveaway
Before you go...please take a moment to get yourself entered to win a $25 Gift Card to shop with us!
a Rafflecopter giveaway