No Products in the Cart
 We're back with Day Two of our much-anticipated product release!
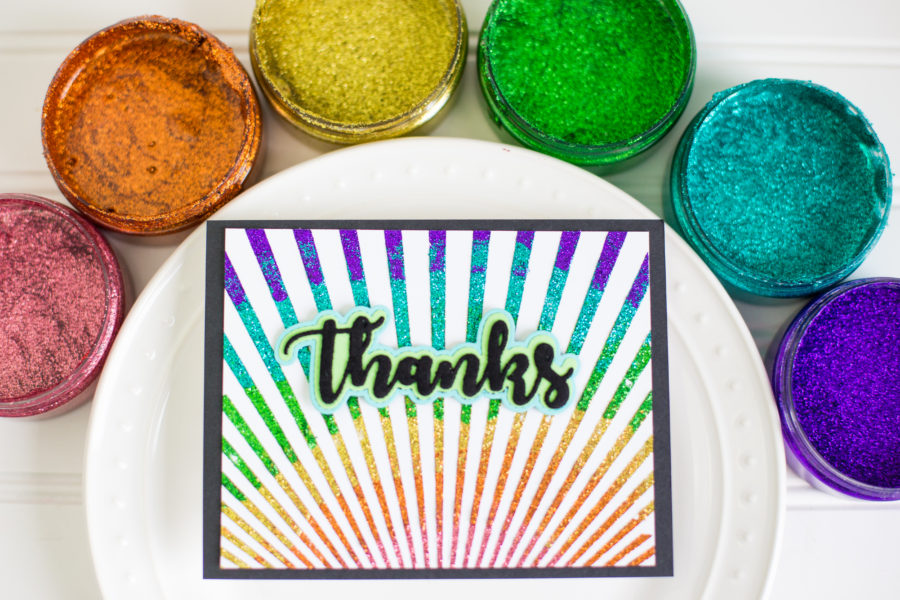
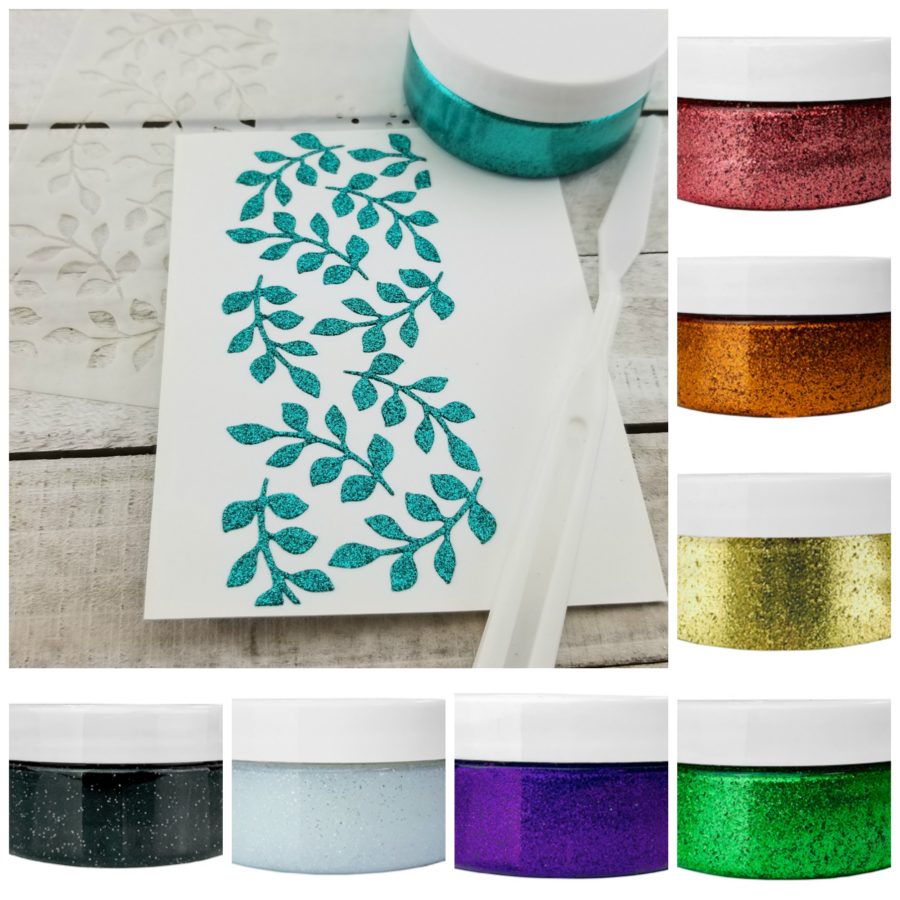 If you've not yet heard about our Gina K. Designs Glitz Glitter Gel...let's get you up to speed!
Make projects sparkle with the NEW Gina K. Designs for Therm O Web Glitz™ Glitter Gel! Glitz will add a spectacular layer of glitter to any project without flaking or falling off! Glitz goes on smoothly and is great to use with stencils! Use Glitz with a palette knife for a 3-dimensional look or apply with a soft cloth for a smooth finish.
https://youtu.be/LwGMWVpWYBo
That's not all that's new!
We'd like you to meet our NEW StampnStencil Collections!
If you've not yet heard about our Gina K. Designs Glitz Glitter Gel...let's get you up to speed!
Make projects sparkle with the NEW Gina K. Designs for Therm O Web Glitz™ Glitter Gel! Glitz will add a spectacular layer of glitter to any project without flaking or falling off! Glitz goes on smoothly and is great to use with stencils! Use Glitz with a palette knife for a 3-dimensional look or apply with a soft cloth for a smooth finish.
https://youtu.be/LwGMWVpWYBo
That's not all that's new!
We'd like you to meet our NEW StampnStencil Collections!
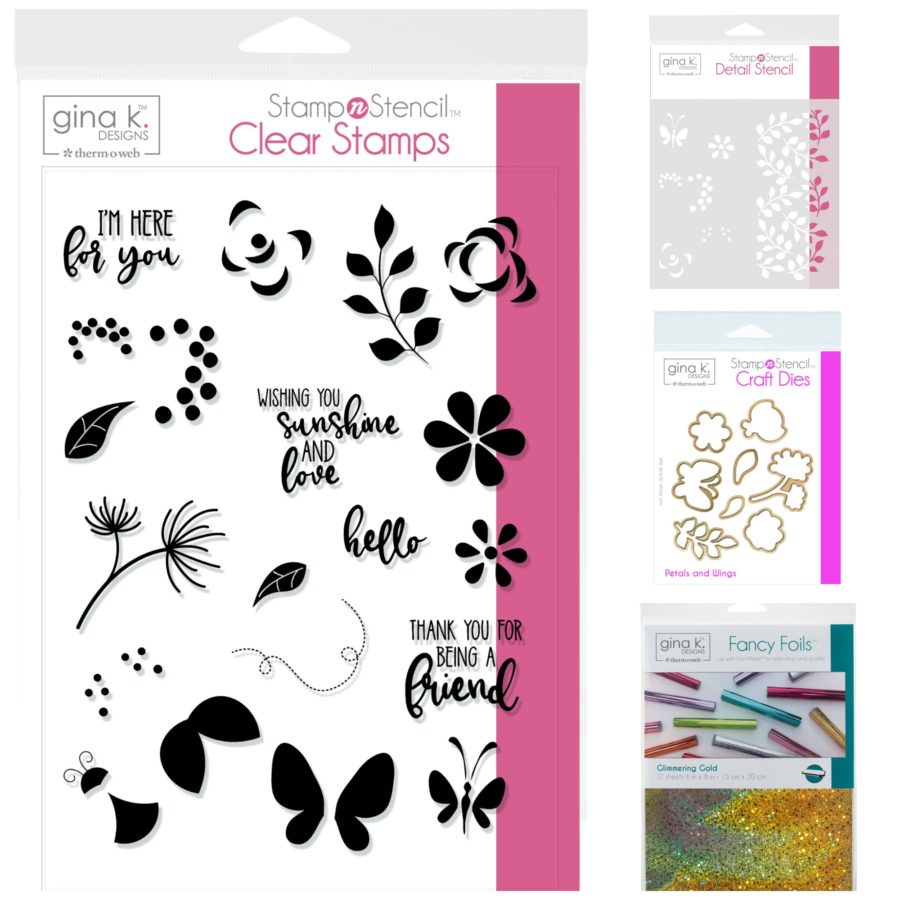
 The NEW StampnStencil™ system designed by Gina K. Designs for Therm O Web blends stamps, stencils and dies to create beautiful multi-textured, multi-layered and multi-colored cards! Use your favorite Gina K. ink to stamp your design, then add a pop of dimension and sparkle using Glitz™ Glitter Gel with the coordinating stencil. You can also add your favorite Foil or Flock using Deco Foil Transfer Gel or with all types of crafting ink including dye, pigment, distress and hybrid inks.
https://youtu.be/5hHqHAhgwXQ
All products are available are IN STOCK and AVAILABLE for purchase HERE!
The NEW StampnStencil™ system designed by Gina K. Designs for Therm O Web blends stamps, stencils and dies to create beautiful multi-textured, multi-layered and multi-colored cards! Use your favorite Gina K. ink to stamp your design, then add a pop of dimension and sparkle using Glitz™ Glitter Gel with the coordinating stencil. You can also add your favorite Foil or Flock using Deco Foil Transfer Gel or with all types of crafting ink including dye, pigment, distress and hybrid inks.
https://youtu.be/5hHqHAhgwXQ
All products are available are IN STOCK and AVAILABLE for purchase HERE!
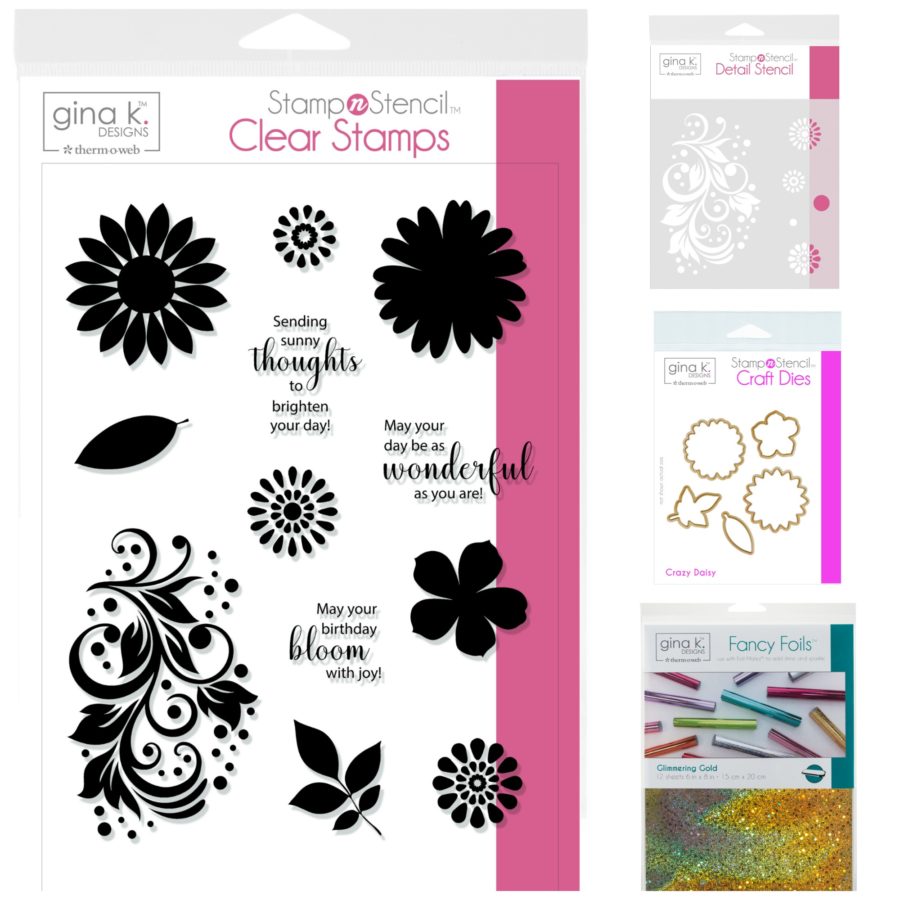
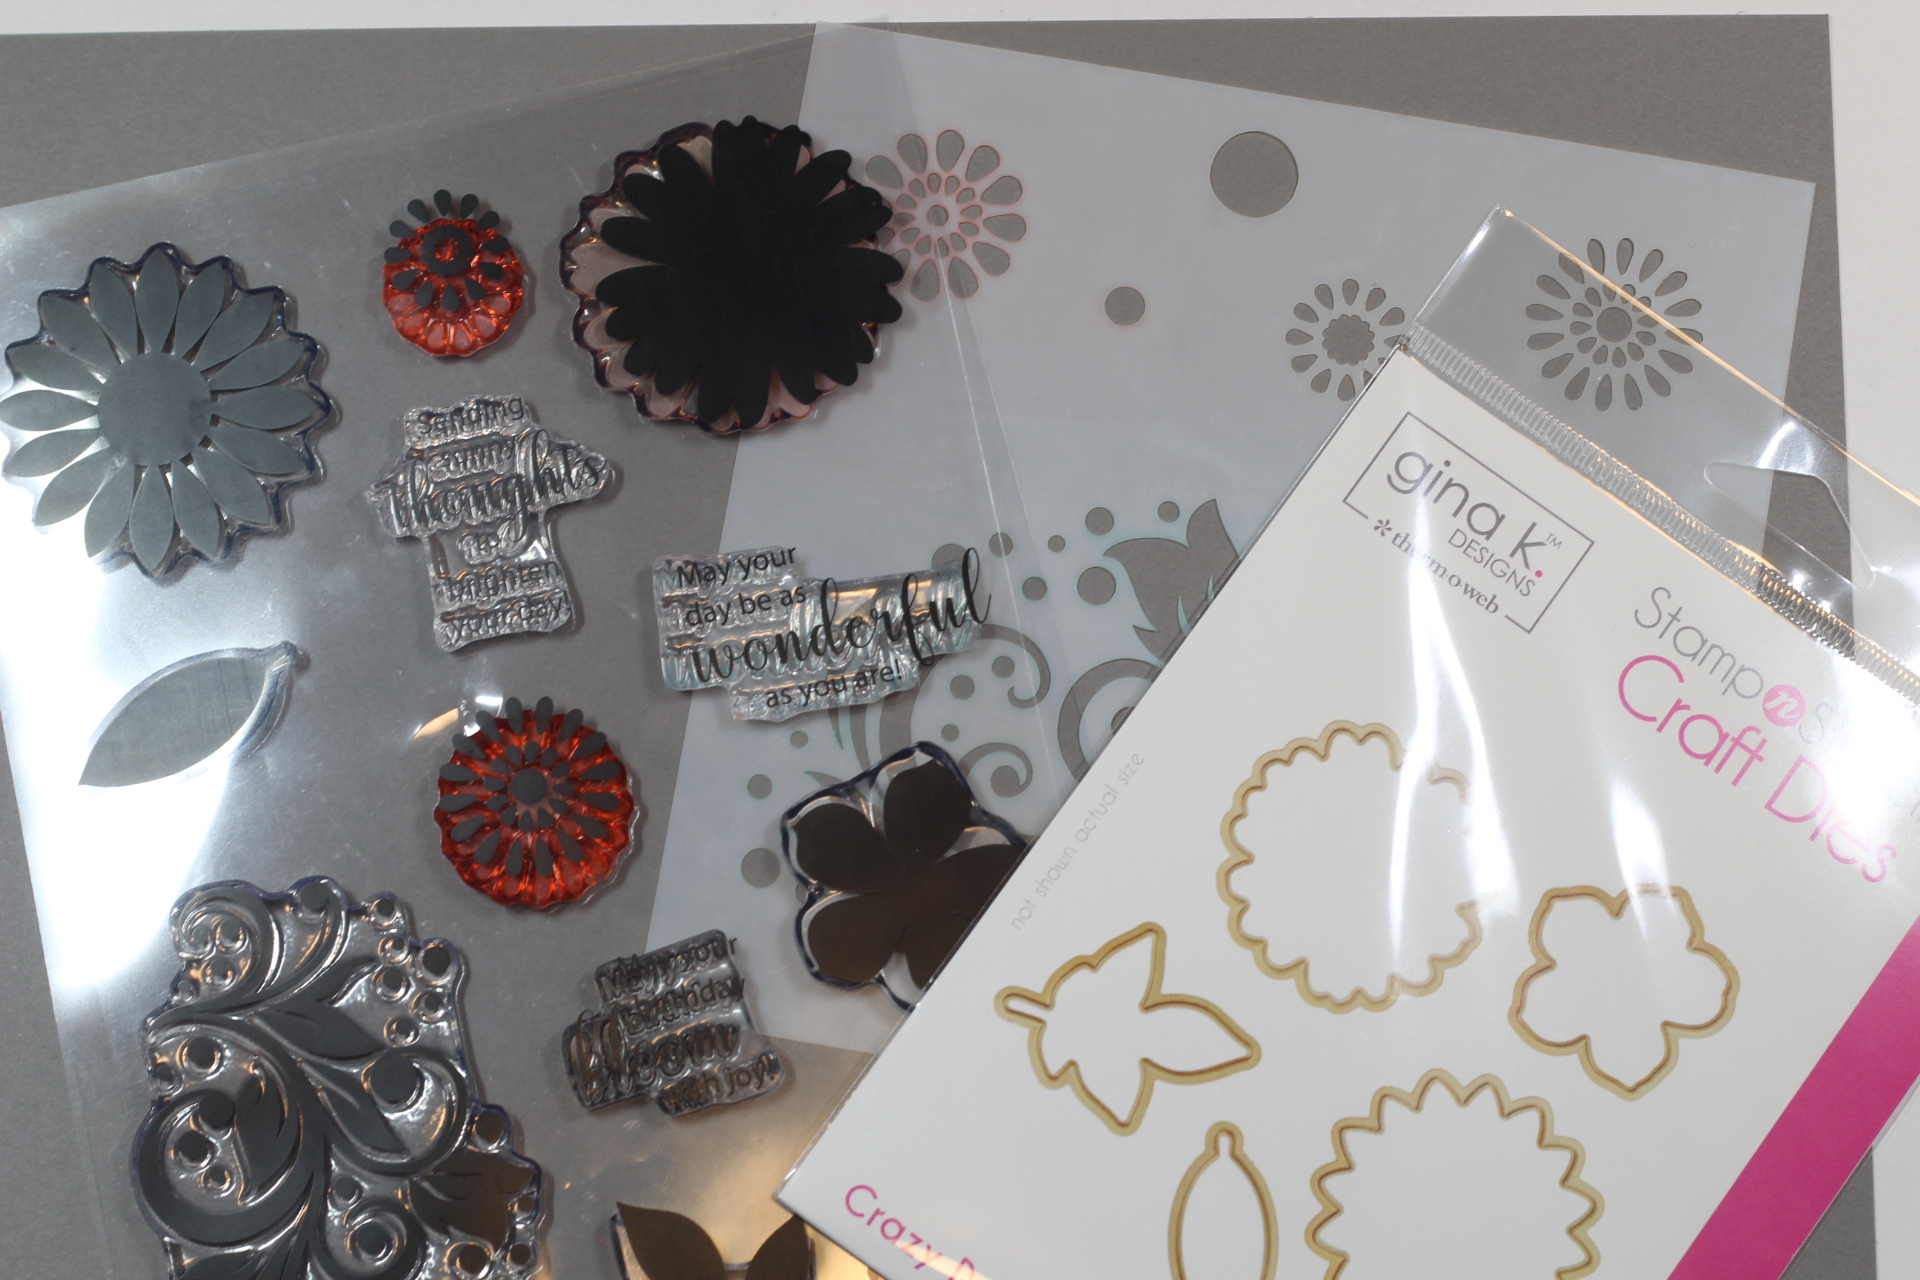
 These items are a lot of fun to create with. This is the Crazy Daisy StampnStencil™ Stamp Set, Stencil and Matching Dies
 Starting with the Decorative Tag Die and cut the tag out of Gina K. White heavy base weight card stock.
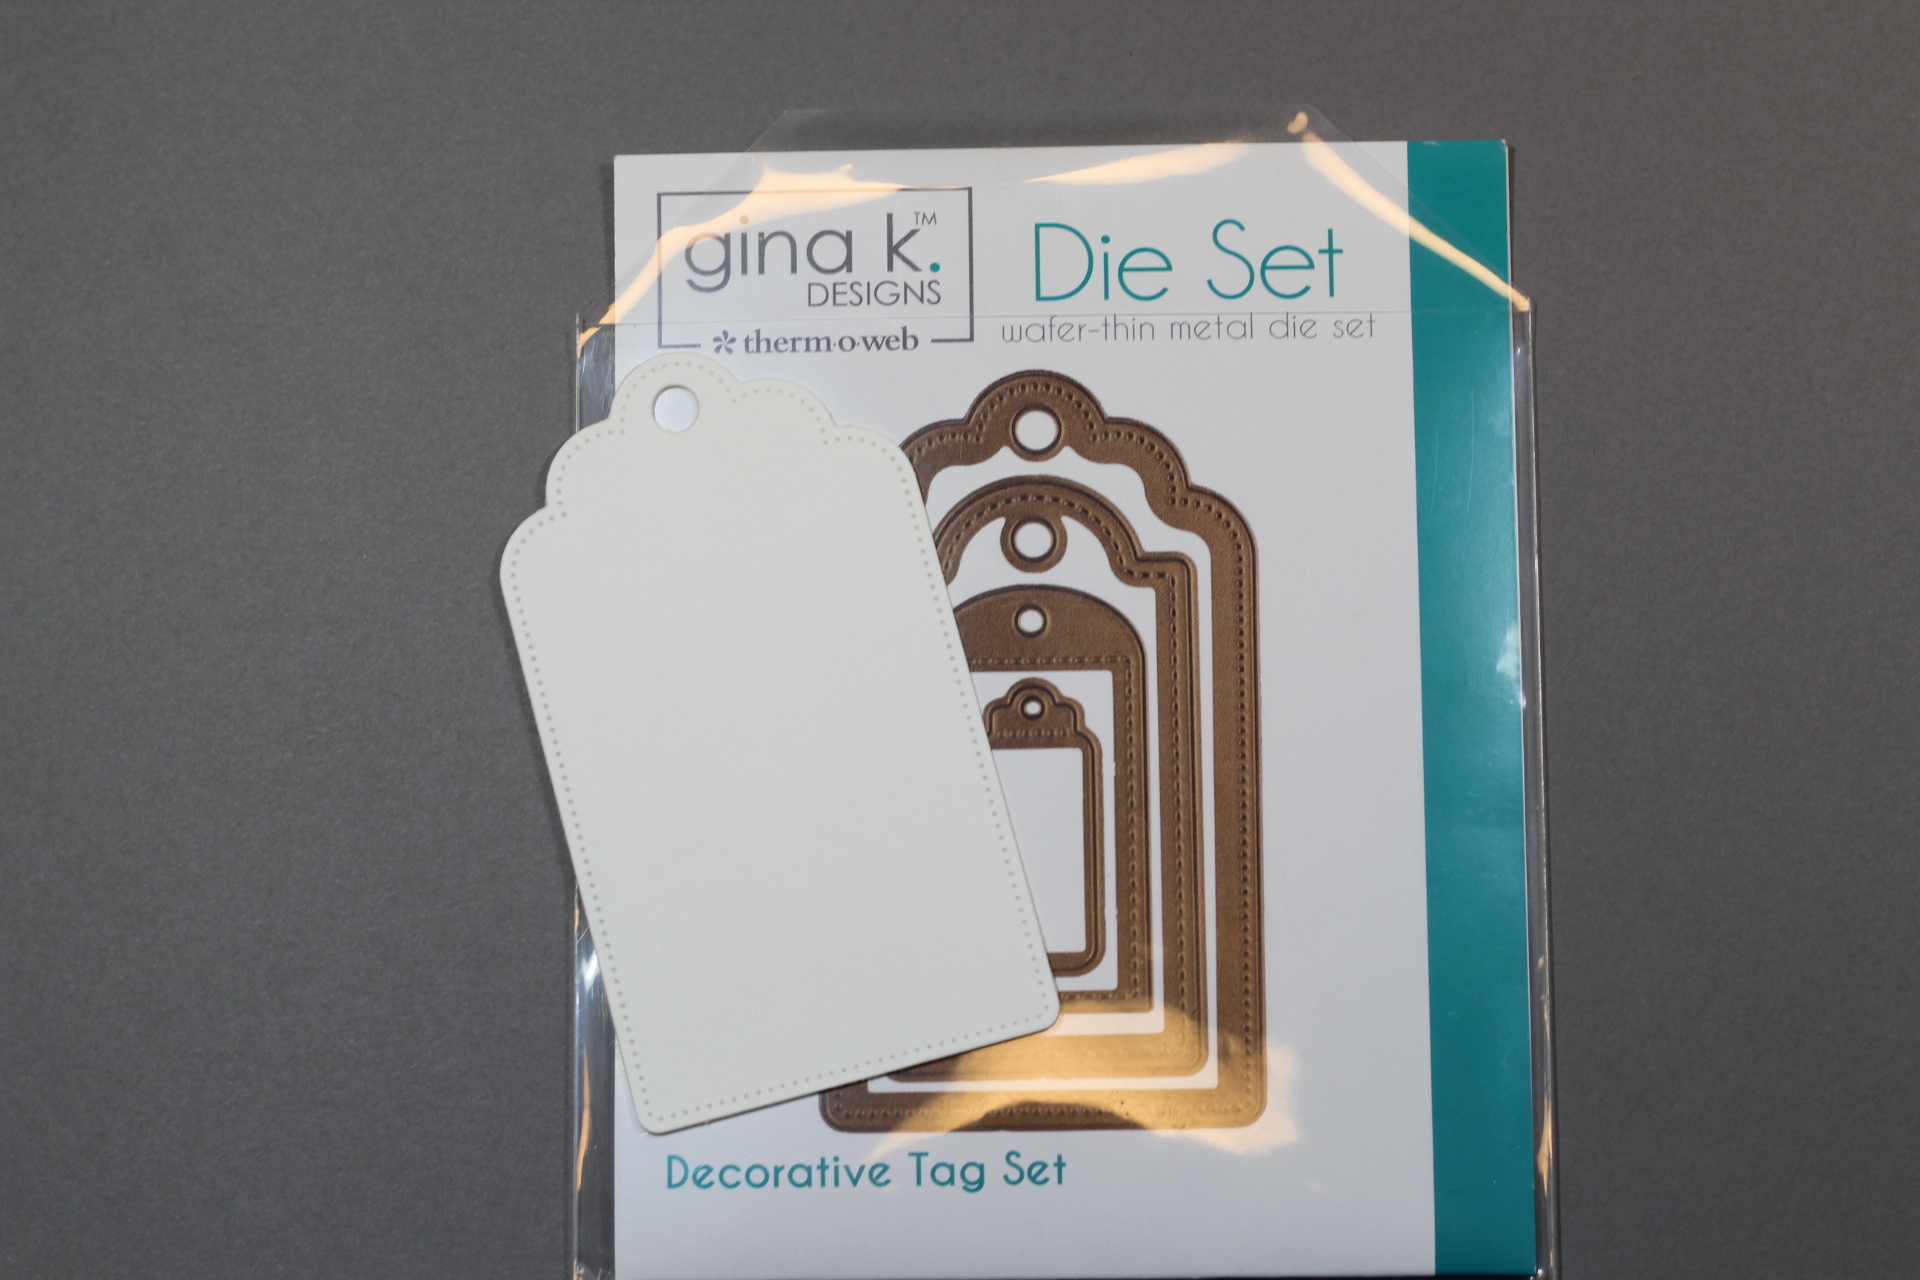 Then stamp the large sunflower at the top and one at the bottom, just off the tag. Then go ahead & stamp the greeting and a leaf.
 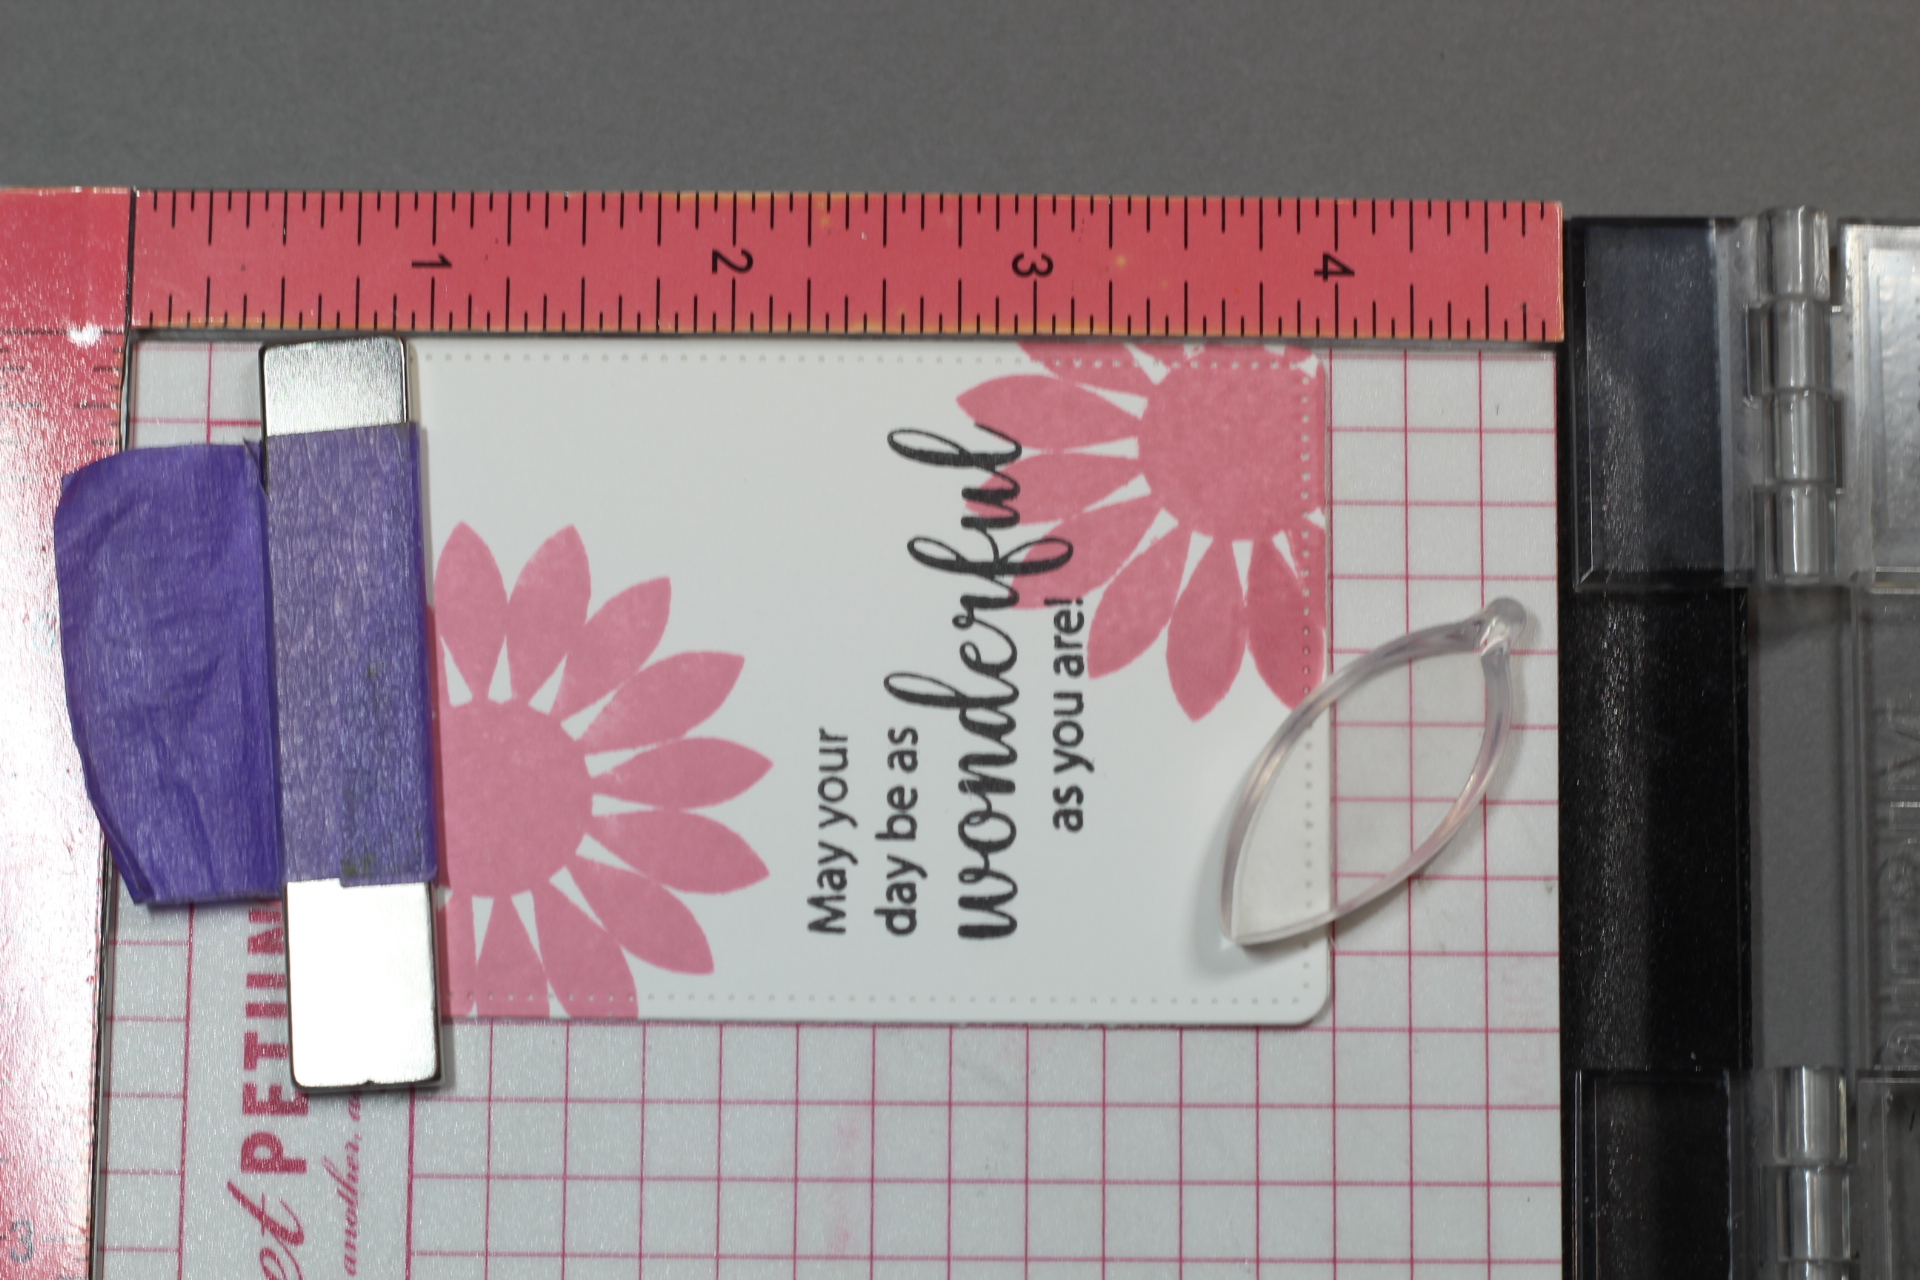 You will want to stamp the flower (about 5 of them and lots of leaves) on a couple of pieces of layering weight card stock, so they can be die cut with the matching Crazy Daisy die to this set. I really like having a few extra on hand, you can add one to the inside or to another project later.
 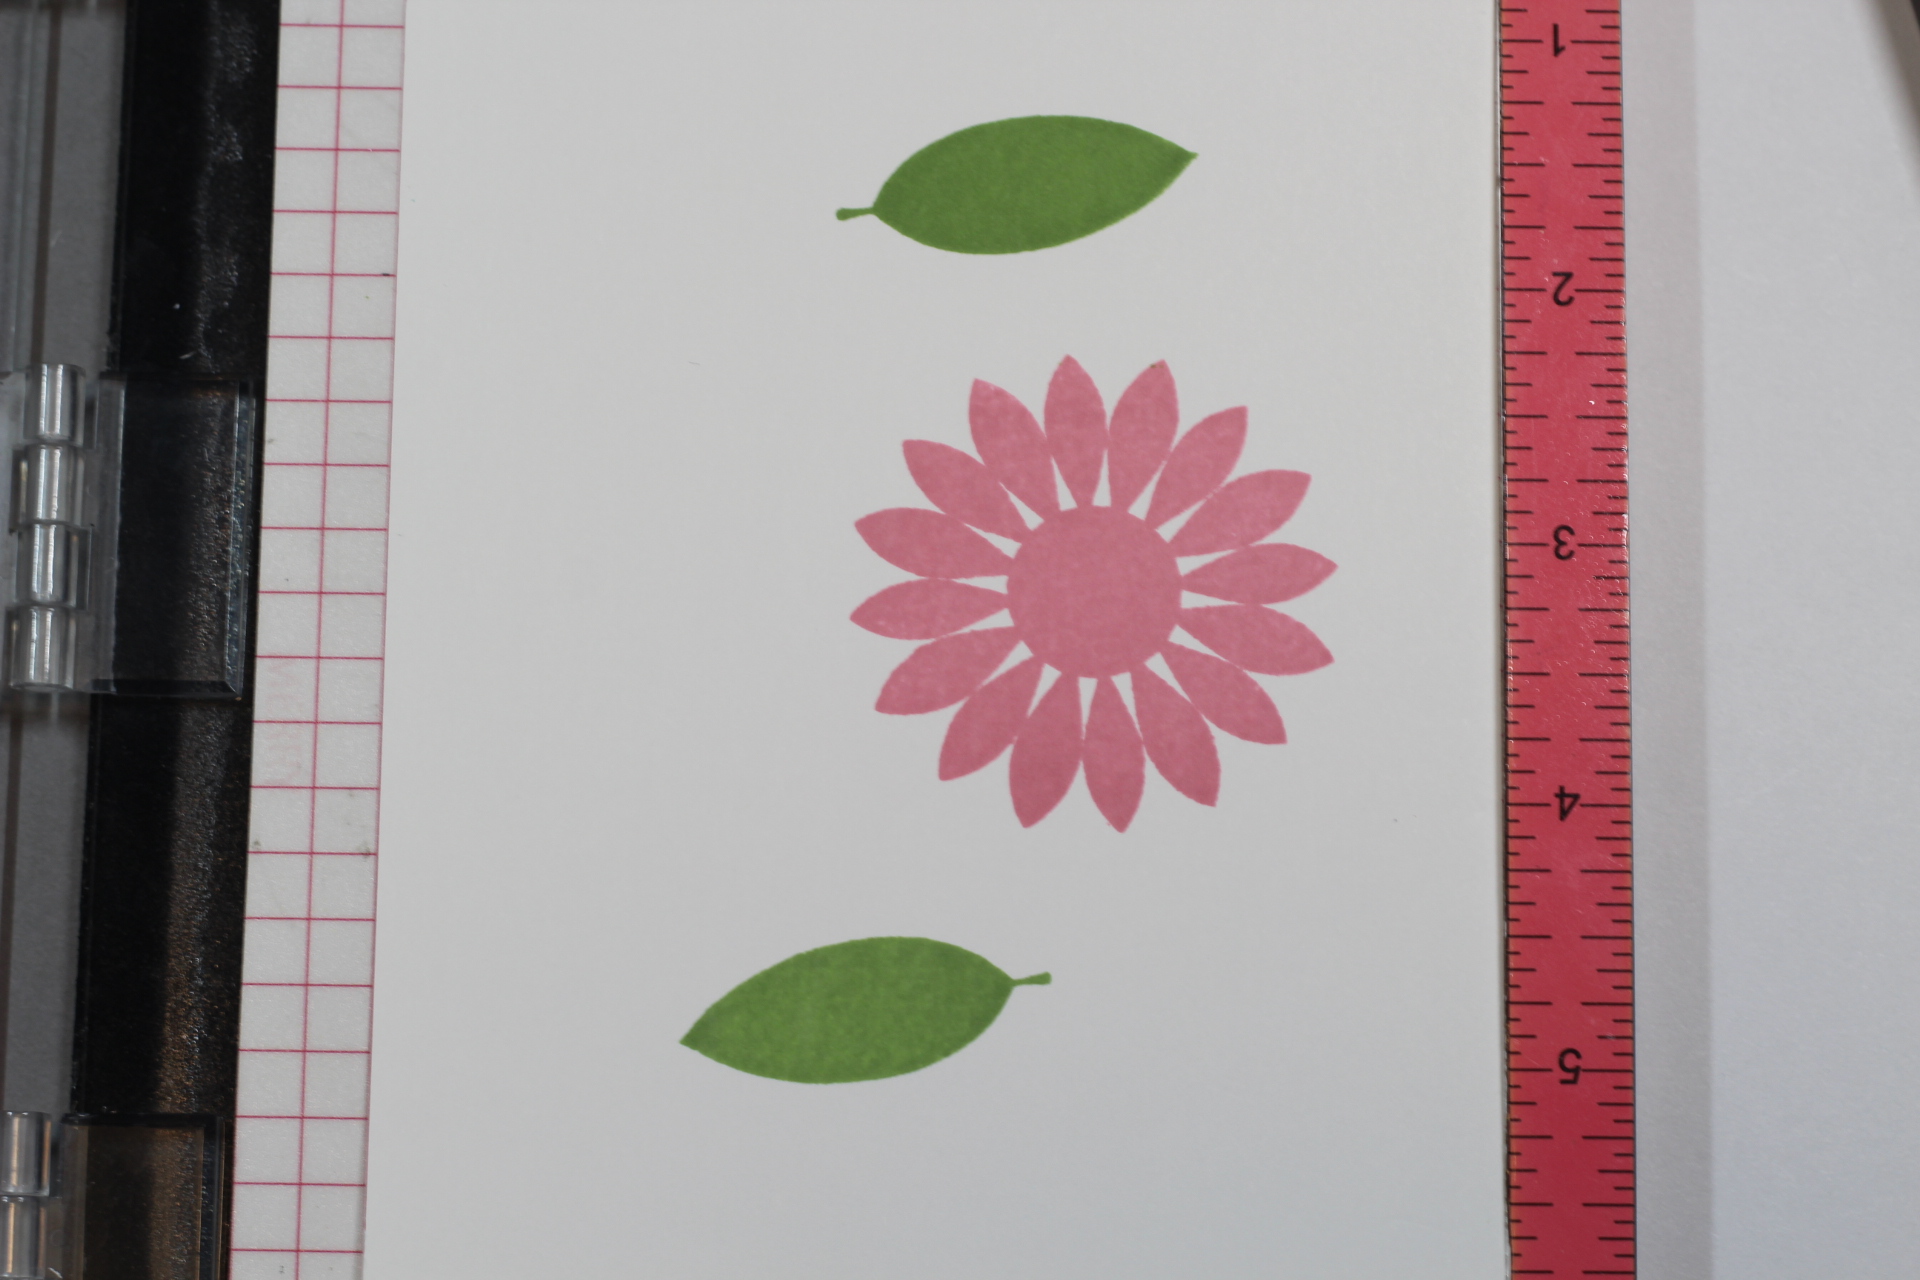 On this project, I decided to use two colors of the Glitz Glitter Gel on these Crazy Daisies. Playing around with the stencil I decided to mask off the stencil to one of the flowers, by doing this you can use two colors for the center of the flowers. Grabbing the Masking Magic and used the larger circle in the stencil, trace on the paper several times. It is smaller than the center of the flower that needed to mask, so make sure to cut it out a little larger. You will want to use a new one for each flower.
 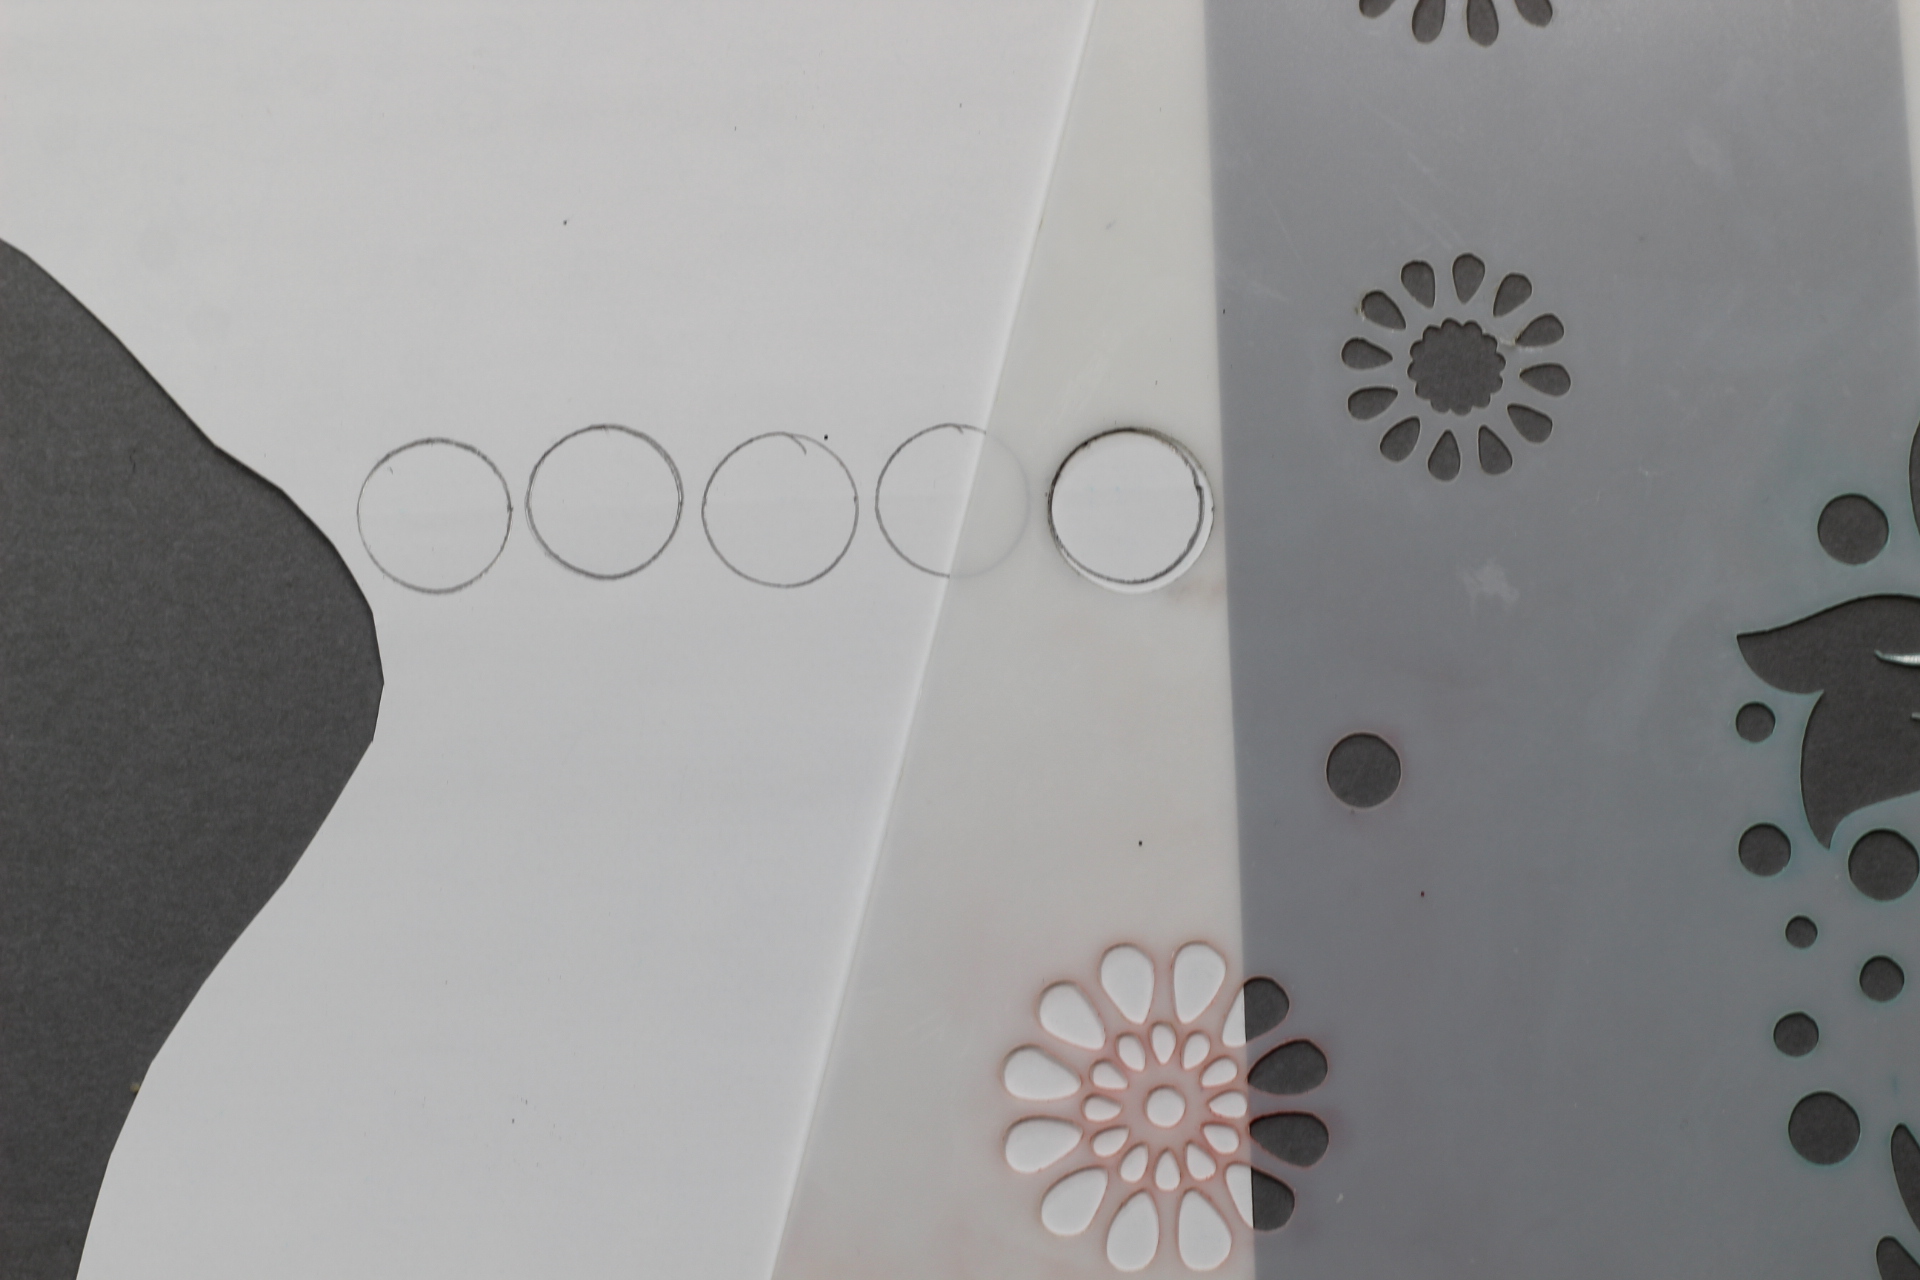 You can hold your stencil in place using that awesome Purple Tape. I love this tape, because I don’t have to worry about my project shifting or it tearing my project when removing it. You can see the mask in the center of the stencil flower.
 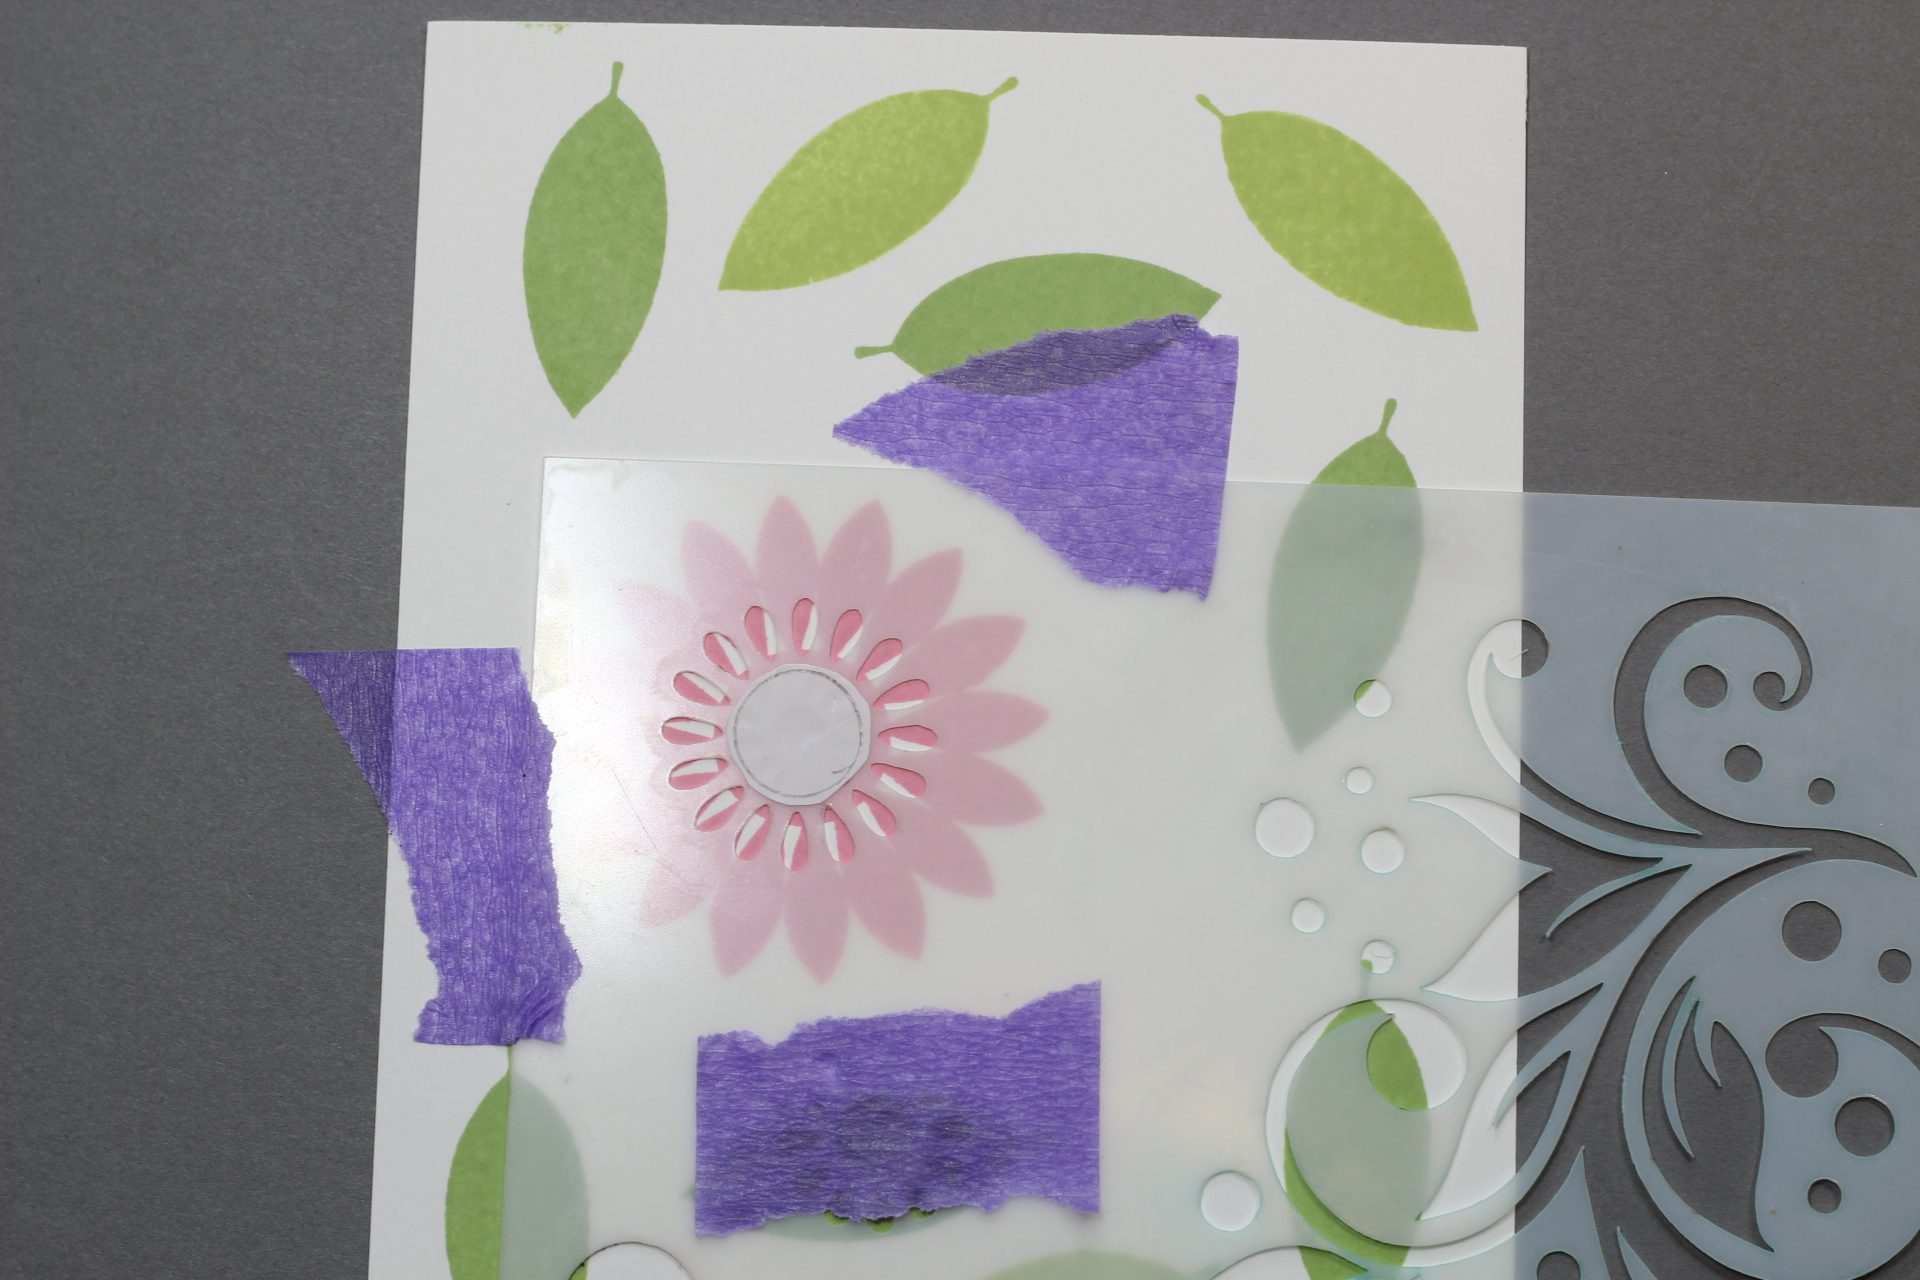 Next, add the Bubblegum Glitz Glitter Gel using a spatula, then you can spread it with the new Stencil Pal for a nice smooth even coat. Then remove the stencil and reposition it to do the other 4 flowers.
 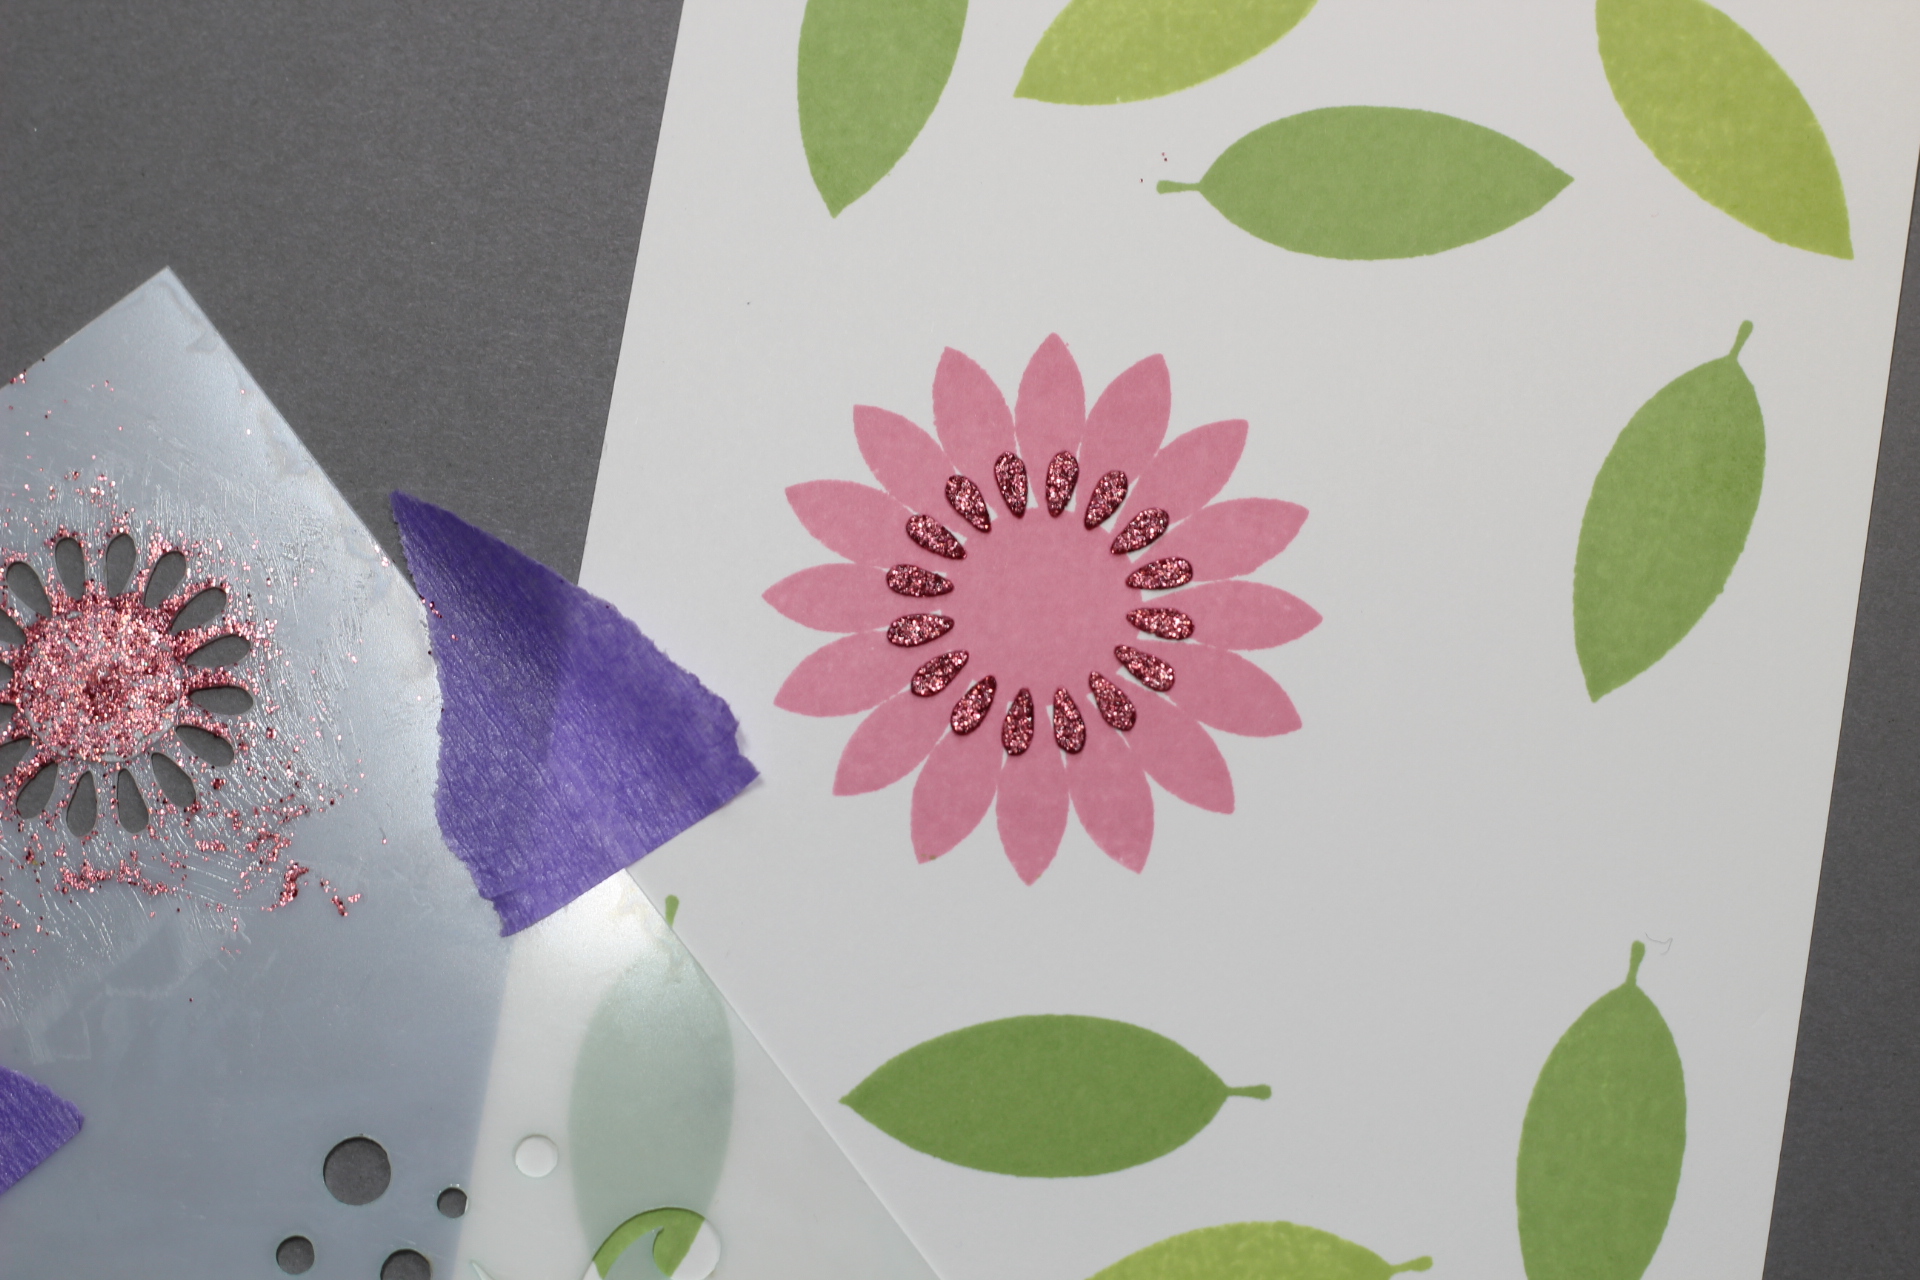 The flowers were stamped far enough apart on the second piece of paper that I was able to add the stencil to each one and continue adding the glitter gel without waiting for each one to dry. Changing the mask to a fresh one before moving to the next flower.
 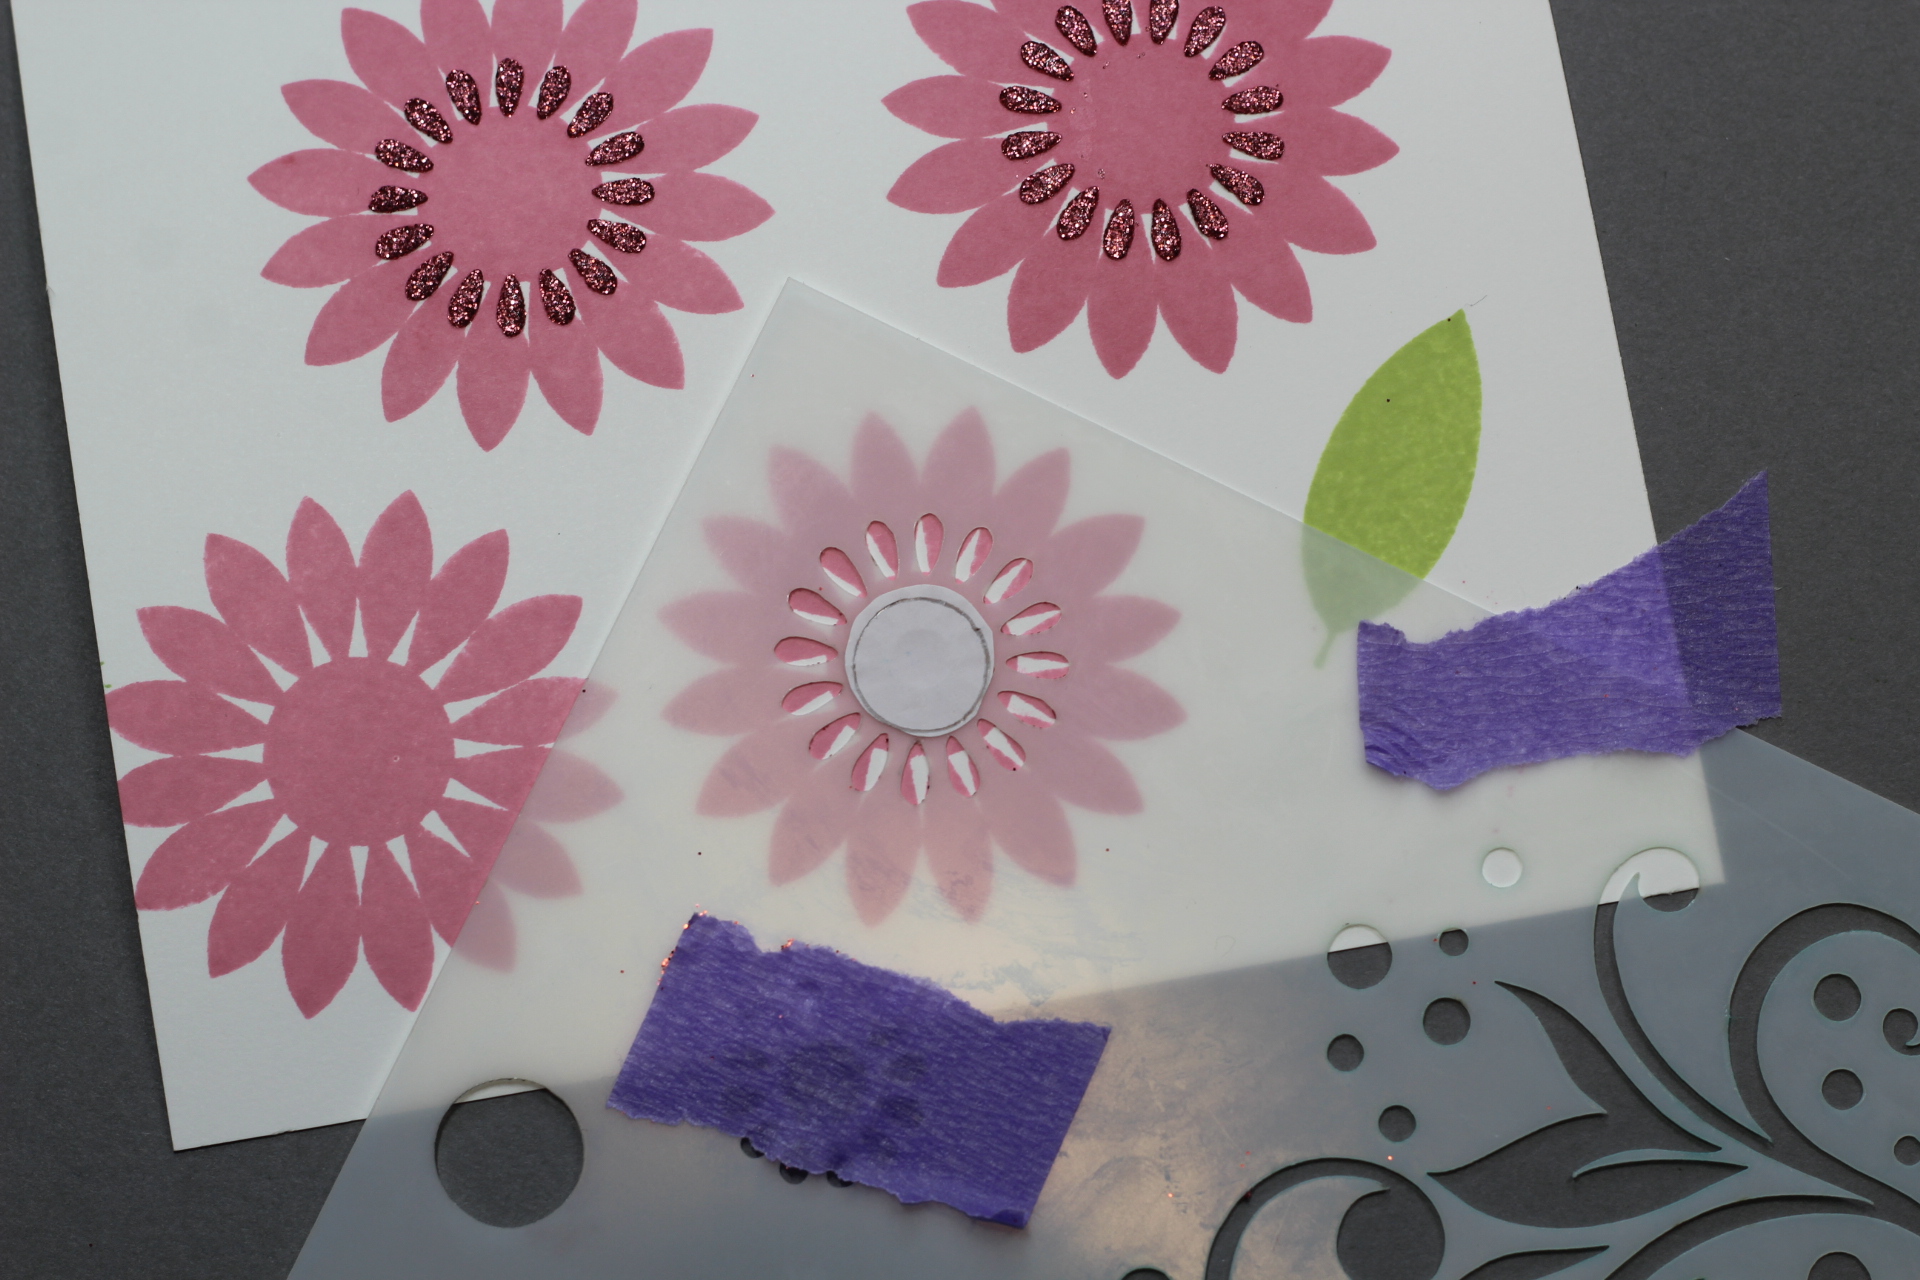 When finished clean off your stencil. I used a wet wipe and let the flowers dry about 30 minutes. Then go back over the flowers with the large circle on the stencil and add the Black Glitz Glitter Gel to each flower center. Because of the texture of the previous glitter gel, I had to put the product down and gently go over it with the Stencil Pal so it wouldn’t go under the stencil. I didn’t overspread it. Also, I left the upper left flower on the tag gel free. We will be popping up one of the die cut flowers on top of that stamped image later on.
 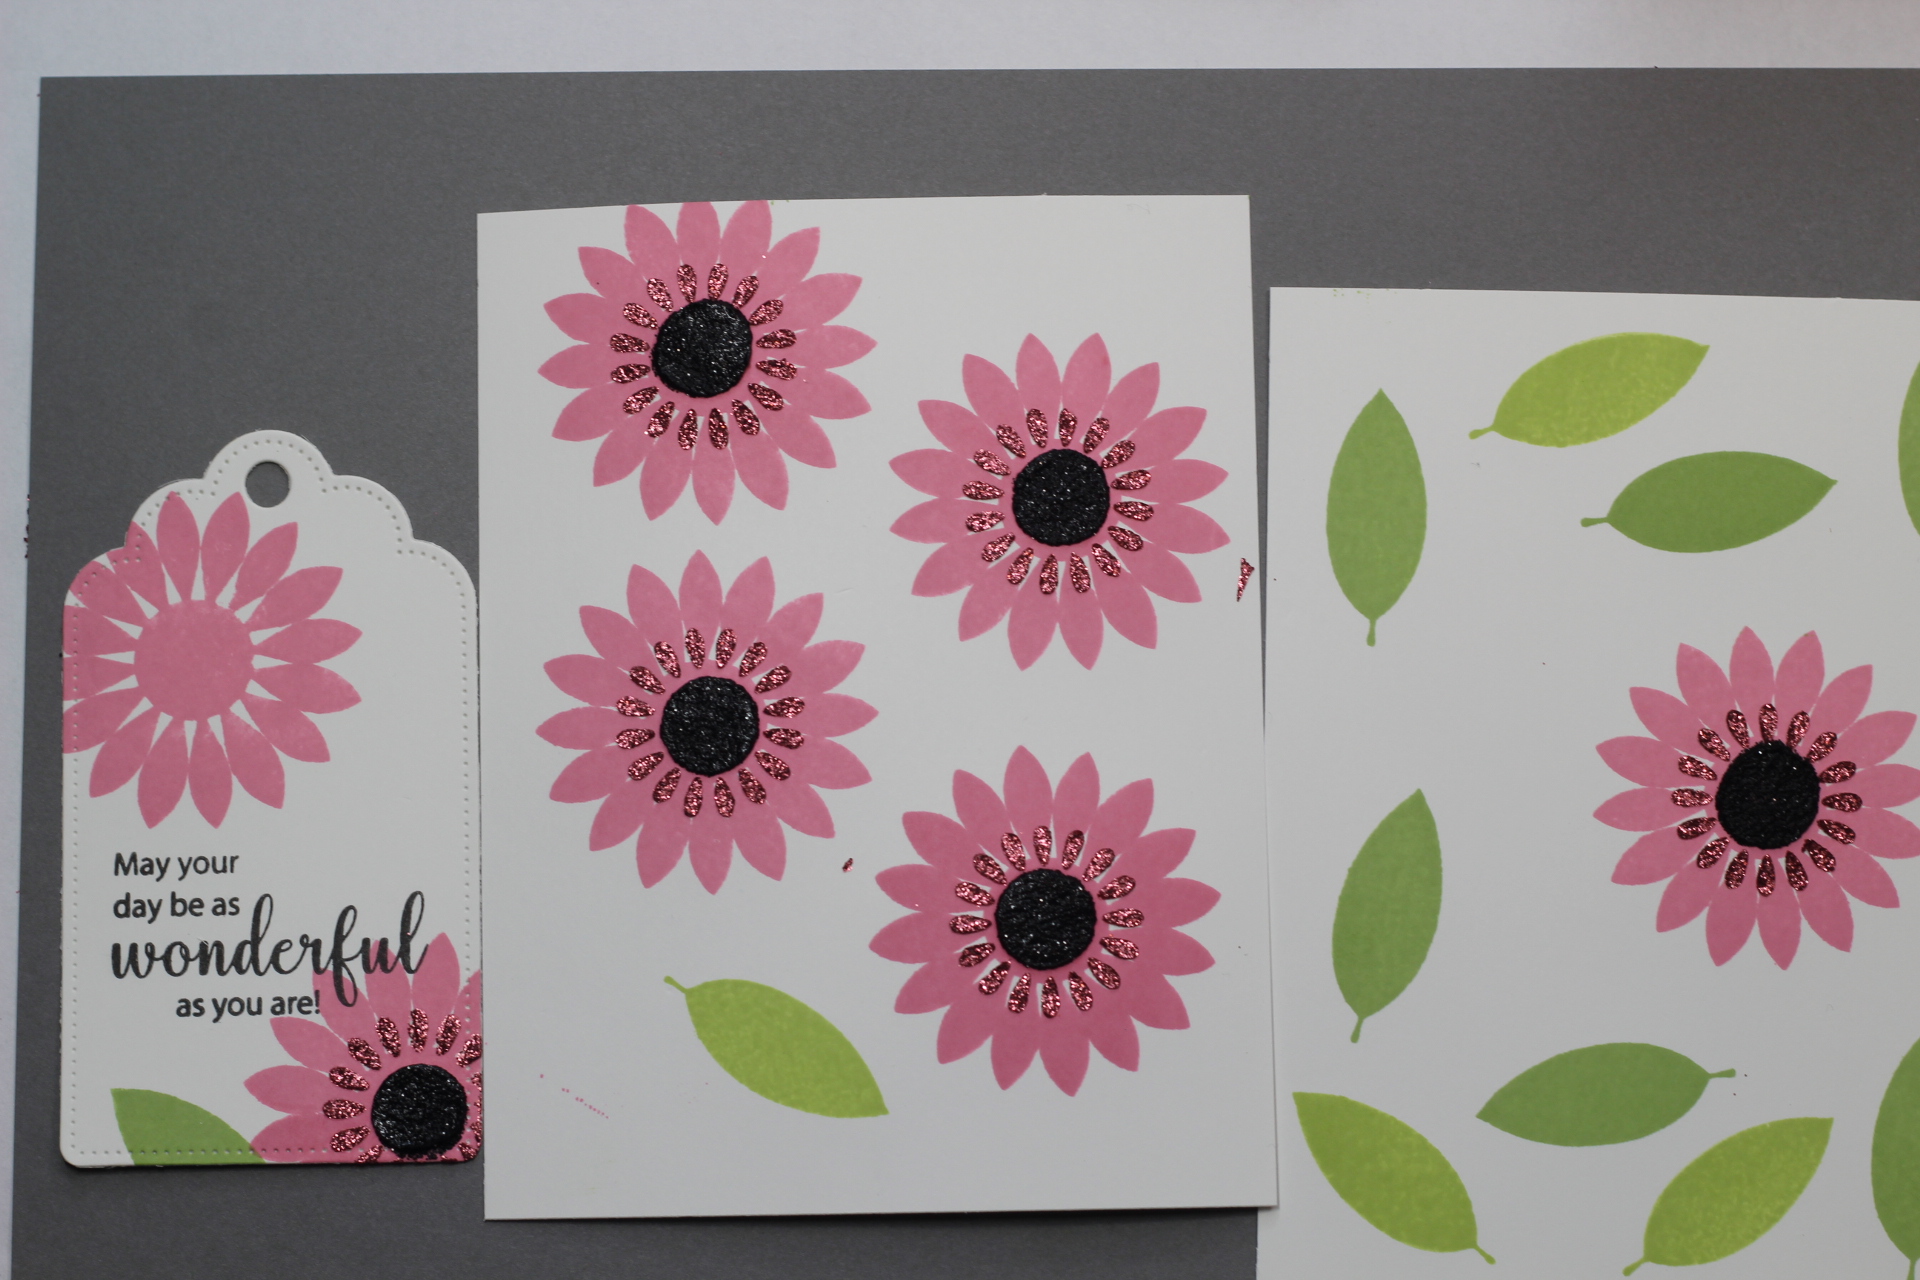 Let those dry a while. About (45 min) so when you die cute them, it won’t mess them up when running them through the machine.
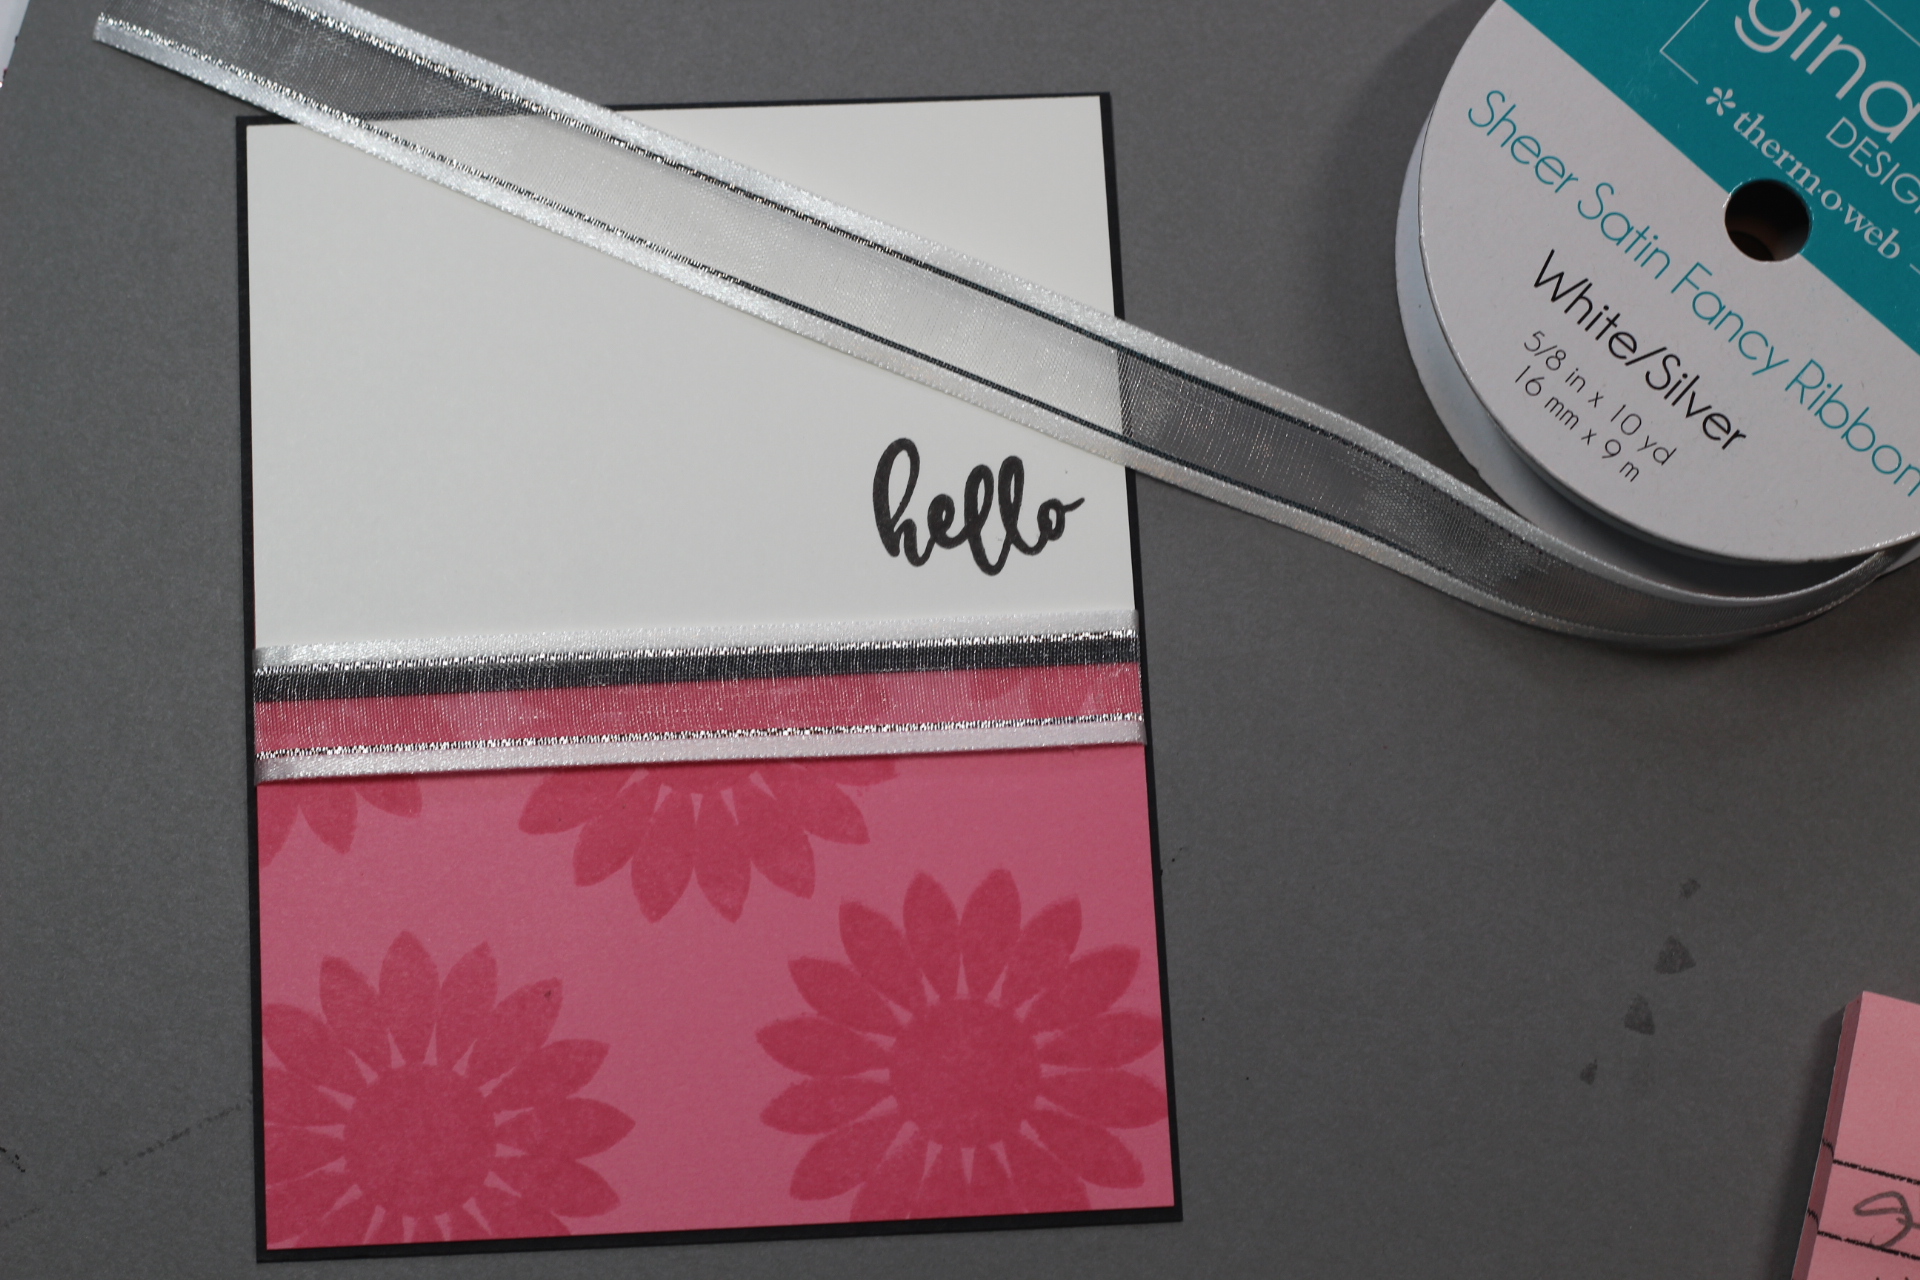
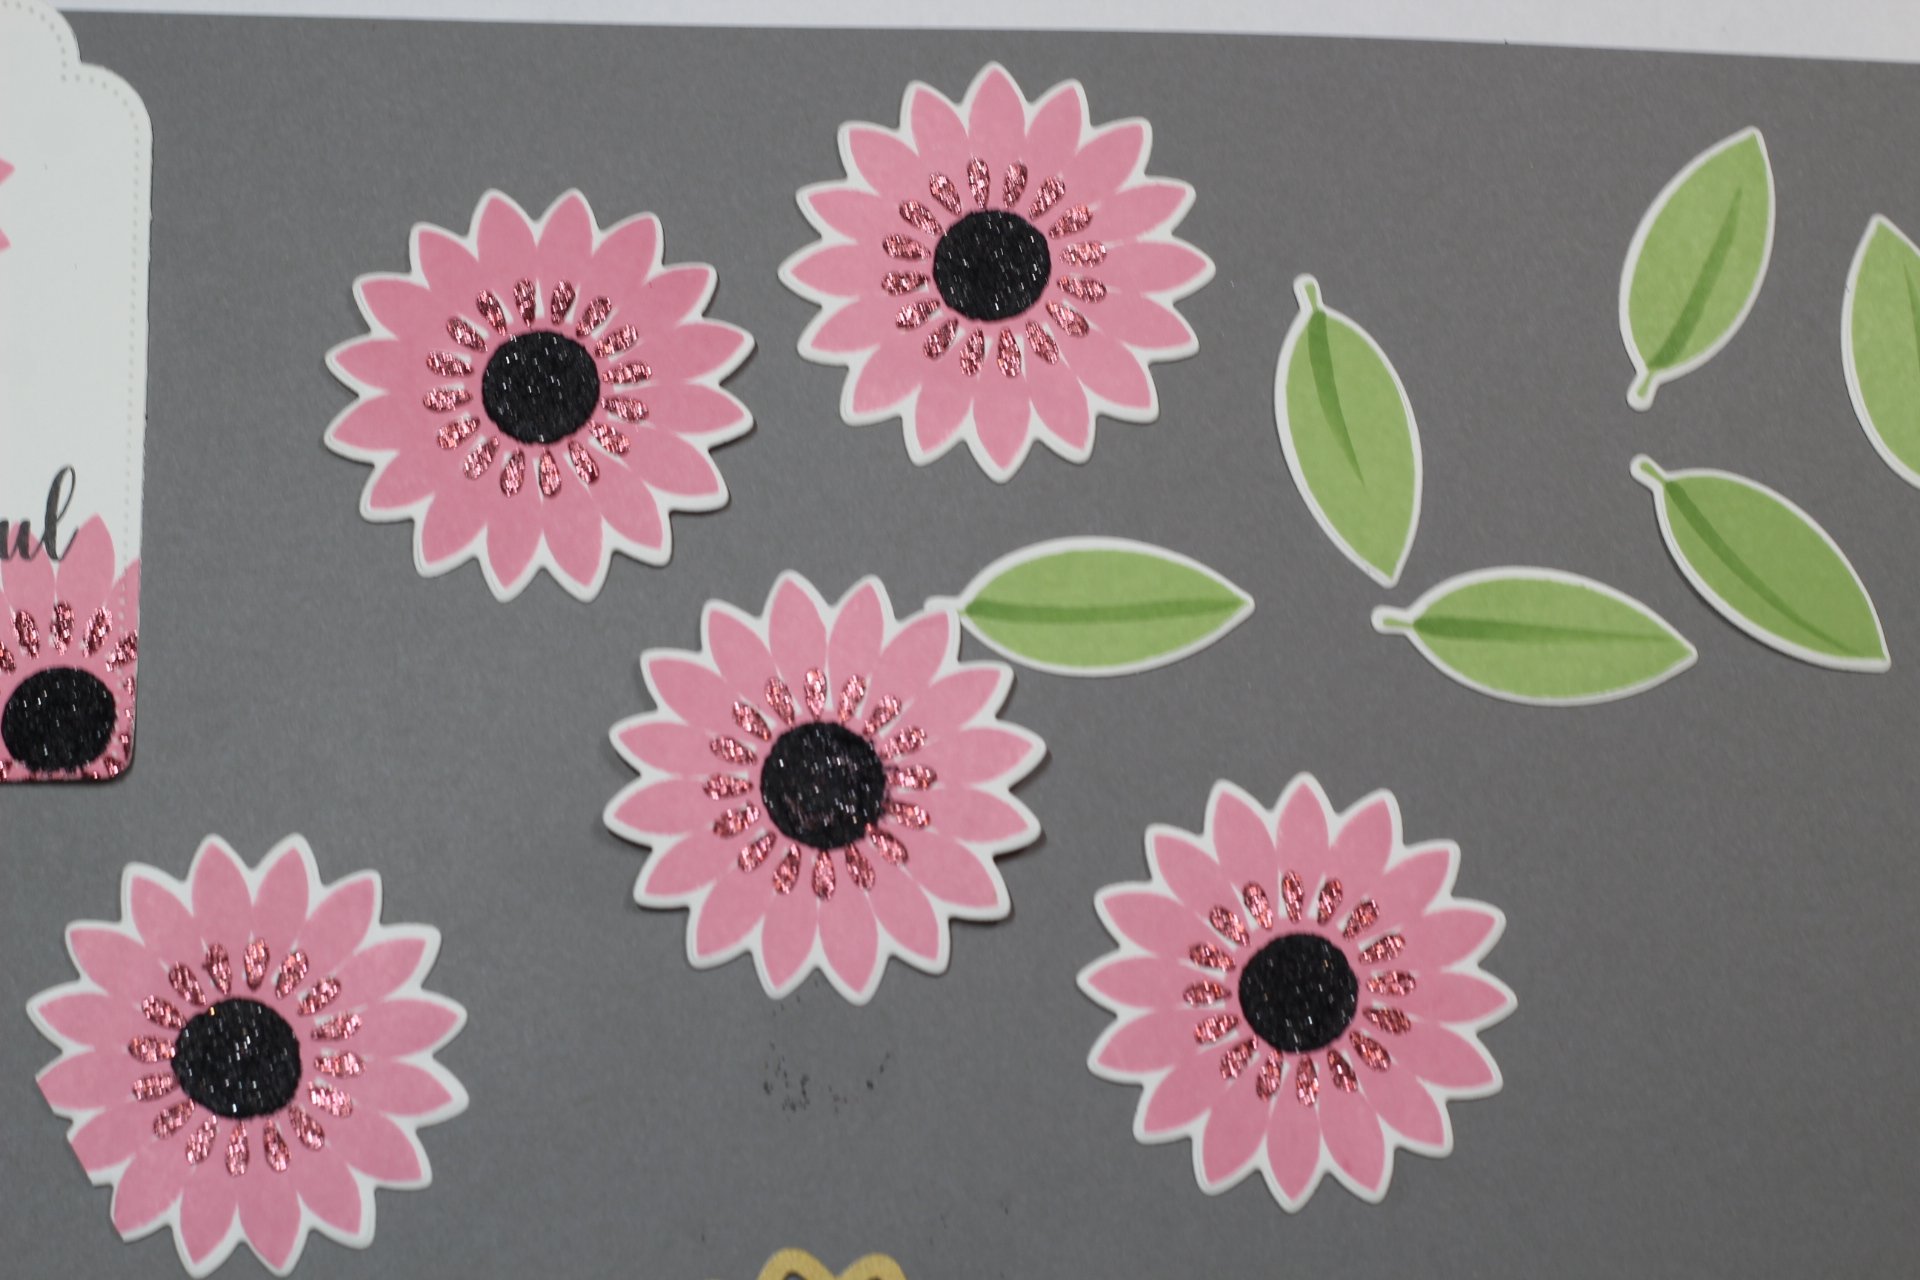 Next, you will use the flower & Leaf die and cut out the flowers and the leaves. Now that you have all those beautiful flowers and leaves ready to use, grab a piece of Dusty Rose card stock, Vera Mark Ink and the Big Daisy to stamp a panel for the coordinating card.
After stamping the flower, cut it down to 4” x 5 1/4”. You will also need a piece of White Layering Weight card stock cut to 2 1/2” x 4”. Attached it to the top of the Dusty Rose Panel using the Adhesive Dot Runner. Then cut a thin strip of Black Onyx Card Stock about 1/8” and use Connect Glue to attach it just under the white panel.
Next, the Greeting from Petals and Wings Stamp Set was stamped in Jet Black Amalgam Ink. Check out this New Beautiful White / Silver Sheer Satin Fancy Ribbon. Love this stuff! Cut a piece and add it across the card, attach it to the back with Adhesive Dot Runner. Then using the Connect Glue attach the panel to a layer of Black Onyx card stock that is cut at 4 1/8” x 5 3/8”.
Next, you will use the flower & Leaf die and cut out the flowers and the leaves. Now that you have all those beautiful flowers and leaves ready to use, grab a piece of Dusty Rose card stock, Vera Mark Ink and the Big Daisy to stamp a panel for the coordinating card.
After stamping the flower, cut it down to 4” x 5 1/4”. You will also need a piece of White Layering Weight card stock cut to 2 1/2” x 4”. Attached it to the top of the Dusty Rose Panel using the Adhesive Dot Runner. Then cut a thin strip of Black Onyx Card Stock about 1/8” and use Connect Glue to attach it just under the white panel.
Next, the Greeting from Petals and Wings Stamp Set was stamped in Jet Black Amalgam Ink. Check out this New Beautiful White / Silver Sheer Satin Fancy Ribbon. Love this stuff! Cut a piece and add it across the card, attach it to the back with Adhesive Dot Runner. Then using the Connect Glue attach the panel to a layer of Black Onyx card stock that is cut at 4 1/8” x 5 3/8”.
 Next make a bow and use 2 small adhesive glue dots, one under each side of the bow, connect glue under the knot of the bow. That will hold it on through the mail for sure! Next add a Foam Square under the flower and attached it to the White card panel.
 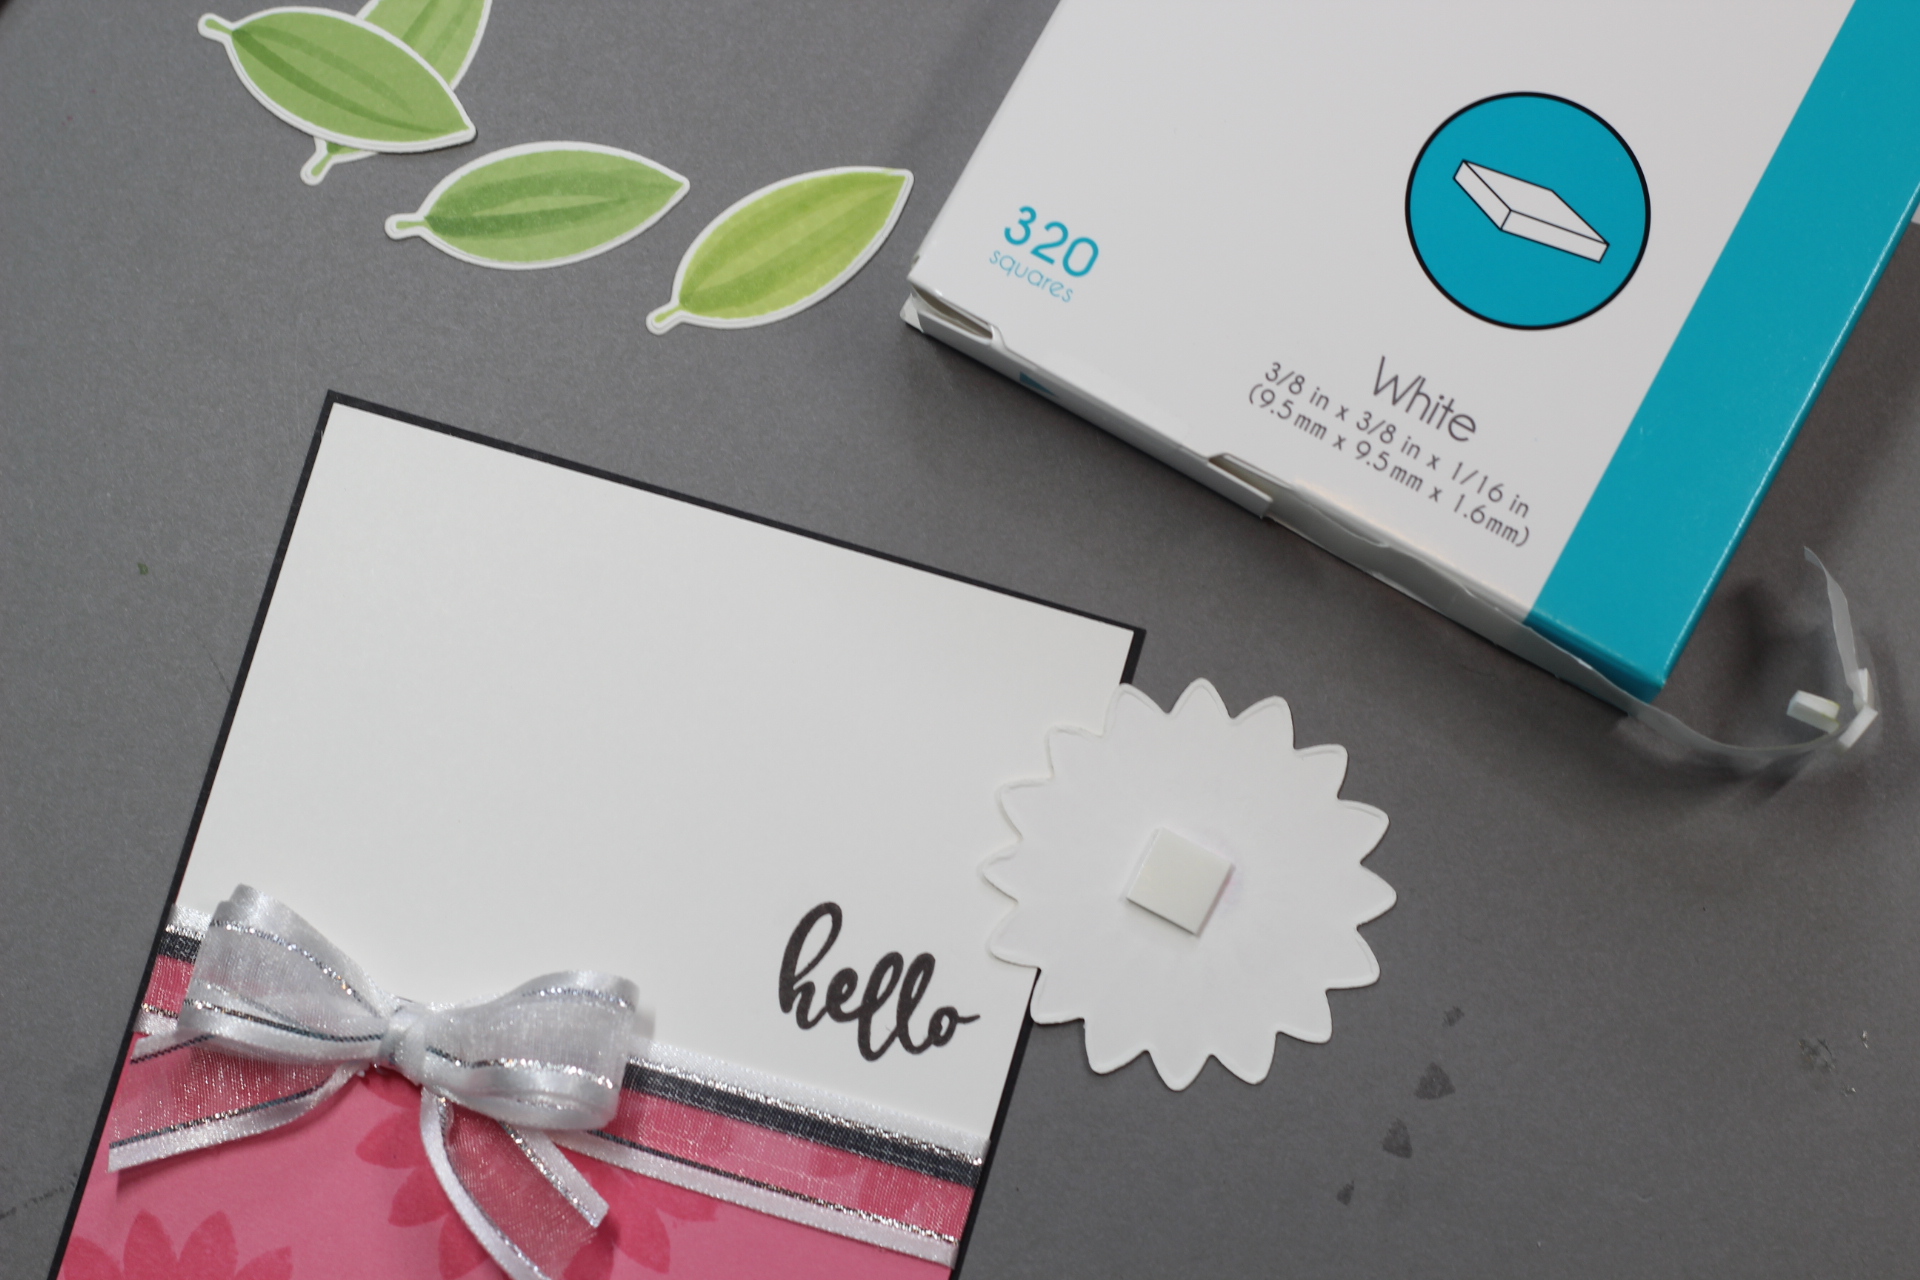 Also cut down one Foam Squares and add that to the top of the leaves and add a little connect glue to the ends to hold them secure under the flower. This will give the leaves a little lift on the ends!
 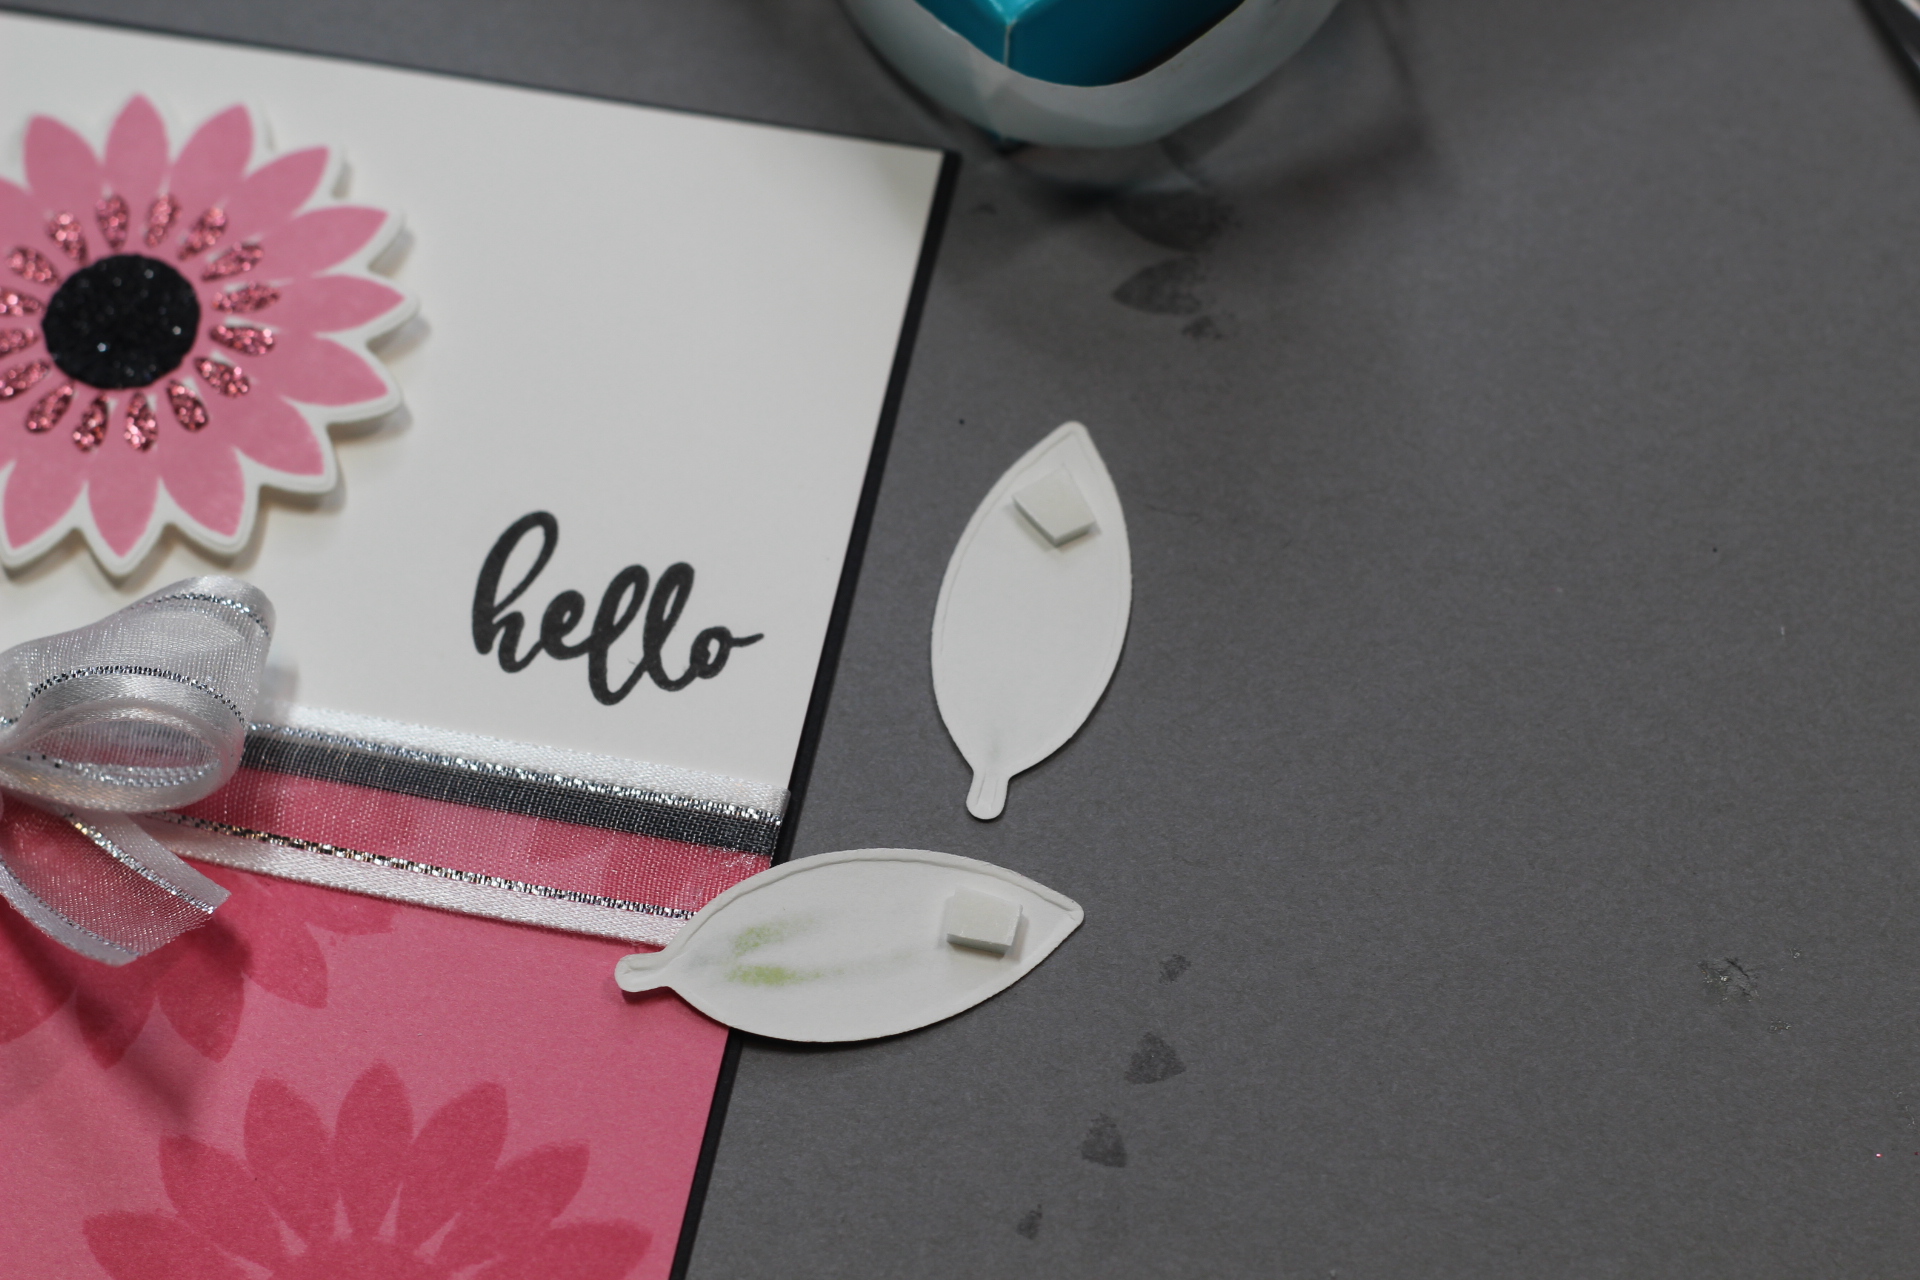 I felt like the card needed something extra at the top. You can used a ruler and a thin black marker to created lines and dots to give interest to the greeting and to add some black color in that area. It would have been easier to do this before the flower was attached, but sometimes the idea comes after the fact! LOL
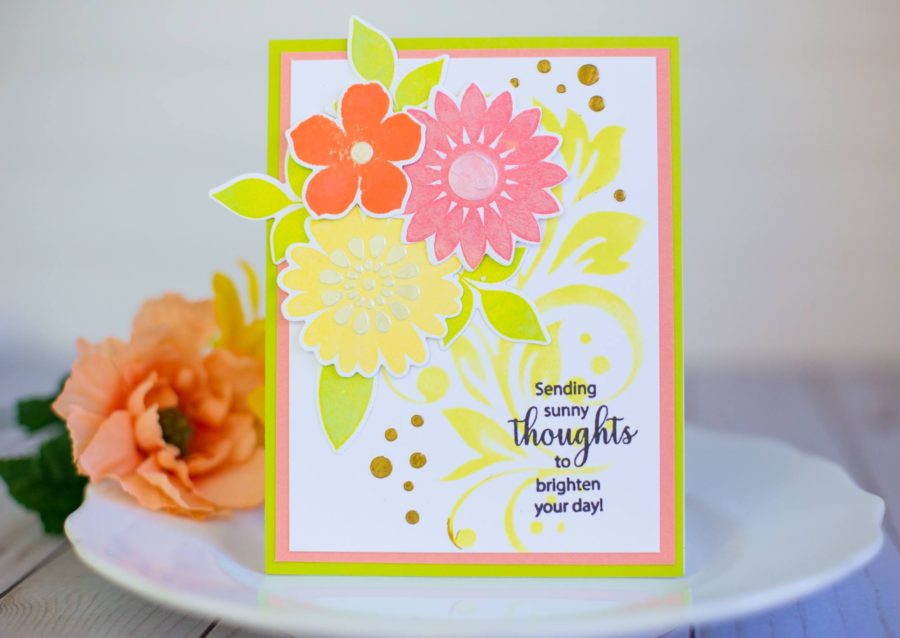
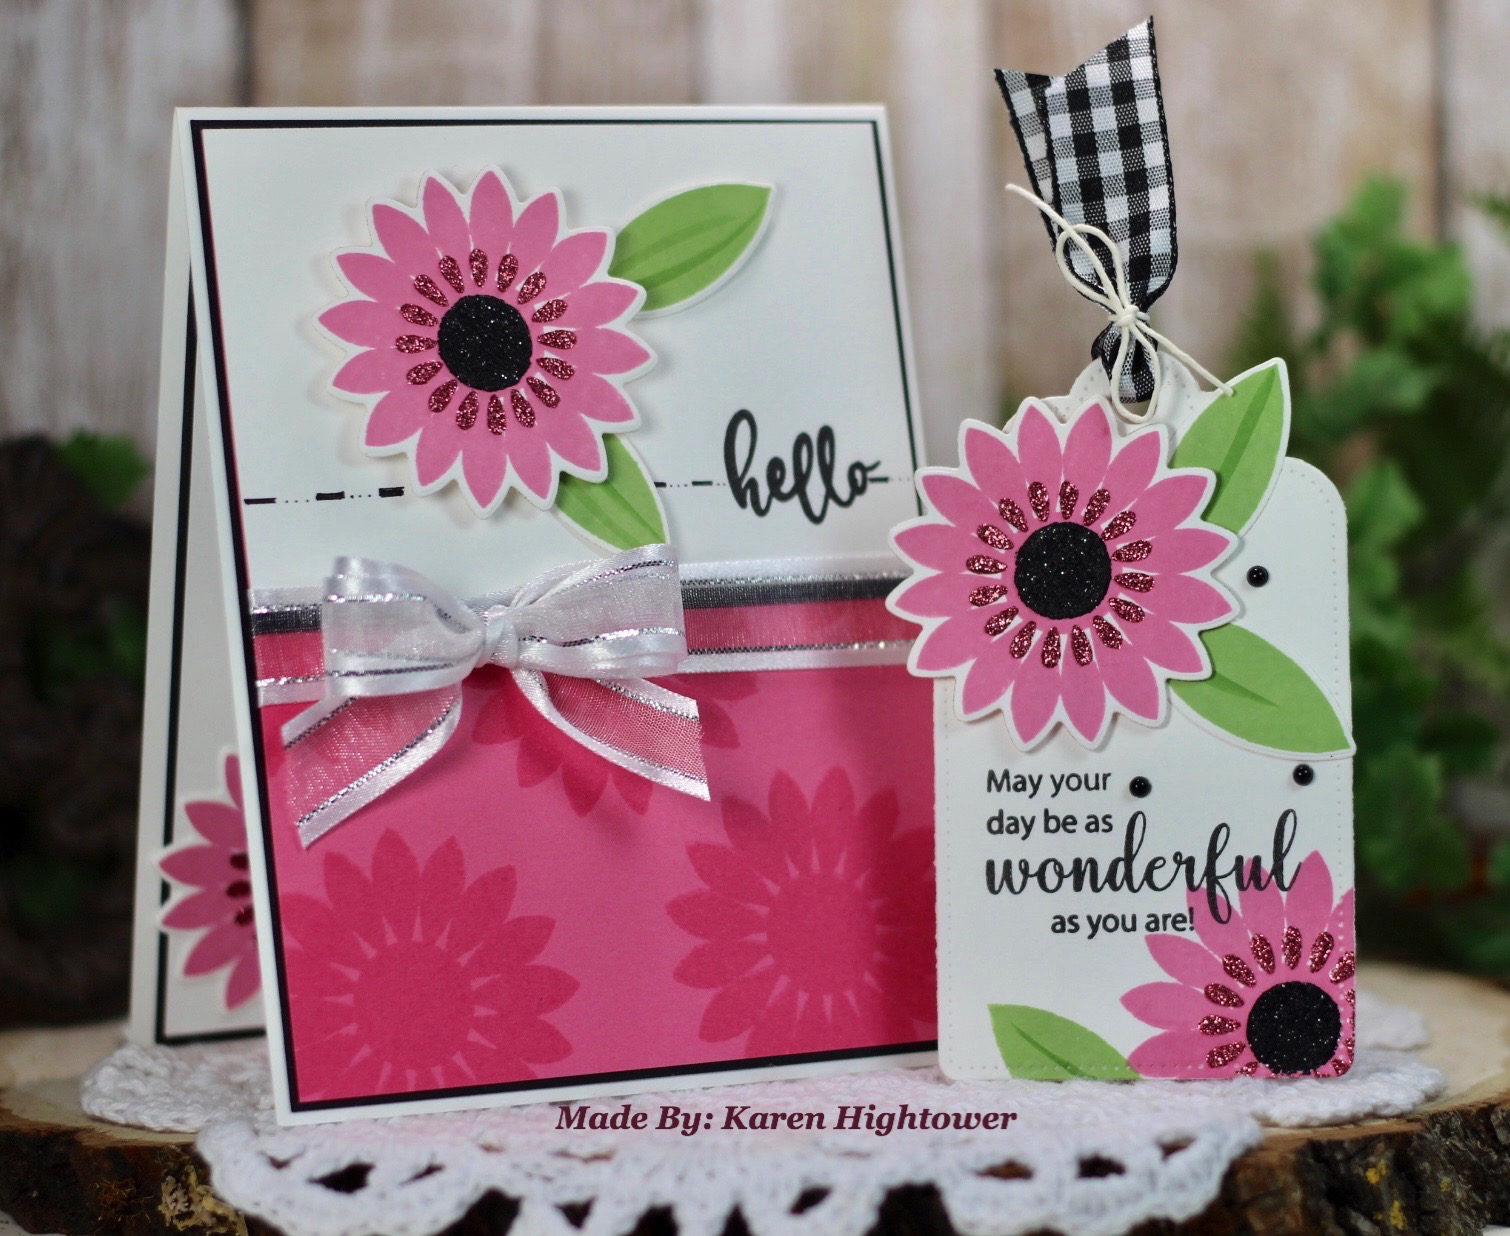
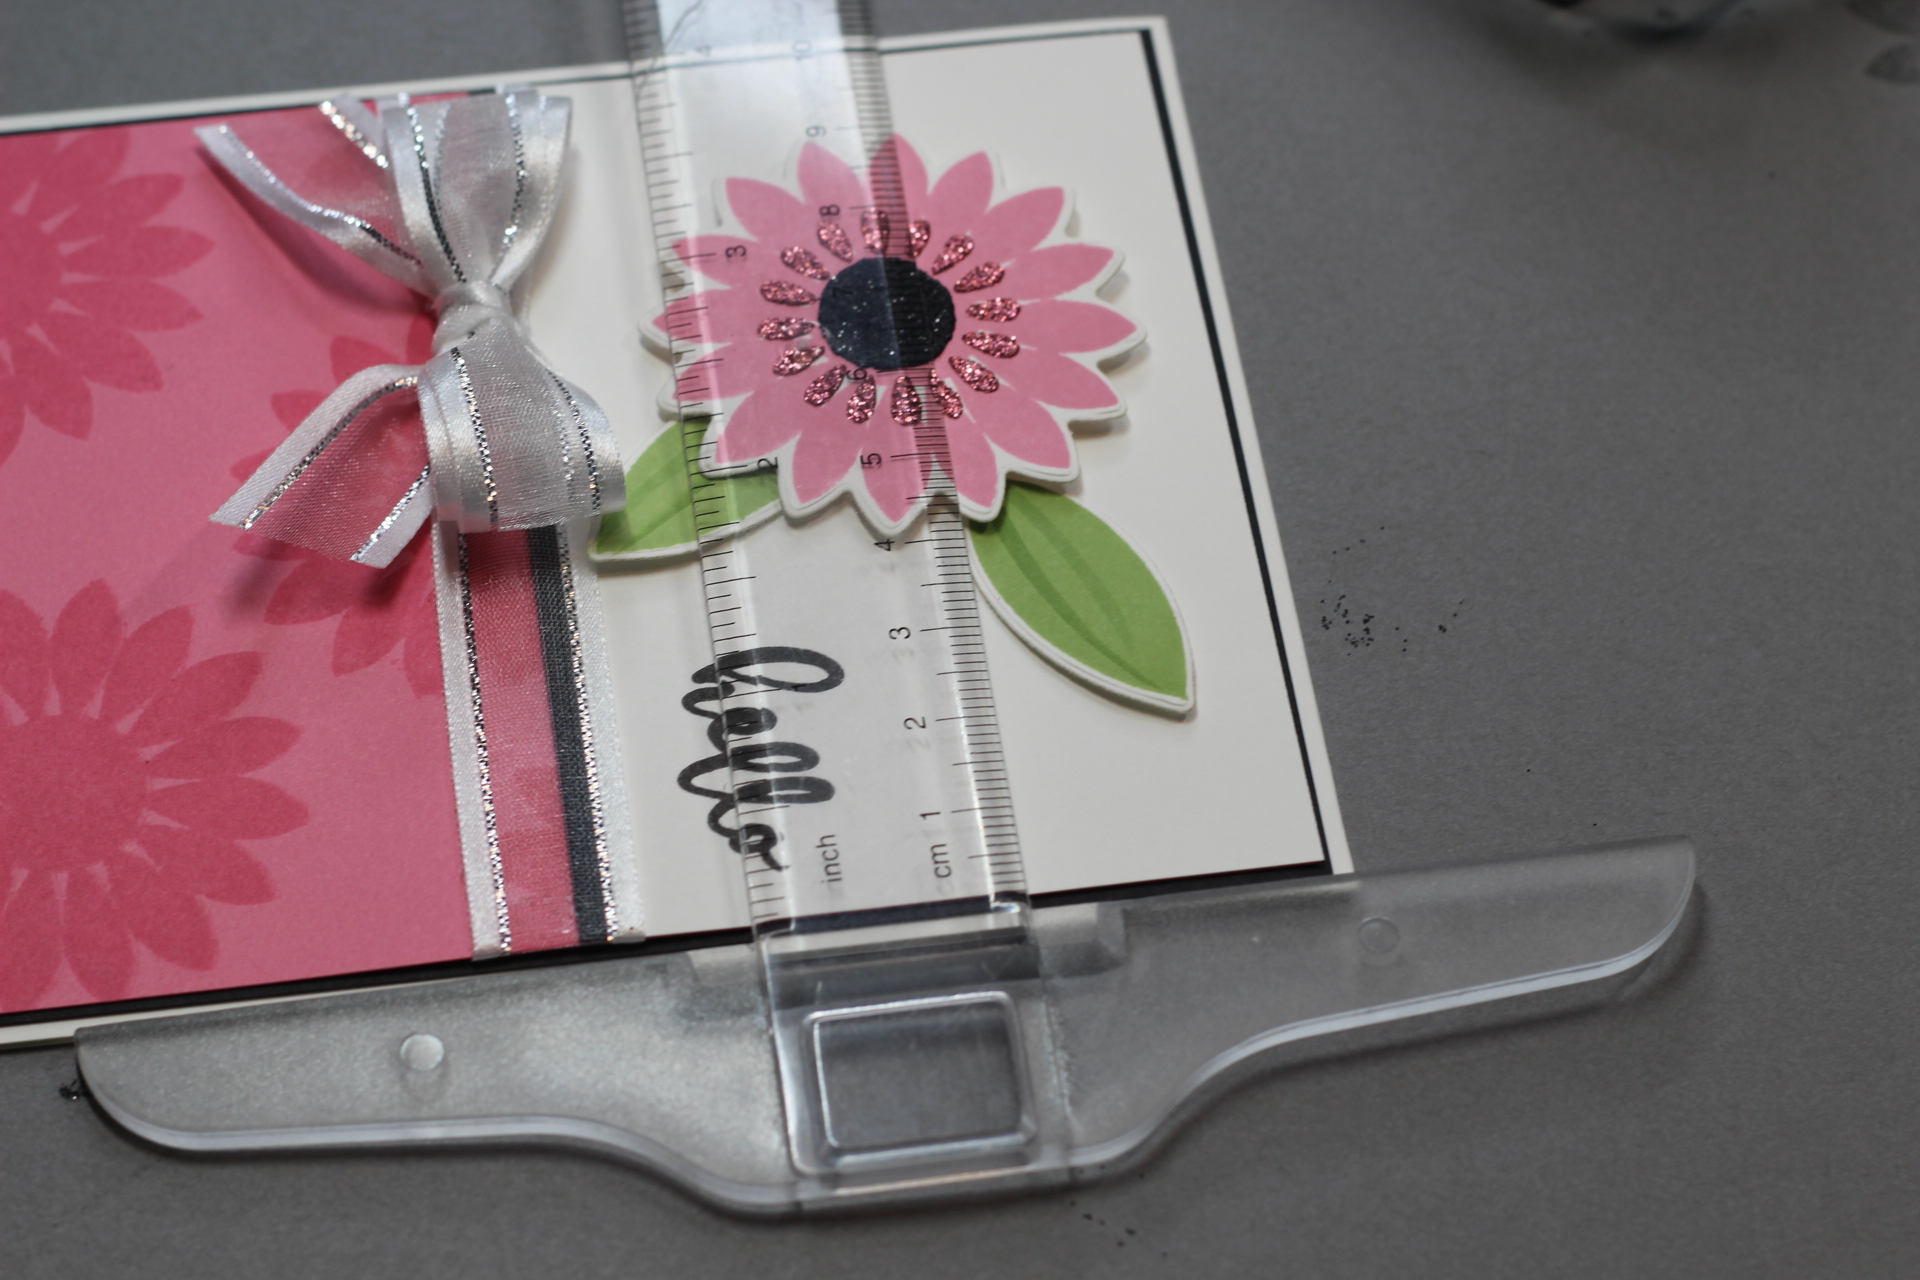 Then to Finish, you can add a layer to the Inside of your card and one of the extra flowers. Here is the Finished project.
Here are all the supplies used for this project!
Therm O Web Supplies:
Gina K. Designs StampnStencil - Crazy Daisy Clear Stamps, Stencil, Dies
Gina K. Designs StampnStencil - Stamp Set - Petals and Wings for Greeting on Card
Gina K. Designs Glitz Glitter Gel - Bubblegum and Black
Gina K. Designs Decorative Tags Dies
Gina K. Designs Foam Squares
Gina K. Designs Adhesive Dot Runner
Gina K. Designs Masking Magic
Gina K. Designs Gingham Fancy Ribbon Black / White
Gina K. Designs Sheer Satin Fancy Ribbon - White / Silver
iCraft Purple Tape
iCraft Stencil Pal
Zots - Small Adhesive Dots
Other Supplies:
Gina K. Designs Pure Luxury Card Stock - White Heavy Base Weight,
Dusty Rose, Black Onyx, and White Layering Weight
Gina K. Designs - Premium Die Ink - Grass Green, & Dusty Rose
Gina K. Designs - Amalgama Ink - Jet Black
Twine & Bling form my stash
Thank you for stopping by and We look forward to seeing your projects made with the New StampNStencil™ Sets, and the Glitz Glitter Gel
Thank you and Hope You have a Creative Day,
Karen Hightower
Then to Finish, you can add a layer to the Inside of your card and one of the extra flowers. Here is the Finished project.
Here are all the supplies used for this project!
Therm O Web Supplies:
Gina K. Designs StampnStencil - Crazy Daisy Clear Stamps, Stencil, Dies
Gina K. Designs StampnStencil - Stamp Set - Petals and Wings for Greeting on Card
Gina K. Designs Glitz Glitter Gel - Bubblegum and Black
Gina K. Designs Decorative Tags Dies
Gina K. Designs Foam Squares
Gina K. Designs Adhesive Dot Runner
Gina K. Designs Masking Magic
Gina K. Designs Gingham Fancy Ribbon Black / White
Gina K. Designs Sheer Satin Fancy Ribbon - White / Silver
iCraft Purple Tape
iCraft Stencil Pal
Zots - Small Adhesive Dots
Other Supplies:
Gina K. Designs Pure Luxury Card Stock - White Heavy Base Weight,
Dusty Rose, Black Onyx, and White Layering Weight
Gina K. Designs - Premium Die Ink - Grass Green, & Dusty Rose
Gina K. Designs - Amalgama Ink - Jet Black
Twine & Bling form my stash
Thank you for stopping by and We look forward to seeing your projects made with the New StampNStencil™ Sets, and the Glitz Glitter Gel
Thank you and Hope You have a Creative Day,
Karen Hightower