No Products in the Cart



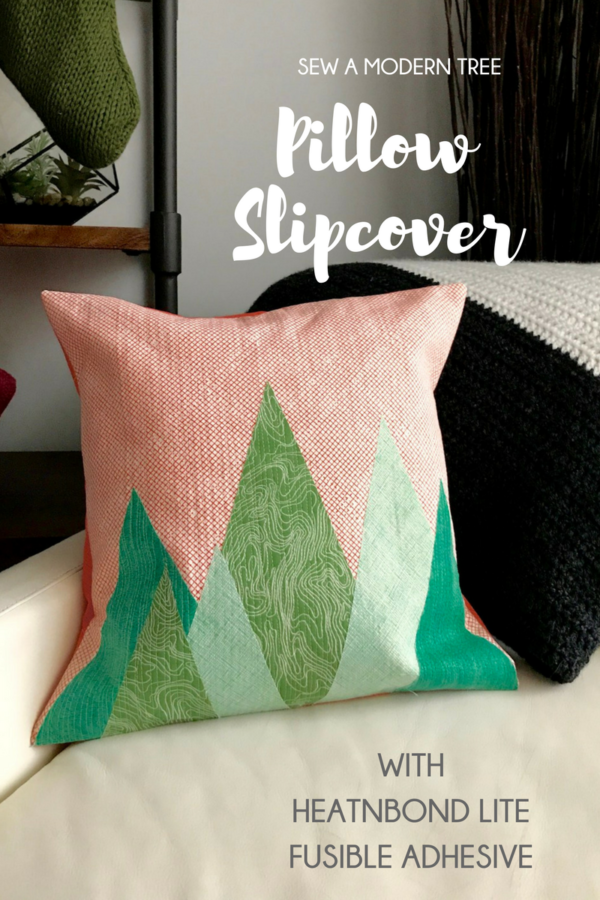 Happy New Year! With the hustle and bustle of the holidays past, I’ve been spending some intentional time enjoying and creating for my home. I love trees and knew I wanted to make a fun modern take on a traditional Christmas tree pillow that would be acceptable year round! I love how quick this pillow came together and how fun it was to improv these trees!
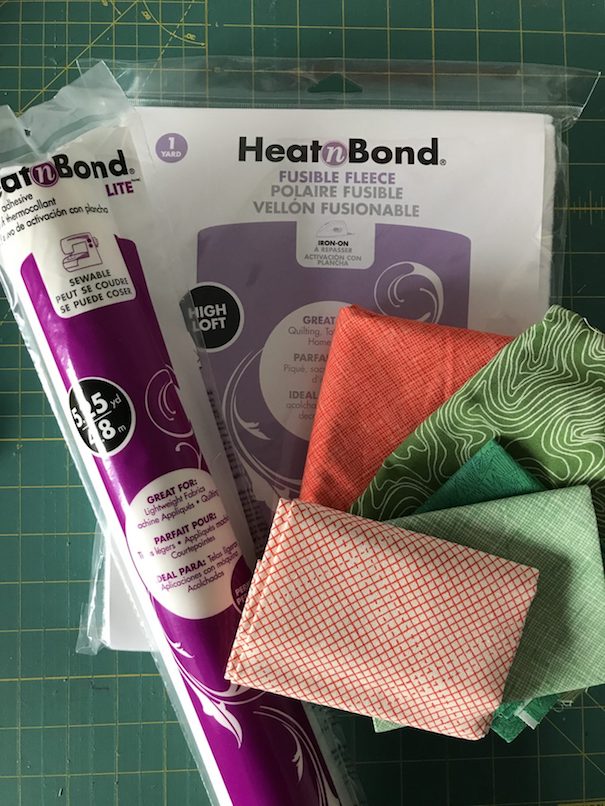 Supplies:
Thermoweb HeatnBond Fusible Fleece
Thermoweb HeatnBond Lite Fusible Adhesive
Half yard for Front and Back of the Pillow
4 to 5 Fabric scraps for Trees
Oliso Smart Touch Iron
Sewing Supplies: Machine, Pins, Thread, Scissors, Rotary Cutter, Rulers
Supplies:
Thermoweb HeatnBond Fusible Fleece
Thermoweb HeatnBond Lite Fusible Adhesive
Half yard for Front and Back of the Pillow
4 to 5 Fabric scraps for Trees
Oliso Smart Touch Iron
Sewing Supplies: Machine, Pins, Thread, Scissors, Rotary Cutter, Rulers
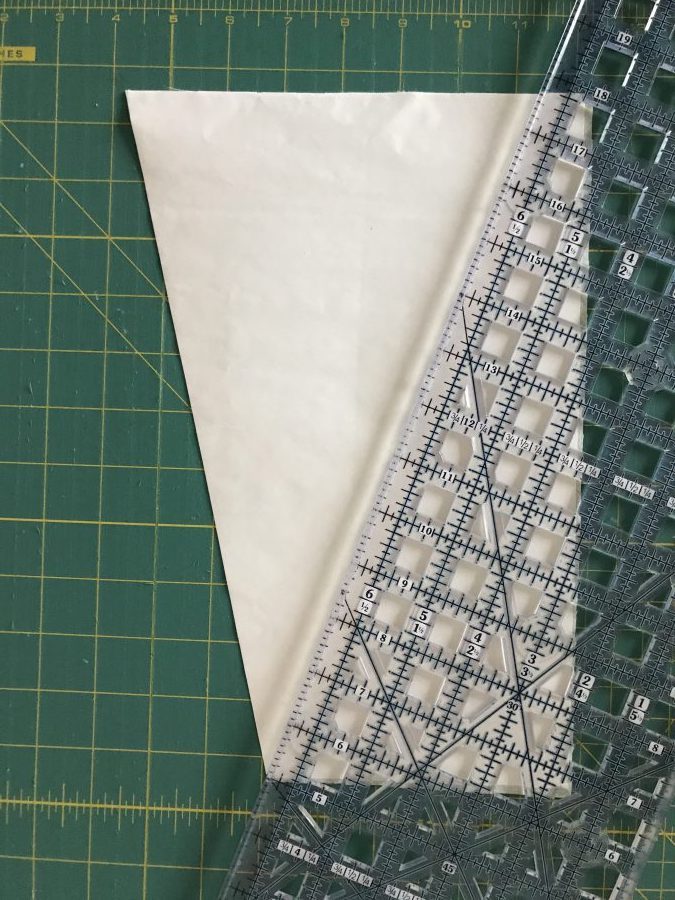
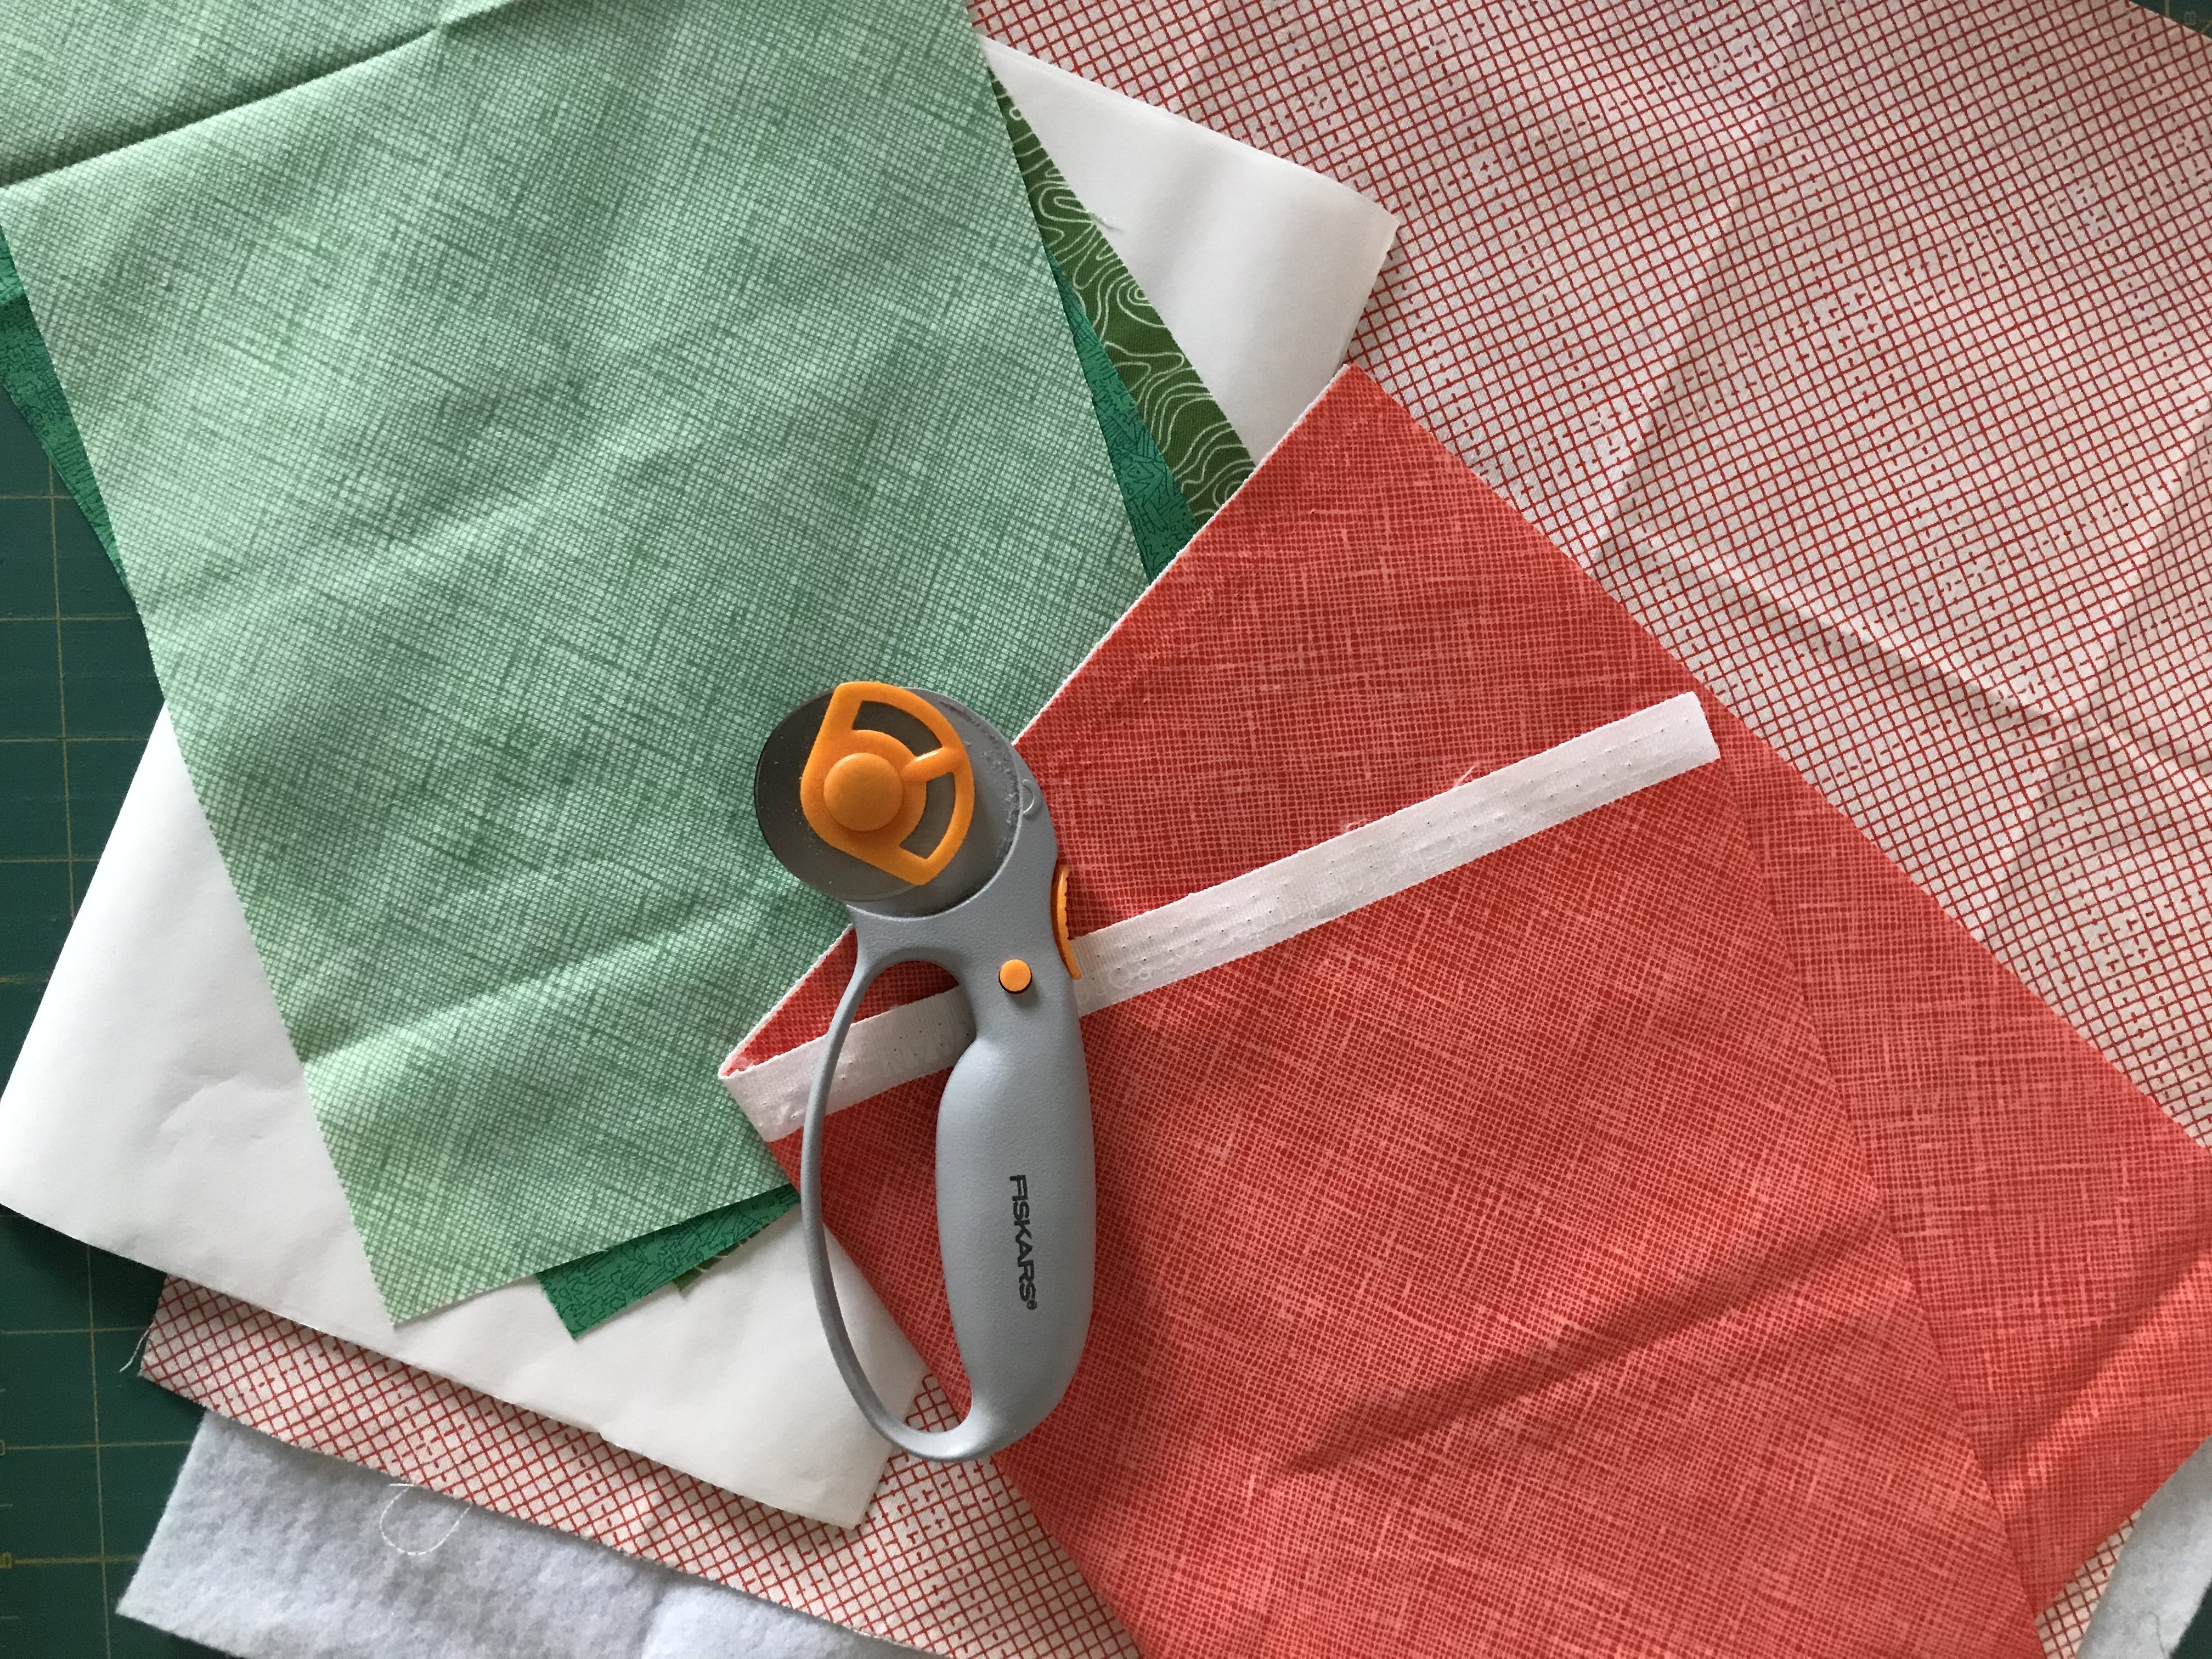 Once the HeatnBond lite scrap pieces have cooled, use your rotary cutter to cut out improv trees. Start at one edge and cut diagonally up to the middle of the opposite side and then repeat!
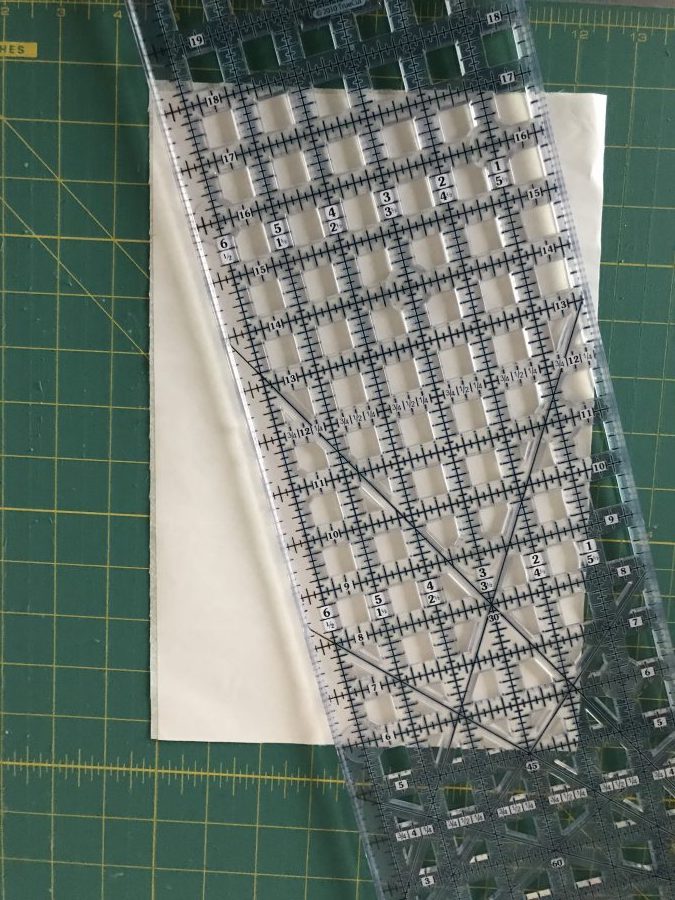
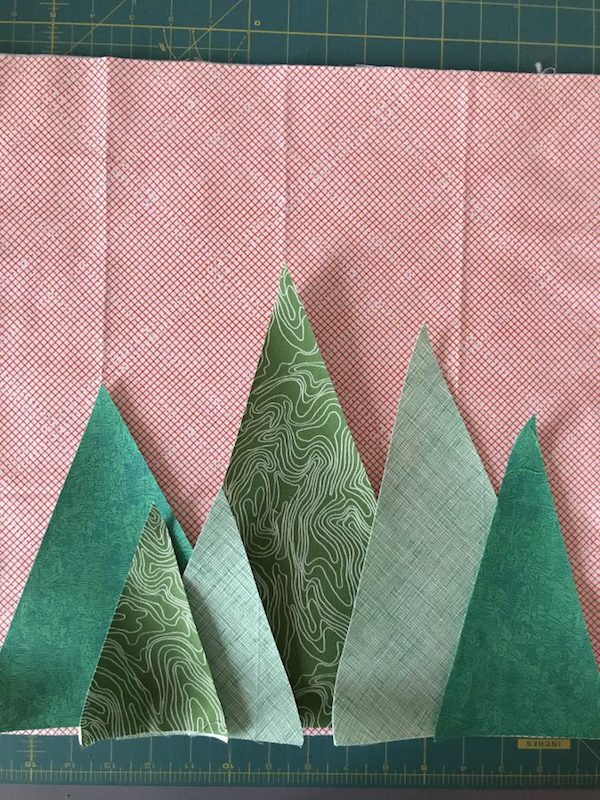
 Place your trees on your front main piece and play around with the design. I started with three large trees then added smaller ones to create depth. Once you are happy with the design, use your iron to secure them down to the front of your pillowcase.
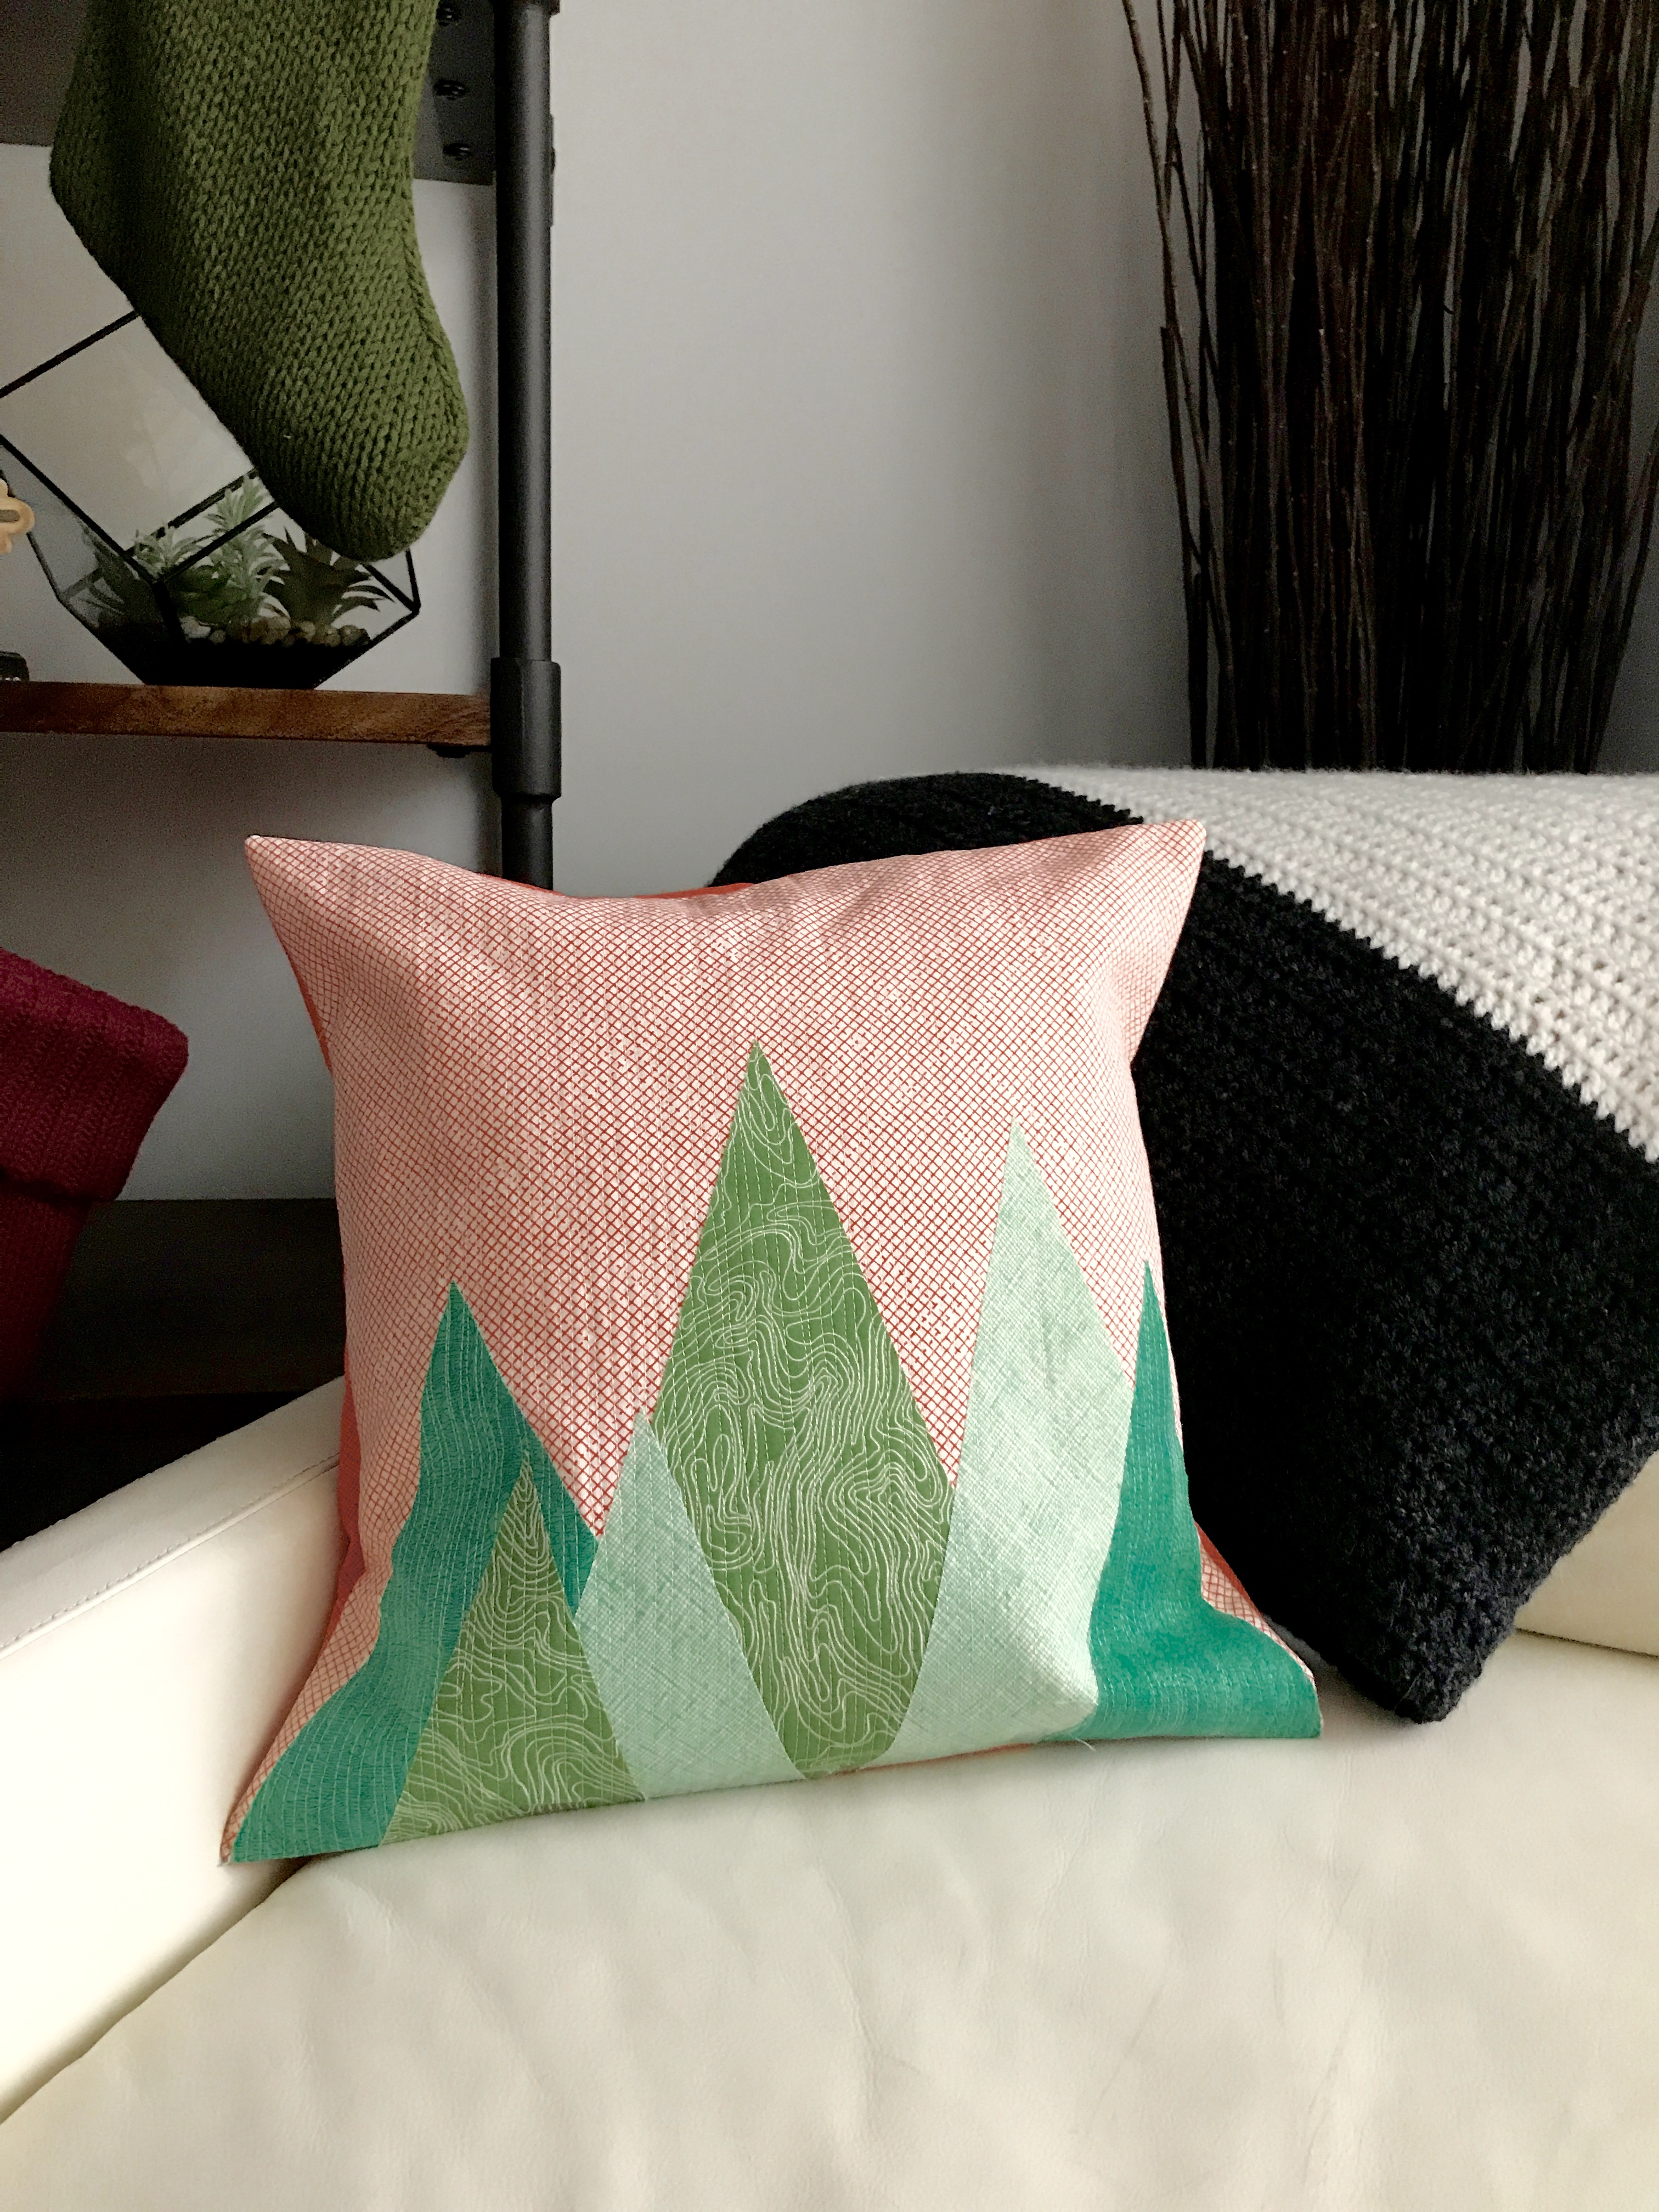
 Quilt the front of your pillow to tack down your trees. I chose to do an organic straight line quilting. My method for doing this is to start with lines about a 1/4” apart one direction and then go back the other direction adding more mores between my 1/4” rows. I like to sometimes criss cross. This gives a very densely quilted pillow and allows it to be very sturdy when sitting up. You could also edge-stitch your trees and add swirls to it. The best part of quilting is the fun of making it your own! If it was going to be just a Christmas pillow I would have gone back and added some hand quilted stars and ornaments.
Now that your pillow is all quilted, it is time to add the back and create your slipcover. Since I chose to use the selvage as my middle pieces I don’t need to hem the edges. If you are using pieces that don’t have selvage, it is really easy to create sealed edges. Grab some Therm O Web hem tape-fold over your edge a 1/2” then another 1/2”, ironing as you go-add the hem tape and iron one last time. Presto-clean edges with no sewing! Ok, not that we all have pretty edges, lay your two pieces on top of your front piece. All of the raw edges of the back will match your raw edges of your front. The clean edges will overlap to create your slipcover. Using a serger, sew around all four sides of your pillow cover. You can also use your regular sewing machine with a 1/4” seam and cut the excess with pinking shears to prevent fraying.
Turn your pillowcase right side out and iron well. Add a 16”x16” pillow insert, fluff and throw it on your couch to enjoy!
Quilt the front of your pillow to tack down your trees. I chose to do an organic straight line quilting. My method for doing this is to start with lines about a 1/4” apart one direction and then go back the other direction adding more mores between my 1/4” rows. I like to sometimes criss cross. This gives a very densely quilted pillow and allows it to be very sturdy when sitting up. You could also edge-stitch your trees and add swirls to it. The best part of quilting is the fun of making it your own! If it was going to be just a Christmas pillow I would have gone back and added some hand quilted stars and ornaments.
Now that your pillow is all quilted, it is time to add the back and create your slipcover. Since I chose to use the selvage as my middle pieces I don’t need to hem the edges. If you are using pieces that don’t have selvage, it is really easy to create sealed edges. Grab some Therm O Web hem tape-fold over your edge a 1/2” then another 1/2”, ironing as you go-add the hem tape and iron one last time. Presto-clean edges with no sewing! Ok, not that we all have pretty edges, lay your two pieces on top of your front piece. All of the raw edges of the back will match your raw edges of your front. The clean edges will overlap to create your slipcover. Using a serger, sew around all four sides of your pillow cover. You can also use your regular sewing machine with a 1/4” seam and cut the excess with pinking shears to prevent fraying.
Turn your pillowcase right side out and iron well. Add a 16”x16” pillow insert, fluff and throw it on your couch to enjoy!
 Can’t wait to see what you all create! Happy Sewing!
Kristen Wright of Two Blondes and a Sewing Machine
Can’t wait to see what you all create! Happy Sewing!
Kristen Wright of Two Blondes and a Sewing Machine
