No Products in the Cart
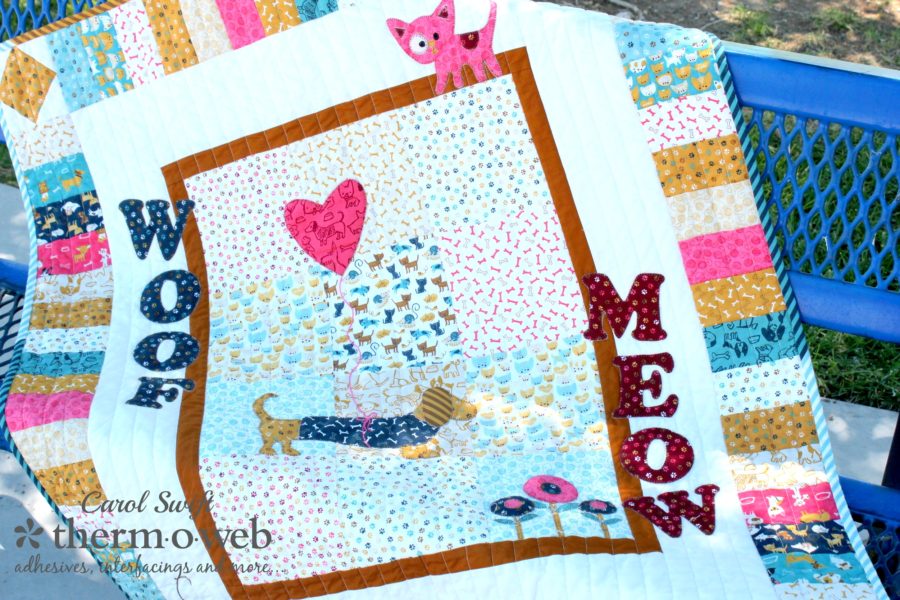
 HeatnBond Lite, Iron-on Adhesive works great to trace the applique patterns for this quilt, but another way to prepare the applique patterns is to use Heat n Bond EZ Print Lite sheets. Just run them through your printer...no tracing!
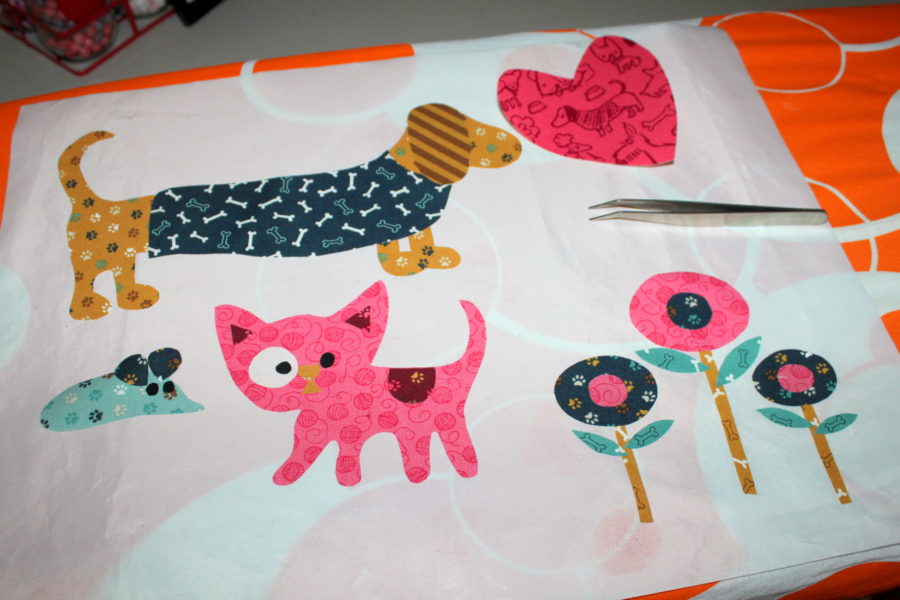
 HeatnBond Lite, Iron-on Adhesive only takes minutes to iron on the back of your fabric. Cut out the pieces, peel away the backing, and iron them to your quilt block. The backing comes off so easy…no scratching the back with a pin to get it started.

 [tooltip text="TooltipText"]*Tip: To avoid ironing the applique patterns in the wrong place, use a heatproof applique mat to arrange them first. Lightly press, let cool, peel off, and press in place on your fabric. Tweezers help in moving around the little pieces.[/tooltip]
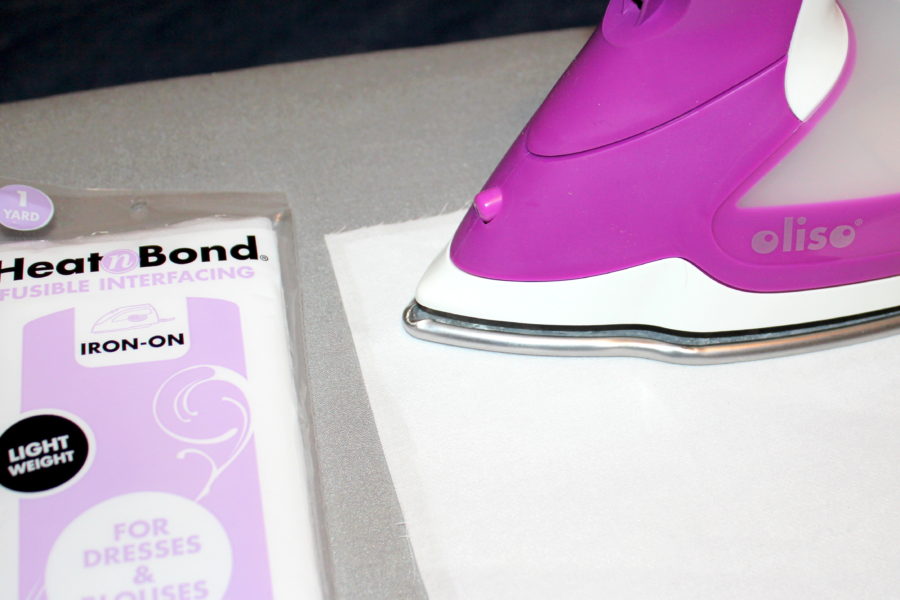
 *Tip: Ironing Heat n Bond Fusible Interfacing – Light Weight to the back of the center block can add stability while sewing around the applique pieces. Doesn’t that purple Oliso iron look beautiful!
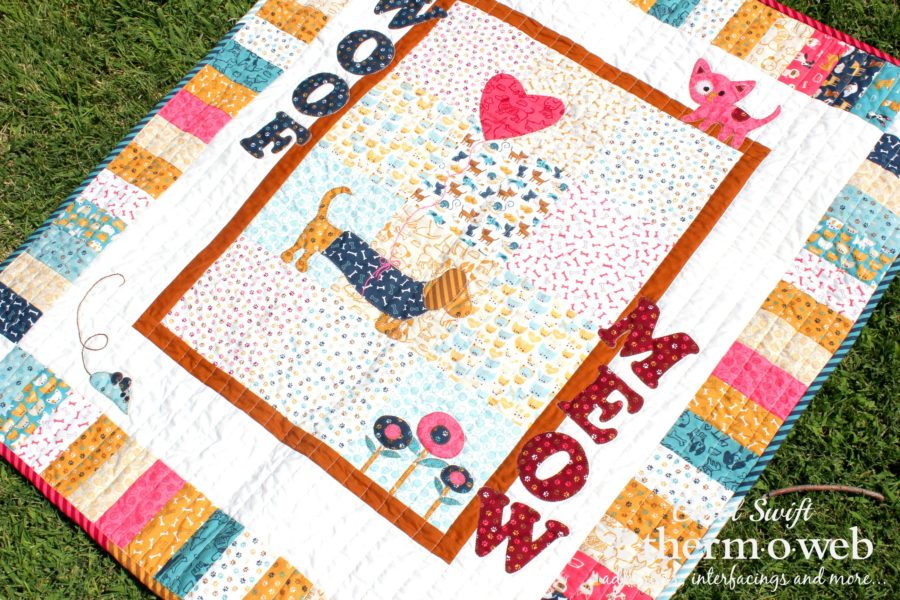
 Once you’ve finished sewing your quilt together, quilting it can be so easy using Therm O Web Spray n Bond Basting Adhesive with Therm O Web Stitch n Sew Fleece Sew-in High Loft/Batting. Protect the where you will be working by placing an old sheet or paper under and around the area you’ll be spraying. Place the fleece/batting on your working surface. Using the Spray N Bond Adhesive, spray about 6-8 inches across the top portion of the fleece/batting from one edge to the other. Place the wrong side of quilt backing face down over the sprayed surface of fleece/batting. Smooth fabric to ensure it adheres to the sprayed fabric. Continue this method of spraying and smoothing just 6-8 inches at a time until you reach the bottom of the quilt back. Check for creases or folds. Quilt and bind as desired.
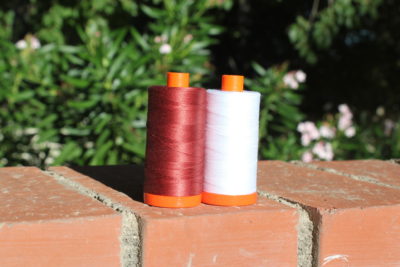
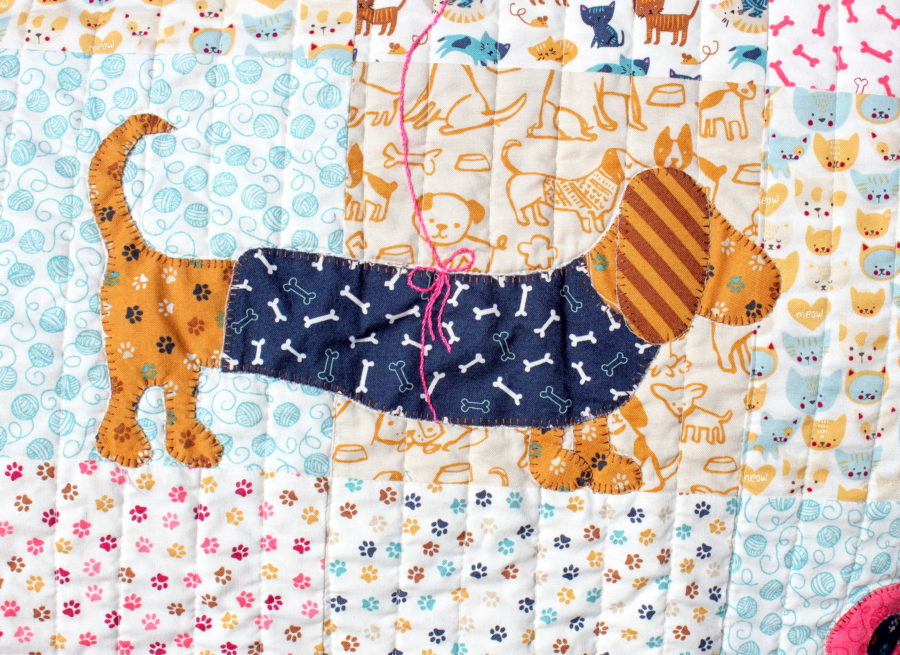 Aurifil thread made quilting the lines a smooth process. This quilt was sewn and quilted using Aurifil 2024 50 WT and all the applique pieces were stitched in place using Aurifil 2345 50 WT.
 You can find this quilt pattern along with the applique designs HERE.