No Products in the Cart



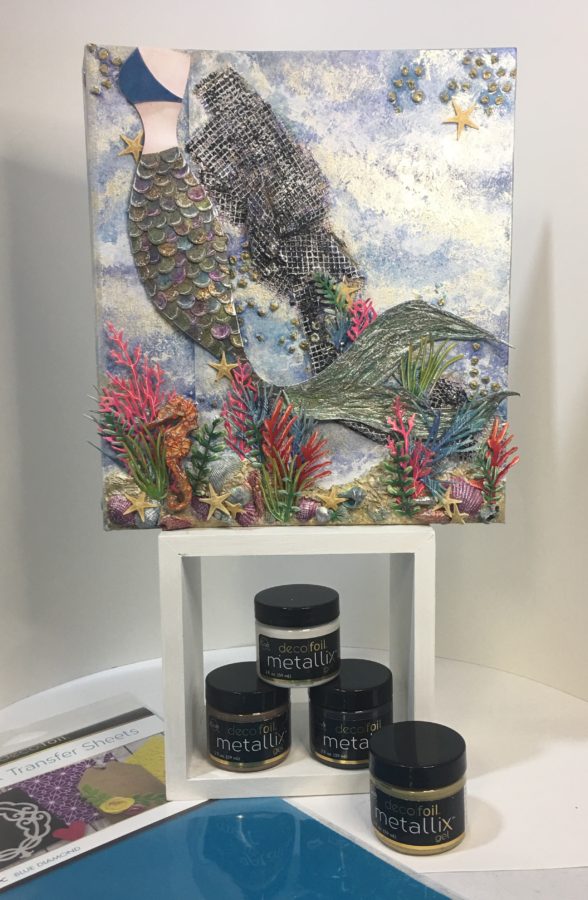
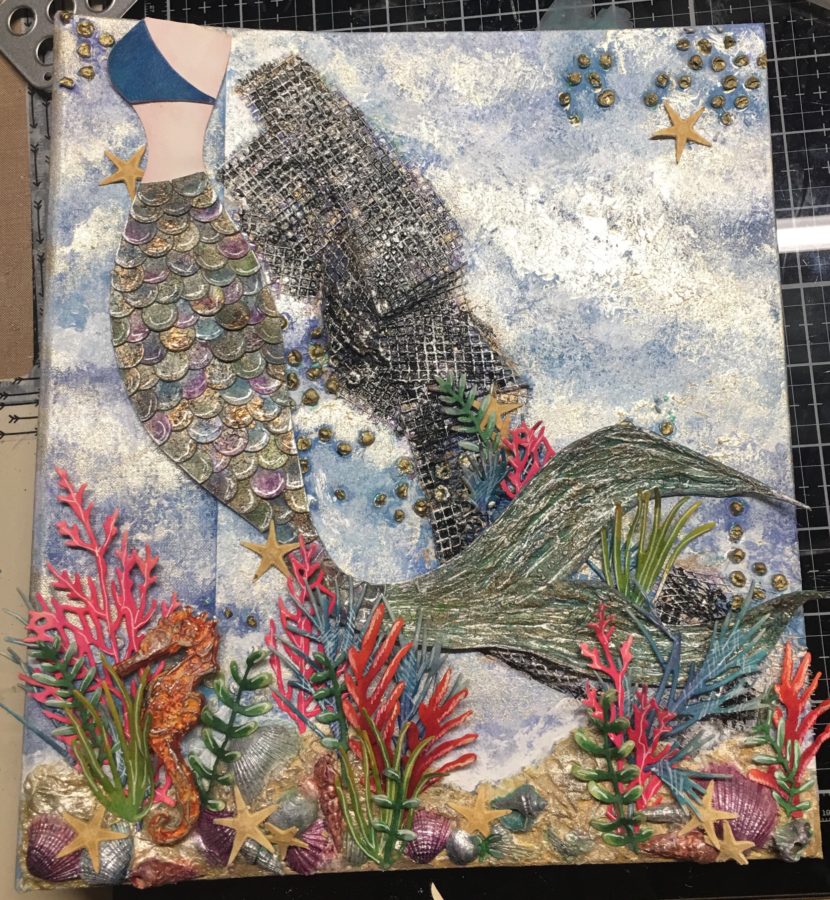
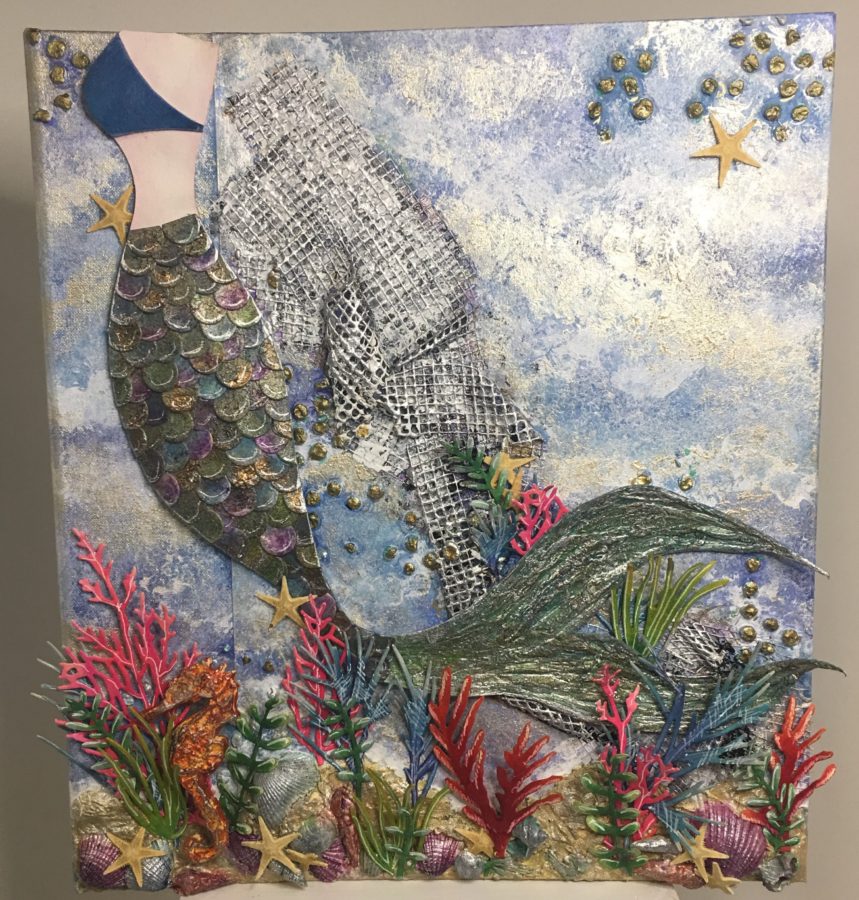
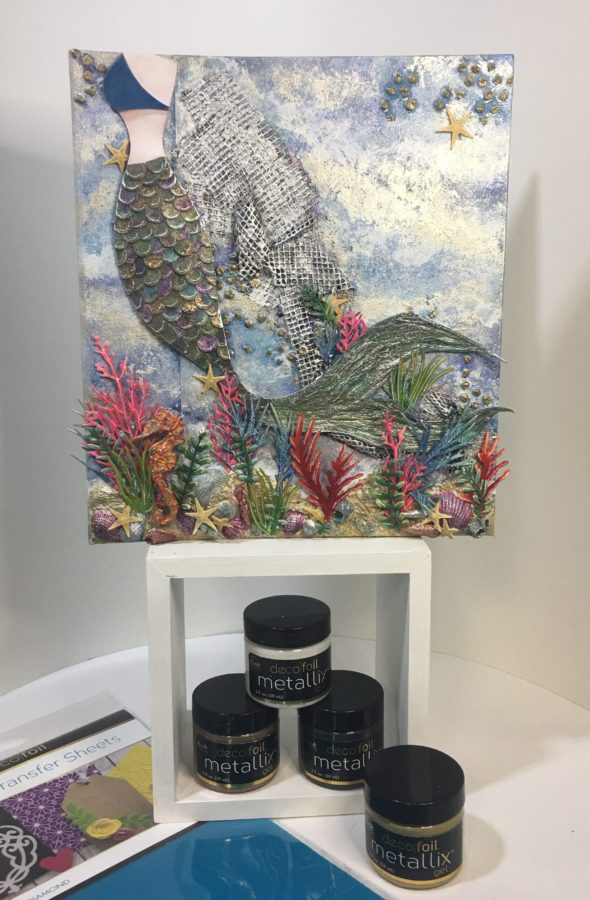 Hi all, Wendy here with a fun summer themed project. If you like mixed media, mermaids, and journals, have I got the project for you! Follow along below to see how I combined Metallix Gel, Flock Transfer Sheets, die-cuts, texture mediums, several forms of pigment and real sea shells/starfish to create this 3D journal cover which could be easily translated into a canvas or other piece of art. You will see two versions of this project (if you follow pics to the end of this post). After taking all of my pictures, I decided the netting was a little dark and I lightened it up a bit. Which version do you like better?
 Other Supplies: Journal cover, mermaid drawing or printout, circle die, scissors, stencil and modeling paste, foliage die-cuts, grit paste, seashells, pigments in various forms (Distress Crayons, alcohol markers, watercolor paints), patterned paper, drywall tape, and tissue paper.
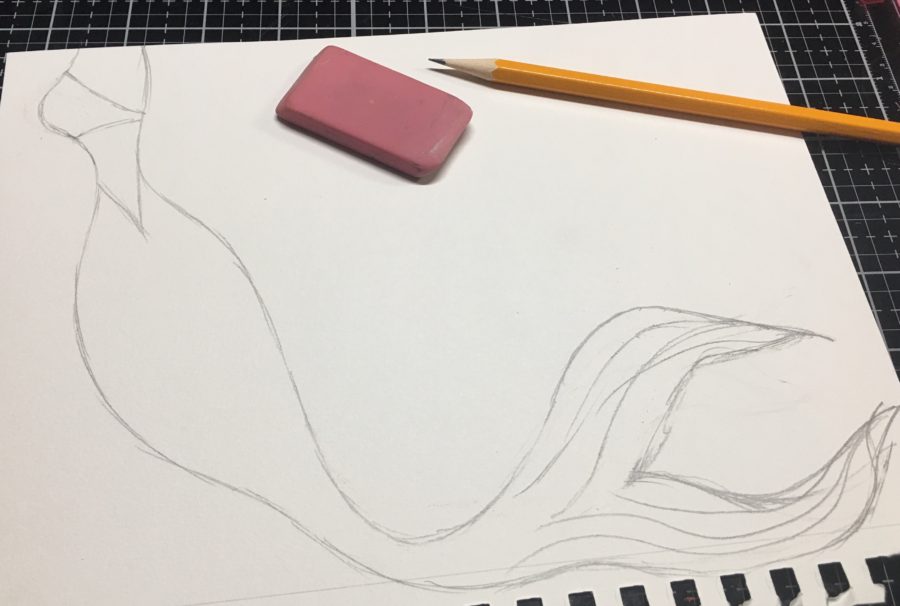
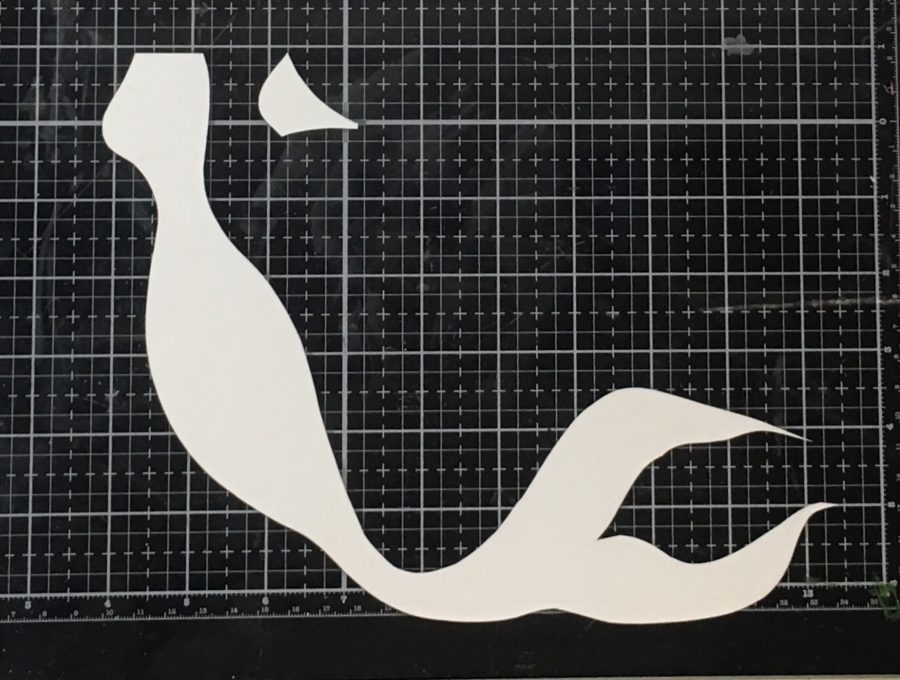 STEP TWO:
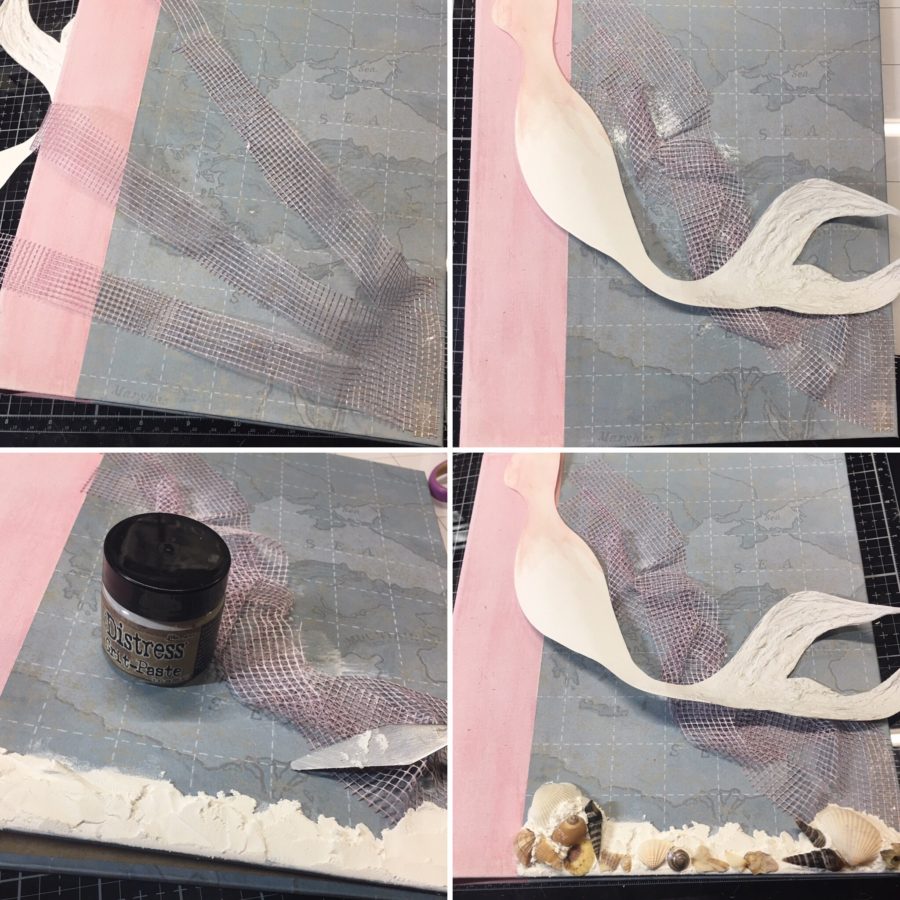
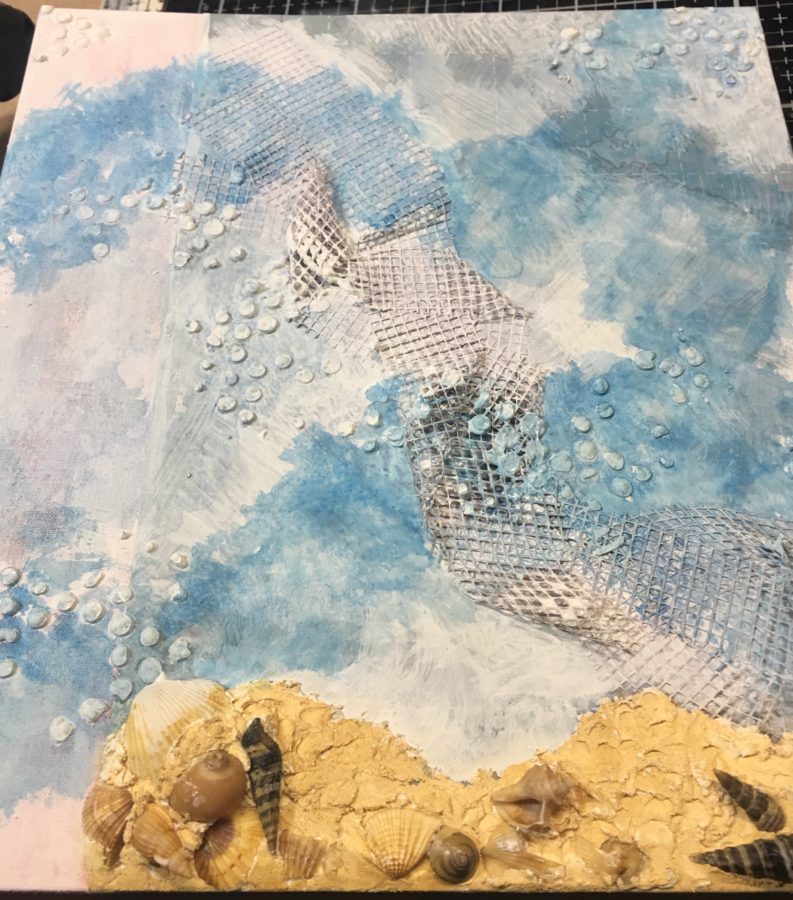
Cover your journal with patterned paper and create a bottom border using grit paste and add a fishing net made from drywall tape. Embed seashells into the grit paste.
Hint: In the absence of grit paste mix sand and modeling paste.
STEP TWO:
Cover your journal with patterned paper and create a bottom border using grit paste and add a fishing net made from drywall tape. Embed seashells into the grit paste.
Hint: In the absence of grit paste mix sand and modeling paste.
 STEP THREE:
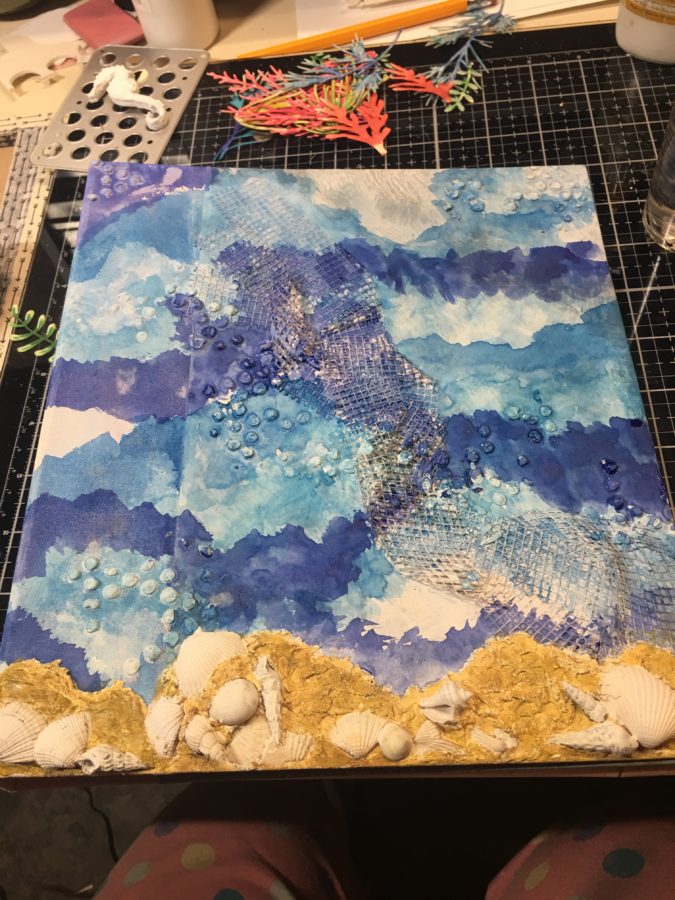
Using modeling paste and a Stencil Pal, stencil bubbles onto your journal cover and allow to dry. Once dry, paint ocean waves in shades of blue and white over the entire cover of your journal and allow to dry. Paint the grit paste (sand) in a tan color and paint the seashells white.
Hint: If you don't have a bubble stencil create your own by die-cutting one.
STEP THREE:
Using modeling paste and a Stencil Pal, stencil bubbles onto your journal cover and allow to dry. Once dry, paint ocean waves in shades of blue and white over the entire cover of your journal and allow to dry. Paint the grit paste (sand) in a tan color and paint the seashells white.
Hint: If you don't have a bubble stencil create your own by die-cutting one.
 STEP FOUR:
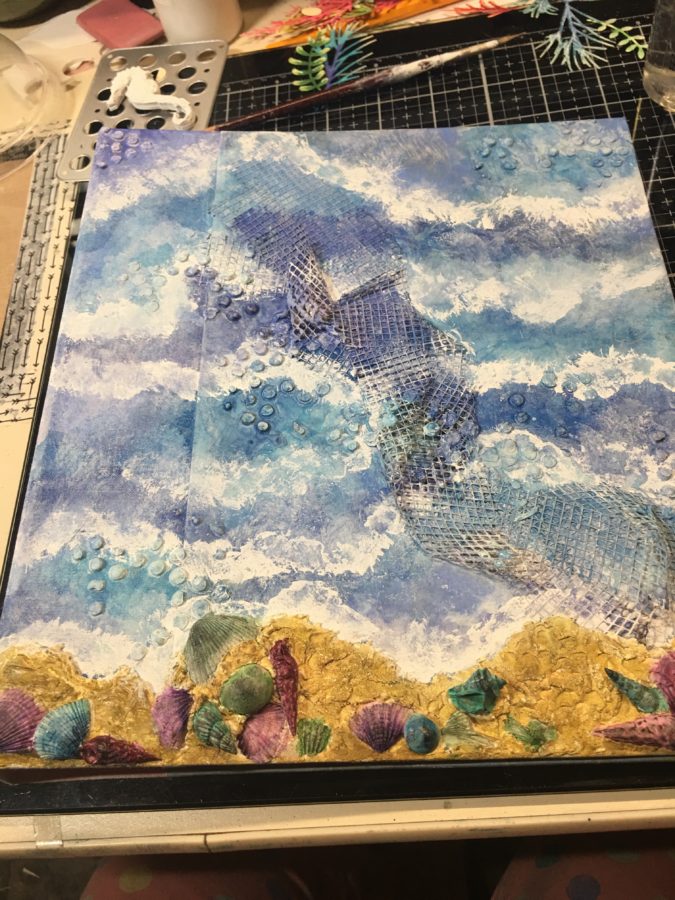
Add base color to the seashells using a sponge or paper towel, dab White Pearl Metallix over the entire cover to blend the "waves." Finish painting the seashells and set aside.
STEP FOUR:
Add base color to the seashells using a sponge or paper towel, dab White Pearl Metallix over the entire cover to blend the "waves." Finish painting the seashells and set aside.
 STEP FIVE:
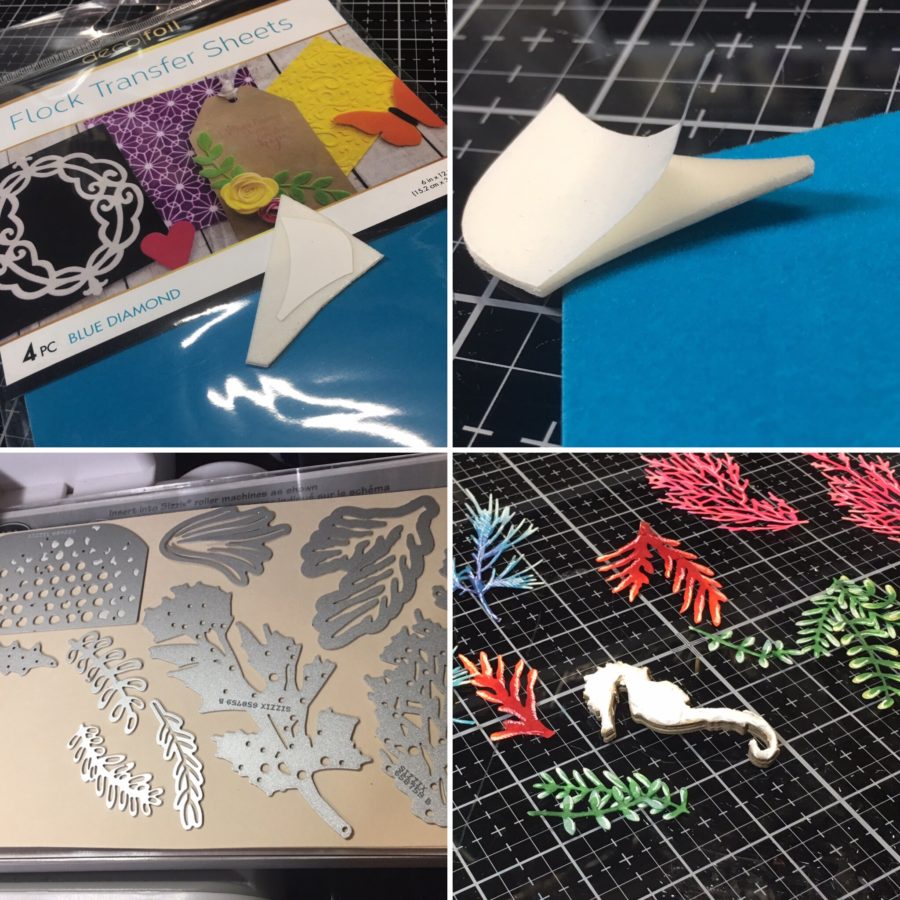
Cut a small piece of White Foam Adhesive the shape of the bikini top you cut out in Step One. Peel the release paper off the front side of the bikini top and press it firmly onto the Flock Transfer Sheet (I used Blue Diamond). When you peel it away you will be left with a beautifully flocked bikini top.
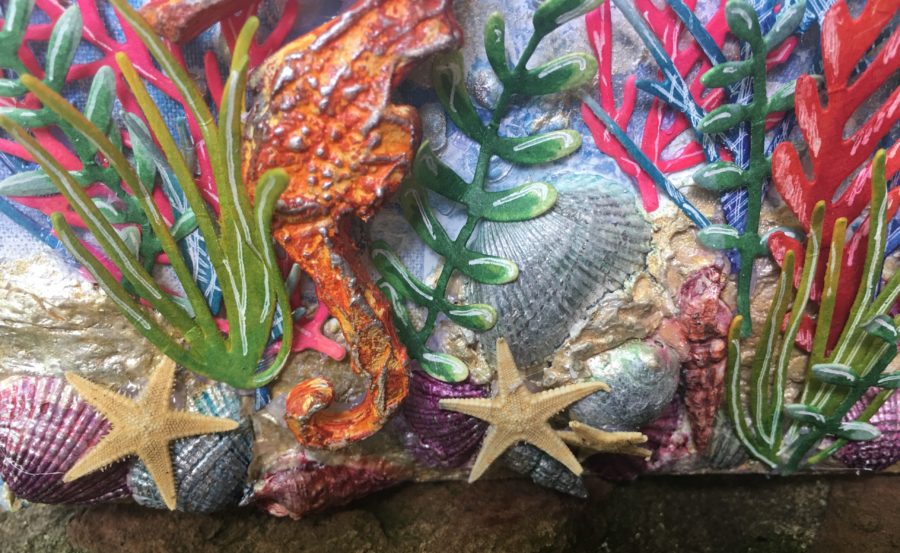
Die-cut foliage from cardstock and color to resemble coral and seaweed.
Hint: Die-cut a seahorse (I used the Tim Holtz mover and shaper die) several times and glue the layers together to create a 3D embellishment. I added a layer of modeling paste to the top to give it texture as well.
STEP FIVE:
Cut a small piece of White Foam Adhesive the shape of the bikini top you cut out in Step One. Peel the release paper off the front side of the bikini top and press it firmly onto the Flock Transfer Sheet (I used Blue Diamond). When you peel it away you will be left with a beautifully flocked bikini top.
Die-cut foliage from cardstock and color to resemble coral and seaweed.
Hint: Die-cut a seahorse (I used the Tim Holtz mover and shaper die) several times and glue the layers together to create a 3D embellishment. I added a layer of modeling paste to the top to give it texture as well.
 STEP SIX:
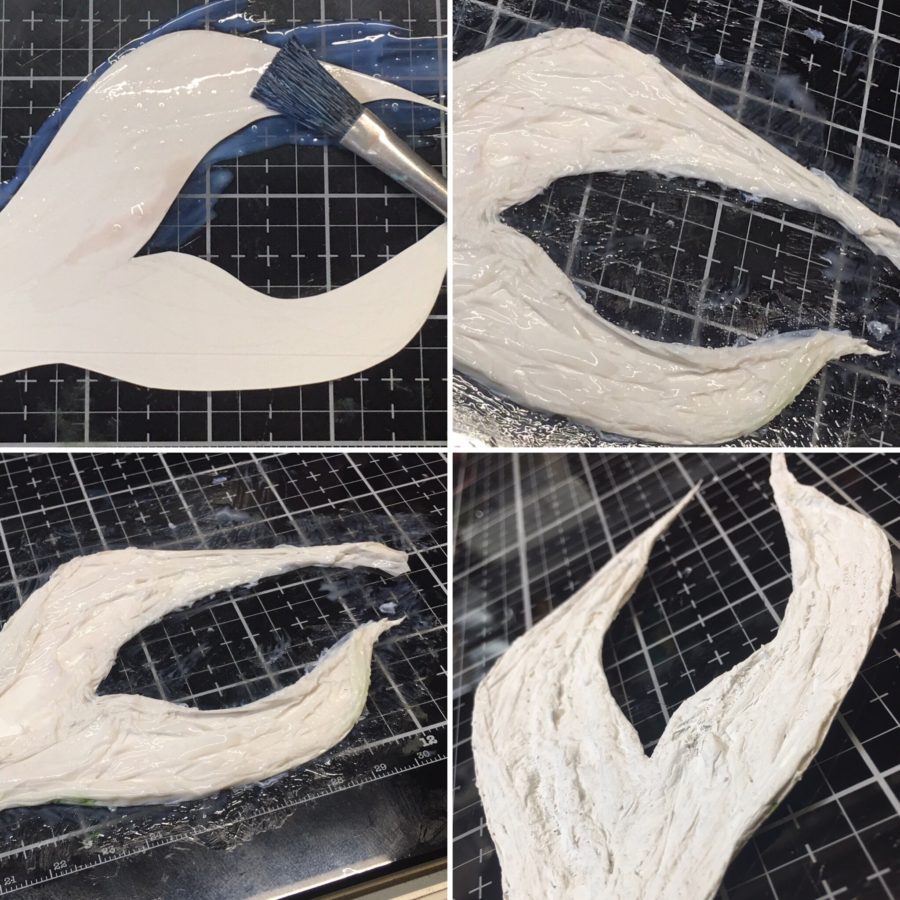
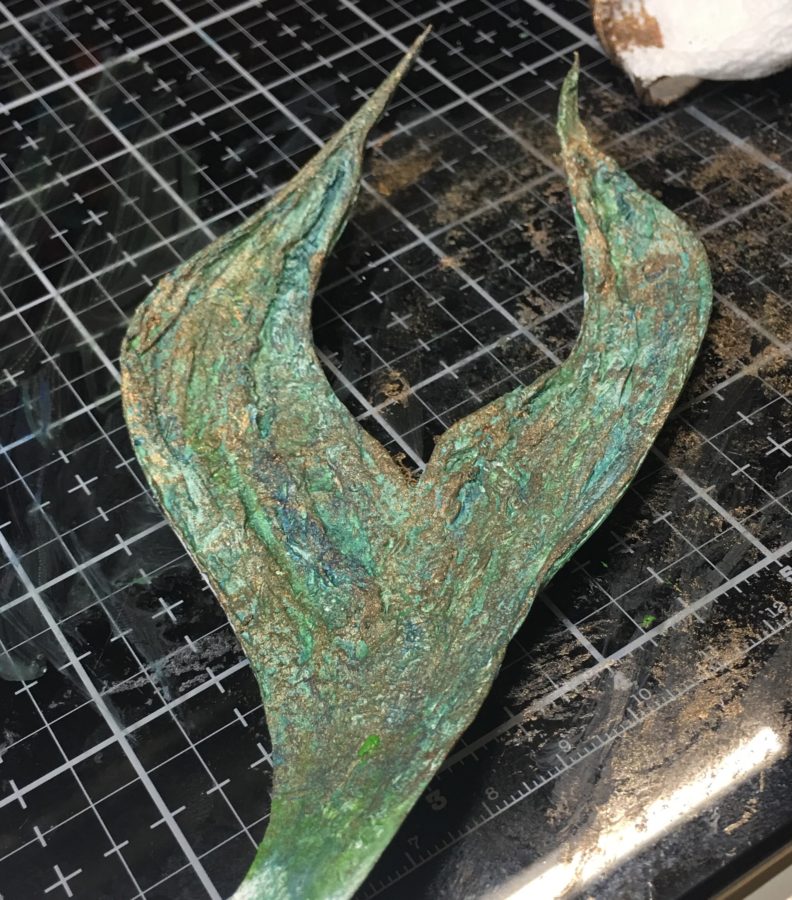
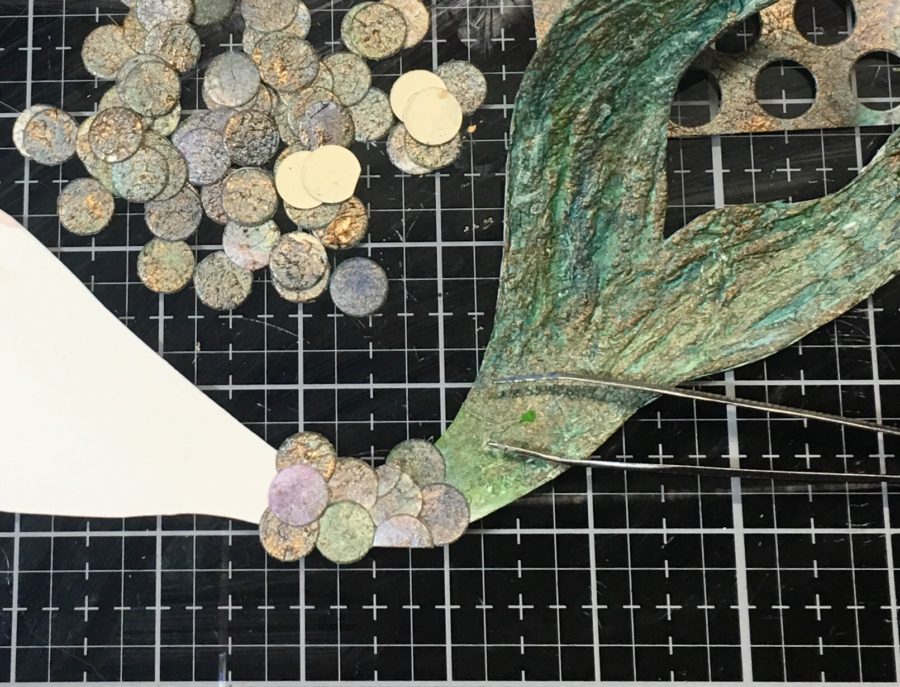
Cover the mermaid tail with a mixture of Ultra Bond Liquid Adhesive and water and add layers of tissue paper scrunched up to create webbing. Allow to dry completely and trim around the edges.
Hint: In lieu of the tissue and glue mixture you can layer modeling paste and create the grooves using a paper piercer.
STEP SIX:
Cover the mermaid tail with a mixture of Ultra Bond Liquid Adhesive and water and add layers of tissue paper scrunched up to create webbing. Allow to dry completely and trim around the edges.
Hint: In lieu of the tissue and glue mixture you can layer modeling paste and create the grooves using a paper piercer.
 STEP SEVEN:
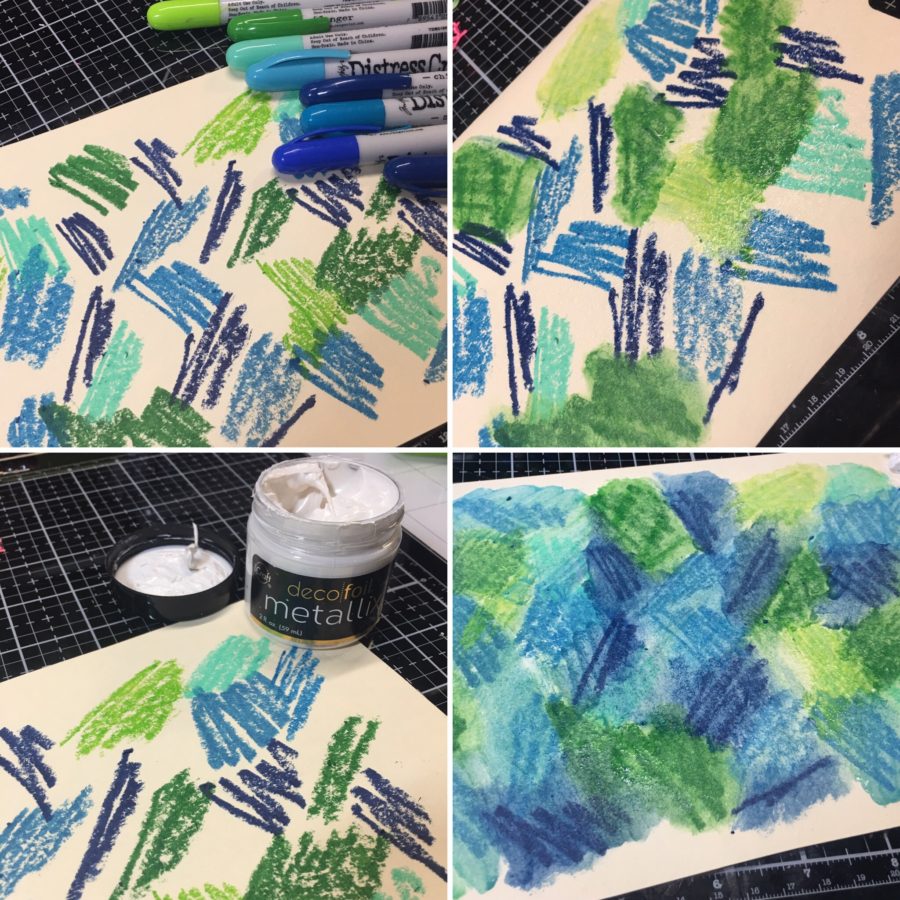
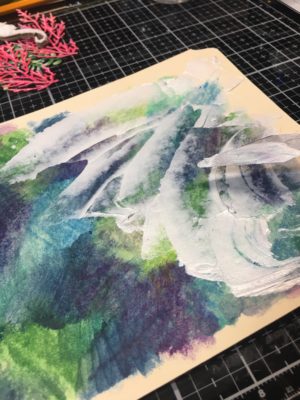
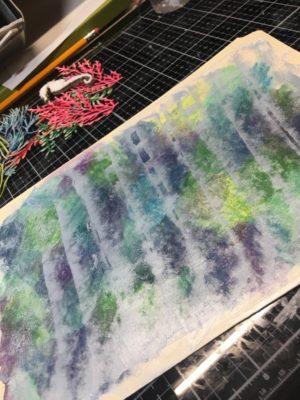
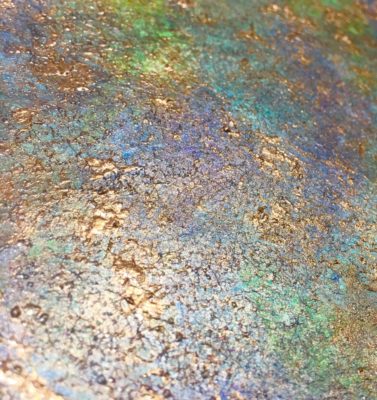
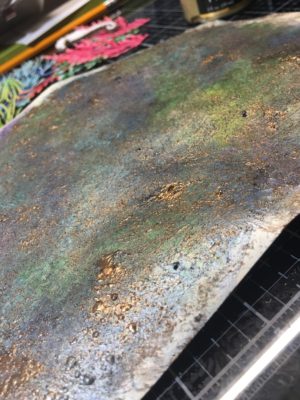
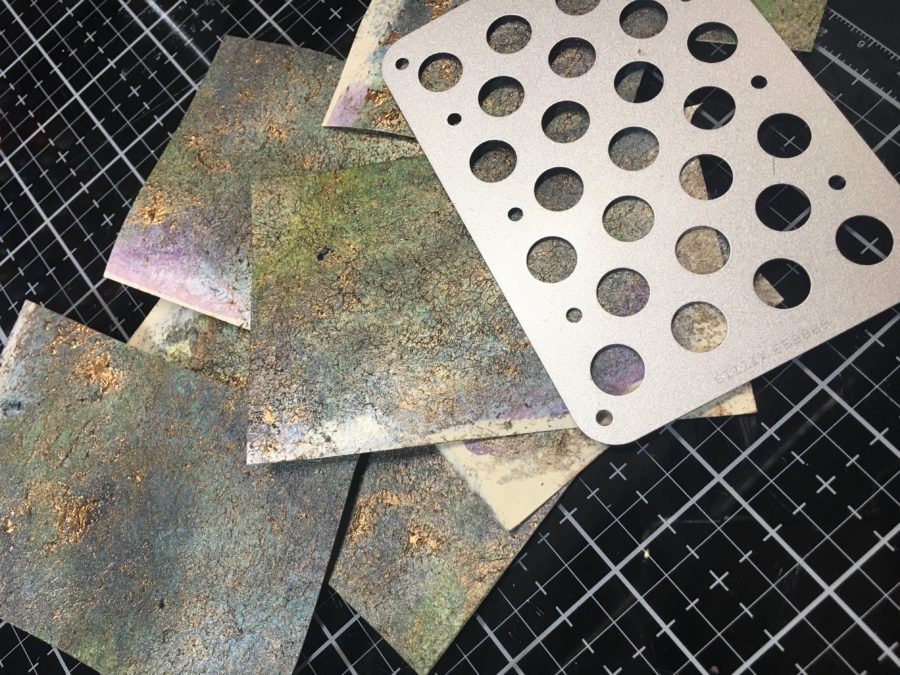
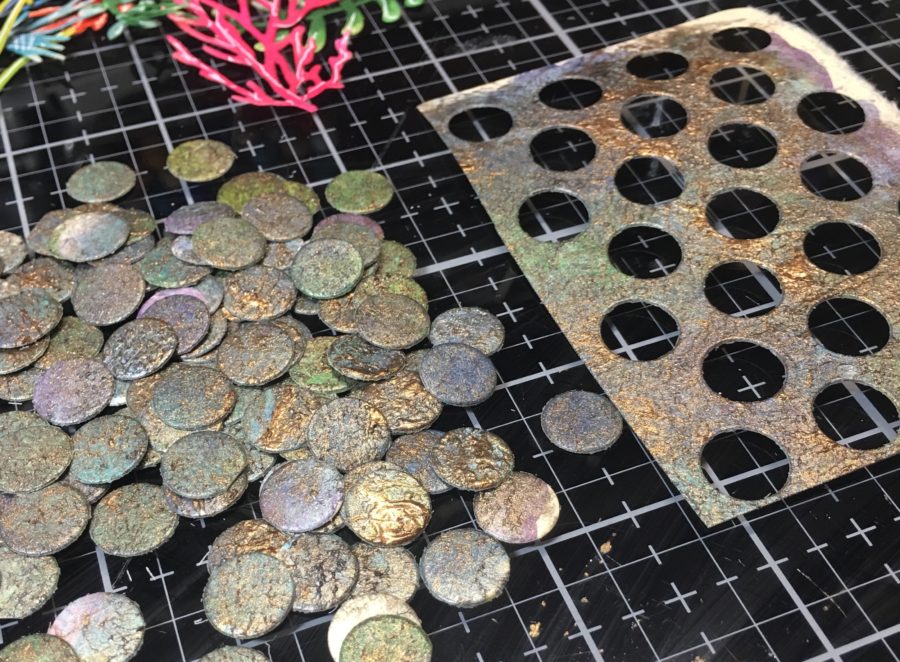
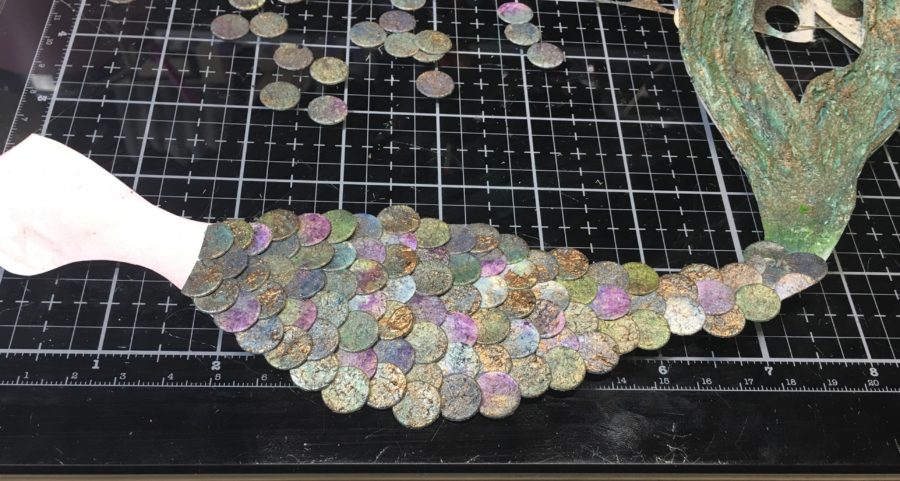
Scribble Distress Crayons in different shades of blue and green onto mixed media paper and blend using water (later I added some purple as well). Spread White Pearl Metallix over the Distress Crayon using a spatula or paintbrush and allow to dry completely.
STEP SEVEN:
Scribble Distress Crayons in different shades of blue and green onto mixed media paper and blend using water (later I added some purple as well). Spread White Pearl Metallix over the Distress Crayon using a spatula or paintbrush and allow to dry completely.
 STEP NINE:
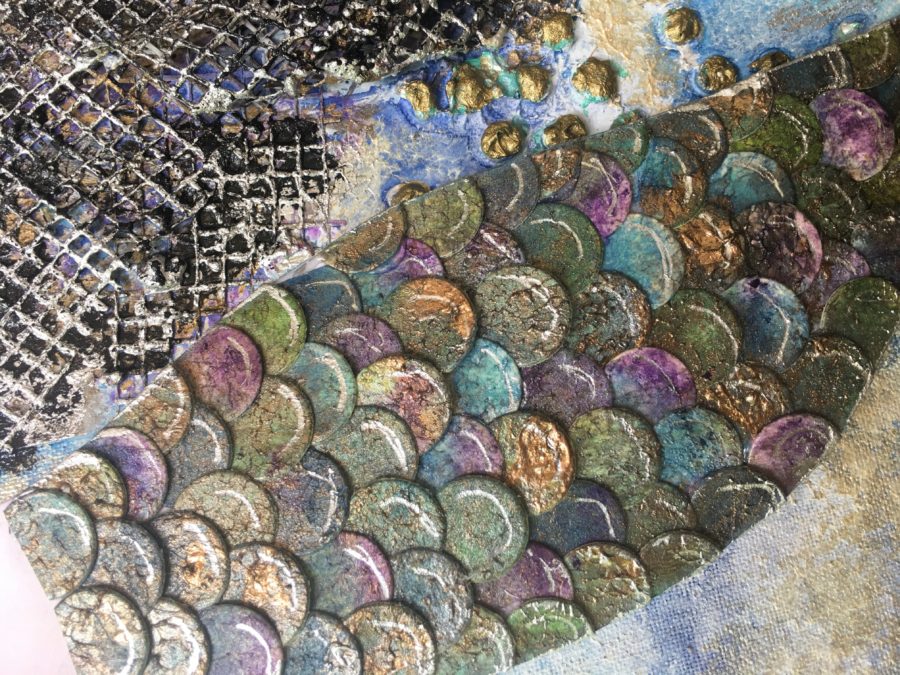
Use a gel pen to add detail to mermaid scales and die-cut embellishments. Adhere die-cuts and mermaid to the cover of your journal.
STEP NINE:
Use a gel pen to add detail to mermaid scales and die-cut embellishments. Adhere die-cuts and mermaid to the cover of your journal.
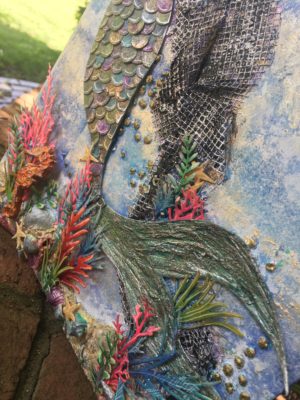 STEP TEN:
Enjoy your new journal cover!
STEP TEN:
Enjoy your new journal cover!