No Products in the Cart
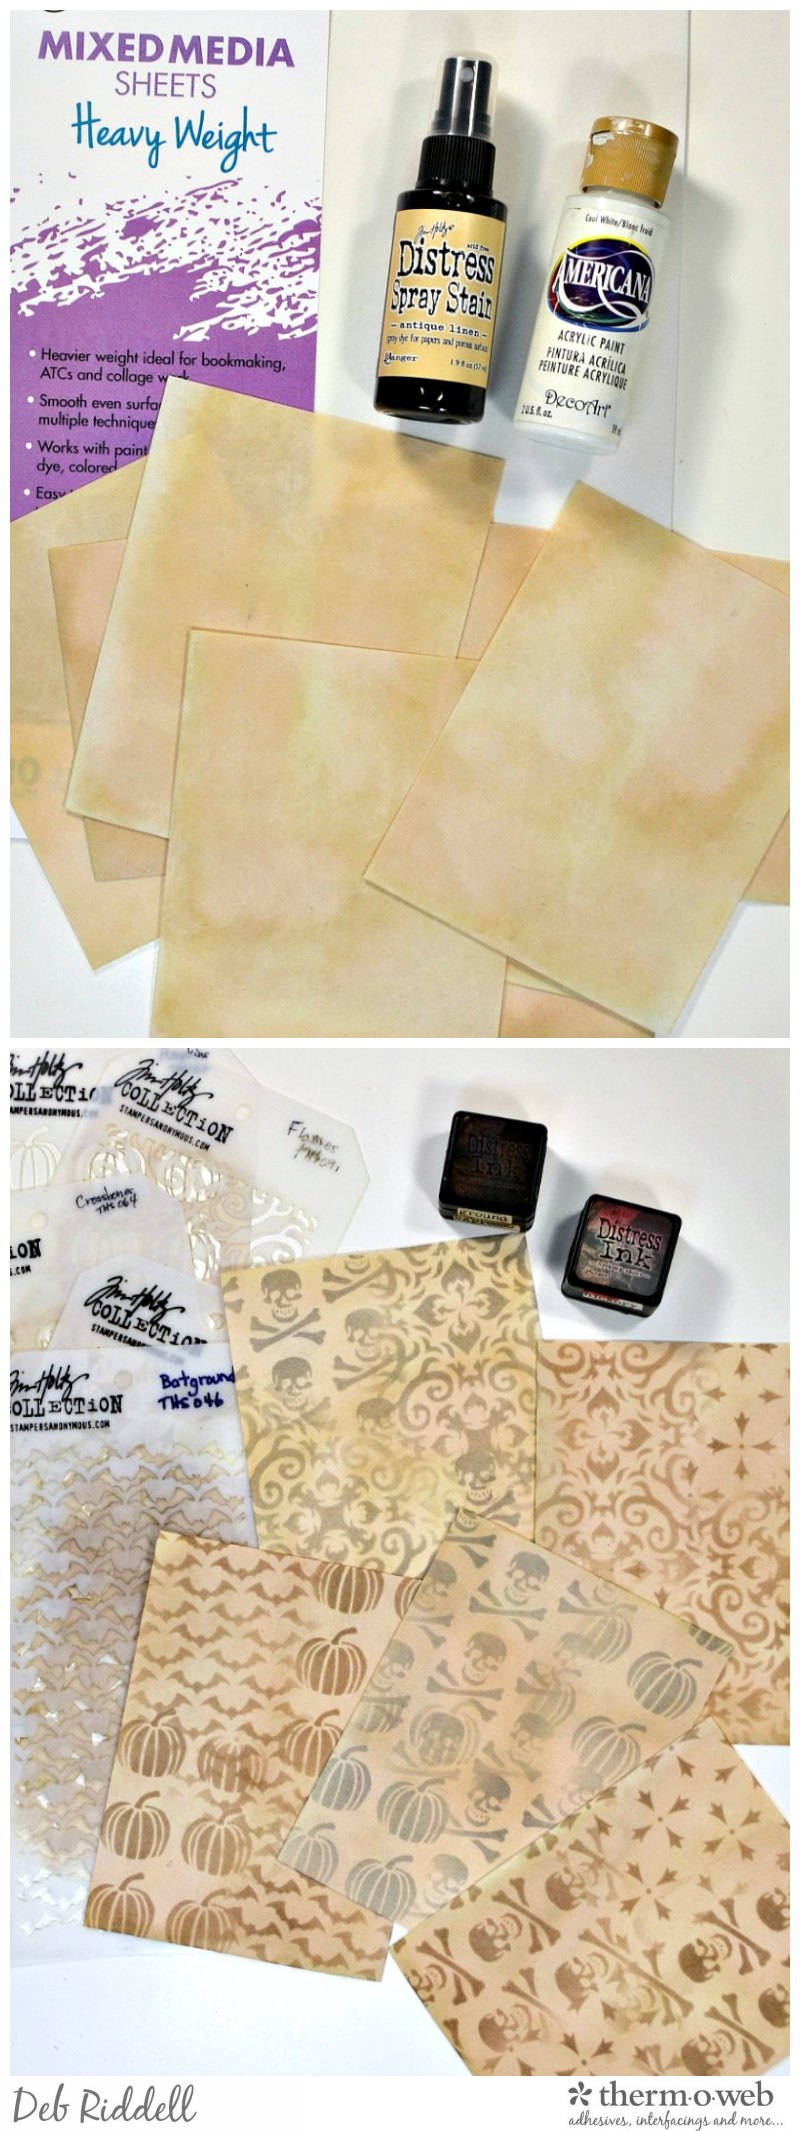 Randomly stencil Halloween themed images onto the cut Mixed Media Heavy Weight sheets, using a brown ink for three of the sheets and gray ink on the remaining two (Crossed, Crossbones, Pumpkins, Batground and Flames Layering stencils were used here along with Ground Espresso and Hickory Smoke Distress Inks).
Coffee stain some cotton muslin fabric (this step is optional) and adhere the muslin fabric onto the back of each piece of Mixed Media Heavy Weight sheet using HeatnBond Lite Iron-On Adhesive. Cut each of the pieces into a banner shape and sew a couple of rows of messy stitching around the edges with a contrasting colour of thread.
Randomly stencil Halloween themed images onto the cut Mixed Media Heavy Weight sheets, using a brown ink for three of the sheets and gray ink on the remaining two (Crossed, Crossbones, Pumpkins, Batground and Flames Layering stencils were used here along with Ground Espresso and Hickory Smoke Distress Inks).
Coffee stain some cotton muslin fabric (this step is optional) and adhere the muslin fabric onto the back of each piece of Mixed Media Heavy Weight sheet using HeatnBond Lite Iron-On Adhesive. Cut each of the pieces into a banner shape and sew a couple of rows of messy stitching around the edges with a contrasting colour of thread.
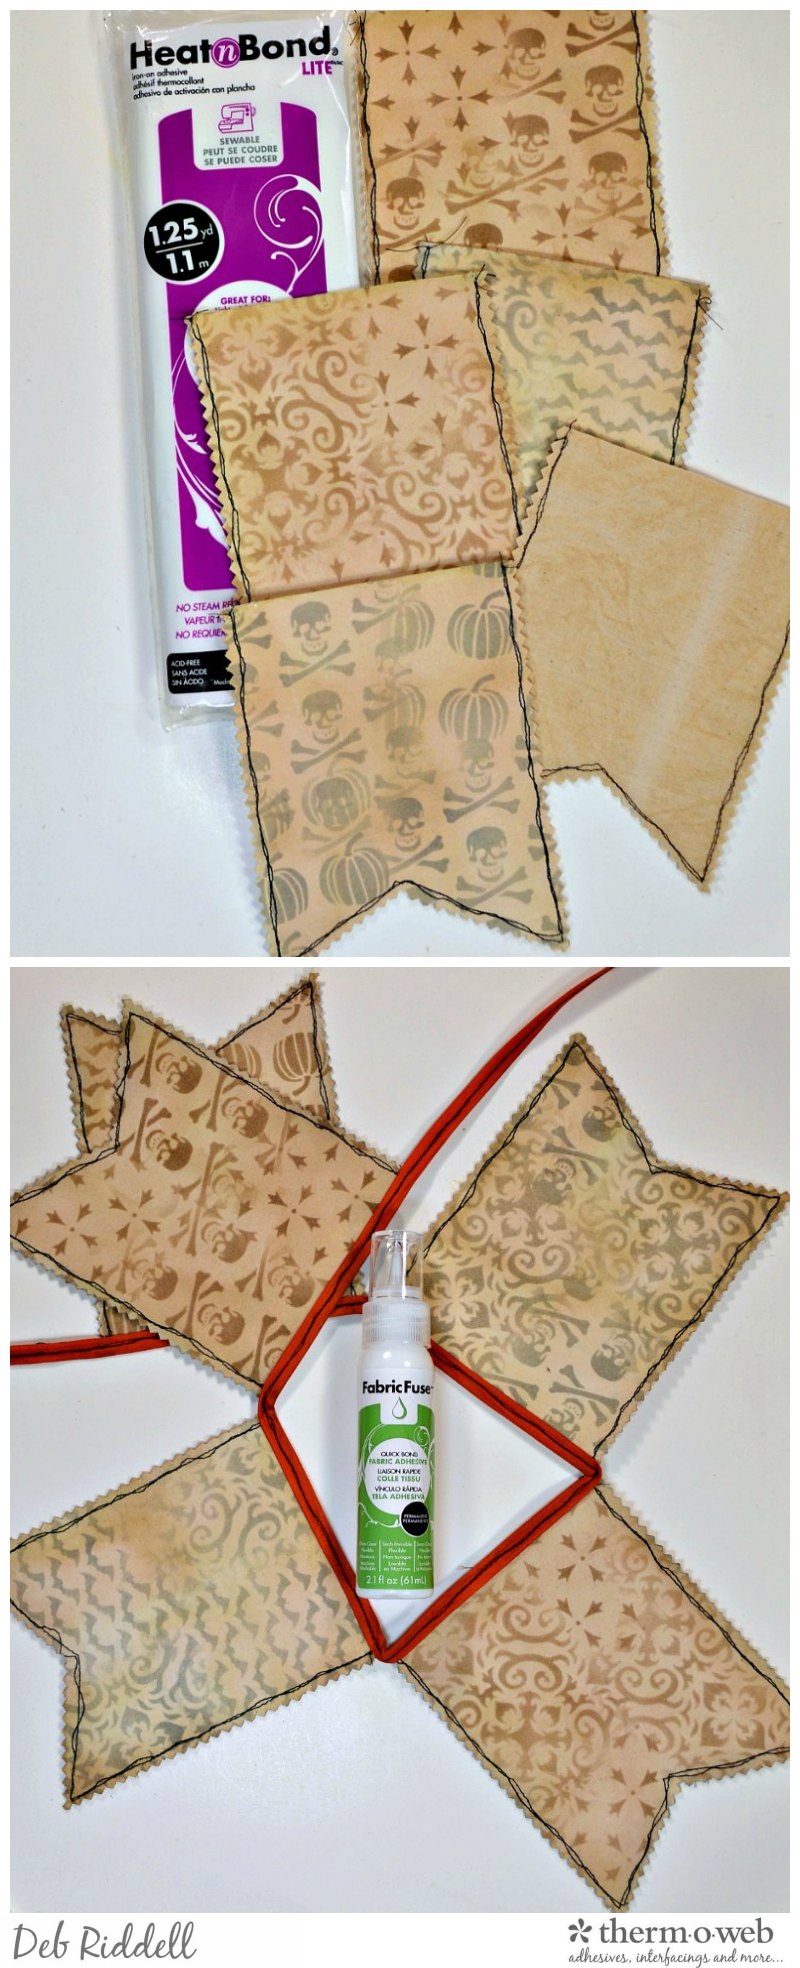 Cut a piece of orange coloured seam binding to about 45" long and adhere each of the banners into the seam binding with Fabric Fuse Liquid Adhesive, leaving about 1/4" between each of the banners and alternating the stenciled colours. After the Fabric Fuse adhesive has dried, add a couple of lines of messy stitching along the length of the seam binding if desired.
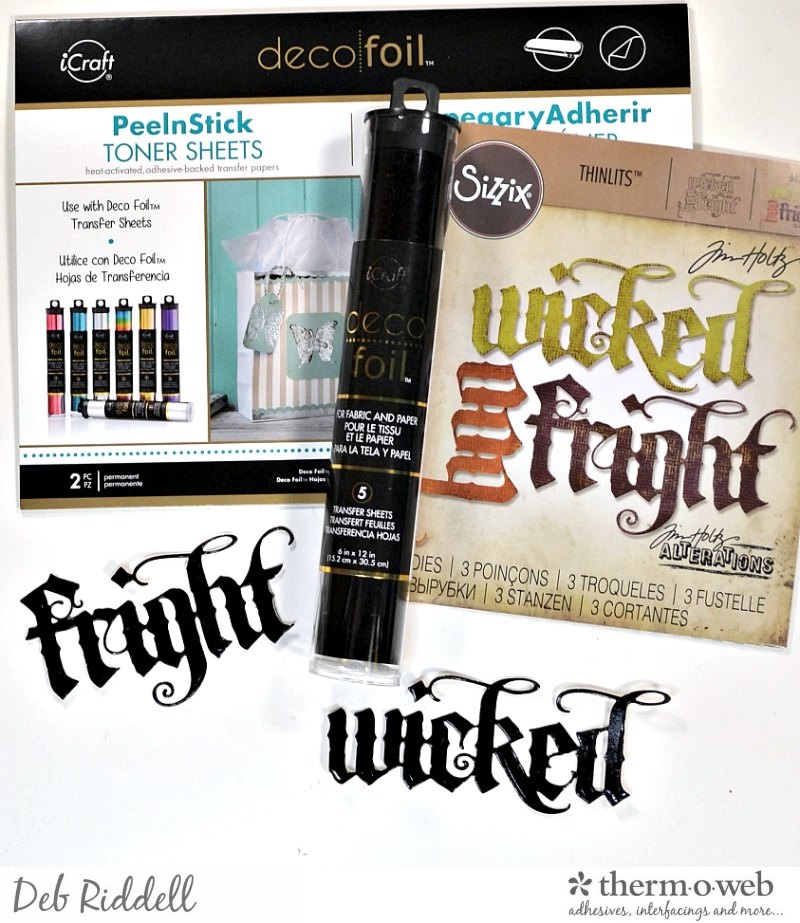
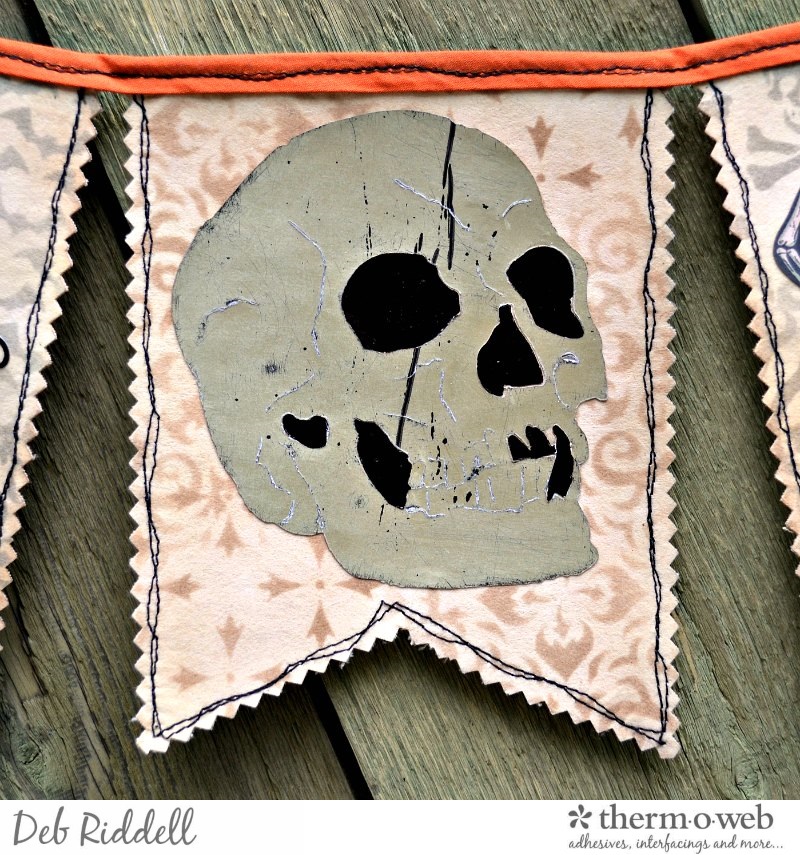
Heat up your foil laminator and cover a piece of PeelnStick Toner Sheet with Antique Pearl Rebekah Meier Designs Mixed Media Transfer Foil and another piece with Black Deco Foil. Cut two skull die cuts (this is the Bigz Skull die), one from the Antique Pearl foiled Toner Sheet and one from the black foiled sheet, and insert the black foil pieces for the eyes, nose and areas of the mouth into the Antique Pearl foiled skull. Gently sand the die cut with a sanding block for a worn grungy appearance.
Cut a piece of orange coloured seam binding to about 45" long and adhere each of the banners into the seam binding with Fabric Fuse Liquid Adhesive, leaving about 1/4" between each of the banners and alternating the stenciled colours. After the Fabric Fuse adhesive has dried, add a couple of lines of messy stitching along the length of the seam binding if desired.
Heat up your foil laminator and cover a piece of PeelnStick Toner Sheet with Antique Pearl Rebekah Meier Designs Mixed Media Transfer Foil and another piece with Black Deco Foil. Cut two skull die cuts (this is the Bigz Skull die), one from the Antique Pearl foiled Toner Sheet and one from the black foiled sheet, and insert the black foil pieces for the eyes, nose and areas of the mouth into the Antique Pearl foiled skull. Gently sand the die cut with a sanding block for a worn grungy appearance.
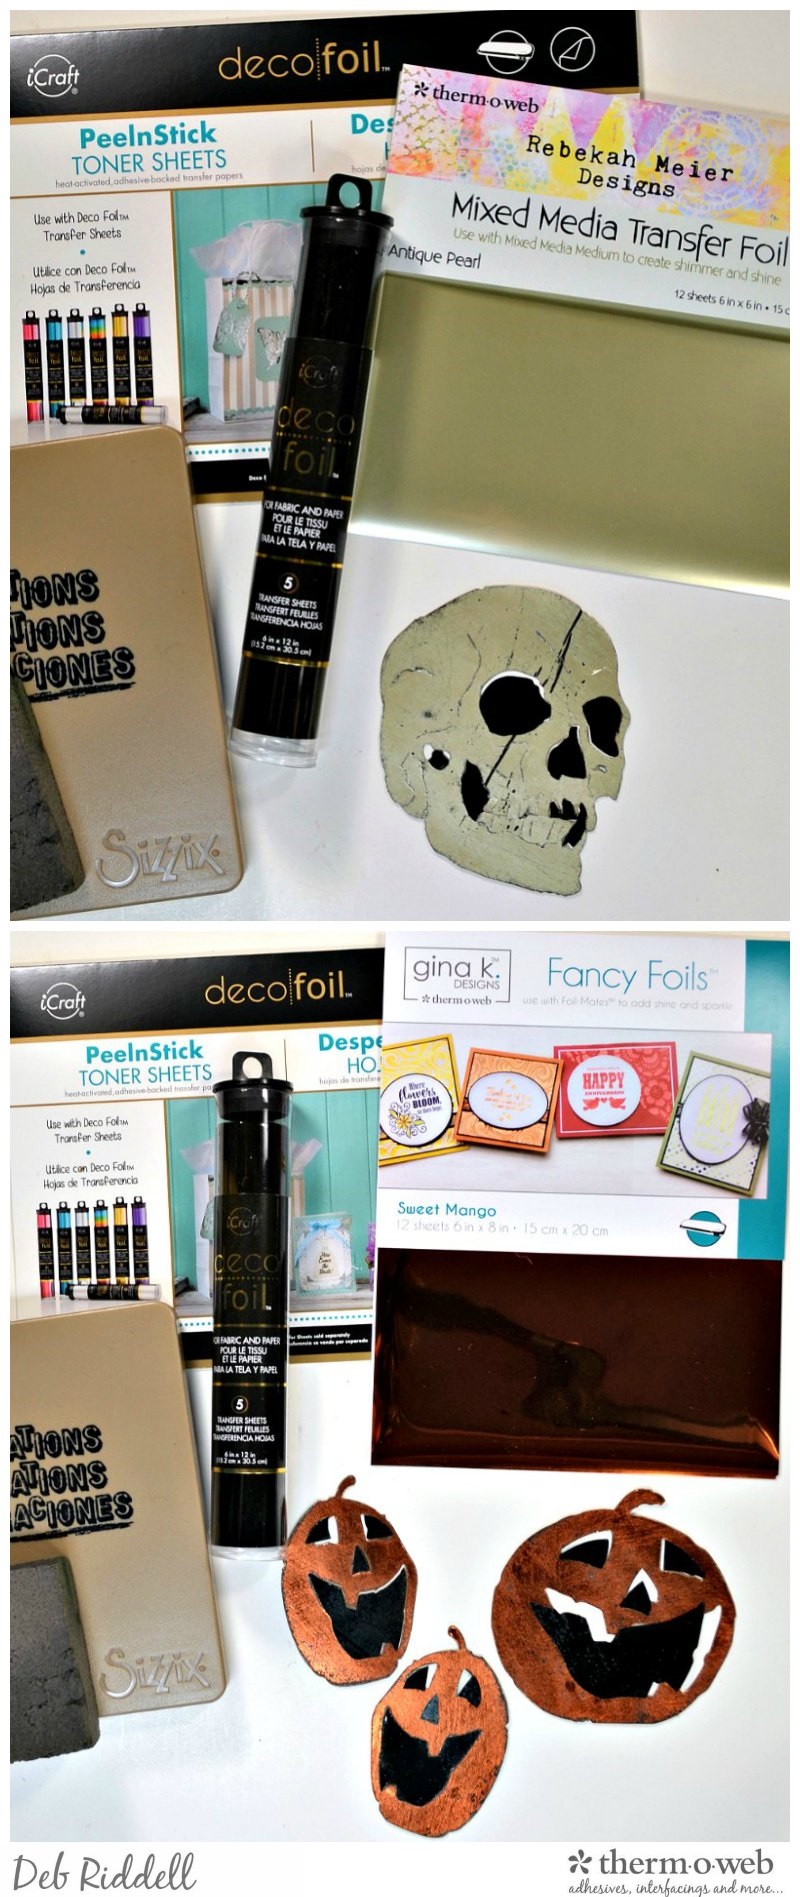 Cover a piece of PeelnStick Toner Sheet with Gina K Designs Fancy Foils in Sweet Mango and another piece with Black Deco Foil. Die cut three Jack O Lanterns (this is Bigz Jack-o-Lanterns die) two times, one set from the Sweet Mango covered PeelnStick Toner Sheet and one from the black Deco Foil covered sheet. Insert the black foiled eyes, nose and mouths into the Sweet Mango foiled pumpkins and gently sand the die cuts again for a worn appearance.
Cover one more piece of PeelnStick Toner Sheet with Black Deco Foil and die cut a couple of spooky Halloween words (this is the Thinlits Vintage Spirits die set).
Cover a piece of PeelnStick Toner Sheet with Gina K Designs Fancy Foils in Sweet Mango and another piece with Black Deco Foil. Die cut three Jack O Lanterns (this is Bigz Jack-o-Lanterns die) two times, one set from the Sweet Mango covered PeelnStick Toner Sheet and one from the black Deco Foil covered sheet. Insert the black foiled eyes, nose and mouths into the Sweet Mango foiled pumpkins and gently sand the die cuts again for a worn appearance.
Cover one more piece of PeelnStick Toner Sheet with Black Deco Foil and die cut a couple of spooky Halloween words (this is the Thinlits Vintage Spirits die set).
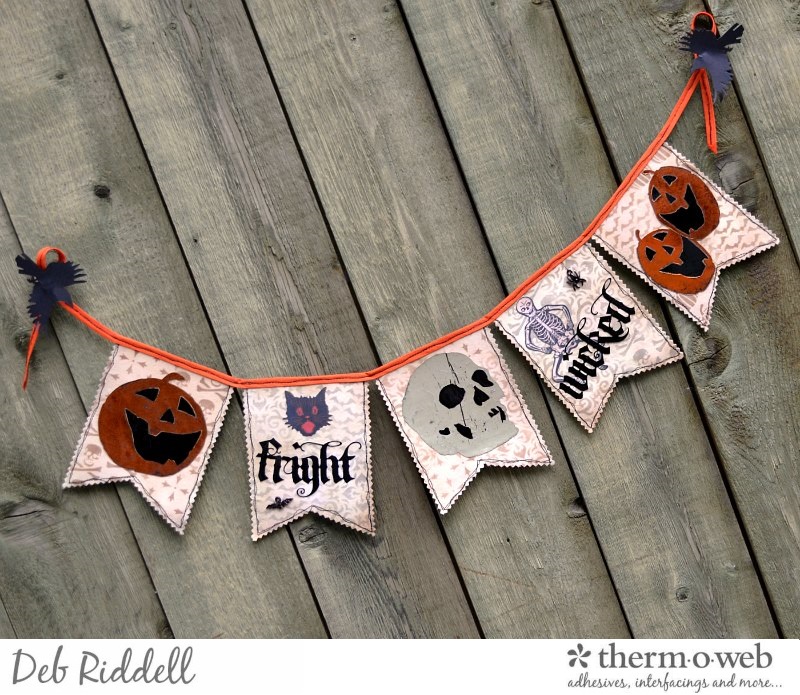
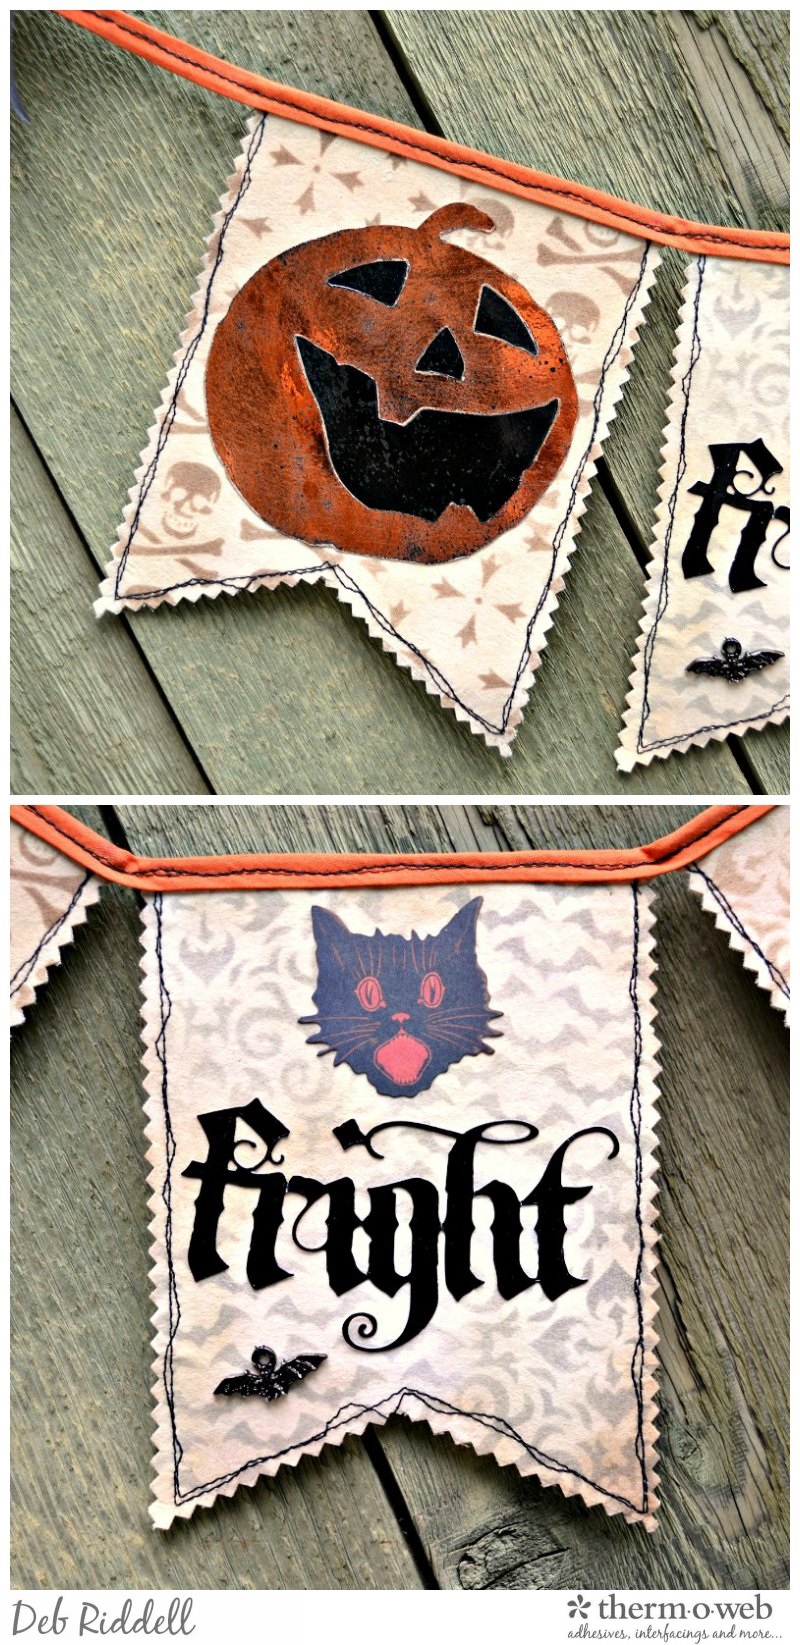 Remove the backing paper from one of your spooky words and adhere it onto the next banner. Add a scary Halloween image (retro Halloween cat is from Tim Holtz's Frightful Ephemera pack) and colour a bat charm with Pitch Black alcohol ink and sew it onto the bottom (Tim Holtz Oddities Adornments).
Adhere the Antique Pearl foiled Skull die cut to the center banner, insetting the black foiled eyes, nose and mouth pieces.
Remove the backing paper from one of your spooky words and adhere it onto the next banner. Add a scary Halloween image (retro Halloween cat is from Tim Holtz's Frightful Ephemera pack) and colour a bat charm with Pitch Black alcohol ink and sew it onto the bottom (Tim Holtz Oddities Adornments).
Adhere the Antique Pearl foiled Skull die cut to the center banner, insetting the black foiled eyes, nose and mouth pieces.
 Next, adhere a skeleton ephemera image to the next banner (from the Frightful Ephemera pack) and peel off the backing paper from your second Halloween word die cut and adhere it over top of the skeleton. Colour a spider charm (Oddities Adornments) with more Pitch Black alcohol ink and sew it onto the upper corner of the banner.
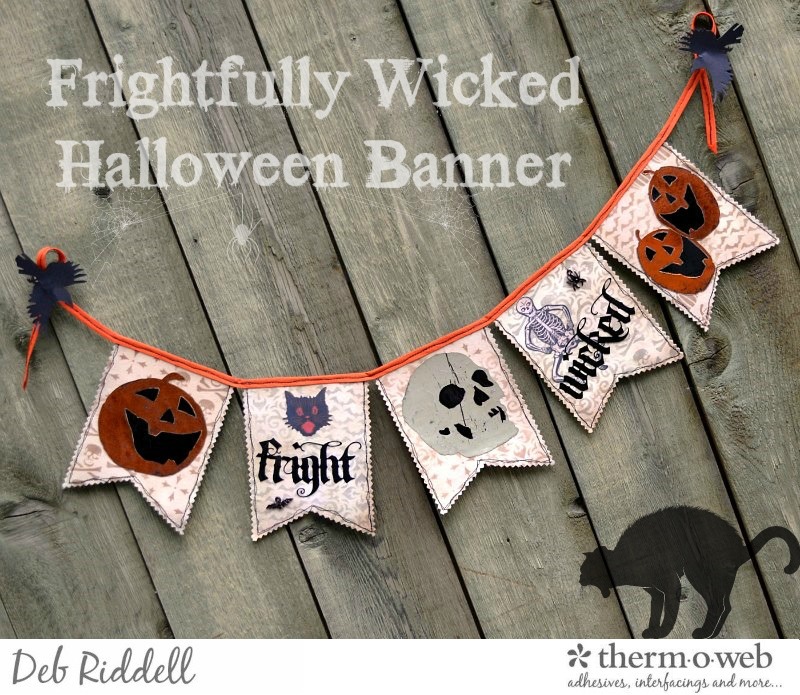
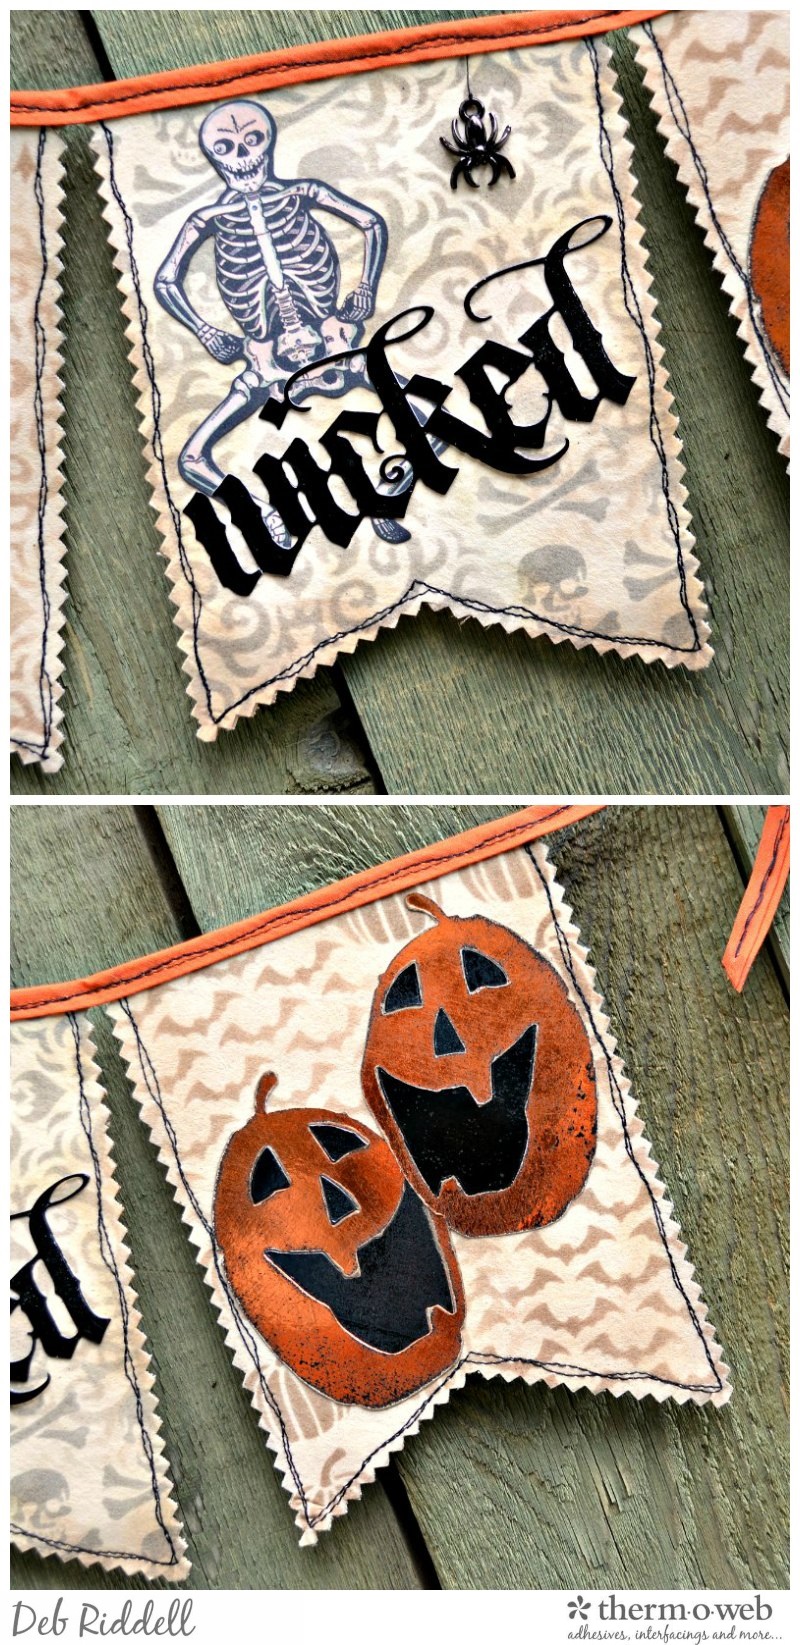 Finally, adhere the two smaller die cut foiled pumpkins onto the last banner, overlapping them slightly.
I hope that you've enjoyed seeing how my Frightfully Wicked Halloween banner came together and that you've been inspired to make one of your own, what a fun decoration for the upcoming Halloween festivities!
Finally, adhere the two smaller die cut foiled pumpkins onto the last banner, overlapping them slightly.
I hope that you've enjoyed seeing how my Frightfully Wicked Halloween banner came together and that you've been inspired to make one of your own, what a fun decoration for the upcoming Halloween festivities!
 Thanks again for stopping by today and as always, happy creating!
Deb xo
Thanks again for stopping by today and as always, happy creating!
Deb xo