No Products in the Cart
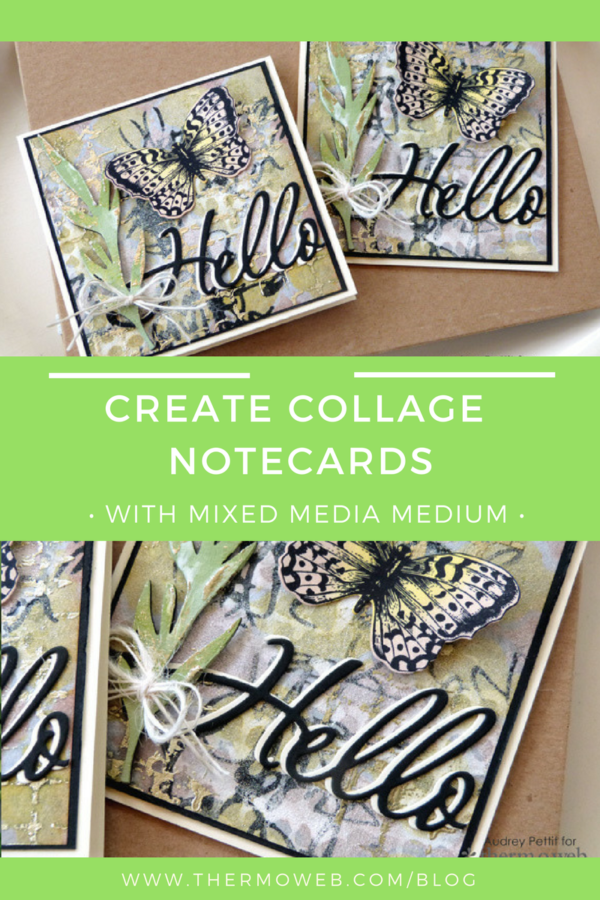
 Mixed Media art is all about building up layers of texture and detail to create unique designs using a variety of different mediums. Today I'll share with you how I created these botanic-inspired collage style notecards using the new Rebekah Meier Mixed Media collection for Therm O Web. It's a fun process, and a little bit messy, and the best thing is, you'll create truly one-of-a-kind art pieces every time you give it a try.

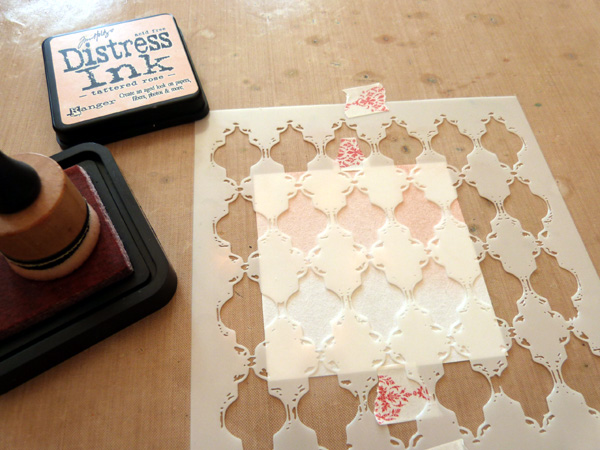 Working on a non-stick craft surface, secure the Art Paper with a bit of washi tape to hold it in place, and then tape down a stencil over the top. Apply ink to the art paper using an ink blending tool.
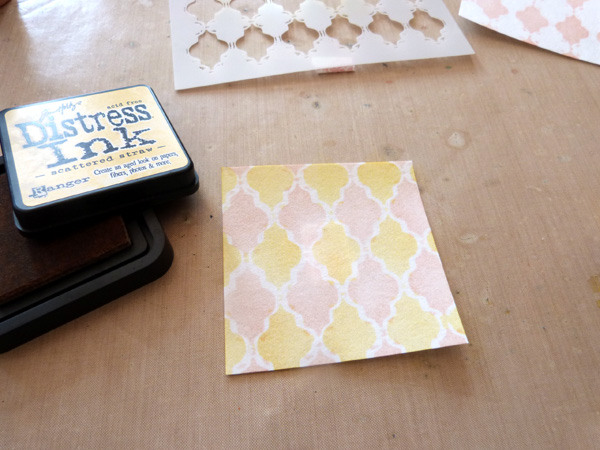 Remove the stencil and clean off the surface with a damp wipe. Place the stencil down onto the art paper again, this time moving the stencil to fill in the voids, and tape it down. Add a contrasting ink color to the stencil using the ink blending tool.
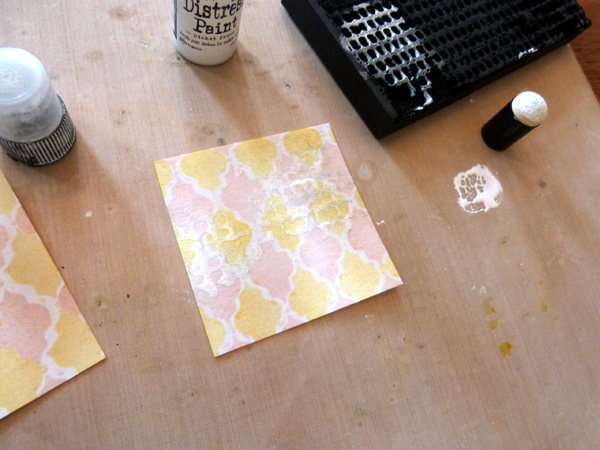 Now build up the layers by applying stamp images to random areas of the art paper using paint. I added a mesh design to my pieces in white paint first. While the paint is still wet, pour white embossing powder over it, and then heat set the powder. The embossing powder will help the subtle white pattern stand out a bit more against the colored background.
[tooltip text="TooltipText"]*Tip: Be sure to wash the paint off of the stamps immediately.[/tooltip]
Now build up the layers by applying stamp images to random areas of the art paper using paint. I added a mesh design to my pieces in white paint first. While the paint is still wet, pour white embossing powder over it, and then heat set the powder. The embossing powder will help the subtle white pattern stand out a bit more against the colored background.
[tooltip text="TooltipText"]*Tip: Be sure to wash the paint off of the stamps immediately.[/tooltip]
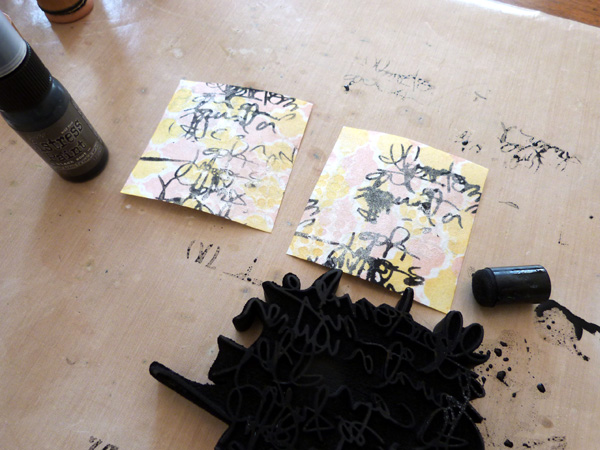 Add a second random layer of stamped detail using a script art stamp and black paint.
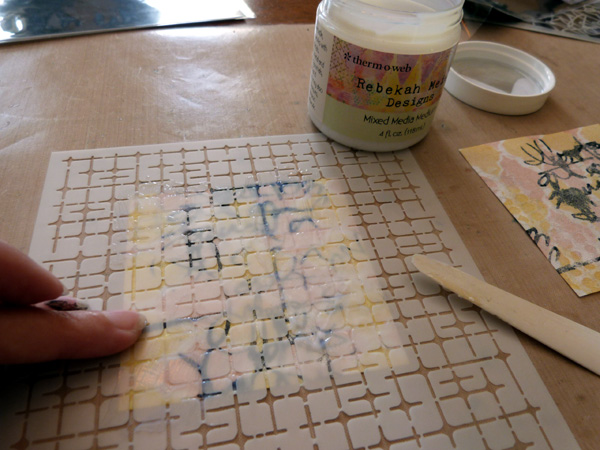 Place another stencil over the art paper, and apply Mixed Media Medium to random spots using a palette knife. Set the art paper aside to dry until the medium becomes tacky to the touch, and go wash off the stencil and palette knife with warm, soapy water.
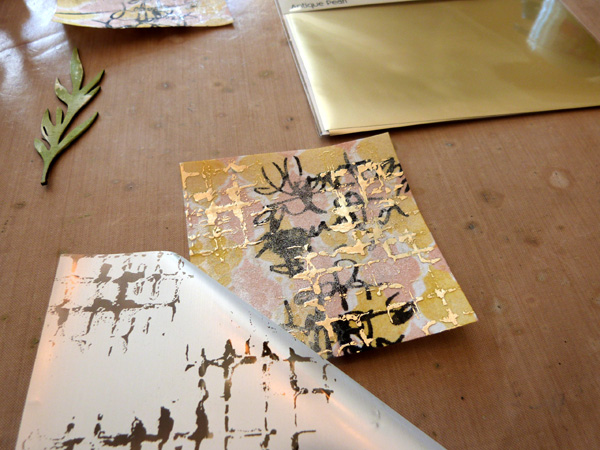 When the Mixed Media Medium is dry and tacky, place a sheet of Mixed Media Transfer Foil onto the art paper, with the silver side down and the colored side up. Burnish the foil with the tip of your finger, and peel off the foil. If you missed any spots, simply press the foil back down and burnish the area again.
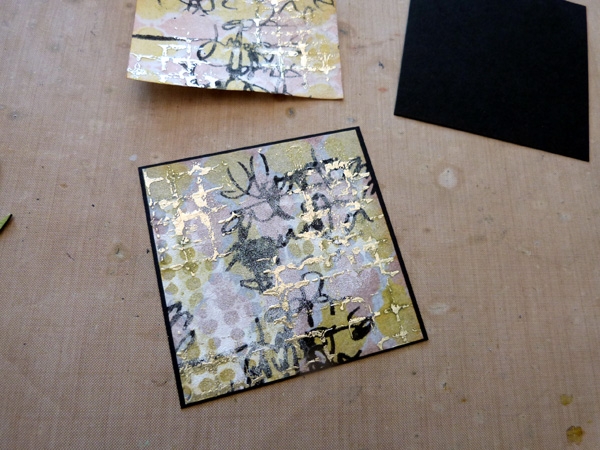 Trim a panel of black cardstock to fit. Peel off the backing to the art paper, and adhere it to the mat. Adhere this panel to the ivory note card base using XL Memory Tape Runner adhesive.
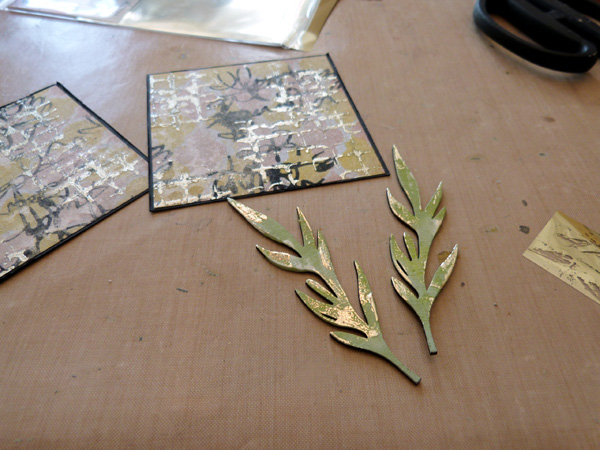 Paint botanical chipboard die cuts with green paint and allow to dry. Swipe a bit of white paint over random areas, and allow this paint to dry, too. Then apply a small amount of Mixed Media Medium to the leaves, and set them aside until dry and tacky to the touch. Once dry, press Transfer Foil onto the leaves and burnish with your finger.
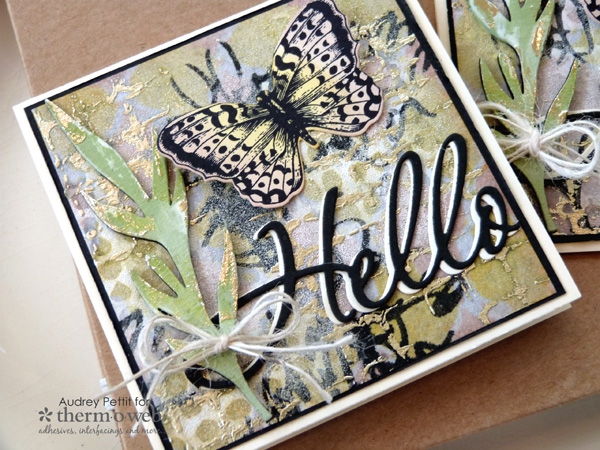
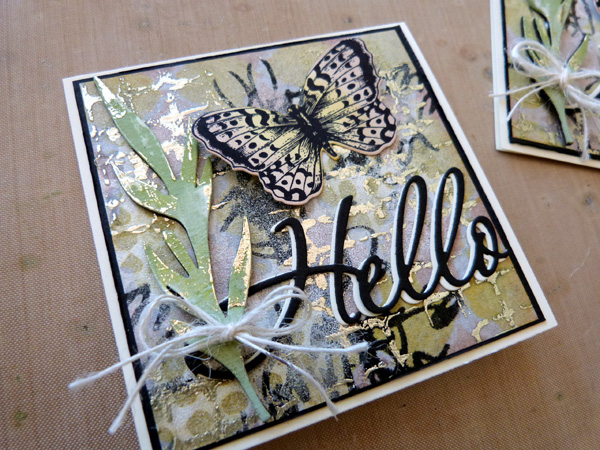 Die cut a sentiment one from black cardstock and once from ivory. Adhere the two together with a slight offset, and then adhere the sentiment to the bottom of the card. Tie twine around the base of the leaves and adhere the leaves to the left side of the note card using the Mixed Media Medium. Stamp and die cut a butterfly. Add a bit of ink to color the image using the ink blending tool. Lightly bend up the wings of the butterfly, and adhere it to the card base using the liquid medium.
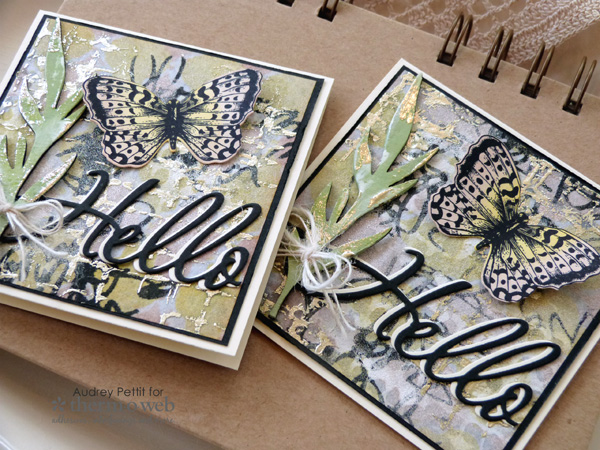 Enjoy!