No Products in the Cart
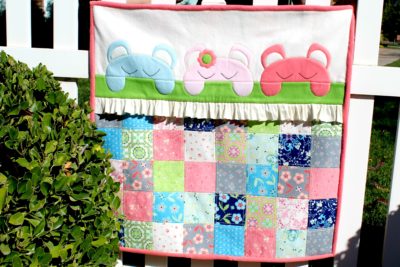
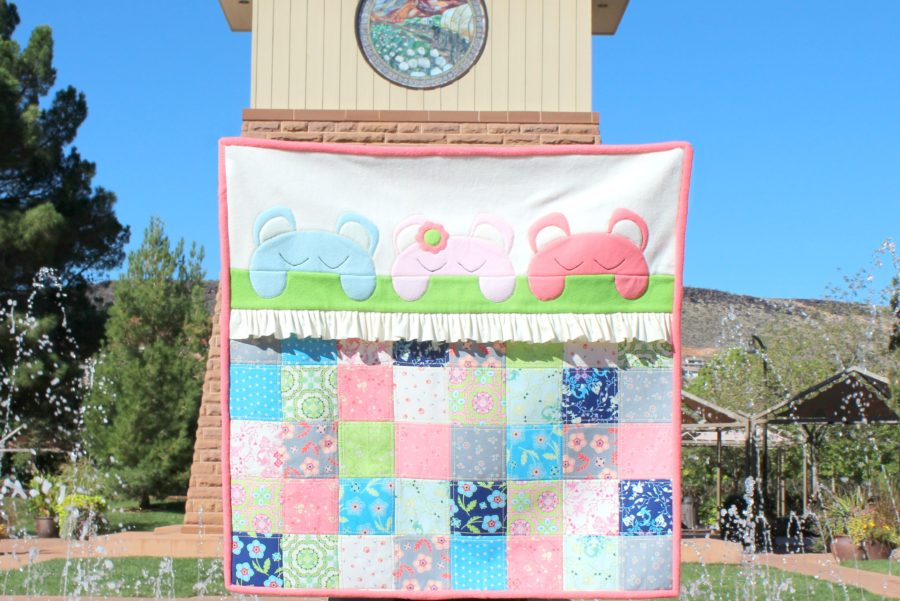
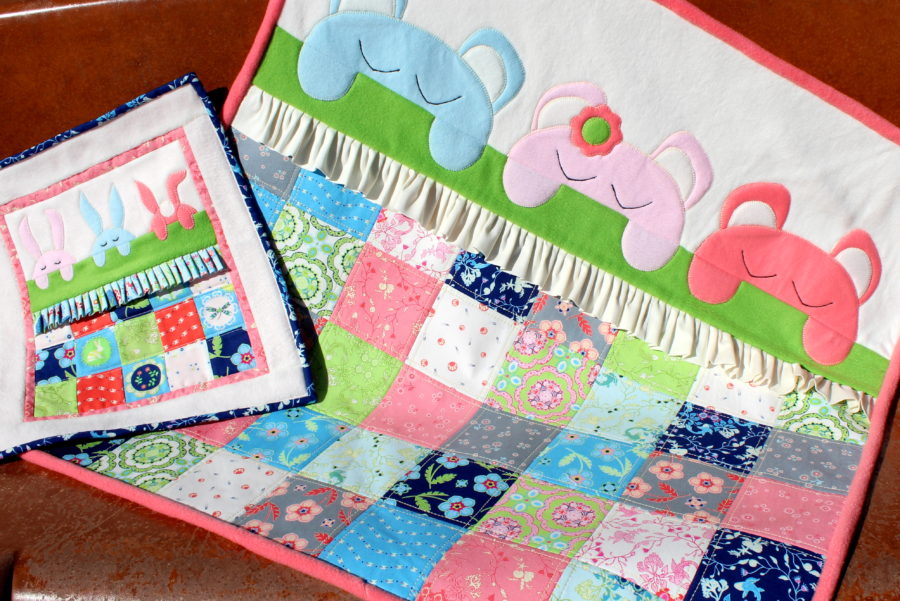
 Three Bears Snuggle - Finished size: 32” x 32”
 *Patterns were designed to be used with stretch and cotton fabrics, but they can be made using only stretch or only cotton fabrics.
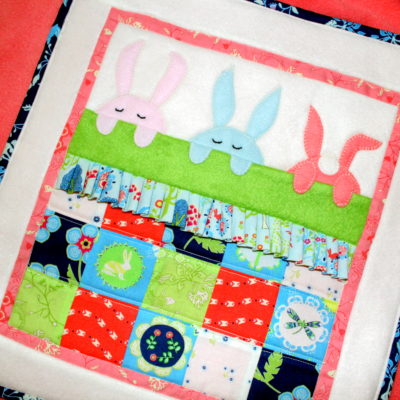
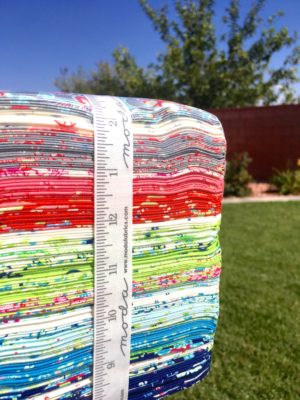
Fabrics used in both quilts are from Moda’s Manderley designs by Franny and Jane. The fabrics make these little Snuggles even more adorable! Every fabric is so beautiful with such sweet designs and bright colors.
*Patterns were designed to be used with stretch and cotton fabrics, but they can be made using only stretch or only cotton fabrics.
Fabrics used in both quilts are from Moda’s Manderley designs by Franny and Jane. The fabrics make these little Snuggles even more adorable! Every fabric is so beautiful with such sweet designs and bright colors.
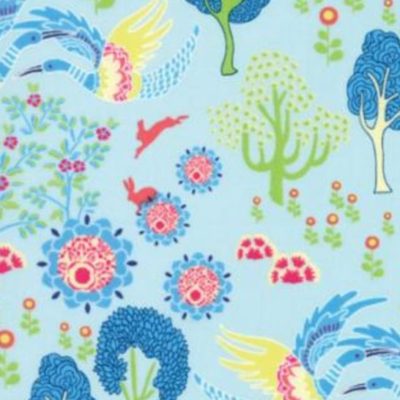
 If you look close, you’ll even see a couple of bunnies in one of the prints.
 What you’ll need for both quilts:
Therm O Web Spray n Bond® Basting Adhesive
Therm O Web Stitch n Sew™ Fleece Sew-in High Loft/Batting
Therm O Web Heat n Bond® Soft Stretch
Optional: Heat n Bond® Fusible Interfacing – Light Weight
Fabric – Cottons, knits, fleece, and/or flannel
Embroidery thread
Sleepy Bunny Snuggle Cutting Instructions:
Cut 1 – 4” x 10½” fleece strip (top row)
Cut 1 – 2” x 10½” fleece strip (row above ruffle)
Cut 1 – 3” x 36” cotton print strip (ruffle)
Cut 15 - 2½” x 2½” various cotton print squares
Cut 4 – 1” x 11½” cotton print strip (inner border)
Cut 2 – 2” x 12½” cotton print strip (outer border)
Cut 2 – 2” x 14½” fleece strip (outer border)
Cut 2 – 2½” x 44” strips (binding)
Cut 1 – 14½” x 15½” for backing (or larger if needed for special quilting)
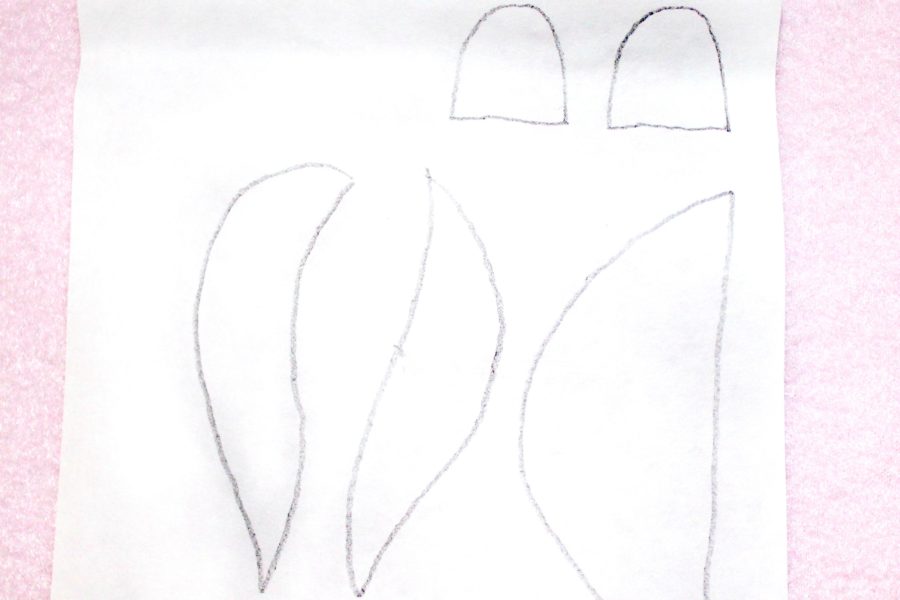
Cut 3 bunnies using templates – fleece
Three Bears Snuggle Cutting Instructions:
Cut 1 – 9½” x 32½” fleece strip (top row)
Cut 1 – 3½” x 32½” fleece strip (row above ruffle)
Cut 2 – 5½” x 36” cotton print strip (ruffle)
Cut 40 - 4½” x 4½” various cotton print squares
Cut 4 – 2½” x 44” strips (binding)
Cut 1 – backing
Cut 3 bears using templates – fleece
What you’ll need for both quilts:
Therm O Web Spray n Bond® Basting Adhesive
Therm O Web Stitch n Sew™ Fleece Sew-in High Loft/Batting
Therm O Web Heat n Bond® Soft Stretch
Optional: Heat n Bond® Fusible Interfacing – Light Weight
Fabric – Cottons, knits, fleece, and/or flannel
Embroidery thread
Sleepy Bunny Snuggle Cutting Instructions:
Cut 1 – 4” x 10½” fleece strip (top row)
Cut 1 – 2” x 10½” fleece strip (row above ruffle)
Cut 1 – 3” x 36” cotton print strip (ruffle)
Cut 15 - 2½” x 2½” various cotton print squares
Cut 4 – 1” x 11½” cotton print strip (inner border)
Cut 2 – 2” x 12½” cotton print strip (outer border)
Cut 2 – 2” x 14½” fleece strip (outer border)
Cut 2 – 2½” x 44” strips (binding)
Cut 1 – 14½” x 15½” for backing (or larger if needed for special quilting)
Cut 3 bunnies using templates – fleece
Three Bears Snuggle Cutting Instructions:
Cut 1 – 9½” x 32½” fleece strip (top row)
Cut 1 – 3½” x 32½” fleece strip (row above ruffle)
Cut 2 – 5½” x 36” cotton print strip (ruffle)
Cut 40 - 4½” x 4½” various cotton print squares
Cut 4 – 2½” x 44” strips (binding)
Cut 1 – backing
Cut 3 bears using templates – fleece
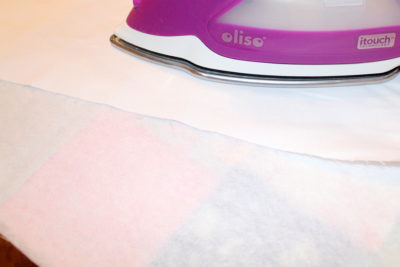
 Follow the package directions to iron adhesive pieces to the wrong sides of the fabrics. *When ironing on the fleece, it is important to cover it with a pressing cloth before ironing to avoid melting fabrics or marks from iron.
 Step 3: Line up paws on raw edges of fleece strip (row above the ruffle.) Cover with pressing cloth and press paws in place.
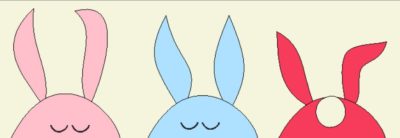
Step 4: Sew bear/bunny row to paws strip. Cover with pressing cloth and press seam row down. Sew a blanket stitch, zig-zag stitch, or straight line around bear/bunny pieces.
Step 5: Sew squares of various prints together to create one row. Continue to sew squares together to create rows. Press seams to the side.
Step 6: Sew rows together, matching and nesting seams. Cover with pressing cloth and press seams down.
Step 7: Sew cotton print strips (ruffle) together lengthwise. Fold strip for ruffle in half lengthwise. Press on the fold. Using a machine gathering foot or a basting stitch, gather raw edges to create a ruffle.
Step 8: Baste raw edges of the ruffle to the top edge of the square row section. Trim off excess ruffle.
Step 9: With the right sides together, sew the bear/bunny row section to the ruffled section. Press seam down.
Step 3: Line up paws on raw edges of fleece strip (row above the ruffle.) Cover with pressing cloth and press paws in place.
Step 4: Sew bear/bunny row to paws strip. Cover with pressing cloth and press seam row down. Sew a blanket stitch, zig-zag stitch, or straight line around bear/bunny pieces.
Step 5: Sew squares of various prints together to create one row. Continue to sew squares together to create rows. Press seams to the side.
Step 6: Sew rows together, matching and nesting seams. Cover with pressing cloth and press seams down.
Step 7: Sew cotton print strips (ruffle) together lengthwise. Fold strip for ruffle in half lengthwise. Press on the fold. Using a machine gathering foot or a basting stitch, gather raw edges to create a ruffle.
Step 8: Baste raw edges of the ruffle to the top edge of the square row section. Trim off excess ruffle.
Step 9: With the right sides together, sew the bear/bunny row section to the ruffled section. Press seam down.
 Finishing the quilt without batting: Lay quilt backing with right side down on protective cloth or paper (to prevent overspray.) Spray the wrong side of the fabric with Therm O Web Spray and Bond Basting Adhesive following manufacturer’s directions. Lay quilt top, wrong side down, on the wrong side of the quilt backing. Smooth to remove wrinkles and creases. Quilt as desired. Add binding using your favorite method.
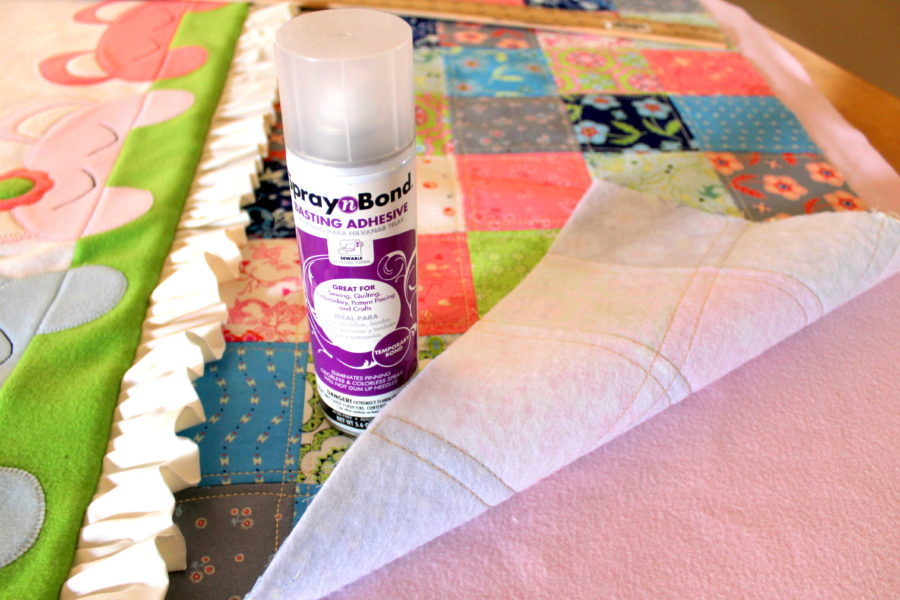 Finishing the quilt with batting: Lay quilt backing with right side down on protective cloth or paper (to prevent overspray.) Spray the wrong side of backing with Therm O Web Spray and Bond Basting Adhesive following manufacturer’s directions. Lay the batting on backing and smooth to remove wrinkles and creases. Spray the batting with Therm O Web Spray and Bond Basting Adhesive. Lay quilt top, wrong side down, on sprayed batting. Smooth to remove wrinkles and creases. Quilt as desired. Add binding using your favorite method.
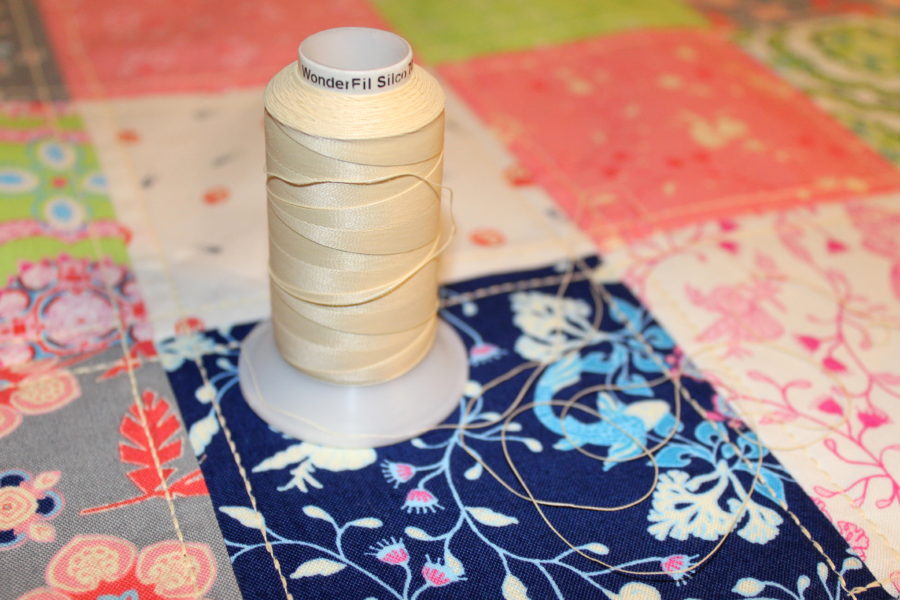
Quilting: Three Bears Snuggle was quilted using Wonderfil SC07 Cream, 35 wt 100% lint-free cotton thread. It was just the right thickness and was amazing to sew with!
Finishing the quilt with batting: Lay quilt backing with right side down on protective cloth or paper (to prevent overspray.) Spray the wrong side of backing with Therm O Web Spray and Bond Basting Adhesive following manufacturer’s directions. Lay the batting on backing and smooth to remove wrinkles and creases. Spray the batting with Therm O Web Spray and Bond Basting Adhesive. Lay quilt top, wrong side down, on sprayed batting. Smooth to remove wrinkles and creases. Quilt as desired. Add binding using your favorite method.
Quilting: Three Bears Snuggle was quilted using Wonderfil SC07 Cream, 35 wt 100% lint-free cotton thread. It was just the right thickness and was amazing to sew with!
 Making a matched set of the Sleepy Bunny Snuggle and Three Bears Snuggle would make a perfect baby gift!
 You can find the templates and PDF instructions separately at Just Carol’s Etsy Pattern Store HERE.
Written by Carol Swift