No Products in the Cart
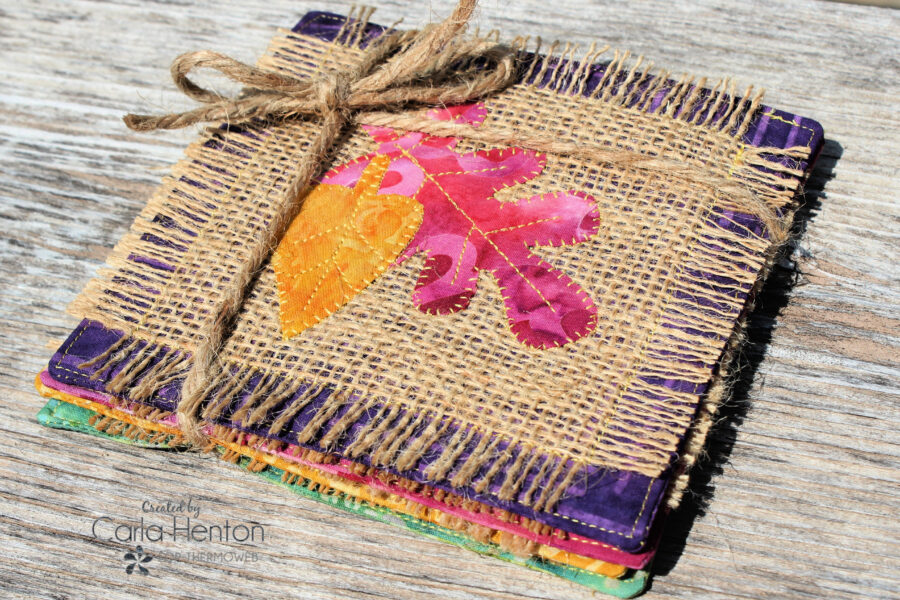
 Quilted coasters are always fun and quick to make, but making them in fall colors to warm up decor is even better. Carla from Creatin’ in the Sticks is on the blog today to show how to make these adorable HeatNBond Fall Fabric Coasters. They are so quick with HeatNBond EZ Print Lite that there will be time to make a set for a gift and a set for yourself too.
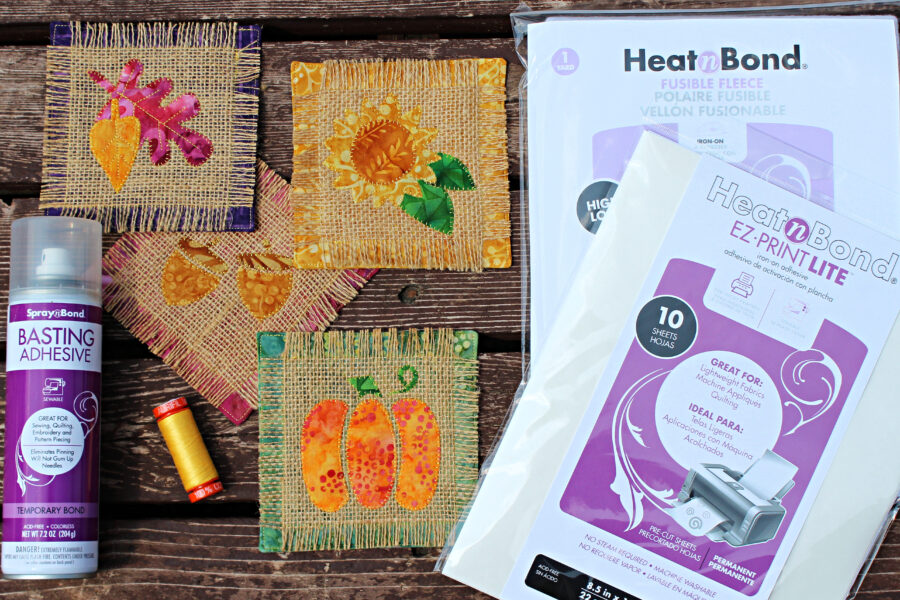
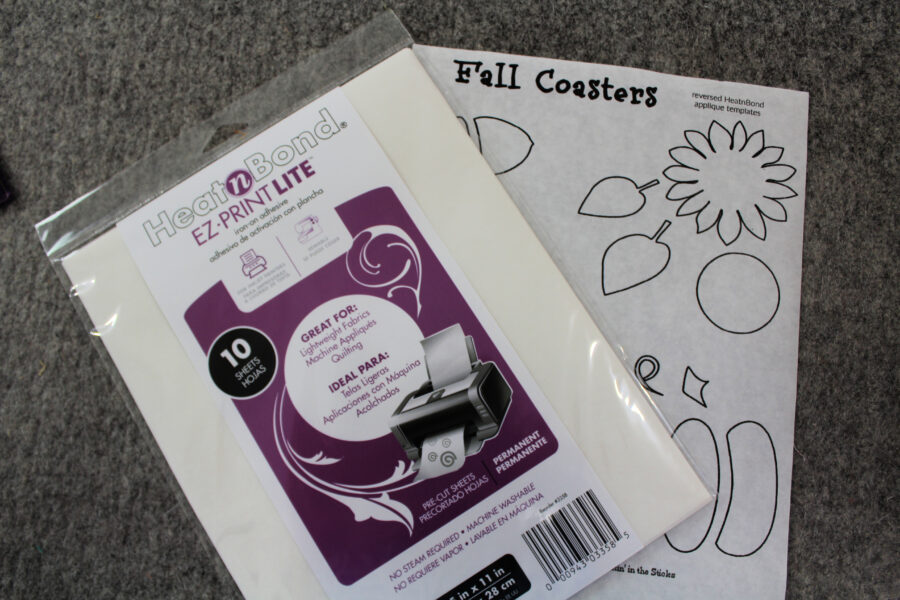
 Print the FREE PDF templates - Fall Coasters reversed HeatnBond applique templates
HeatnBond EZ Print Lite iron-on adhesive - 1 sheet or HeatnBond Lite Fusible Adhesive if you want to trace the templates
HeatnBond Fusible Fleece - cut four – 5” squares
SpraynBond Basting Adhesive Fabric Spray
Print the FREE PDF templates - Fall Coasters reversed HeatnBond applique templates
HeatnBond EZ Print Lite iron-on adhesive - 1 sheet or HeatnBond Lite Fusible Adhesive if you want to trace the templates
HeatnBond Fusible Fleece - cut four – 5” squares
SpraynBond Basting Adhesive Fabric Spray
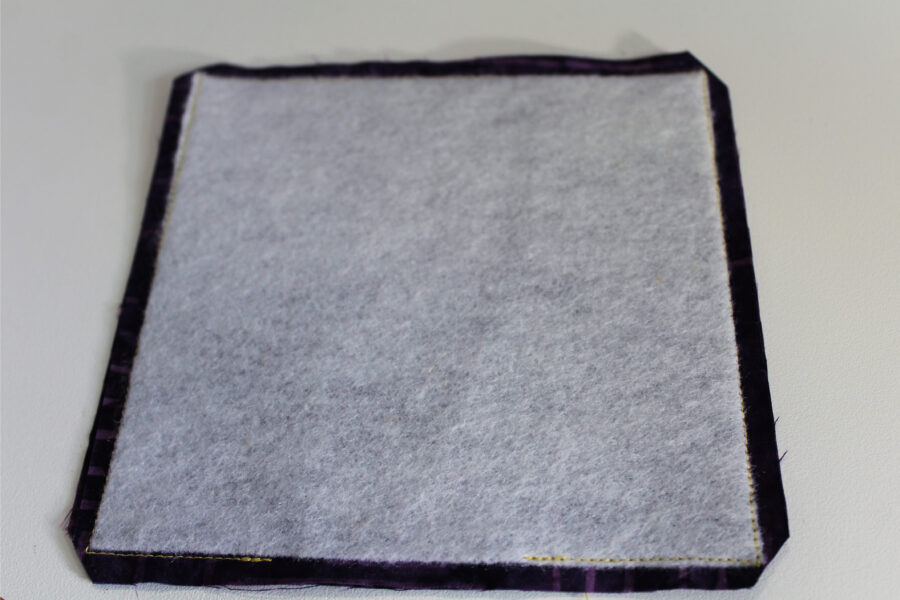 Clip the corners and turn each coaster right side out and press making sure the corners are pushed out. Press the opening shut by turning the edges inside 1/4″ and edge stitch around the coaster.
Next, spray the center of the fabric coaster with a 2" circle of SpraynBond Basting Adhesive.
Clip the corners and turn each coaster right side out and press making sure the corners are pushed out. Press the opening shut by turning the edges inside 1/4″ and edge stitch around the coaster.
Next, spray the center of the fabric coaster with a 2" circle of SpraynBond Basting Adhesive.
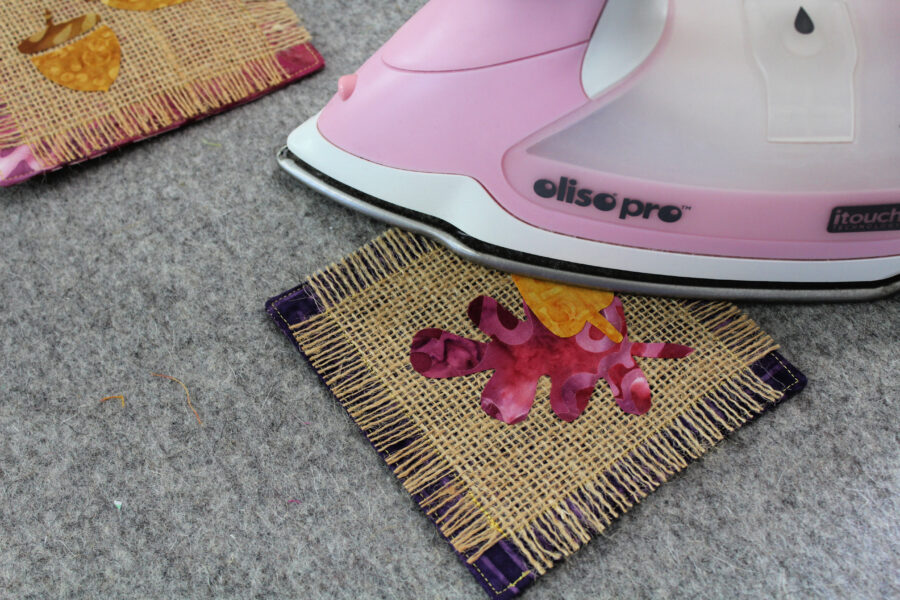
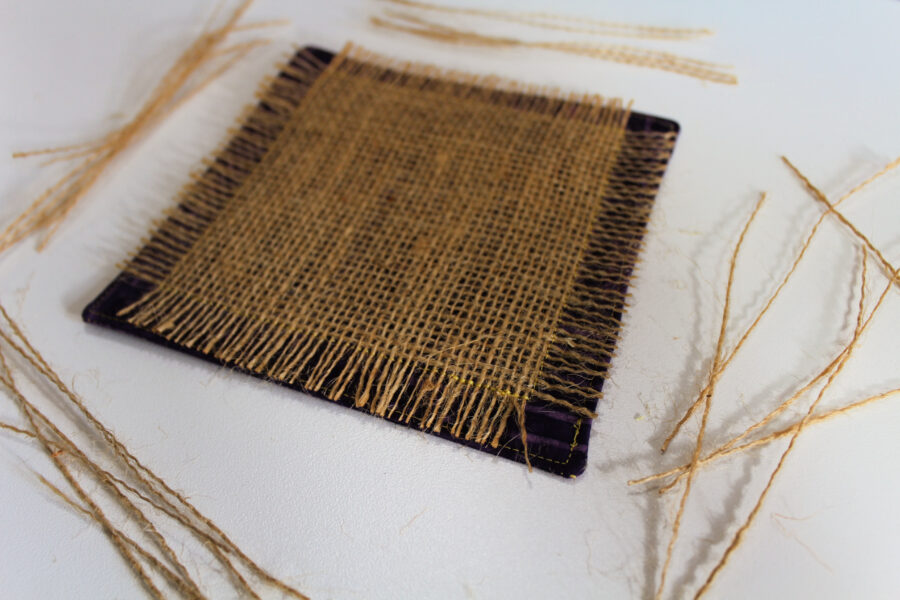
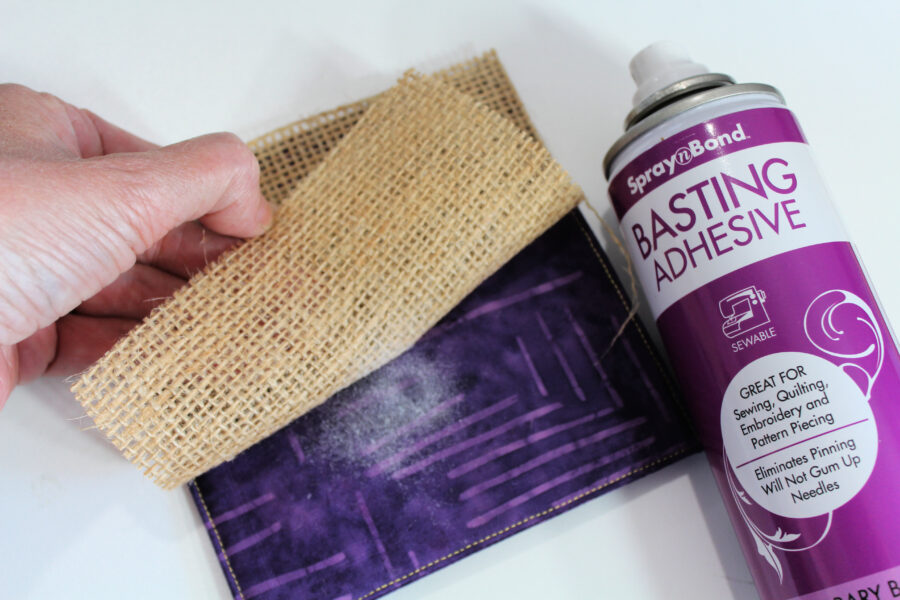 After the Basting Adhesive is sprayed, the next step is to press a 5" square of burlap on top of the adhesive with fingers. Stitch 1" from the edge around the burlap with Aurifil thread. Carefully unravel the loose edges of the burlap.
 Follow the package instructions for printing and bonding the HeatnBond Lite to the wrong side of the fabrics.
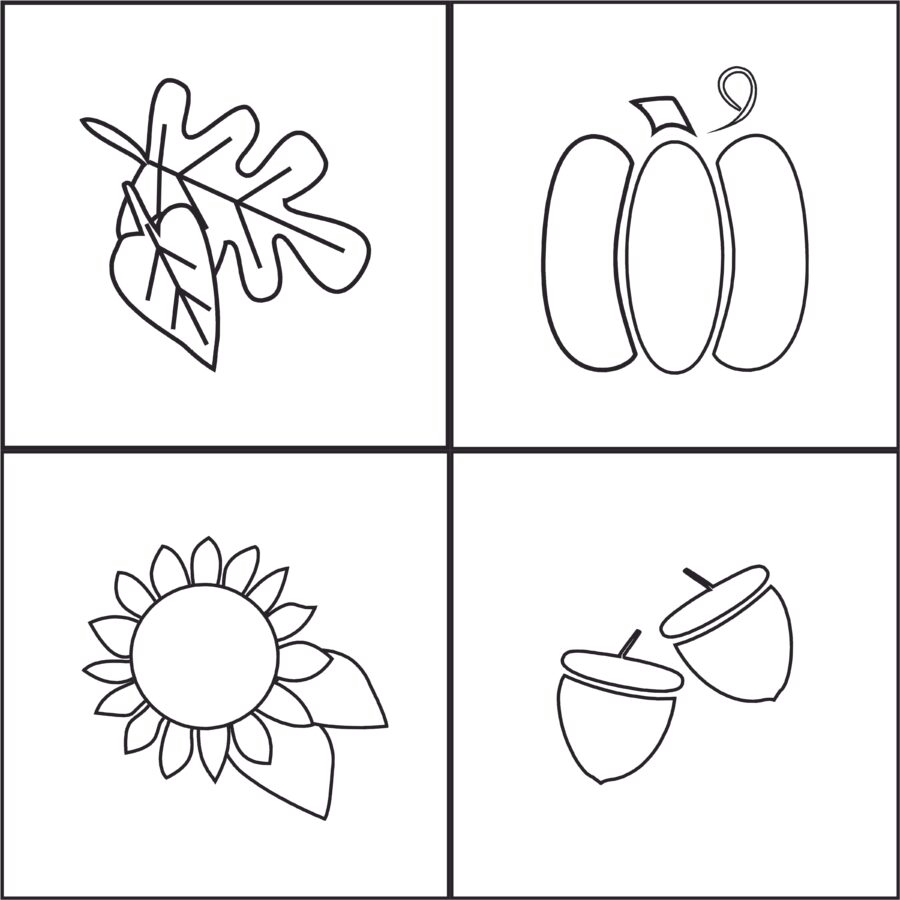
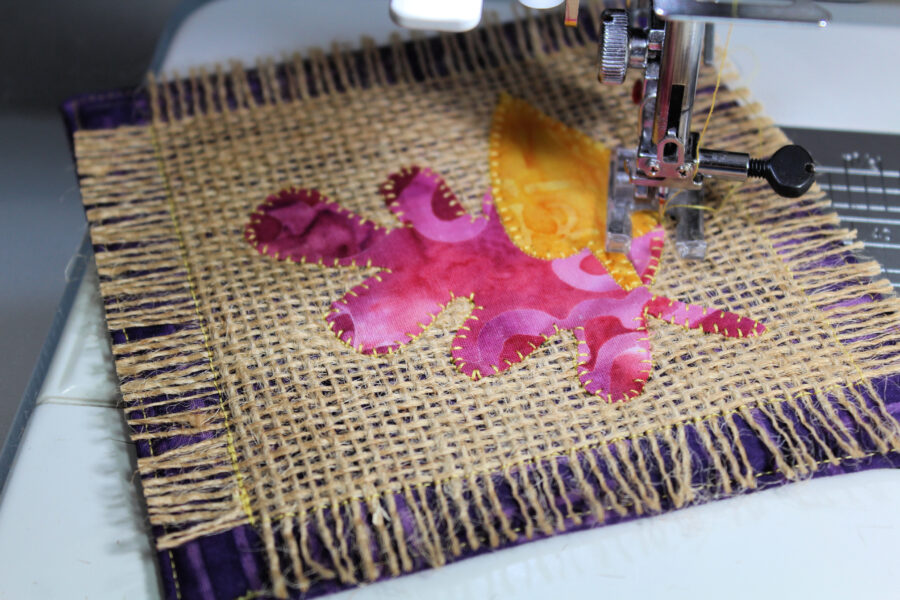
After the HeatNBond pieces are bonded to the fabrics, cut out all applique pieces on the solid black lines, peel off the backing paper, and place applique with the adhesive side down on the 5” x 5” prepared background piece of burlap on the top side of the coaster.
This is the layout key to place the pieces - not actual size:
Follow the package instructions for printing and bonding the HeatnBond Lite to the wrong side of the fabrics.
After the HeatNBond pieces are bonded to the fabrics, cut out all applique pieces on the solid black lines, peel off the backing paper, and place applique with the adhesive side down on the 5” x 5” prepared background piece of burlap on the top side of the coaster.
This is the layout key to place the pieces - not actual size: