No Products in the Cart



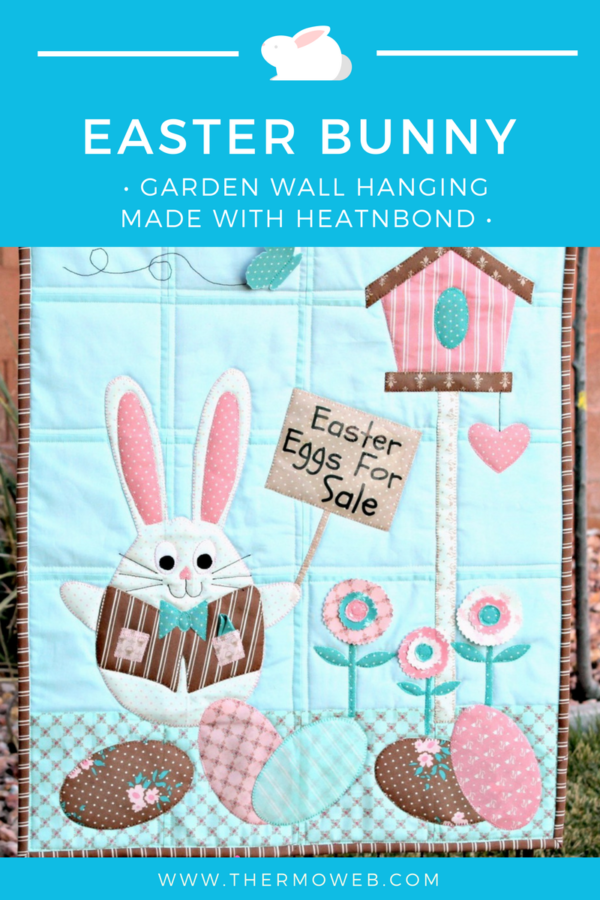
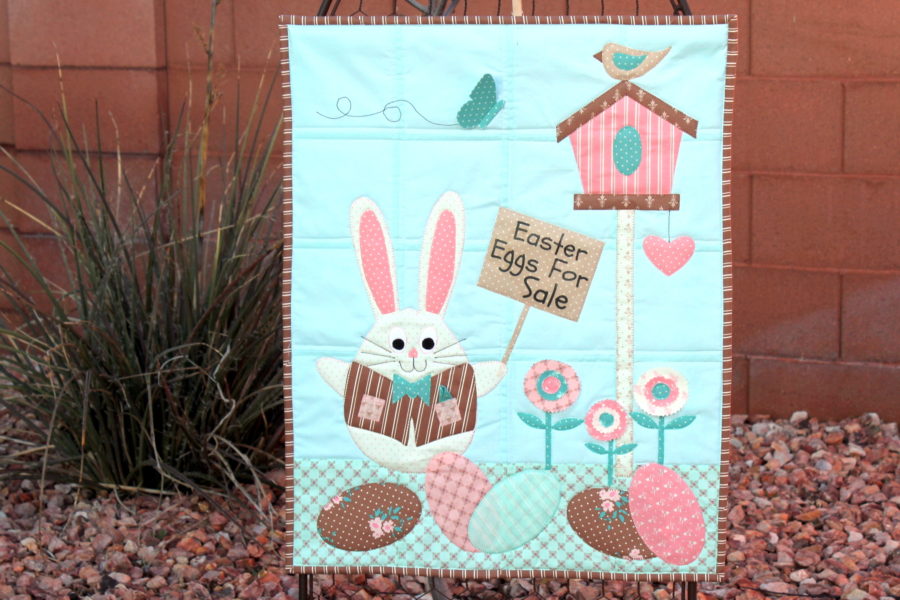
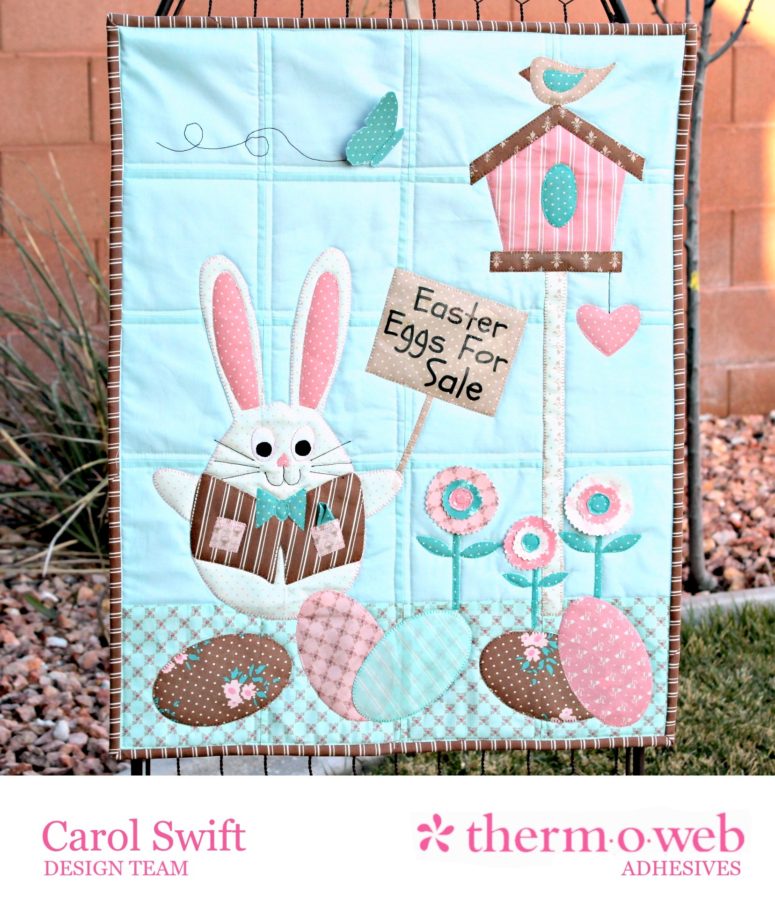 Using different ThermOWeb products makes it easy to put together and can add some interesting dimension to any quilt or wall hanging. The Stitch n Sew Fleece Sew-in High Loft/Batting makes it lightweight and is a breeze to quilt over.
 Iron applique pieces to wrong side of fabrics with a medium heat iron, no steam. Press for 2 seconds. Repeat until all surfaces have been bonded to the fabric. Let cool. Cut out applique pieces.
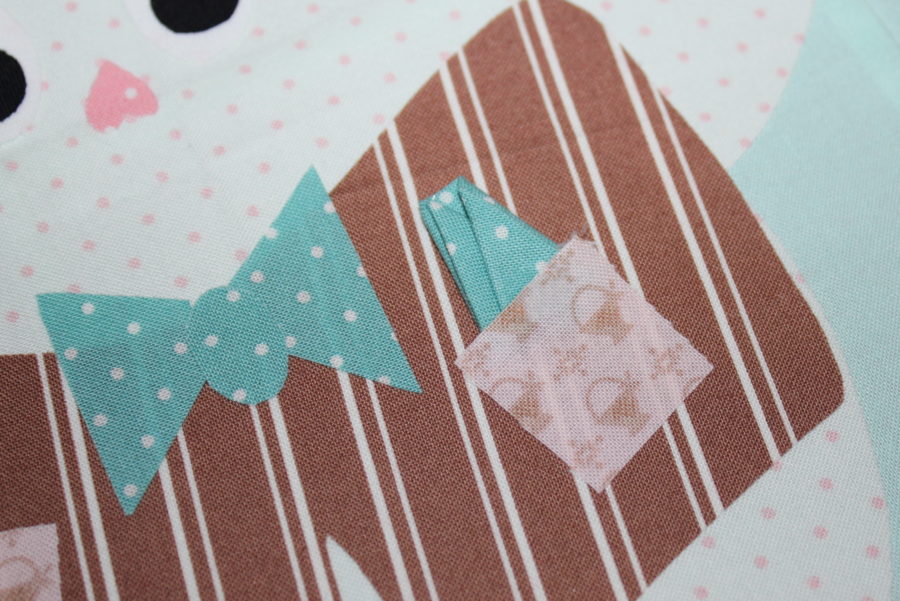
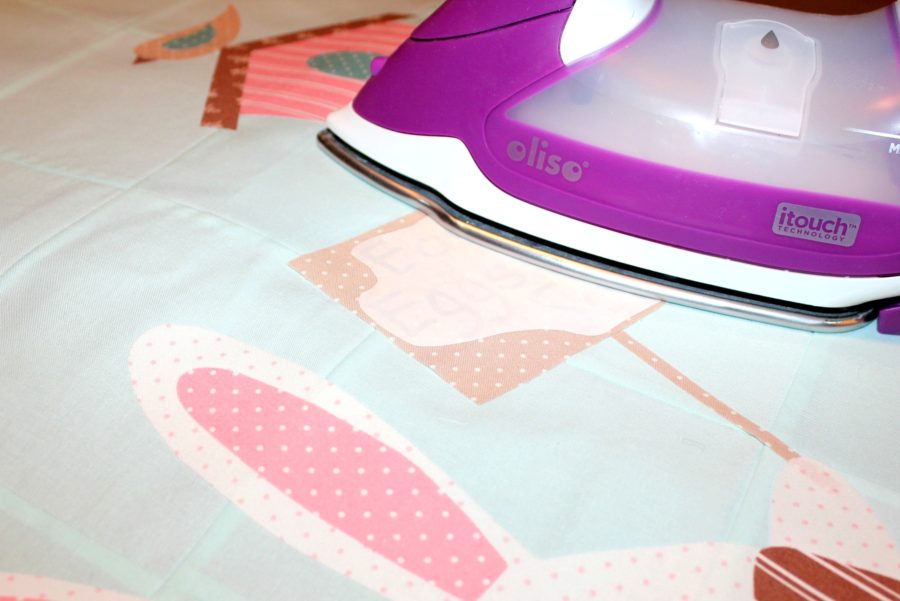
Peel off paper liner on the back of applique pieces. Position applique pieces, adhesive side down, on fabric’s right side on the center block as shown below. Press and hold iron for 6 seconds on each section until the entire piece is bonded. Let cool. Sew around edges of appliques using a straight, zig-zag, or blanket stitch. It’s optional to tuck a 2” square of fabric that’s been folded under one of the pockets before appliqueing in place.
Iron applique pieces to wrong side of fabrics with a medium heat iron, no steam. Press for 2 seconds. Repeat until all surfaces have been bonded to the fabric. Let cool. Cut out applique pieces.
Peel off paper liner on the back of applique pieces. Position applique pieces, adhesive side down, on fabric’s right side on the center block as shown below. Press and hold iron for 6 seconds on each section until the entire piece is bonded. Let cool. Sew around edges of appliques using a straight, zig-zag, or blanket stitch. It’s optional to tuck a 2” square of fabric that’s been folded under one of the pockets before appliqueing in place.
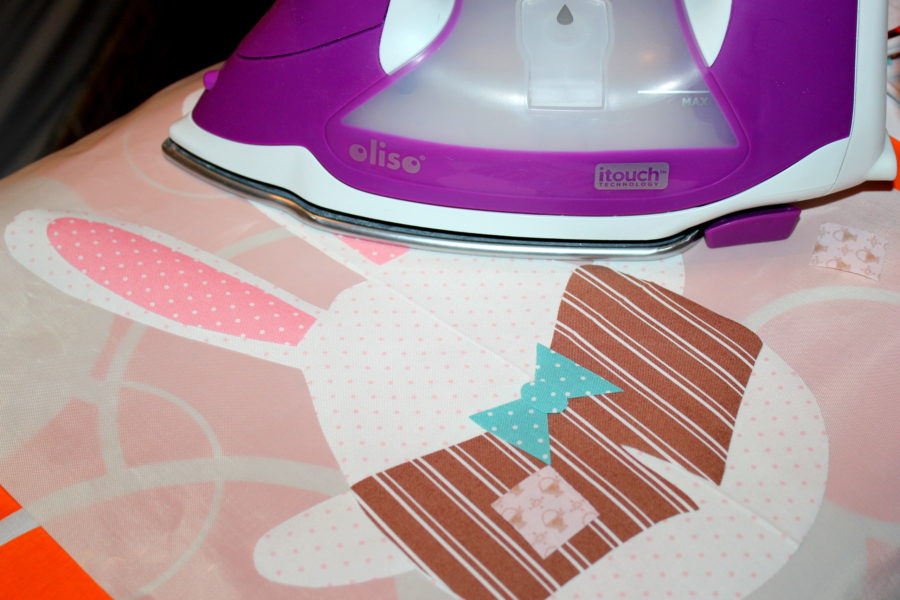
 Tip: Using a heatproof sheet for applique allows you to assemble the cut pieces before ironing them on to the quilt block.
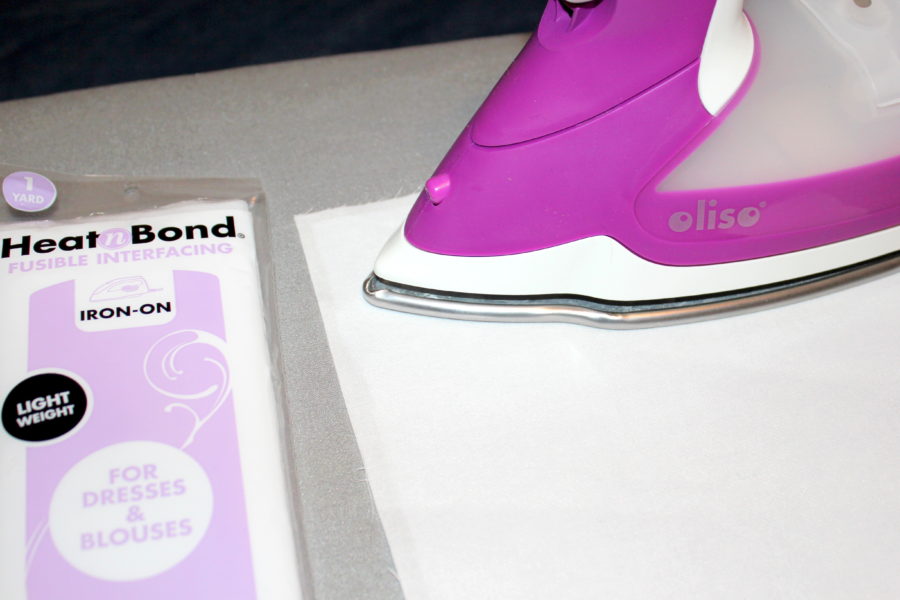
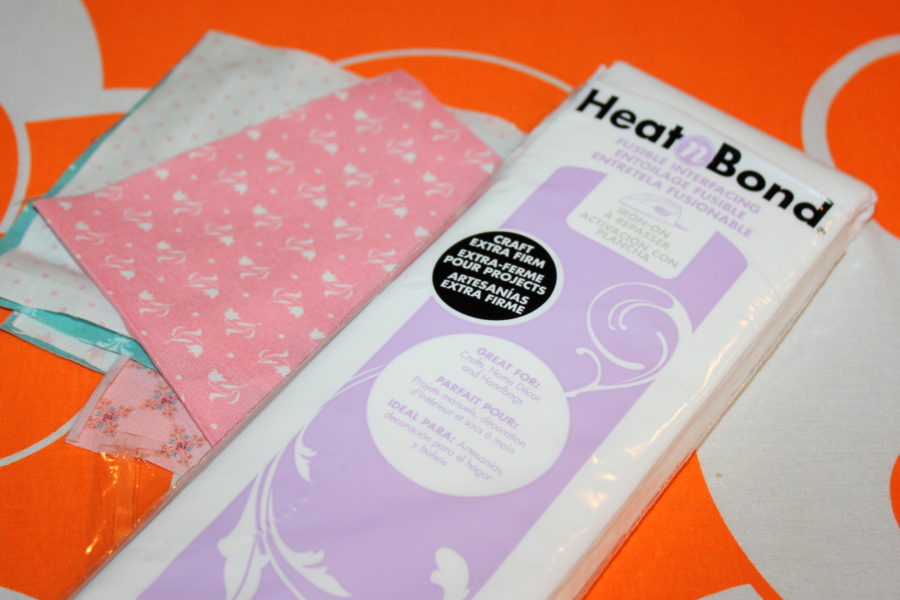
 Heat n Bond Fusible Interfacing – Light Weight ironed to the back of fabric before applying adhesive helps stabilize the fabric when sewing on applique pieces, keeps threads from showing through and helps maintain fabric size. Iron at medium heat setting with steam. Cut interfacing to the size needed for the pattern. Place the rough side of the fusible interfacing onto the wrong side of the fabric. Cover with pressing cloth. Press and hold iron with medium pressure for 10-15 seconds. Repeat by lifting the iron to the new area and pressing, slightly overlapping the previous area until the entire surface is bonded. Let cool.
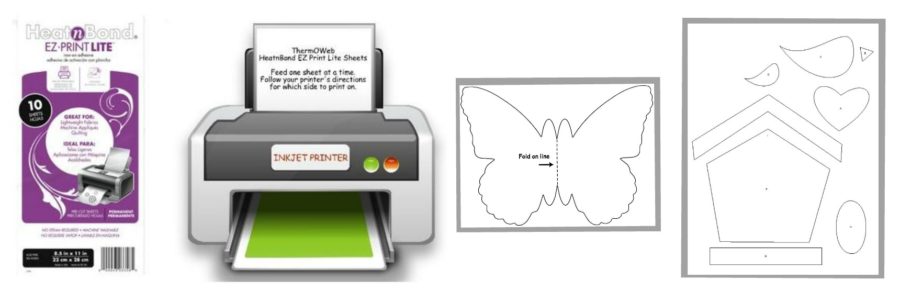
 Heat n Bond EZ Print Transfer Sheets: Lettering on sign can be hand embroidered or for a quick and easy method use Heat n Bond EZ Print Transfer Sheets to add lettering to the project. Print lettering on transfer sheets using your inkjet printer. Be sure to reverse the lettering before printing. Cut around the lettering and round the corners to help prevent lifting after they are ironed on.
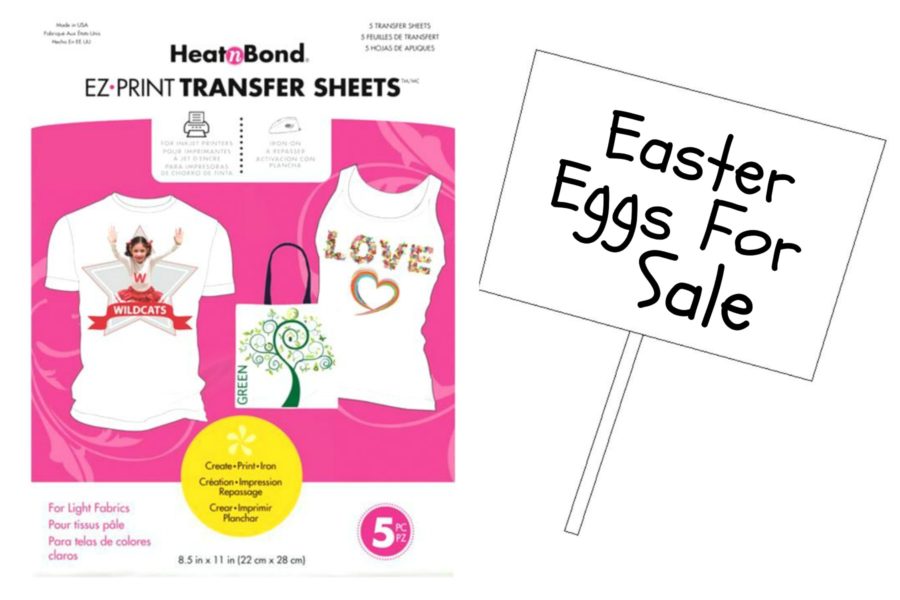 Place transfer on sign fabric rectangle with lettering face down. Iron following package directions. Let cool. DO NOT REMOVE PROTECTIVE PAPER. Iron sign with lettering to the center block. Let cool. Remove the protective paper. Do not iron over lettering when pressing other parts of the quilt/wall hanging!
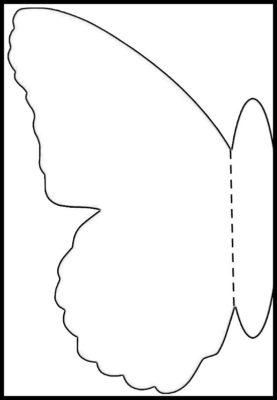
 Heat n Bond Lite, Iron-on Adhesive: Applique pieces can be quickly traced on Heat n Bond Lite, Iron-on Adhesive. To create the dimensional butterfly, press adhesive on the wrong side of fabric following applique instructions above. Let cool. Cut out the butterfly. Remove the protective paper and fold online with adhesive facing inside; match edges. Press together for 6 seconds; trim if necessary.
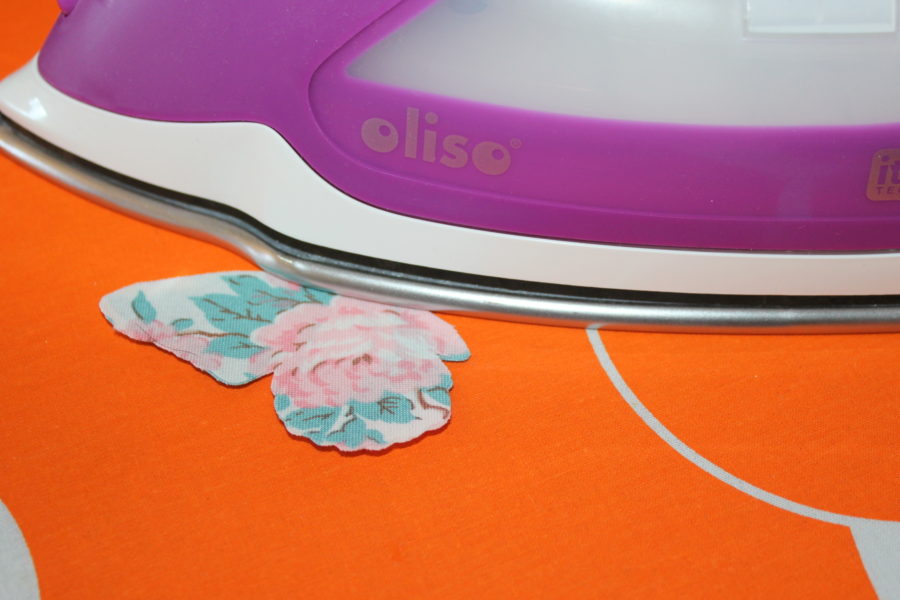 Straight stitch between body and wings only to secure butterfly to the center block. Wings are not sewn down to give it more of a dimensional look.
 Heat n Bond Fusible Interfacing – Heavy Weight and Therm O Web Fabric Fuse Liquid Adhesive: To add more strength to a piece, like the flowers, fuse Heat n Bond Fusible Interfacing – Heavy Weight to the back of flower petal fabrics.
 Cut out circles. Use pinking shears around the edges of circles if desired. Layer flowers over the flower stems and leaves. To hold fabric flower circles in place before sewing, place a dab of Therm O Web Fabric Fuse Liquid Adhesive in the middle of each circle as you layer them.
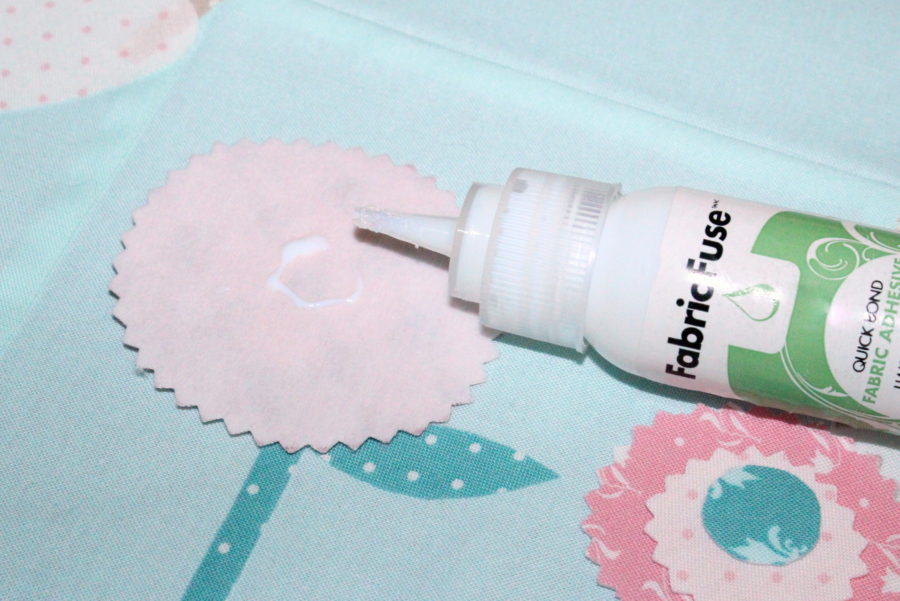 Zig-zag, blanket stitch or straight stitch around the middle of the smallest circle on top of flowers. Do not sew around the edges of the big circles.
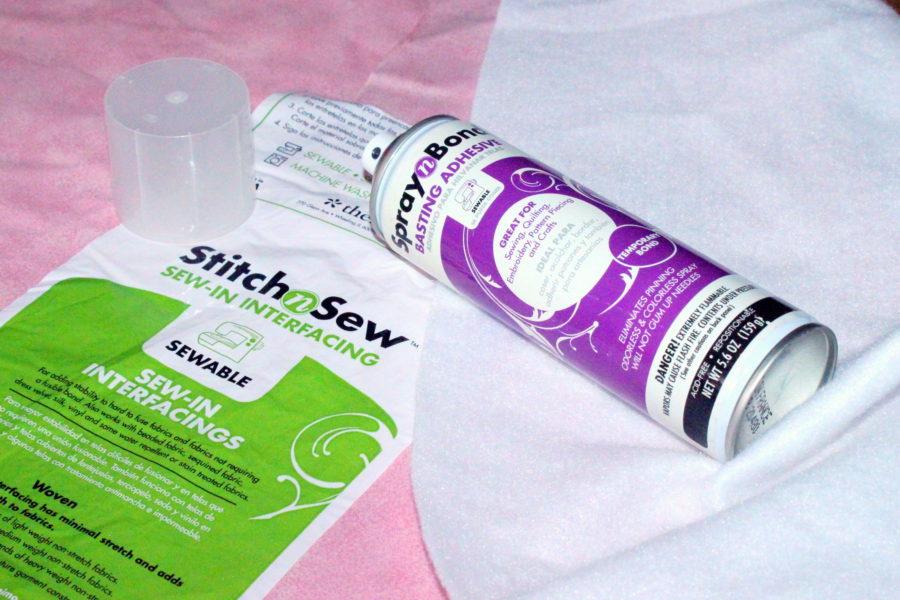
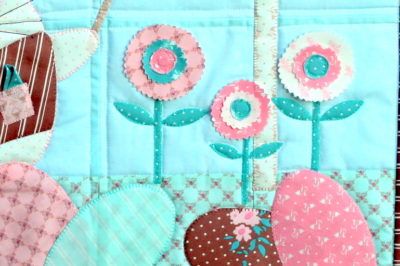 Stitch n Sew Fleece Sew-in High Loft/Batting and Therm O Web Spray n Bond Basting Adhesive: Both of these products are a great combination for an easy way to finish this quilt/wall hanging. Trim quilt/wall hanging to 25½” x 30½”. Lay quilt backing with right side down on protective cloth or paper (to prevent overspray.) Spray wrong side of backing with Therm O Web Spray n Bond Basting Adhesive following manufacturer’s directions. Lay Stitch n Sew Fleece Sew-in High Loft/Batting on the wrong side of sprayed backing and smooth to remove wrinkles and creases. Spray the batting with Therm O Web Spray and Bond Basting Adhesive. Lay quilt top, wrong side down, on sprayed batting. Smooth to remove wrinkles and creases. Quilt as desired.
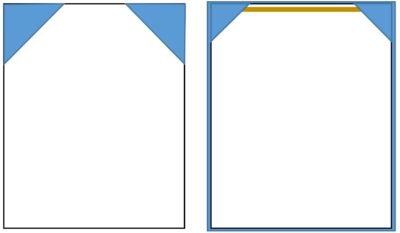
 Therm O Web Fabric Fuse Liquid Adhesive: To create a hanger on the back of the quilt, fold 5” x 5” squares in half diagonally and press on the fold. Place the triangles in each of the top corners and use Therm O Web Fabric Fuse Liquid Adhesive to baste in place. Add binding.
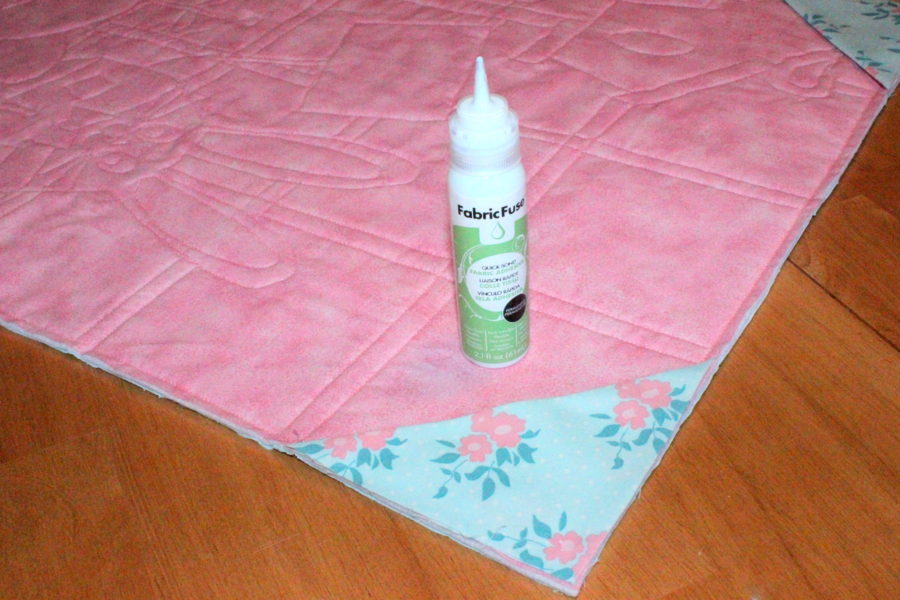 Slide dowel between corners and hang on a nail.
 You can get the pattern and complete instructions in PDF format at Just Carol's Pattern Store at Etsy Store HERE.
Happy Easter egg hunting!
You can get the pattern and complete instructions in PDF format at Just Carol's Pattern Store at Etsy Store HERE.
Happy Easter egg hunting!
Written by Carol Swift
