No Products in the Cart
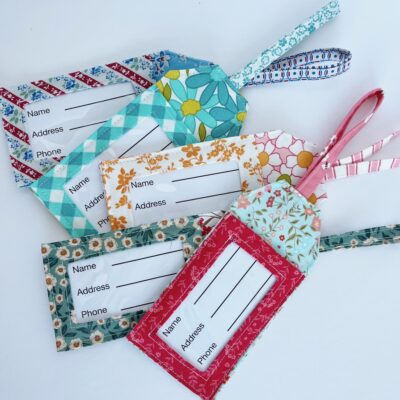 Have you ever made luggage tags? I have had so much fun making some new tags for my grand-daughter's and for myself and I decided this would be a great time to share with you!
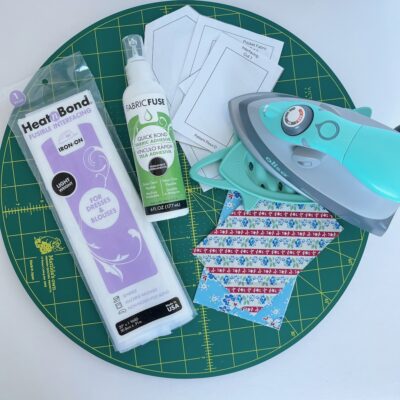 The supplies are so simple! Here is all you need:
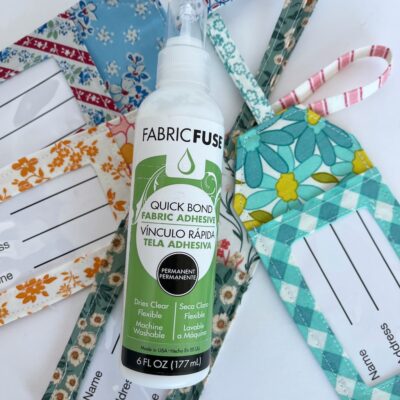 It takes a few extra minutes to add that step in making the luggage tags. But it is so worth it. You will end up with crisper edges and those tiny folds will hold completely in place while you topstitch. The glue dries in minutes and sewing through it is a dream.
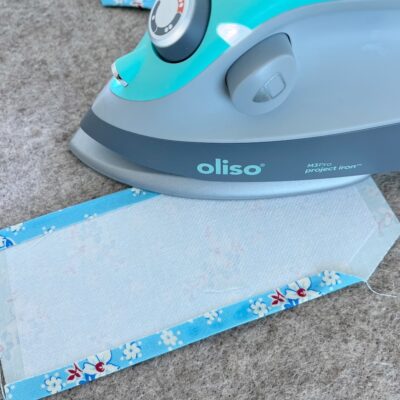
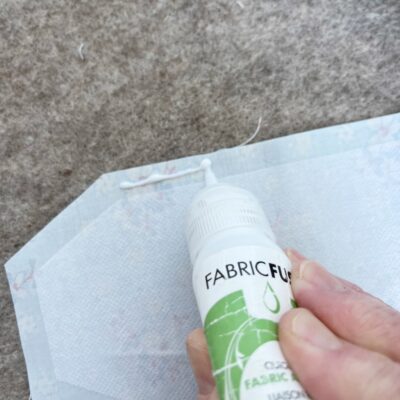 I just used a small amount of glue on the edges that would be folded over, then as I folded them over I simply ironed them in place. The hot iron sets the glue, the fold is crisp, and you don't need to use pins to hold it in place! It's magic, friends, I'm telling you! Use the glue!!
 I chose not to use a metal eyelet for the ribbon holder. Instead I made my own fabric strap and sewed it into the top edge of the tag.
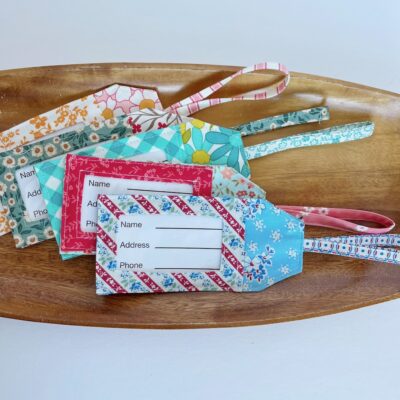 These tags are just the easiest things to make and I'm in love with them! One of the tags I made is out of the fabric scraps from a tote bag I made and I think it is so fun to have a matching set!
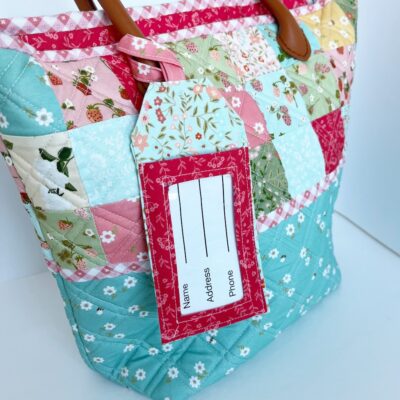 Print your luggage tags , cut around the border line and slide them into the outer vinyl pocket!
These are such a fast and easy make and would be a perfect graduation gift (May will be here before we know it)!
Print your luggage tags , cut around the border line and slide them into the outer vinyl pocket!
These are such a fast and easy make and would be a perfect graduation gift (May will be here before we know it)!