No Products in the Cart
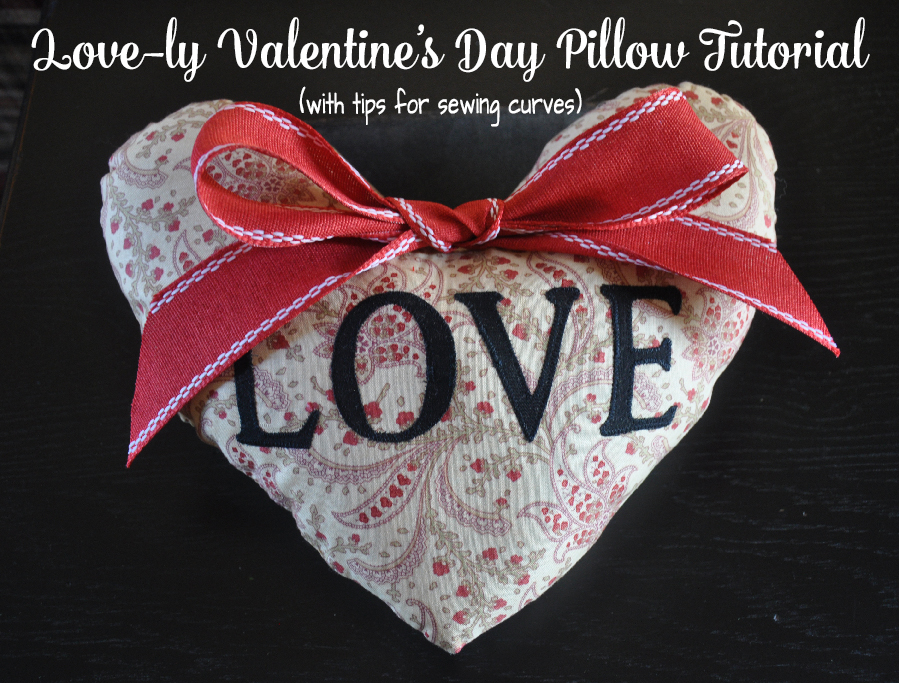
 Love-ly Valentine's Day Pillow Tutorial
I will also give you some tips for sewing and working with curves- it's easy peasy and you'll get great results with just a couple of simple tricks.
Finished size of Valentine Pillow is about 10 x 12"
To make this pillow, you will need:
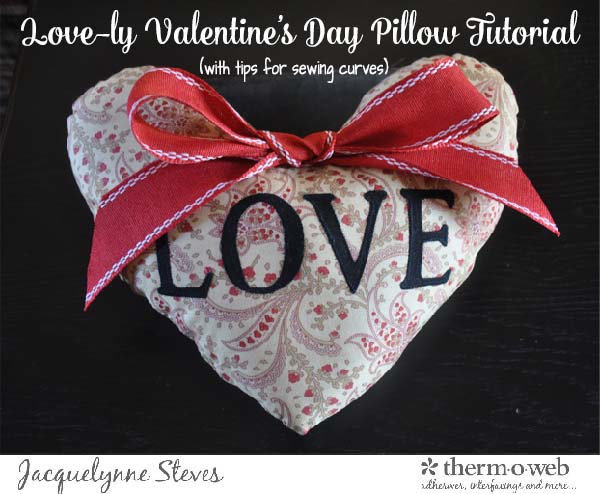
Love-ly Valentine's Day Pillow Tutorial
I will also give you some tips for sewing and working with curves- it's easy peasy and you'll get great results with just a couple of simple tricks.
Finished size of Valentine Pillow is about 10 x 12"
To make this pillow, you will need:

 Place the pillow front and pillow back right sides together and pin together. Sew them together, leaving about a 4" opening on the side for turning and stuffing; backstitch at the beginning and ending of your sewing.
 [tooltip text="TooltipText"]
SOME TIPS:
When sewing around curves, use a smaller stitch size. This will give you a smoother curve- the smaller your stitches, the smoother it will be (and the smaller the stitches, the harder it is to pick them out if you make a mistake! There's always a caveat, LOL.)
When you get to that pointy part on the heart, instead of doing a pivot with your stitching, try taking a few stitches across the point- this can help it to lay flatter once you've turned it.
Clip the concave curve where that point is- snip almost to the stitching, but don't cut through the stitches!
Cut some notches on the convex curves at the top of the heart- again, cut almost but not through the stitches.
[/tooltip]
[tooltip text="TooltipText"]
SOME TIPS:
When sewing around curves, use a smaller stitch size. This will give you a smoother curve- the smaller your stitches, the smoother it will be (and the smaller the stitches, the harder it is to pick them out if you make a mistake! There's always a caveat, LOL.)
When you get to that pointy part on the heart, instead of doing a pivot with your stitching, try taking a few stitches across the point- this can help it to lay flatter once you've turned it.
Clip the concave curve where that point is- snip almost to the stitching, but don't cut through the stitches!
Cut some notches on the convex curves at the top of the heart- again, cut almost but not through the stitches.
[/tooltip]
 Turn the pillow right side out through the opening. Press the edges (seam) flat, using a wooden skewer to gently push out the edges so you get a nice smooth finish. Turn those edges at the opening in and press.
 Stuff the pillow firmly with poly-fill- the firmer you stuff it, the nicer shape you will get.
Hand stitch the opening closed.
Tie a large bow with the ribbon. Trim the ends as necessary. Hand stitch to pillow. And there you have a Lovely Valentine's Day Pillow!
Stuff the pillow firmly with poly-fill- the firmer you stuff it, the nicer shape you will get.
Hand stitch the opening closed.
Tie a large bow with the ribbon. Trim the ends as necessary. Hand stitch to pillow. And there you have a Lovely Valentine's Day Pillow!