No Products in the Cart
 Therm O Web Supplies Used:
Therm O Web Memory Runner XL
Zots-Medium
3D Foam Squares - 1/2 inch
3D Foam Square - 1/4 inch
Deco Foil Foil Foam Adhesive Sheets
Purple Tape .5 inch
Deco Foil Flock Transfer Sheets – Teal Waters
Deco Foil Flock Transfer Sheets - White Latte
iCraft Ultra Bond Liquid Adhesive
Gina K Designs Terrific Tape 1/2 inch
Gina K Designs Cardstock - Bubblegum
Other Supplies:
Cut File - Handipaper (Etsy)
My Mind's Eye Paper Collection - One Fine Day
My Mind's Eye 6x6 Paper Pad - One Fine Day
My Mind's Eye Mixed Bag Accents - One Fine Day
My Mind's Eye Enamel Dots - One Fine Day
Distress Oxide Ink - Worn Lipstick
Distress Oxide Ink - Spun Sugar
Therm O Web Supplies Used:
Therm O Web Memory Runner XL
Zots-Medium
3D Foam Squares - 1/2 inch
3D Foam Square - 1/4 inch
Deco Foil Foil Foam Adhesive Sheets
Purple Tape .5 inch
Deco Foil Flock Transfer Sheets – Teal Waters
Deco Foil Flock Transfer Sheets - White Latte
iCraft Ultra Bond Liquid Adhesive
Gina K Designs Terrific Tape 1/2 inch
Gina K Designs Cardstock - Bubblegum
Other Supplies:
Cut File - Handipaper (Etsy)
My Mind's Eye Paper Collection - One Fine Day
My Mind's Eye 6x6 Paper Pad - One Fine Day
My Mind's Eye Mixed Bag Accents - One Fine Day
My Mind's Eye Enamel Dots - One Fine Day
Distress Oxide Ink - Worn Lipstick
Distress Oxide Ink - Spun Sugar
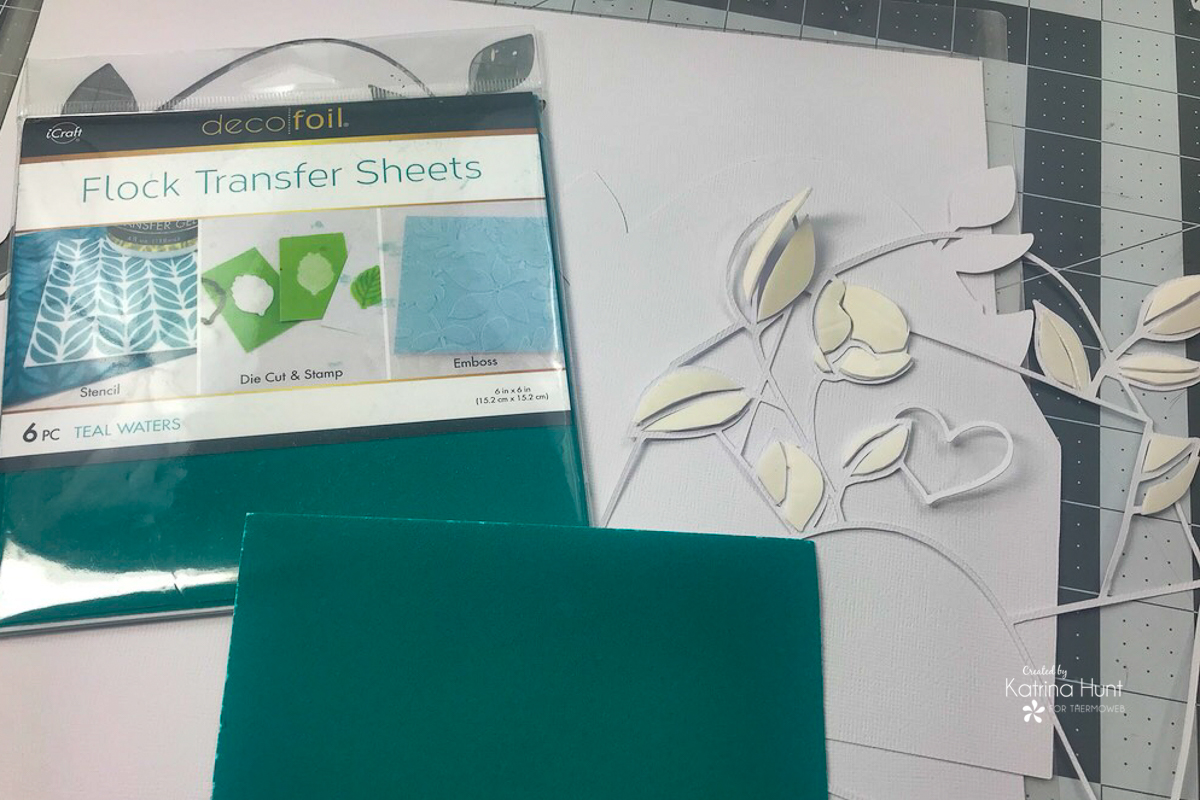
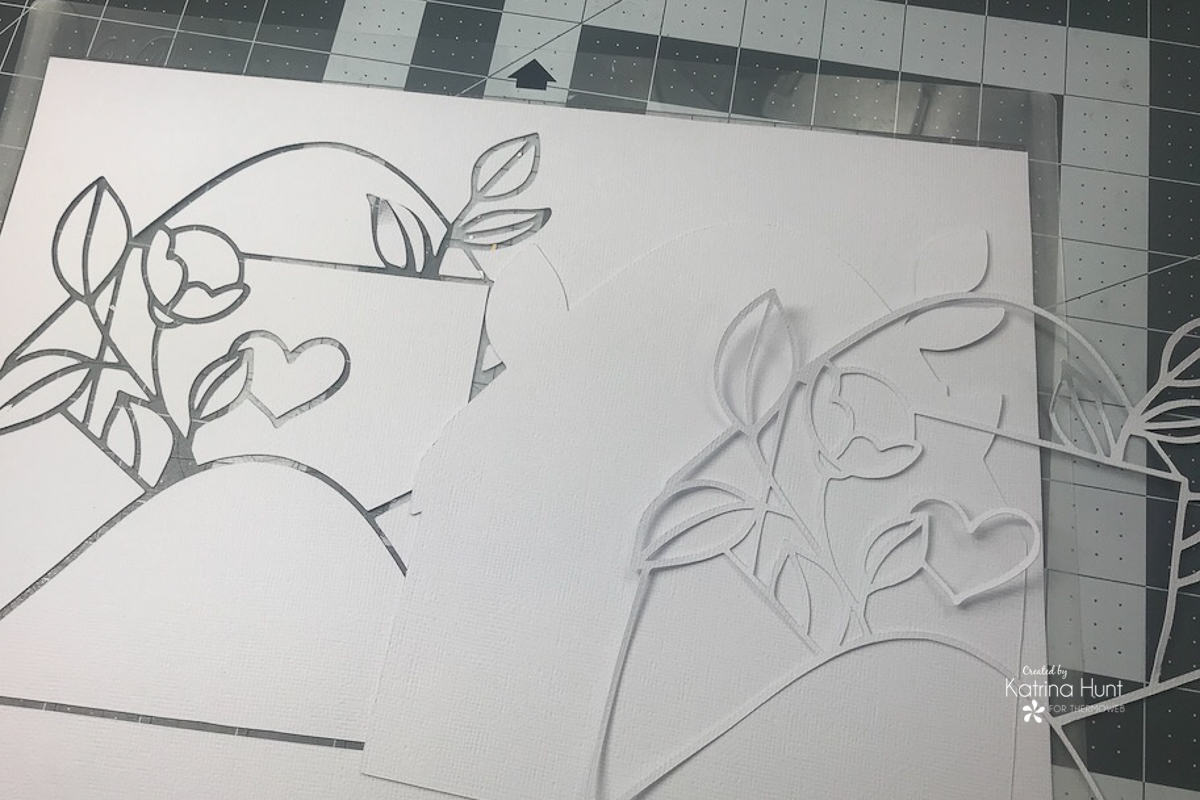 In addition to tracing the cut file, I also created another tracing that was just the outline of the entire cut file, which allowed me to have a base to attach the flocked pieces too. The solid back piece is hard to see, but it's in the middle.
By leaving the cut pieces on the mat, it allowed me to go in a systematic order to add the Deco Foil Foam Adhesive to the cut pieces. Once I added foam to a cut-out piece, I would then place it into the cut file where it went. By doing this, it allowed me to keep all the cut pieces straight and in the proper placement.
In addition to tracing the cut file, I also created another tracing that was just the outline of the entire cut file, which allowed me to have a base to attach the flocked pieces too. The solid back piece is hard to see, but it's in the middle.
By leaving the cut pieces on the mat, it allowed me to go in a systematic order to add the Deco Foil Foam Adhesive to the cut pieces. Once I added foam to a cut-out piece, I would then place it into the cut file where it went. By doing this, it allowed me to keep all the cut pieces straight and in the proper placement.
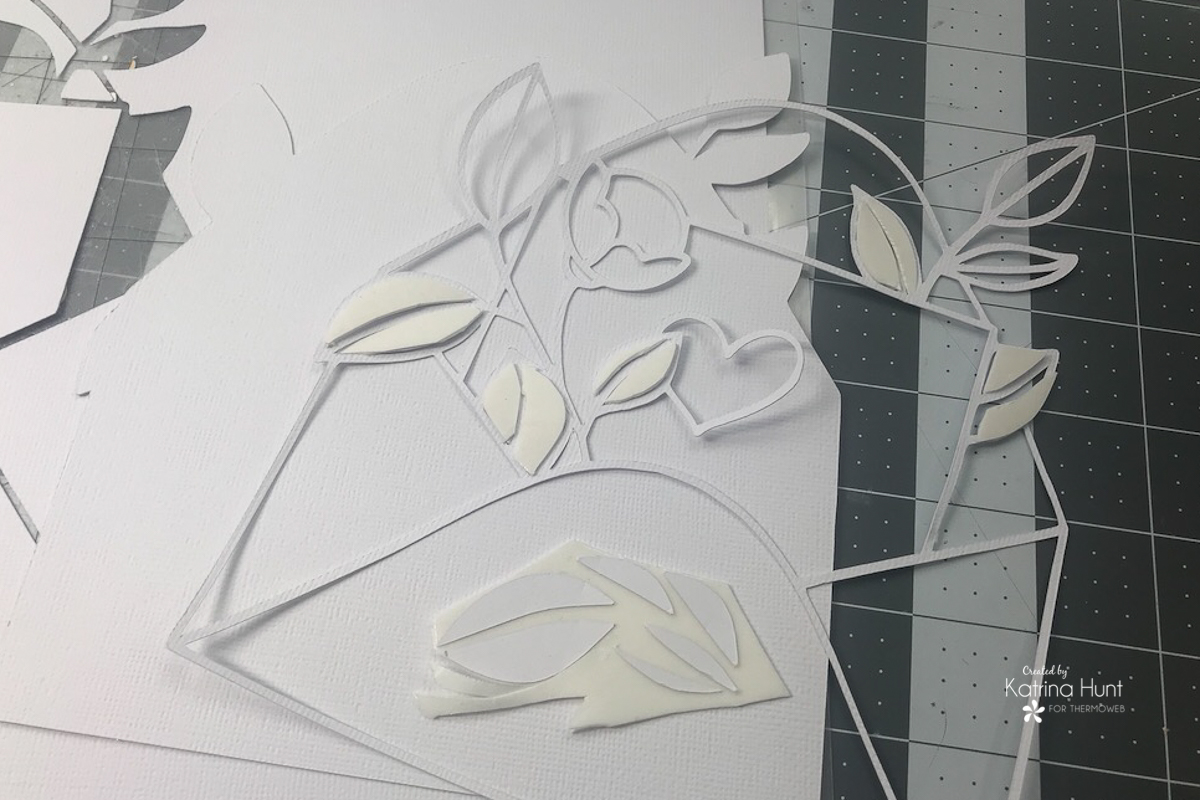 To add the foam adhesive to the cut piece, you will want to place them face down on the foam sheet after you have removed one of the protective coverings. I used scraps of foam adhesive I had, which was perfect to use up for this project. Next, you will trim around your pieces and then place them back into the area they fit in. After completing this step for each cut-out piece, you will then transfer them to the flock sheet by removing the other protective covering and laying them face down on the flock transfer sheet. Run the flock/cut out pieces through your manual die cutting machine and carefully peel off the cutouts. The result is a flocked cut out to place back in your cut file.
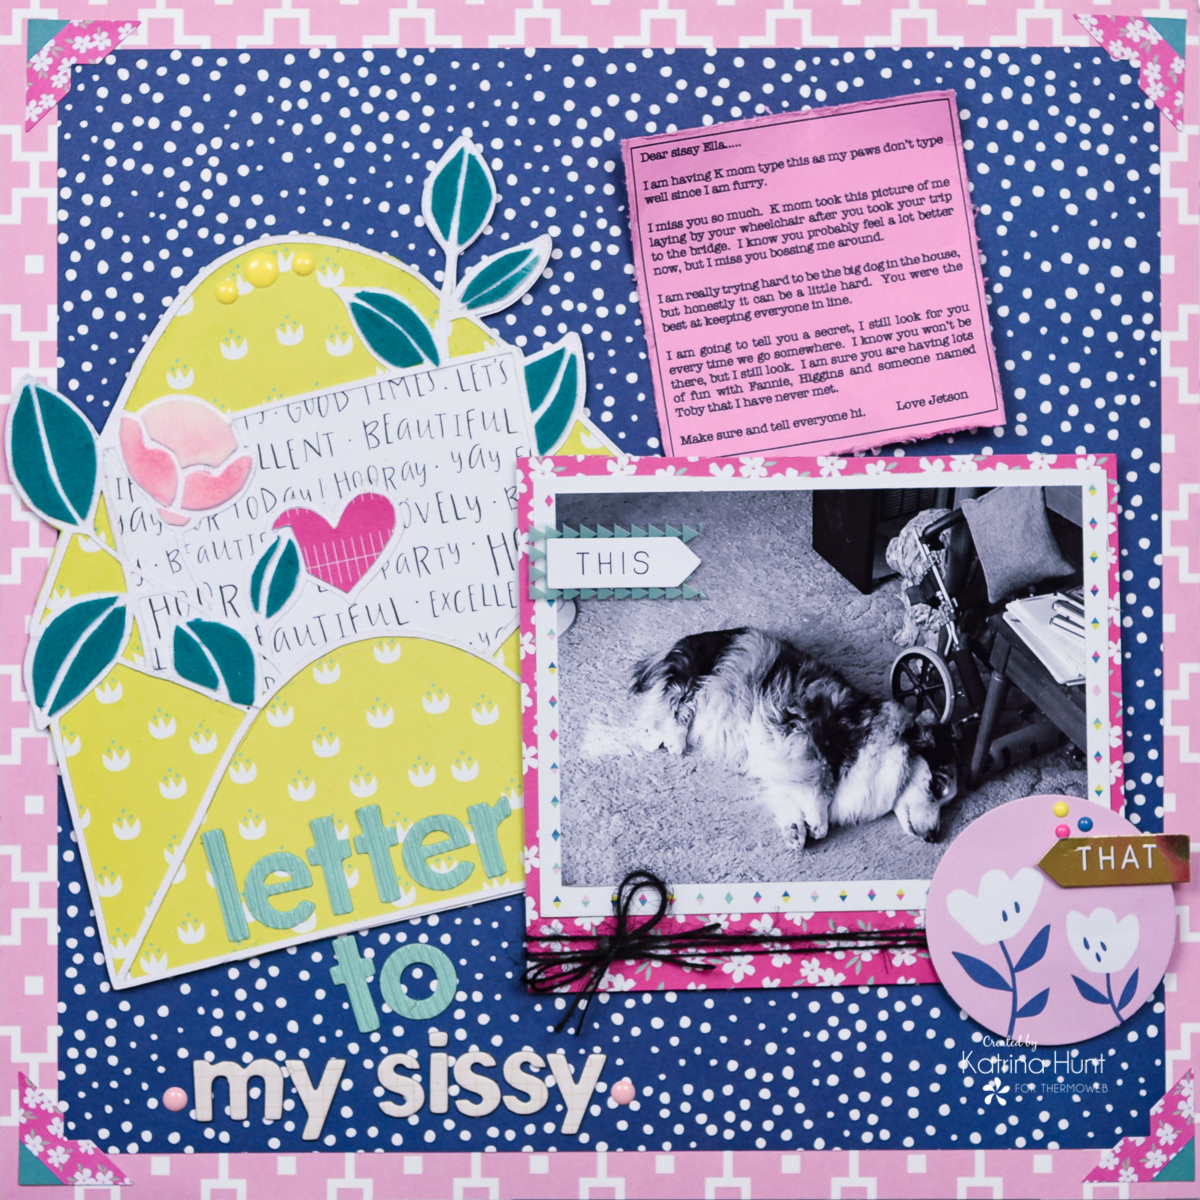
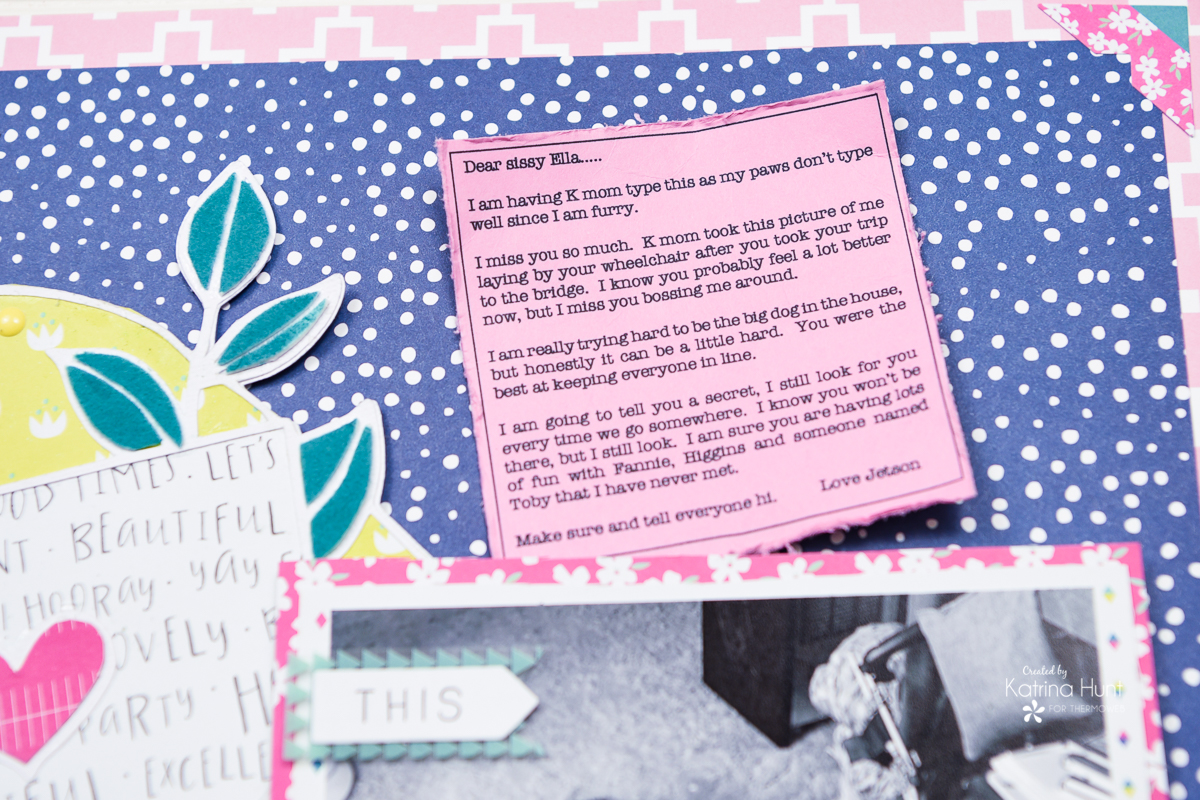
 For the flower, I used the White Latte Flock and then ink blended with Worn Lipstick and Spun Sugar Distress Oxide Inks to give the flower a little bit of shading.
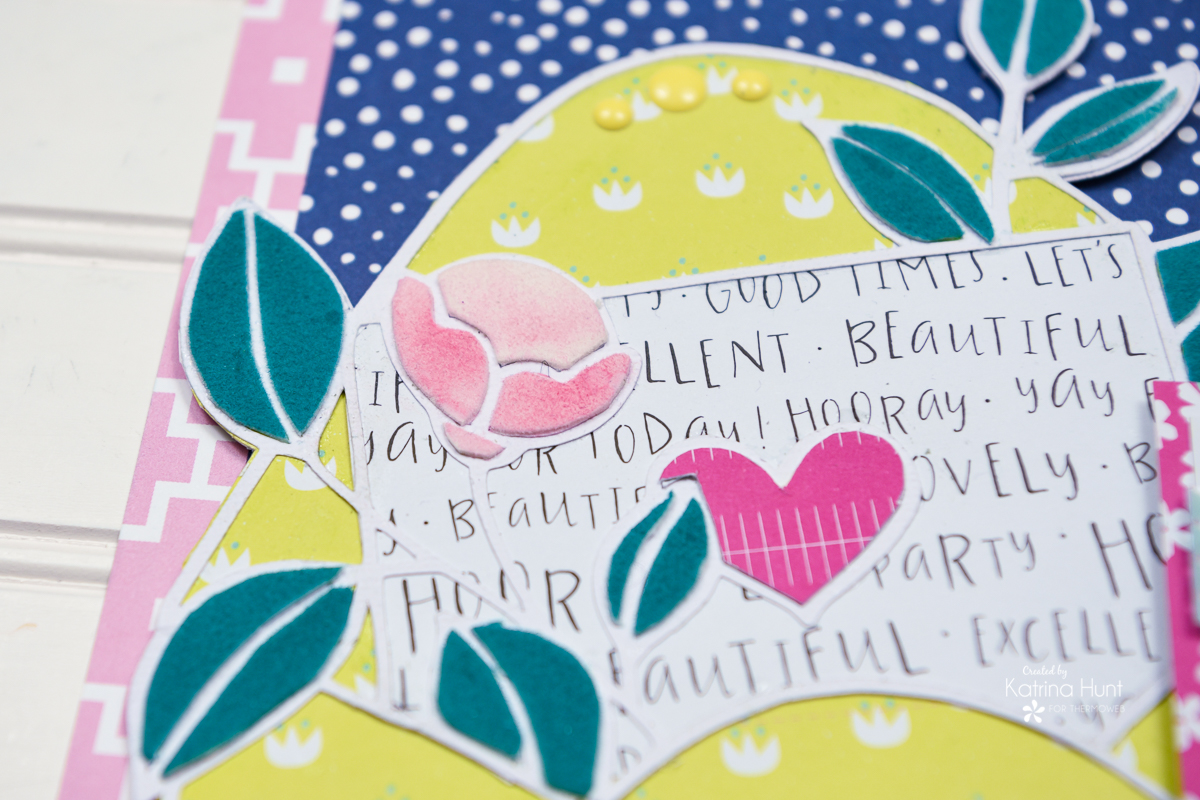 Complete the cut file by using pattern paper to back the other open areas. If you happen to use a 6x6 paper pad for backing the file, keep your cut file width or height less than 6 inches. This will make backing the cut file easier. I was slightly over the 6-inch mark and realized it too late!
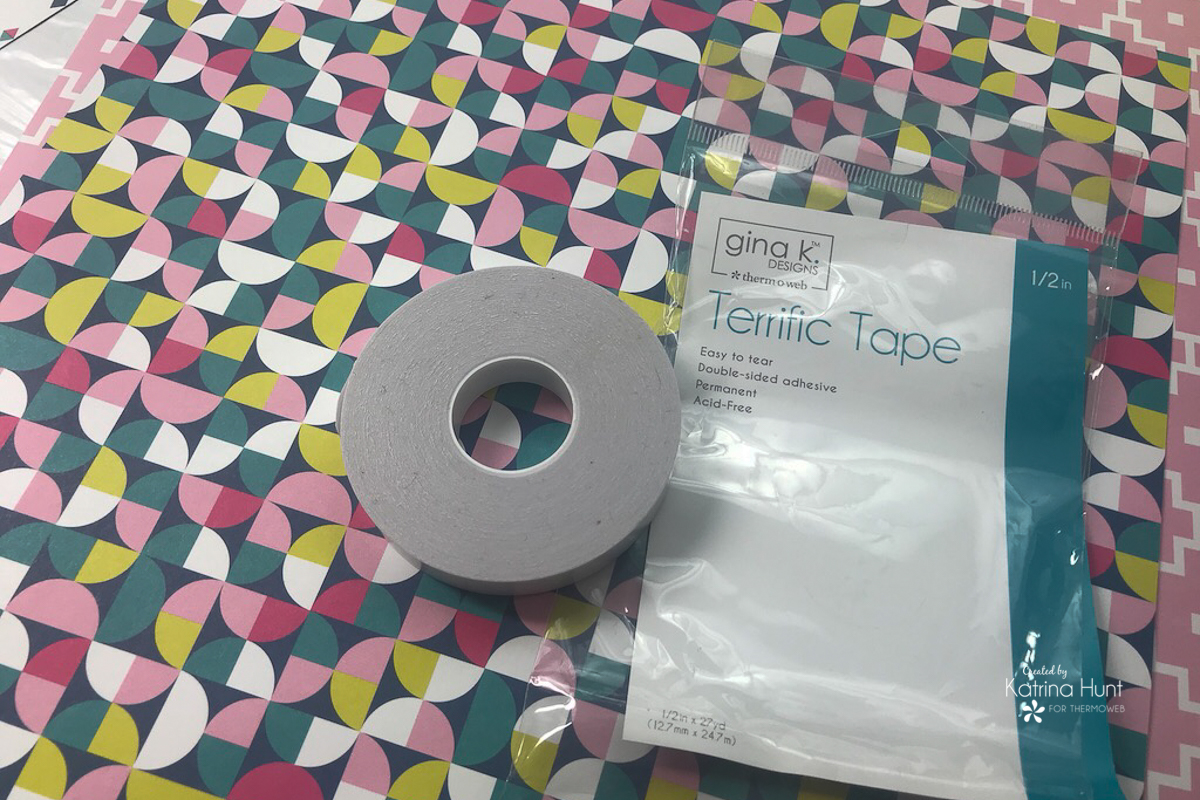 To adhere to large sheets of paper layers, if you use the Terrific Tape or the iCraft Easy Tear Tape they work and hold great, so you aren't using up your tape runner! In addition, I also used the 3D Foam Squares and the Gina K Foam tape to create dimension in other areas of my layout.
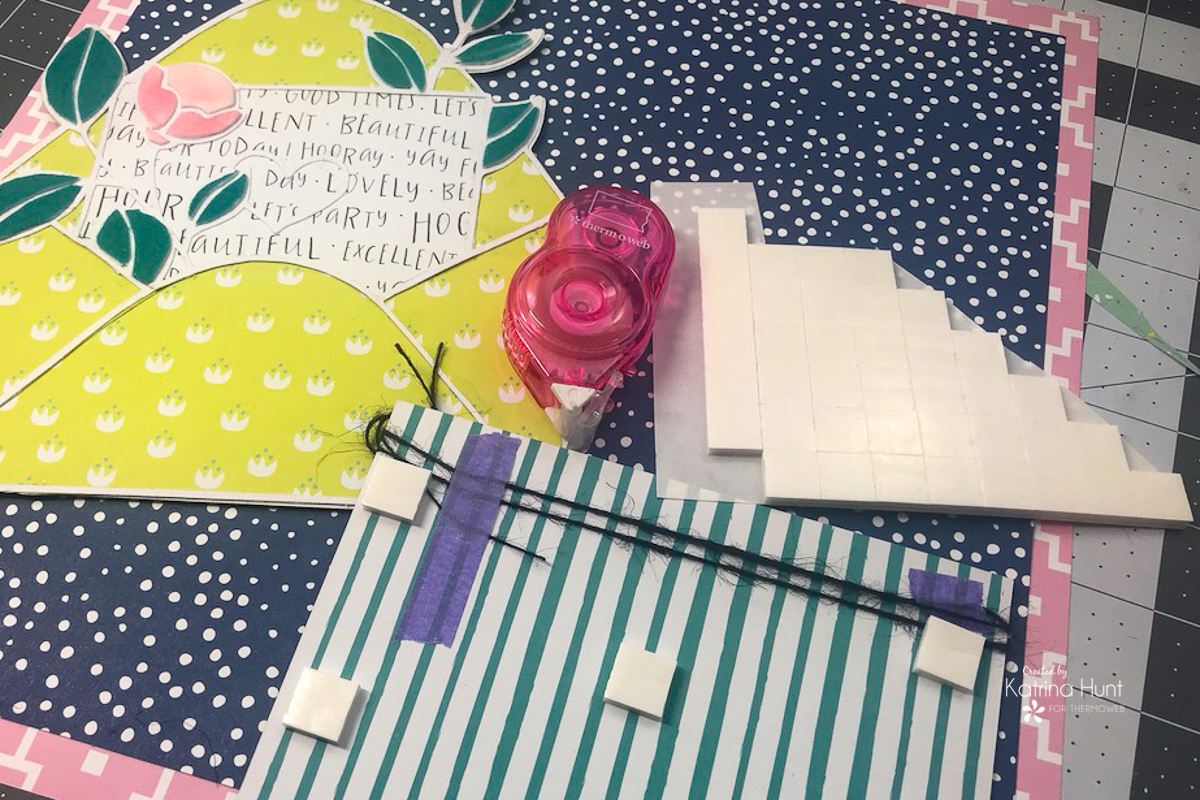
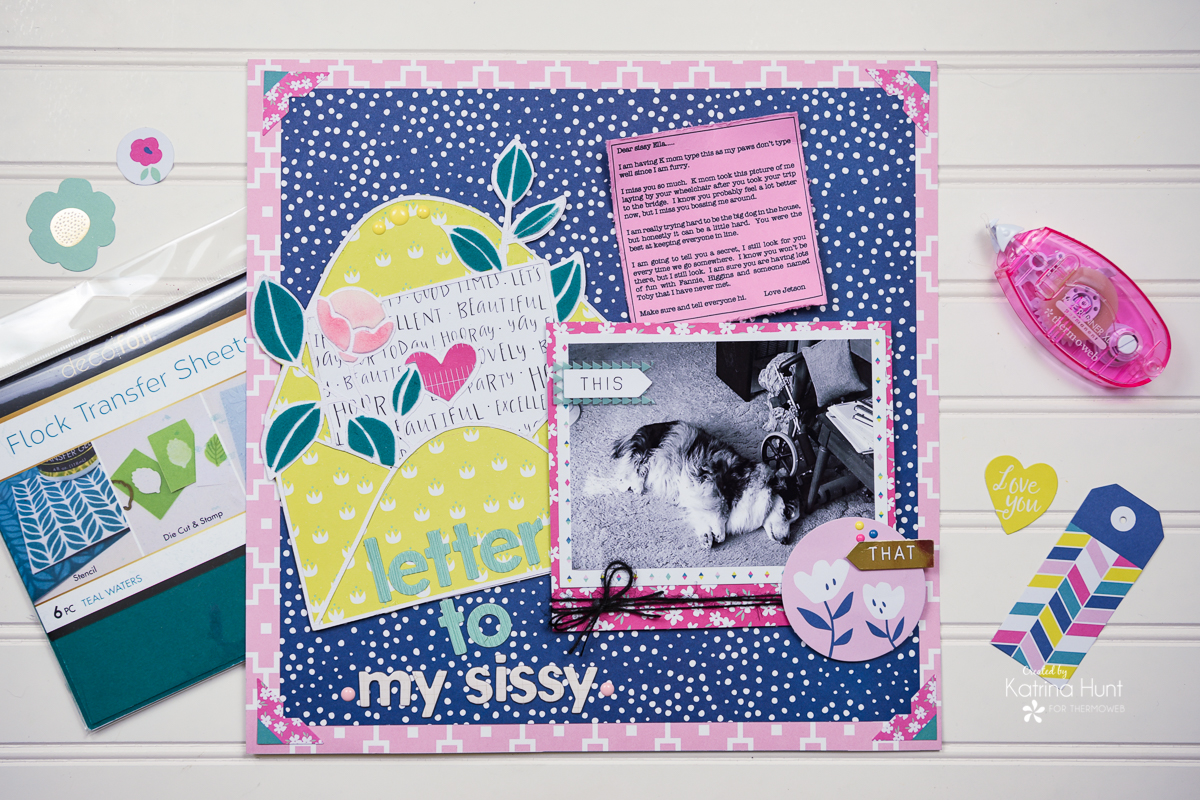
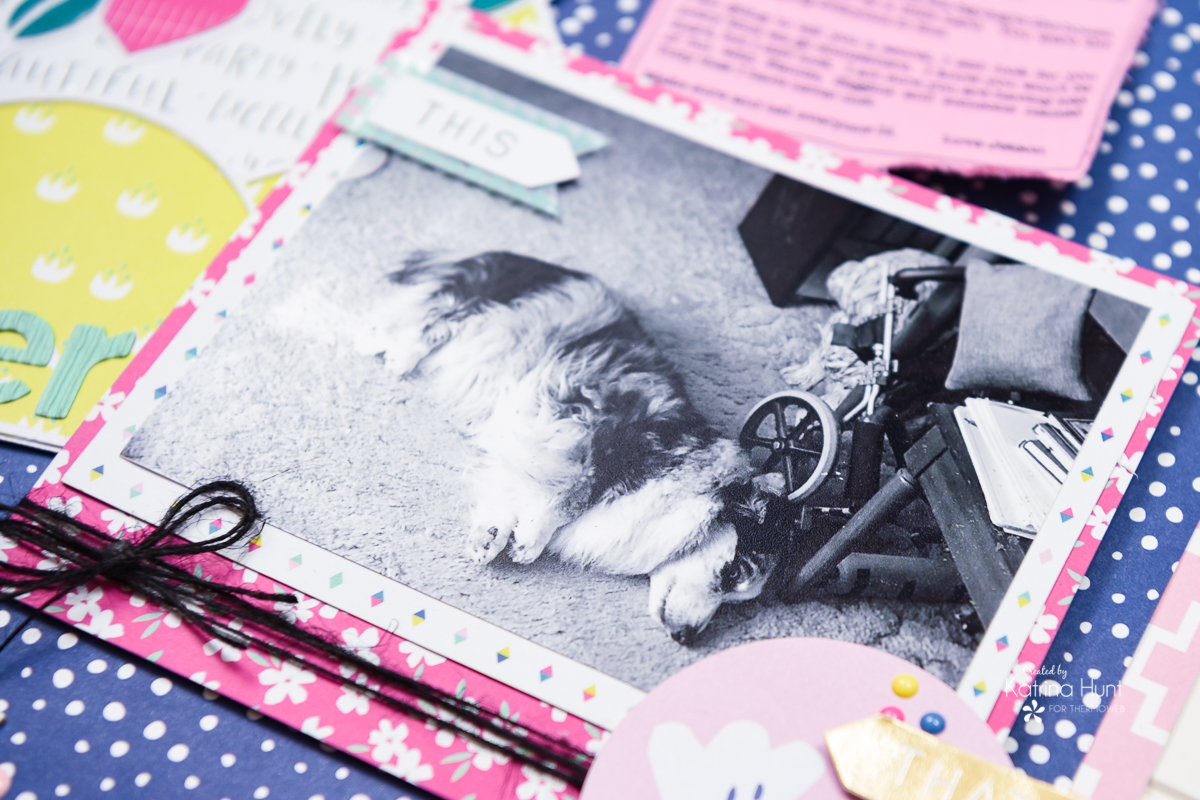 Last but not least, add your letter to your layout. I created a text box in a Word document that was smaller than the area I had for the letter. I printed it on the Gina K Bubblegum cardstock and trimmed it. Before adhering to my layout, I roughed the edges up and bent it a little to give it a worn look. I held it in place by adhering it with the Gina K Terrific Tape.
 Thanks for stopping by the blog today. Try backing a cut file with some Deco Foil products for a different and fun look!!! Happy February!!!