No Products in the Cart
 Heart applique:
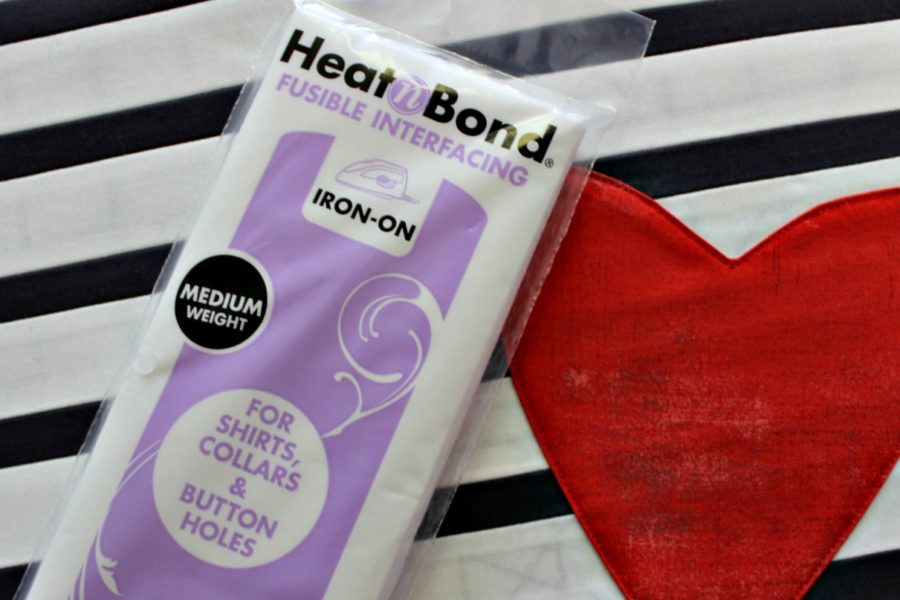
 To cut out the heart, place 7” x 7” square red fabric face up. Cut a 2 ½” slit in center of interfacing and lay right side up, (bumpy side down) on top of red fabric.
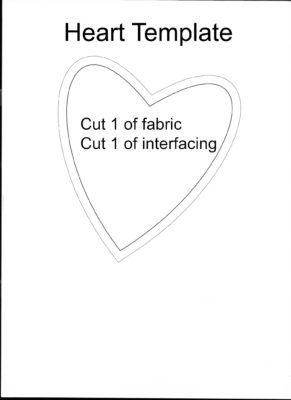
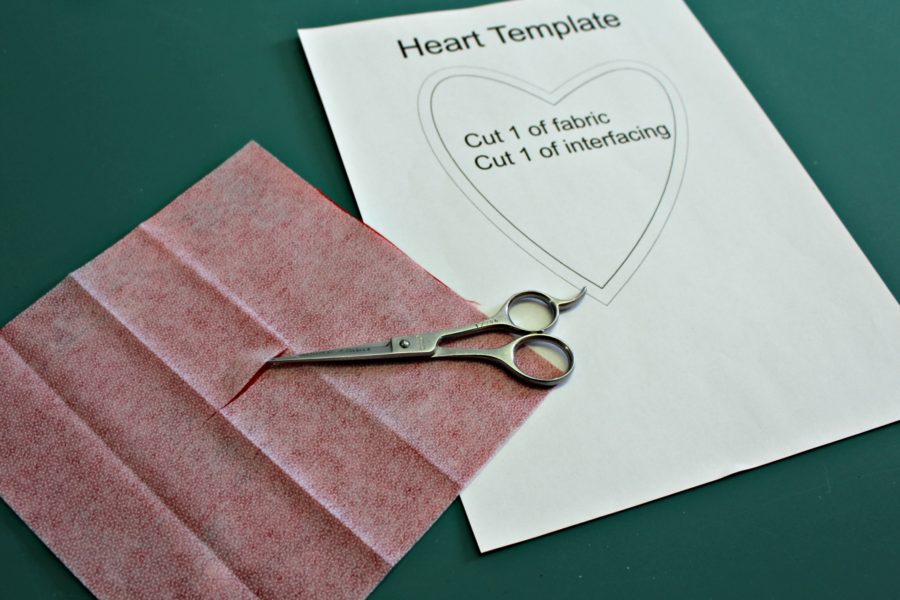 Center the heart pattern on top of stack and cut out the pattern on the outside line of the pattern.
Stitch ¼” seam completely around the heart. Clip curves of the seam allowance to the stitching and use the slit to carefully turn the heart tight side out. The bumpy side of the interfacing is on the outside (bottom) of the heart now.
Gently pull points and curves out and place the heart with interfacing down on the striped background using the picture as a guide.
Center the heart pattern on top of stack and cut out the pattern on the outside line of the pattern.
Stitch ¼” seam completely around the heart. Clip curves of the seam allowance to the stitching and use the slit to carefully turn the heart tight side out. The bumpy side of the interfacing is on the outside (bottom) of the heart now.
Gently pull points and curves out and place the heart with interfacing down on the striped background using the picture as a guide. Roll edges underneath and bond the heart to the base following the interfacing package instructions.
 Using a straight stitch, edge stitch around the heart.
Forever applique:
Print the template (already reversed for you) letters with HeatNBond EZ print lite sheet following package instructions.
Using a straight stitch, edge stitch around the heart.
Forever applique:
Print the template (already reversed for you) letters with HeatNBond EZ print lite sheet following package instructions.
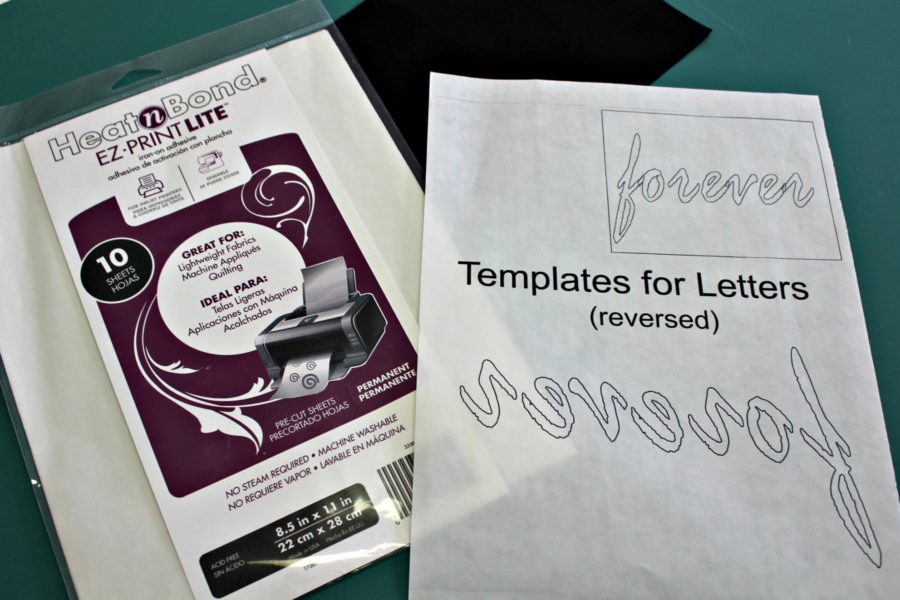 Fuse the HeatNBond® letters to the back of the black 8” x 6” piece of fabric.
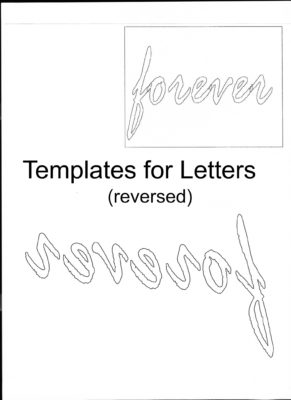 Cut out the letters, peel off the backing paper, place the letters on pillow top as in the picture, and bond the letters following the package instructions. Stitch around the letters with a zigzag, blanket, or straight stitch.
Quilting the pillow top:
Using SprayNBond® Basting Adhesive, sandwich StitchNSew™ fleece between the backing 17” x 11” muslin (won’t be seen in finished pillow) and pillow top. Quilt as desired. Trim excess batting and backing fabric.
Finishing the pillow cover:
Hem one of the short ends of both 10 ½” x 12 ½” black pillow backing pieces by turning under ½” and pressing and then turning under again, pressing, and stitching in place. Lay one on the hemmed pieces face up on the back of the pillow top with the hem in the center.
Cut out the letters, peel off the backing paper, place the letters on pillow top as in the picture, and bond the letters following the package instructions. Stitch around the letters with a zigzag, blanket, or straight stitch.
Quilting the pillow top:
Using SprayNBond® Basting Adhesive, sandwich StitchNSew™ fleece between the backing 17” x 11” muslin (won’t be seen in finished pillow) and pillow top. Quilt as desired. Trim excess batting and backing fabric.
Finishing the pillow cover:
Hem one of the short ends of both 10 ½” x 12 ½” black pillow backing pieces by turning under ½” and pressing and then turning under again, pressing, and stitching in place. Lay one on the hemmed pieces face up on the back of the pillow top with the hem in the center.
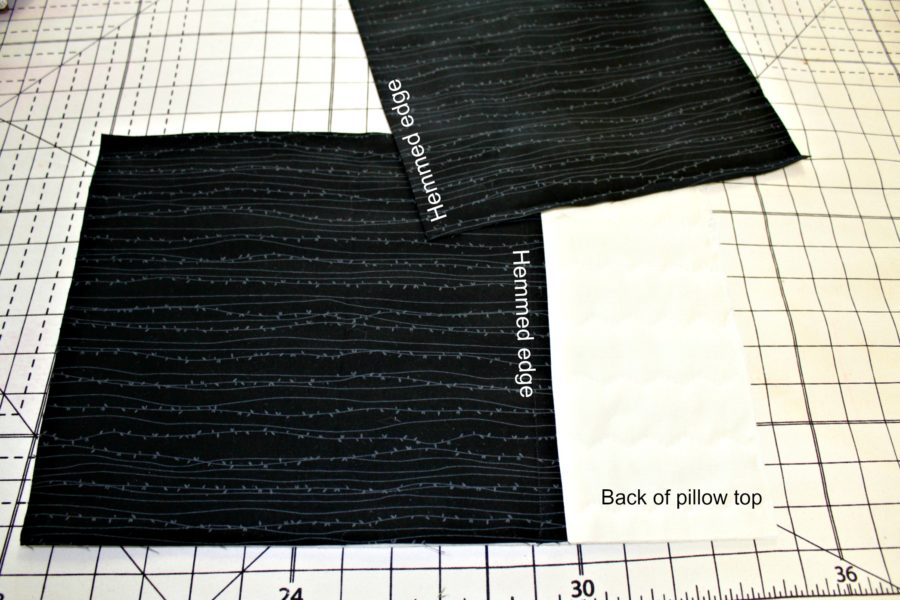 Overlap the other piece over the first piece and pin.
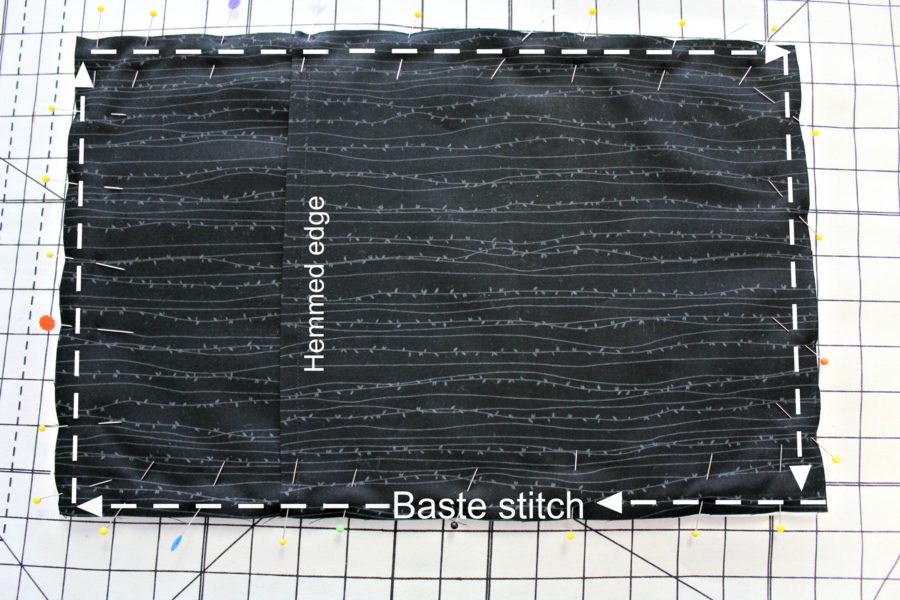 Baste 1/8” from edge all around.
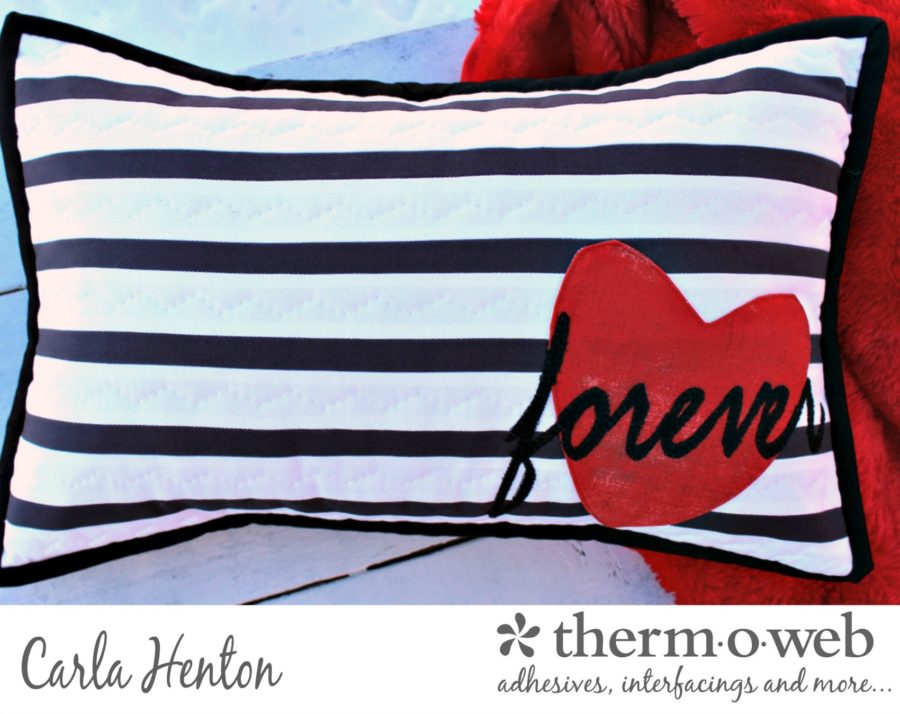
Lastly, apply binding to the pillow top using your favorite method and give someone your forever love.
Baste 1/8” from edge all around.
Lastly, apply binding to the pillow top using your favorite method and give someone your forever love.
