No Products in the Cart
 With the heavy duty interfacing you can now run this fabric through the printer. Download the PDF above and then print it out onto the fabric.
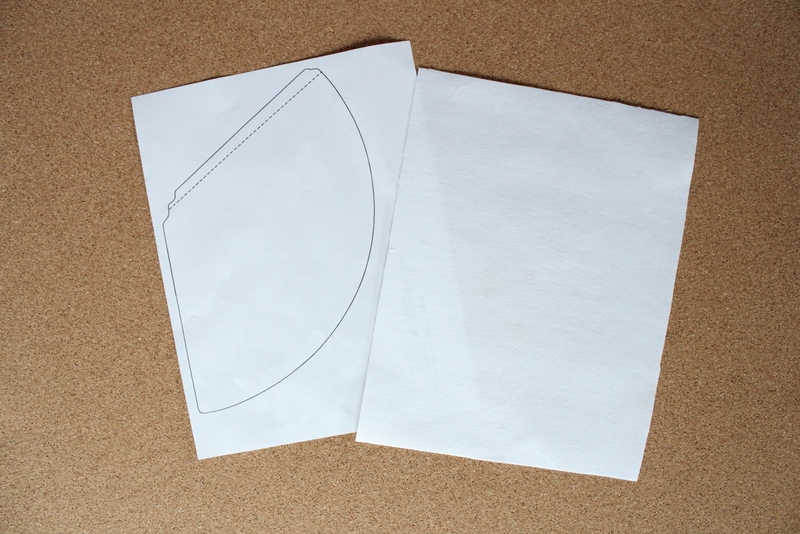
 Now pin the hat template to the fabric. Using a pencil and a ruler mark 1/4" around the entire template.
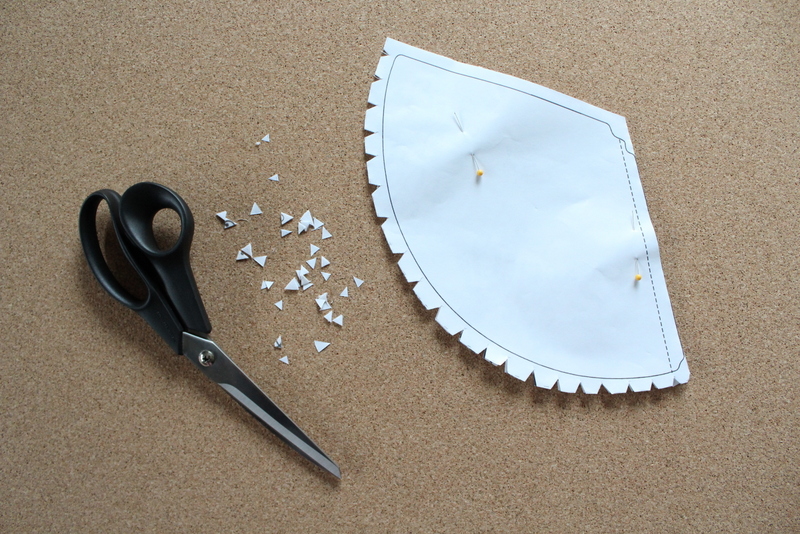
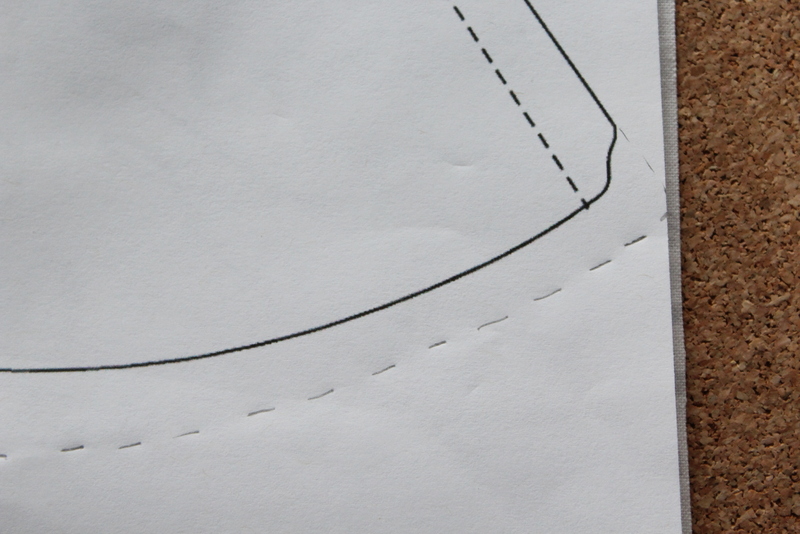 Now cut out the hat template around the marks you just made. Notch the bottom edge from the pencil mark to the printed line. This will help the seam lie flat.
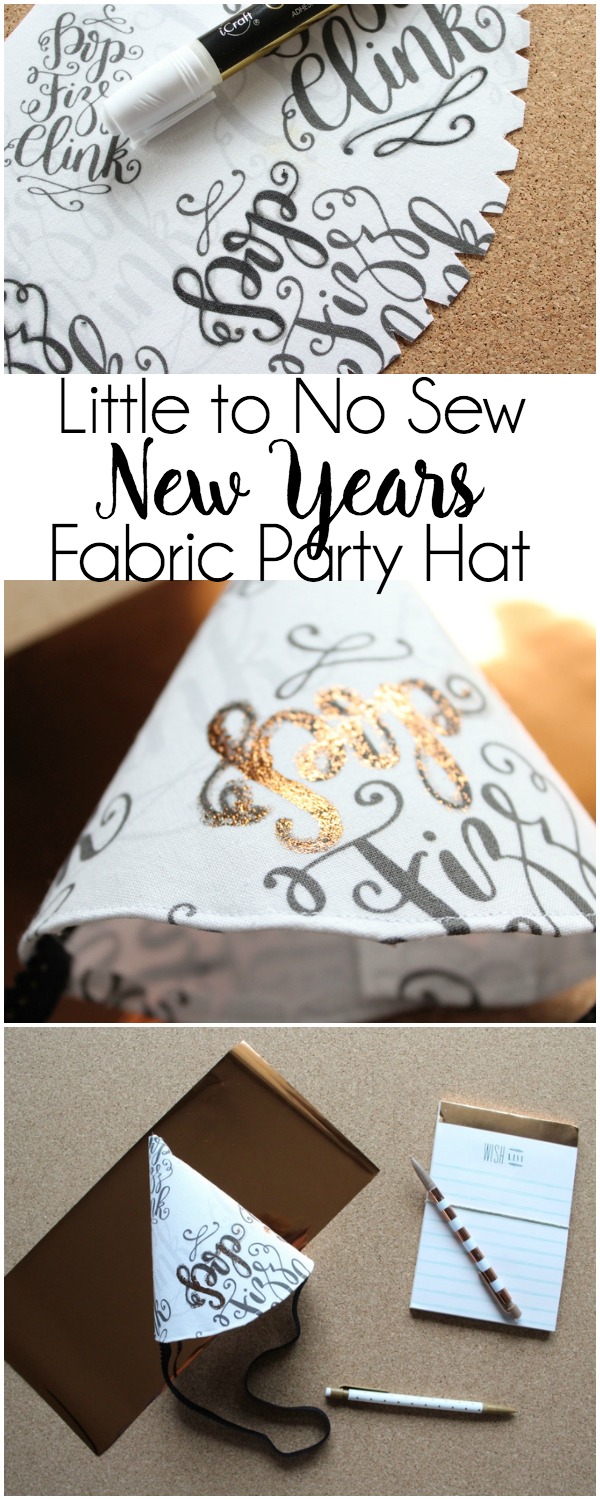
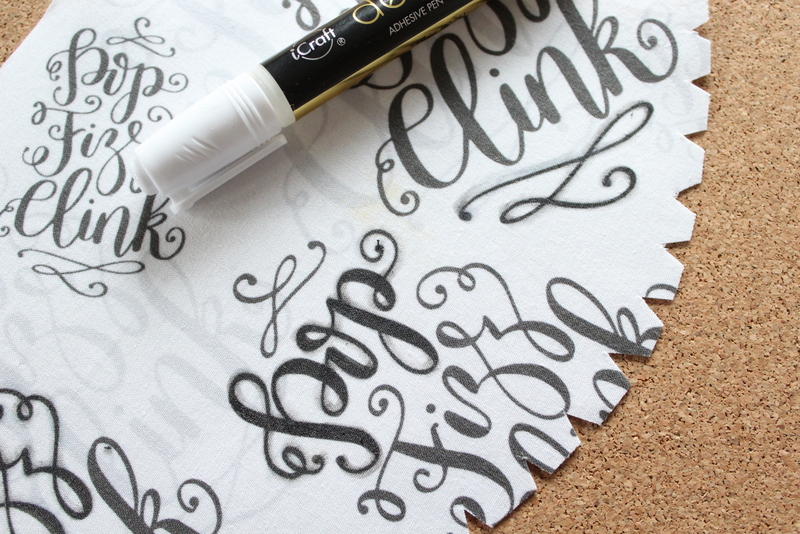
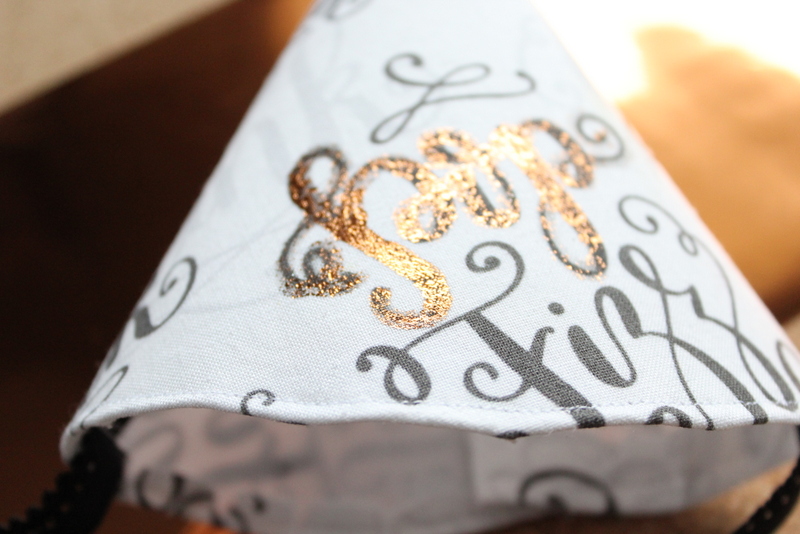
 The next step is to use your deco foil adhesive pen to draw on the words that you want to foil. You could also use the liquid adhesive for this step but it takes a bit longer to dry.
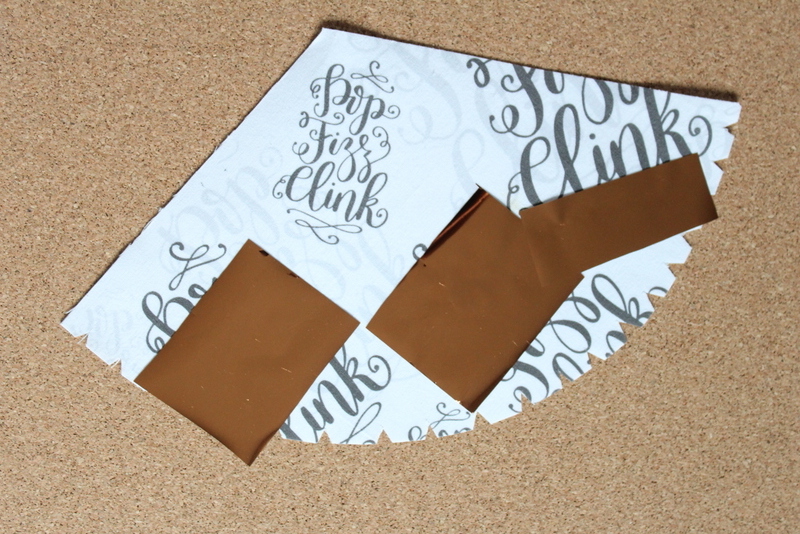
 Grab your deco foil and cut strips that will fit over the words that you added adhesive. Run the entire thing through the laminator 2-3 times, be sure to use card stock to protect the fabric and keep it from getting stuck in the laminator.
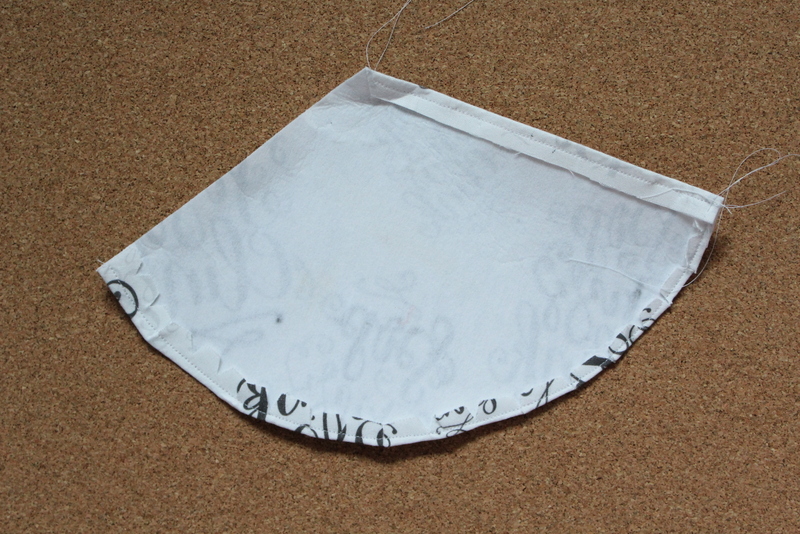
 Now use the fabric fuse to press the hem down. Or run it through the sewing machine. You will also press the edge under on the top side of the hat, this will leave a nice edge when the hat is finished.
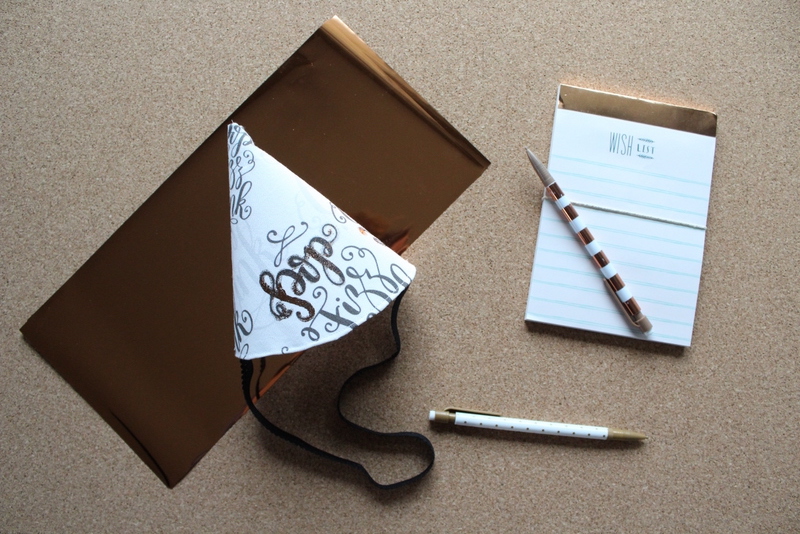
 Use your adhesive again to close the hat. Then grab some elastic and attach it on either side to attach the hat to your head!
 Now make a bunch for all of your friends!!!

Thanks for letting me share this party hat tutorial with you! You can find me over on Sew What Alicia sharing sewing tutorials and other great sewing tips!
Connect with Sew What Alicia
Facebook // Pinterest // Instagram // Twitter
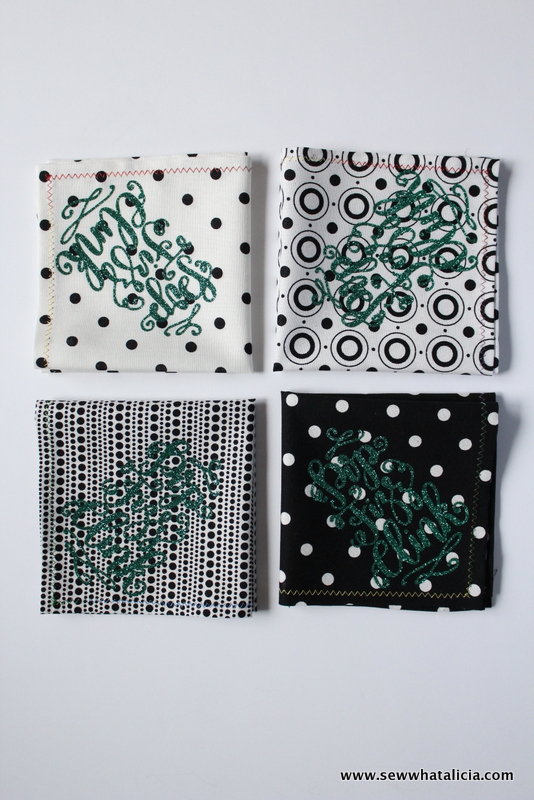
If you love this then you MUST check out my DIY Cocktail Napkins!