No Products in the Cart



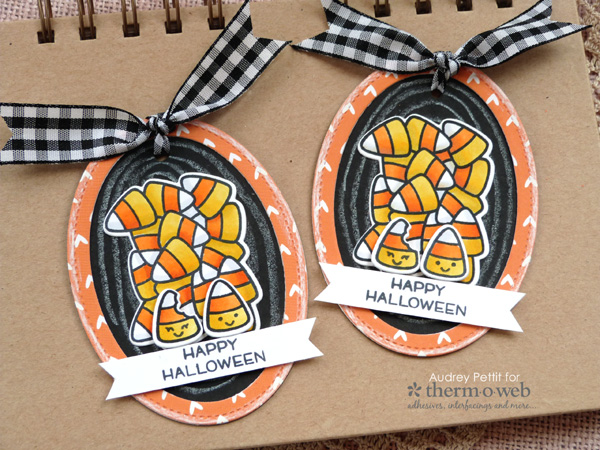 We are super excited to be partnering up with our friends at Lawn Fawn for a fun week of inspiration and project ideas here on the Therm O Web blog. Today I have two fall projects to share, one for Halloween and one for Thanksgiving, mixing Lawn Fawn's cute stamps with Therm O Web adhesive, cardstock, and dies.
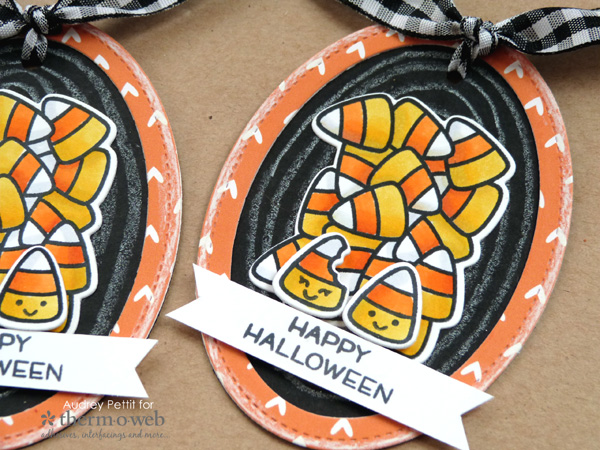
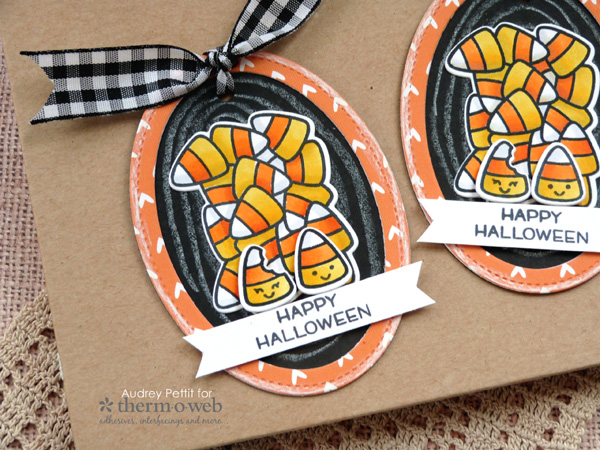 My first project is a pair of Halloween treat tags featuring our GinaK Designs oval dies and Lawn Fawn's adorable candy corn stamps and dies. I love creating gift tags for birthdays and holidays, because not only do they quickly dress up simple packaging, they also make a great gift idea for family and friends. And better yet, they are usually fast, easy, and fun to make, too.
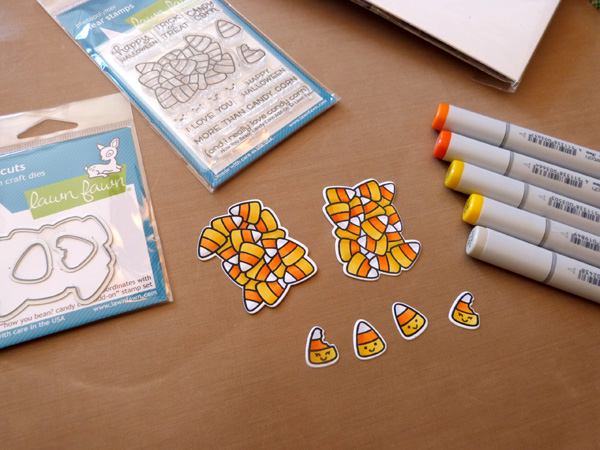
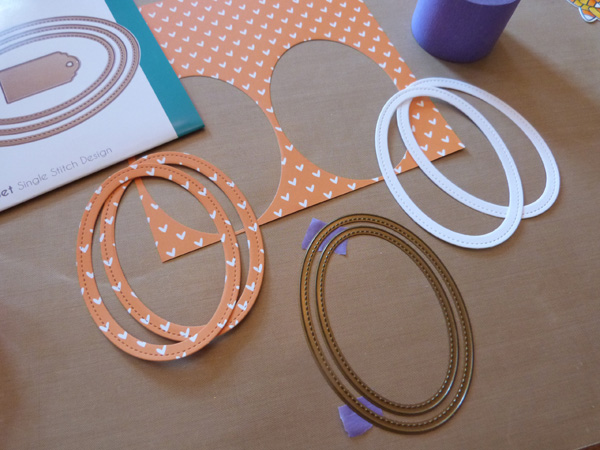 Nestle the two largest dies from the Stitched Ovals Large die set together and hold them in place with Therm O Web Purple Tape. Die cut the oval frame once from patterned paper, and once from Luxury White cardstock. Stack the frames and adhere them with memory tape runner adhesive. Remove the purple tape from the frames, and die cut the largest oval die one more time from Onyx Black cardstock.
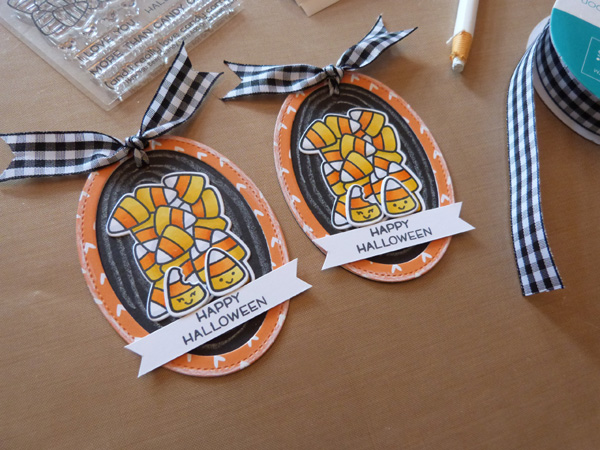 Adhere the frames to the black ovals, and add doodling to the background if desired with a wax pencil or gel pen. Adhere the stack of candy corn directly to the background. Stamp a sentiment onto strips of Luxury White cardstock, and trim the strips into small banners. Adhere the banners and individual candy corns to the bottom of the tag using 3D adhesive squares. Punch a small hole in the top of the tags, and tie them with gingham ribbon.
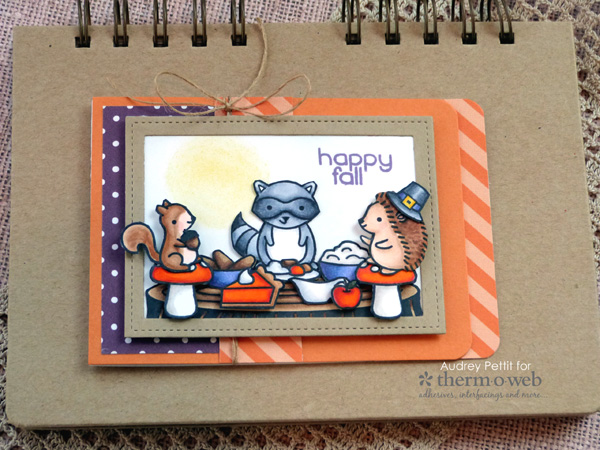
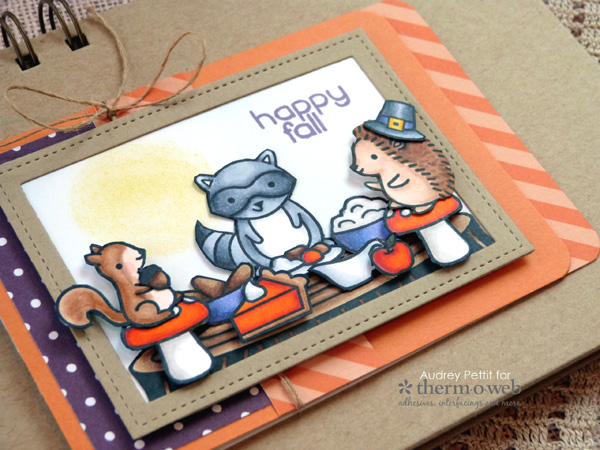 My second project is a Thanksgiving card featuring our Gina K Designs Stitched Rectangle dies and cardstock along with Lawn Fawn's Forest Feast stamp set. Once again, the images were stamped in Copic friendly ink and colored with the markers. Fussy cut the images, or die cut them with the matching dies if you have them (I didn't).
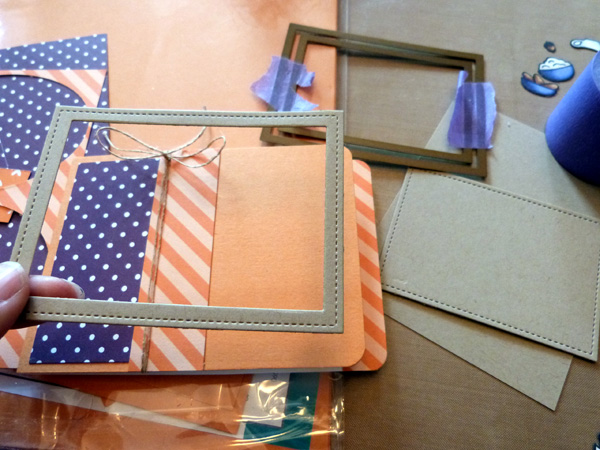 Create a side-folding 3.5" x 5" card from Luxury White cardstock. Trim off 1/2" from the front panel. Layer the card with Gina K Sweet Mango cardstock and Lawn Fawn patterned papers. Round the two right corners, and tie twine around the middle of the card. Nestle the two largest dies from the Stitched Rectangles Large die set together with Purple Tape. Die cut the frame from kraft cardstock. Remove the tape, and then die cut the largest shape from Luxury White cardstock.
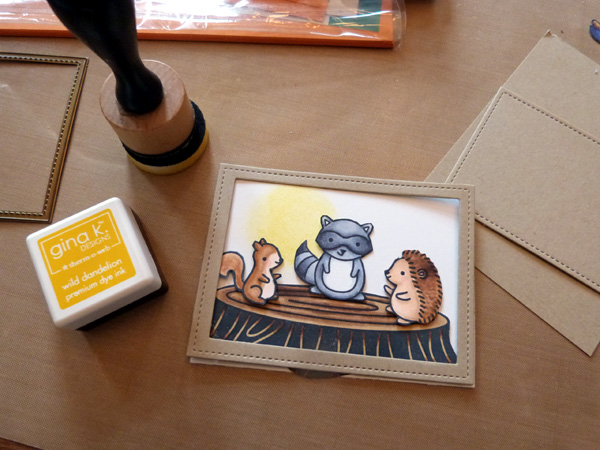 Using a Mini Ink Blending Tool, apply Gina K Designs Wild Dandelion ink in a circle pattern onto the top left corner of the white die cut rectangle. Using the tool, apply a very light touch of Tumbled Glass Distress ink to the top of the panel, avoiding the sun area. Adhere the tree stump to the bottom of the panel, trimming off the excess, as needed. Array the fussy cut images around the stump.
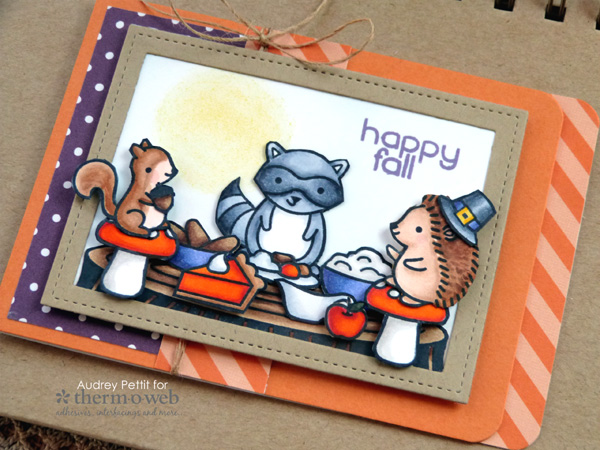 Continue adding images to the scene, with some pieces adhered directly to the panel and others popped up with 3D Adhesive Squares. Stamp a sentiment from the set onto the upper right-hand corner using Dusty Concord Distress Ink. Adhere the kraft frame to the scene. Place 3D adhesive squares onto the back of the panel, and adhere it to the center of the card.
Save
Continue adding images to the scene, with some pieces adhered directly to the panel and others popped up with 3D Adhesive Squares. Stamp a sentiment from the set onto the upper right-hand corner using Dusty Concord Distress Ink. Adhere the kraft frame to the scene. Place 3D adhesive squares onto the back of the panel, and adhere it to the center of the card.
Save
 How cute were those projects!
If you're anxious to get making some for yourself then you don't want to miss this!
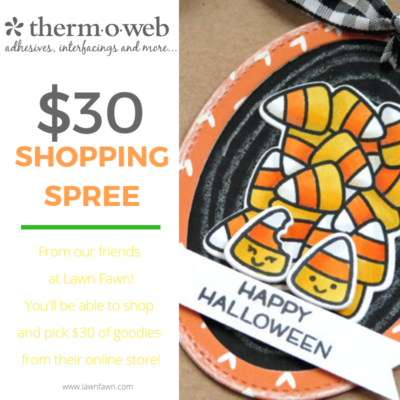
Our Sweet Friends at Lawn Fawn are offering up a $30 Gift Certificate for one lucky winner to shop in their store! Use the Rafflecopter entry below to get yourself entered to win! Then head on over to the Lawn Fawn blog for more chances to win and of course more ideas and projects!
a Rafflecopter giveaway
How cute were those projects!
If you're anxious to get making some for yourself then you don't want to miss this!
Our Sweet Friends at Lawn Fawn are offering up a $30 Gift Certificate for one lucky winner to shop in their store! Use the Rafflecopter entry below to get yourself entered to win! Then head on over to the Lawn Fawn blog for more chances to win and of course more ideas and projects!
a Rafflecopter giveaway
