No Products in the Cart
 Hi Hi!!! It's Katrina from Paper, Scissors, Glue and Hybrid Too here on the blog today. I am using one of the NEW DecoFoil Toner Sheets-Get Tropical on my layout today and I cannot wait to share with you!
AND the Rina K Designs Sending Sunshine Stamps and Dies that I used are 30 percent off in the Therm O Web store! I have done so many projects with this set! It's so versatile and easy to adapt to your project!!
Hi Hi!!! It's Katrina from Paper, Scissors, Glue and Hybrid Too here on the blog today. I am using one of the NEW DecoFoil Toner Sheets-Get Tropical on my layout today and I cannot wait to share with you!
AND the Rina K Designs Sending Sunshine Stamps and Dies that I used are 30 percent off in the Therm O Web store! I have done so many projects with this set! It's so versatile and easy to adapt to your project!!
 Therm O Web Supplies Used
Deco Foil Transfer Sheets-Aqua
Deco Foil A2 Card Front Toner Sheets-Get Tropical
Memory Runner XL
Memory Runner XL Refill
iCraft Easy Tear Tape 1/2 inch
3D Foam Squares – Combo Pack
3D FOAM SQUARES BOX
NEW 3D FOAM TAPE ROLL 1/16
NEW 3D FOAM TAPE ROLL 1/8
Deco Foil Craft Carrier Sheets-NEW
Ultra Bond Liquid Adhesive
Pixie Tape
NEW Pixie Dots
Rina K Designs Sending Sunshine Stamp Set
Rina K Designs Sending Sunshine Die Set
Other Supplies Used
Simple Stories-Full Bloom Collection (Paper Issues Use Code Katrina for 20% off)
White Cardstock
Catherine Pooler Inks In Bellini, It's a Girl, Apricot
Distress Ink Oxide-Saltwater Taffy (Paper Issues-Use Code Katrina for 20% off)
Border Punch
Sketch from PageMaps
Therm O Web Supplies Used
Deco Foil Transfer Sheets-Aqua
Deco Foil A2 Card Front Toner Sheets-Get Tropical
Memory Runner XL
Memory Runner XL Refill
iCraft Easy Tear Tape 1/2 inch
3D Foam Squares – Combo Pack
3D FOAM SQUARES BOX
NEW 3D FOAM TAPE ROLL 1/16
NEW 3D FOAM TAPE ROLL 1/8
Deco Foil Craft Carrier Sheets-NEW
Ultra Bond Liquid Adhesive
Pixie Tape
NEW Pixie Dots
Rina K Designs Sending Sunshine Stamp Set
Rina K Designs Sending Sunshine Die Set
Other Supplies Used
Simple Stories-Full Bloom Collection (Paper Issues Use Code Katrina for 20% off)
White Cardstock
Catherine Pooler Inks In Bellini, It's a Girl, Apricot
Distress Ink Oxide-Saltwater Taffy (Paper Issues-Use Code Katrina for 20% off)
Border Punch
Sketch from PageMaps
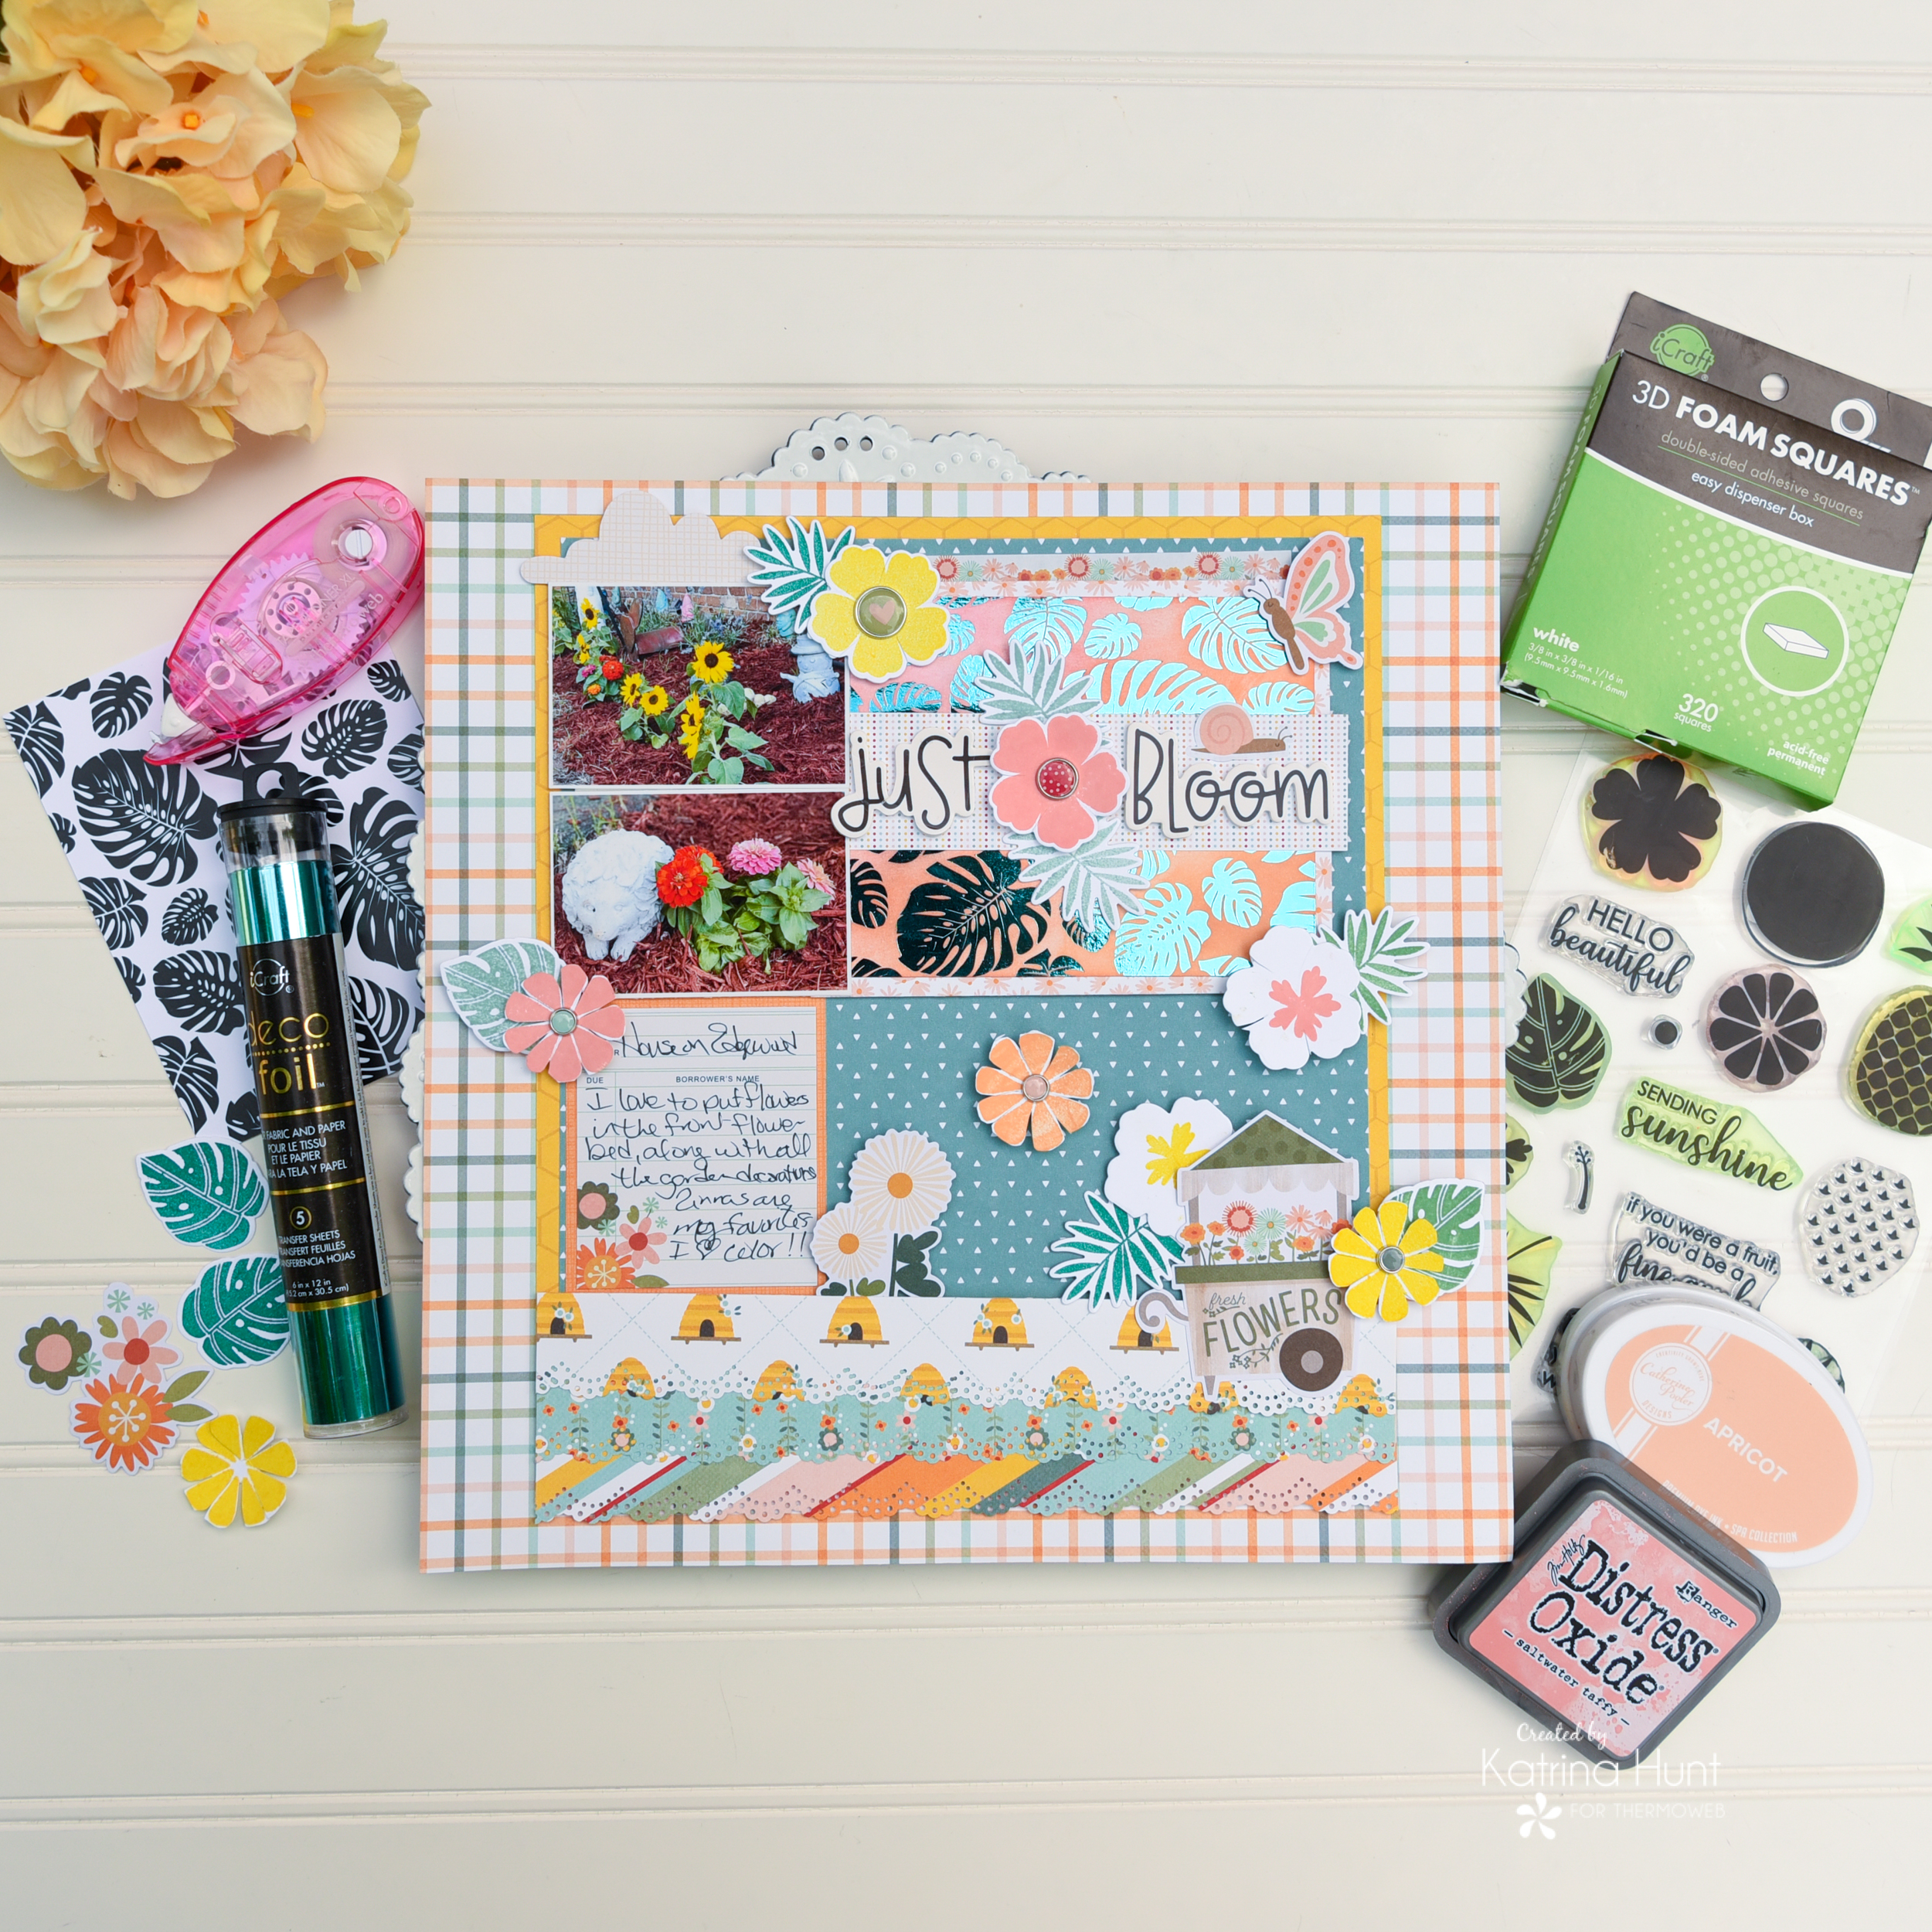
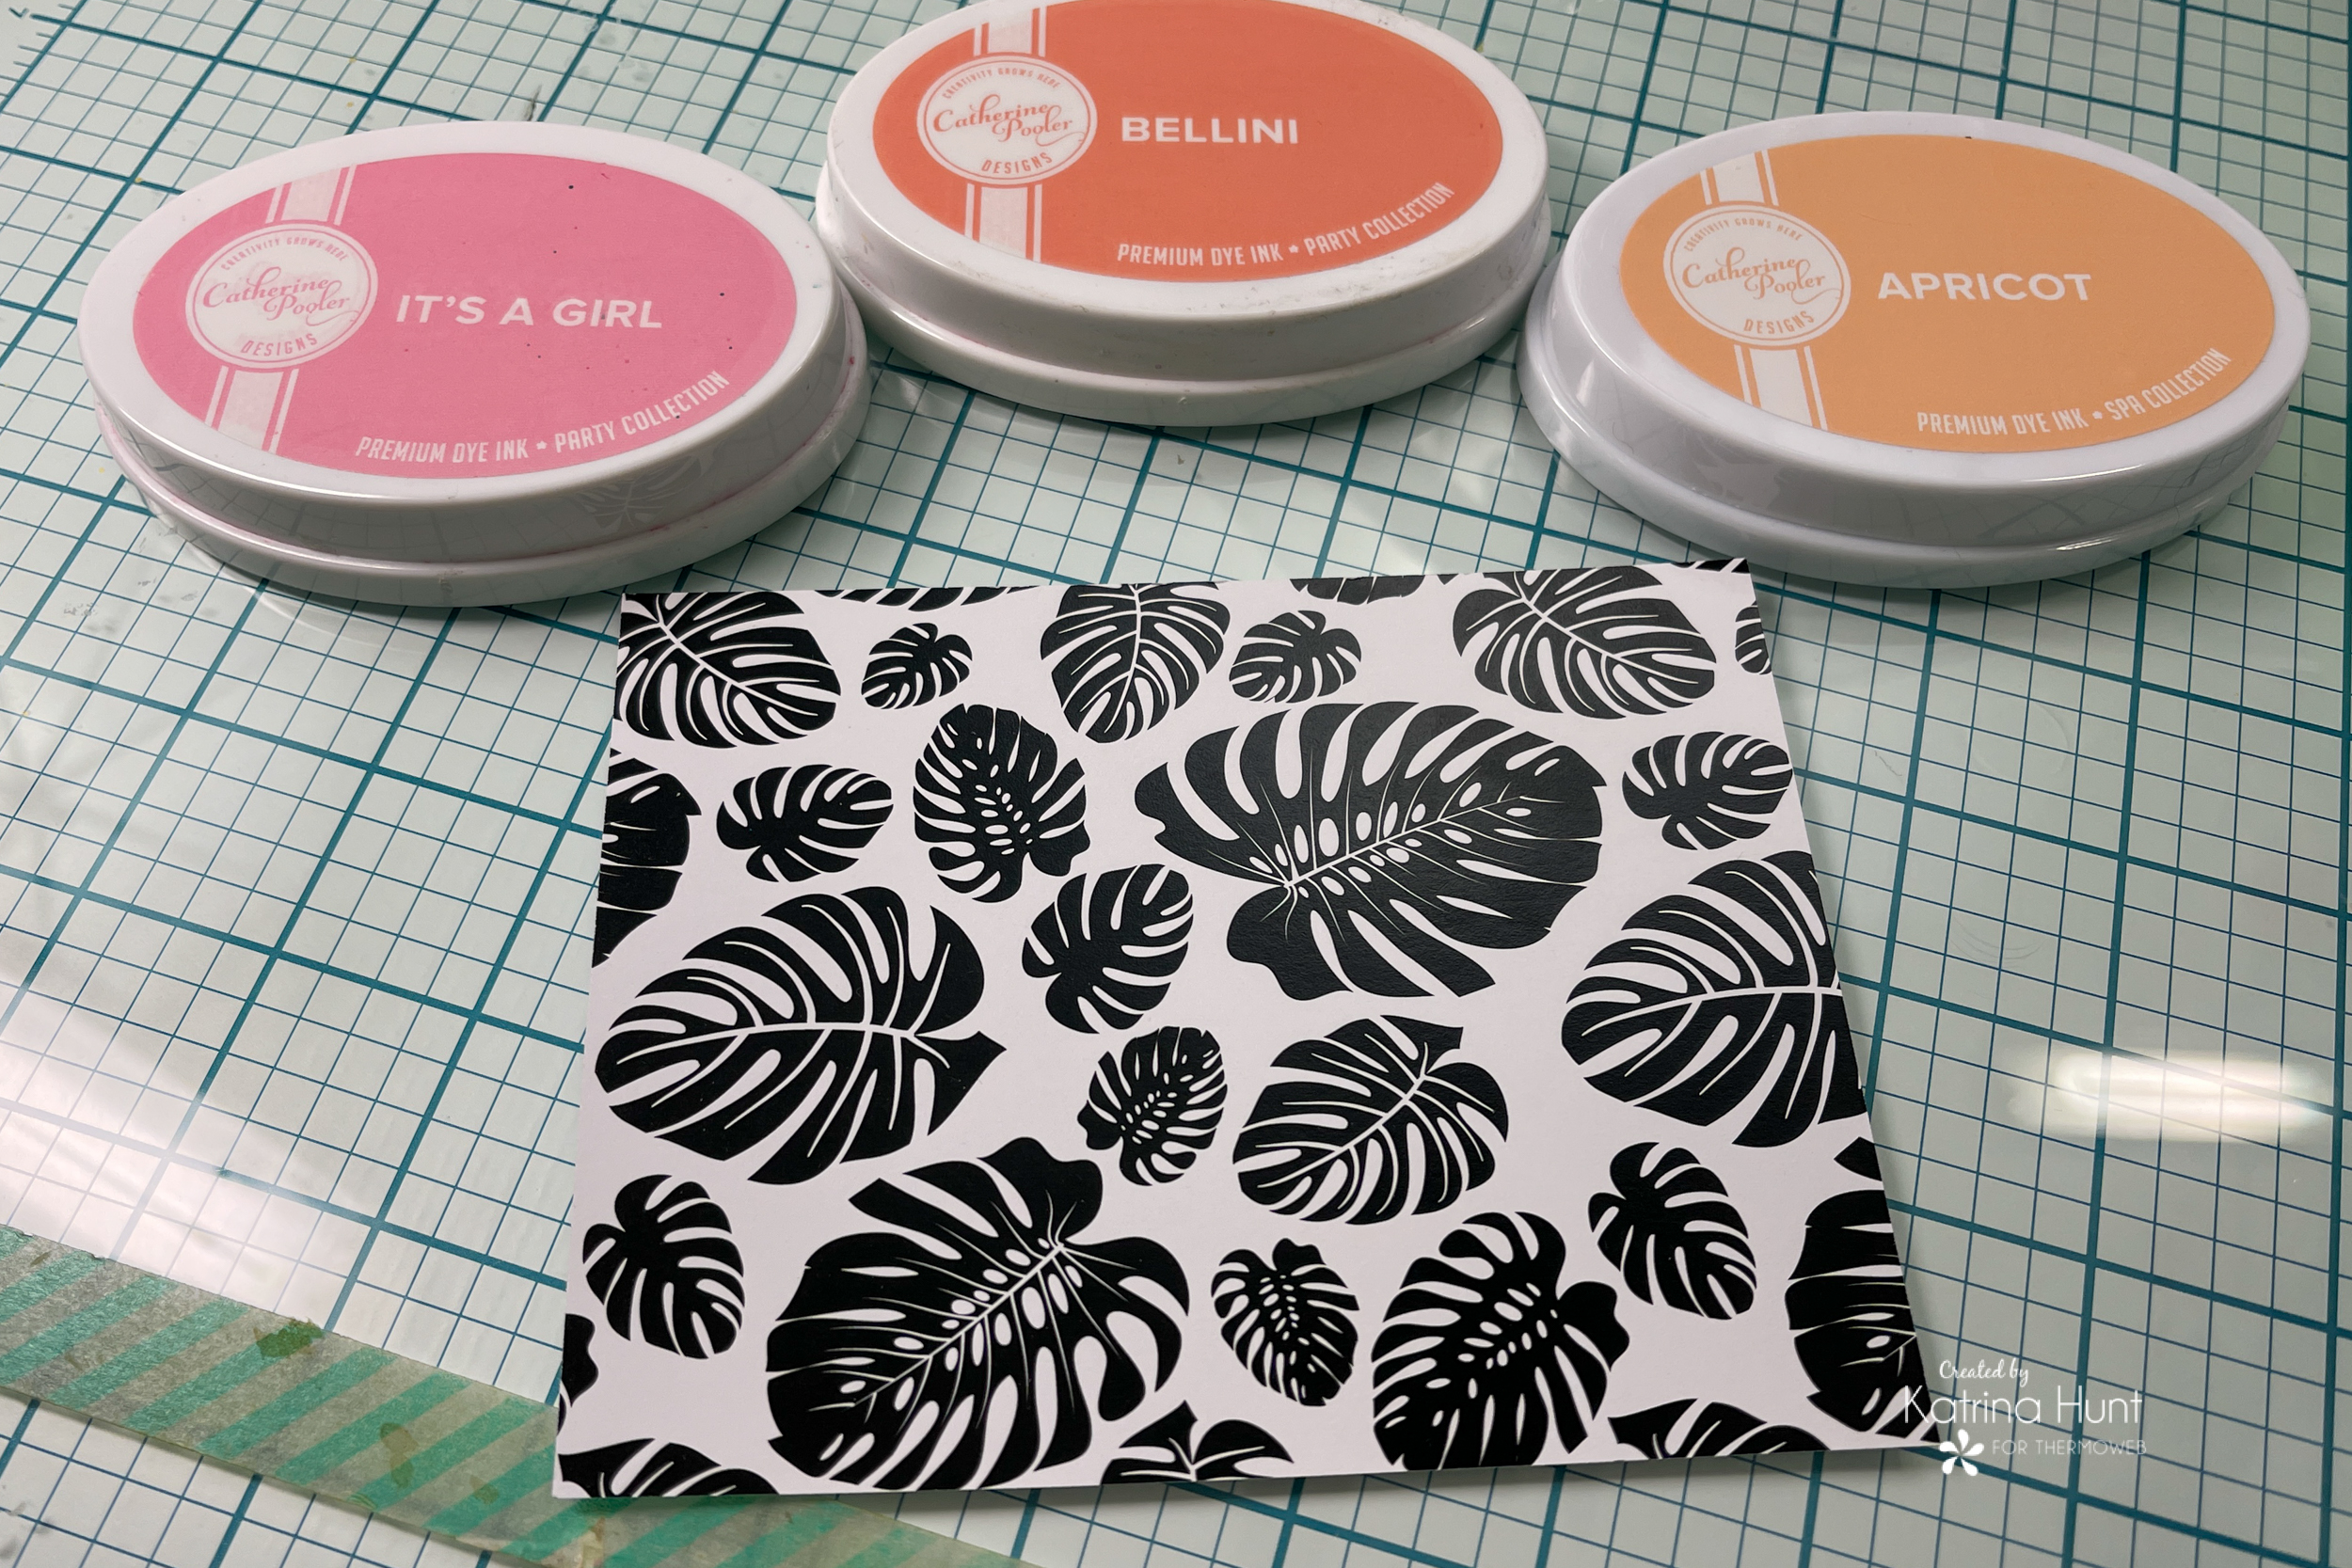
 So let's start with how this layout came together! I knew the Get Tropical Toner Sheet set was the one I wanted to use with the Sending Sunshine stamps and dies. I have also been lacking mojo, so I wanted to use a sketch to jump-start my layout. Well, the sketch I found over at PageMaps was perfect. It had a spot right for the toner sheet I wanted to use! I also knew I wanted to ink it in a blend. So out came my inks!
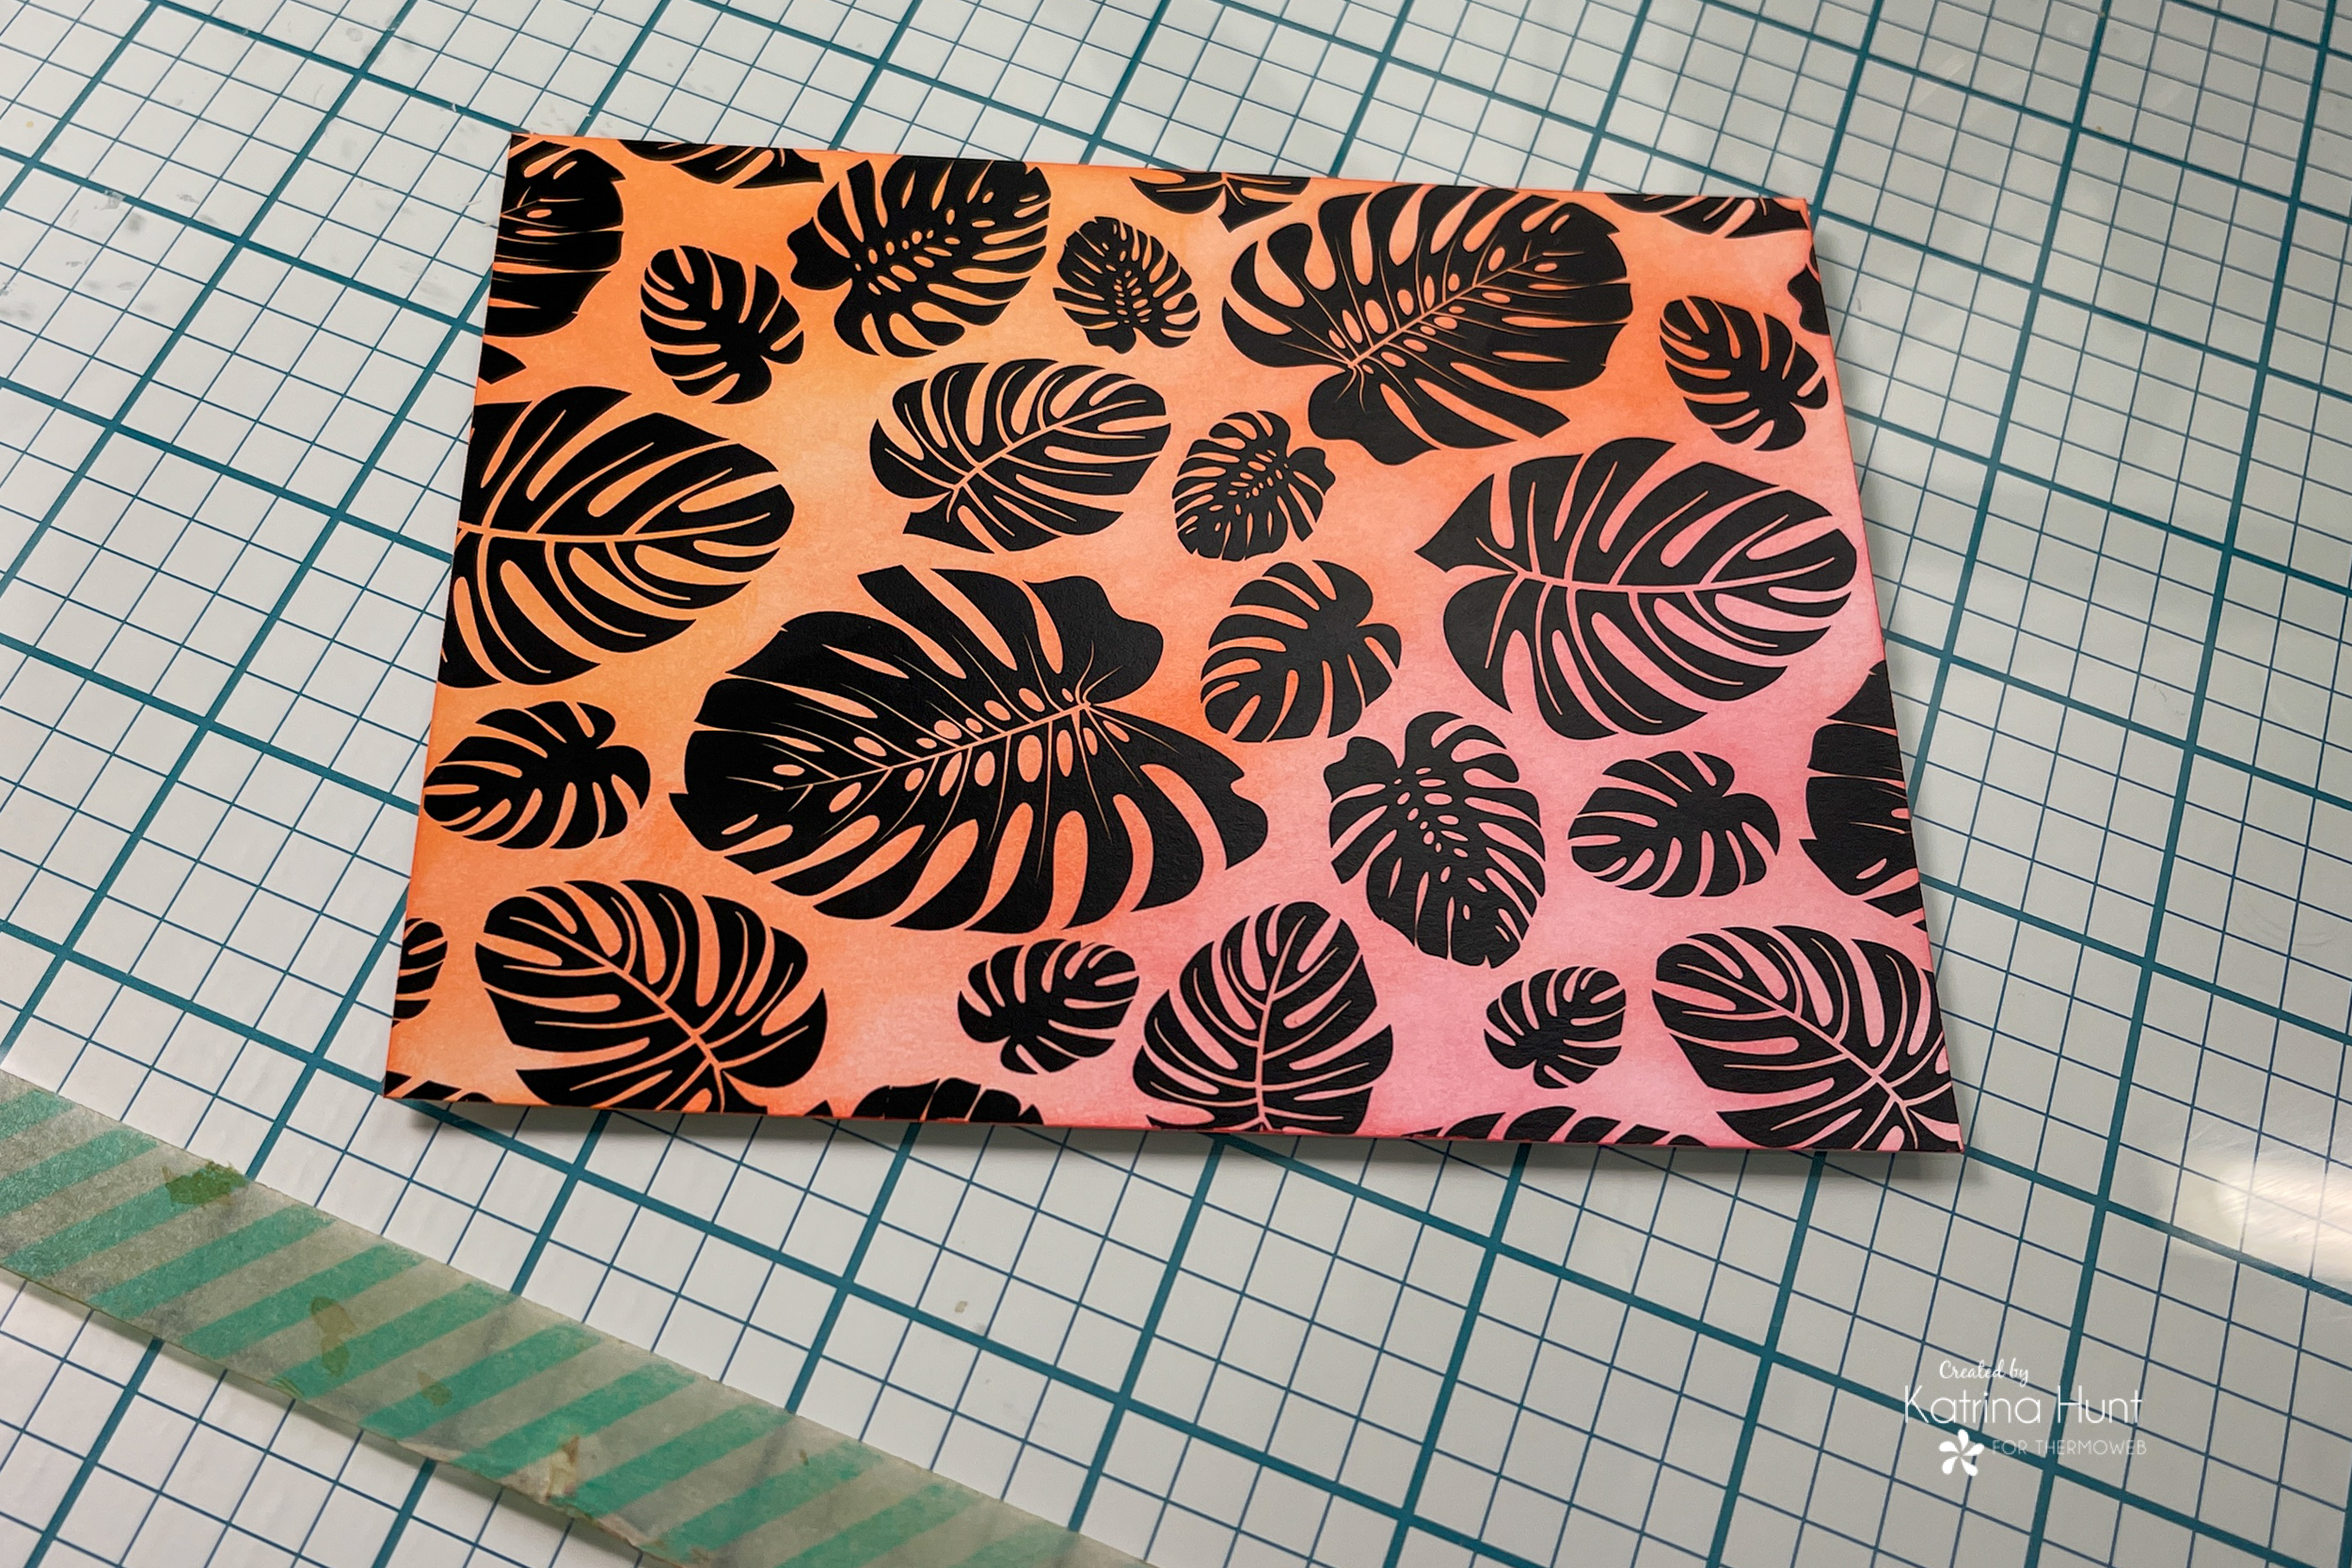 Once inked, it was time to foil. I first wiped the toner sheet down to remove any ink that transferred onto the black toner parts. This will give you a clean toner surface for your foil to stick. I picked out the DecoFoil in Aqua, because it went with the color palette in the collection I was using. I used the new Craft & Carrier nonstick sheets and also a piece of cardstock to make my sandwich to run thru my laminator.
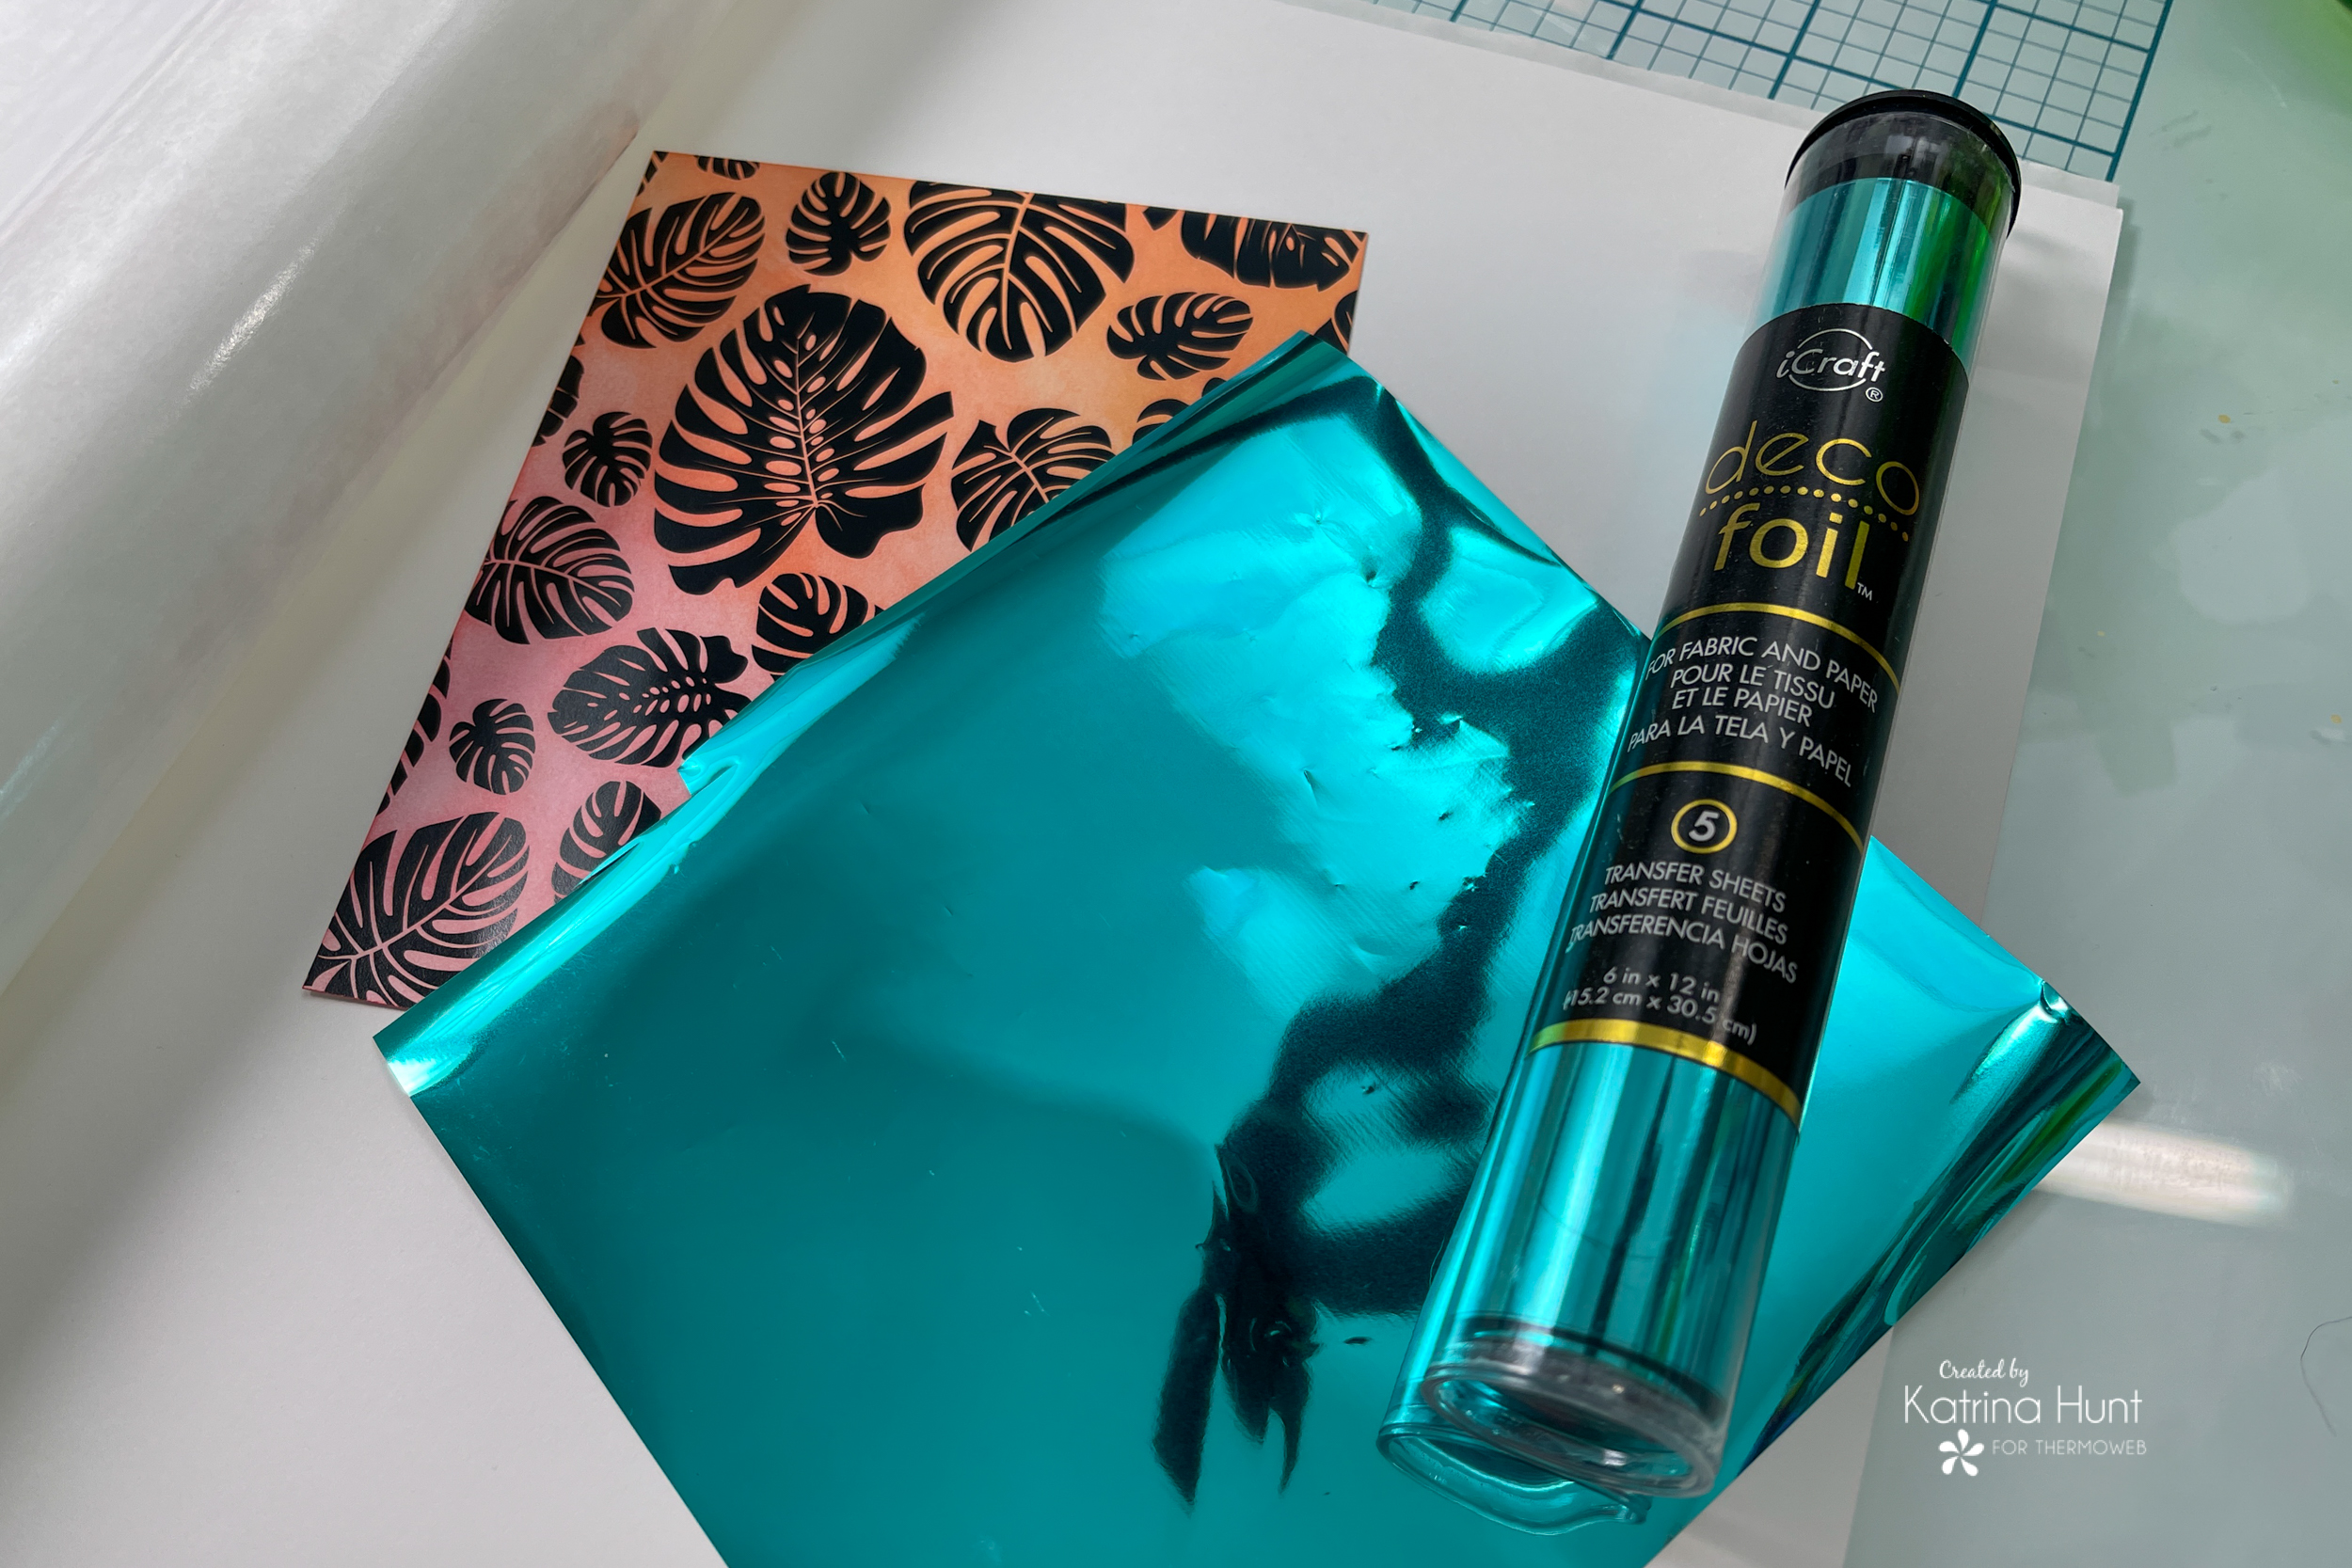
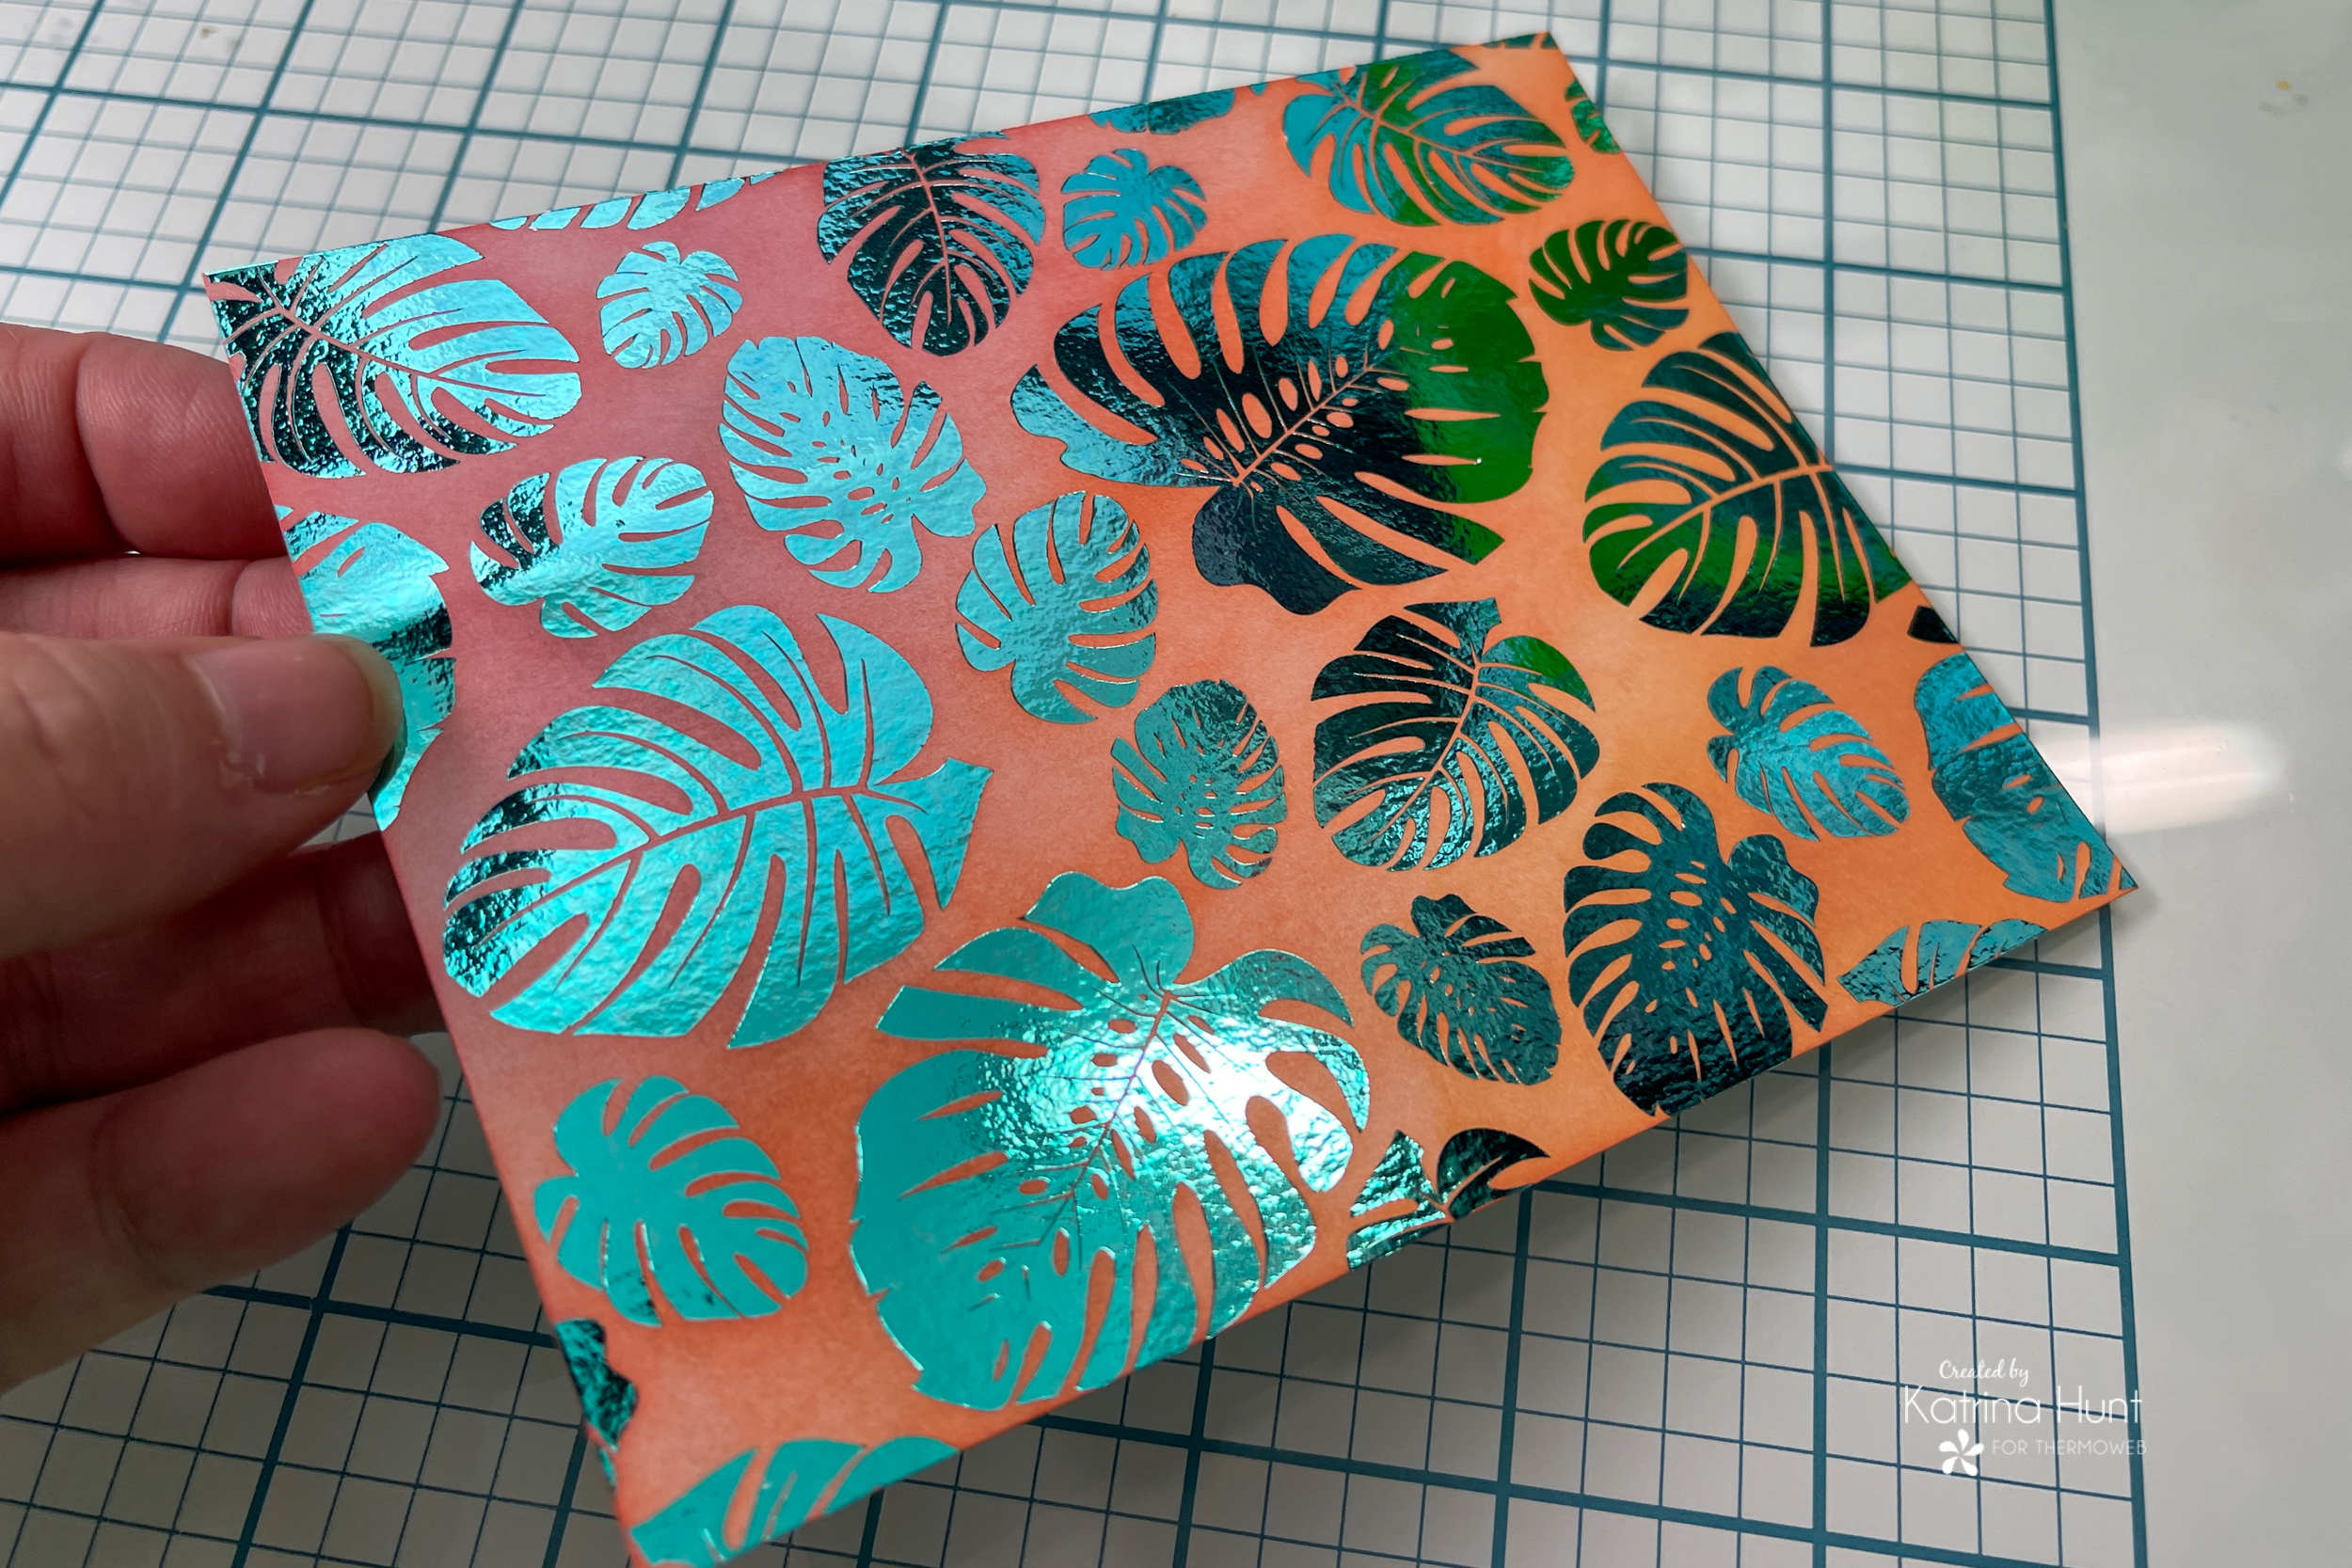 Ekks!!! So pretty right?? I love that aqua color against that ink blending! And the shine!
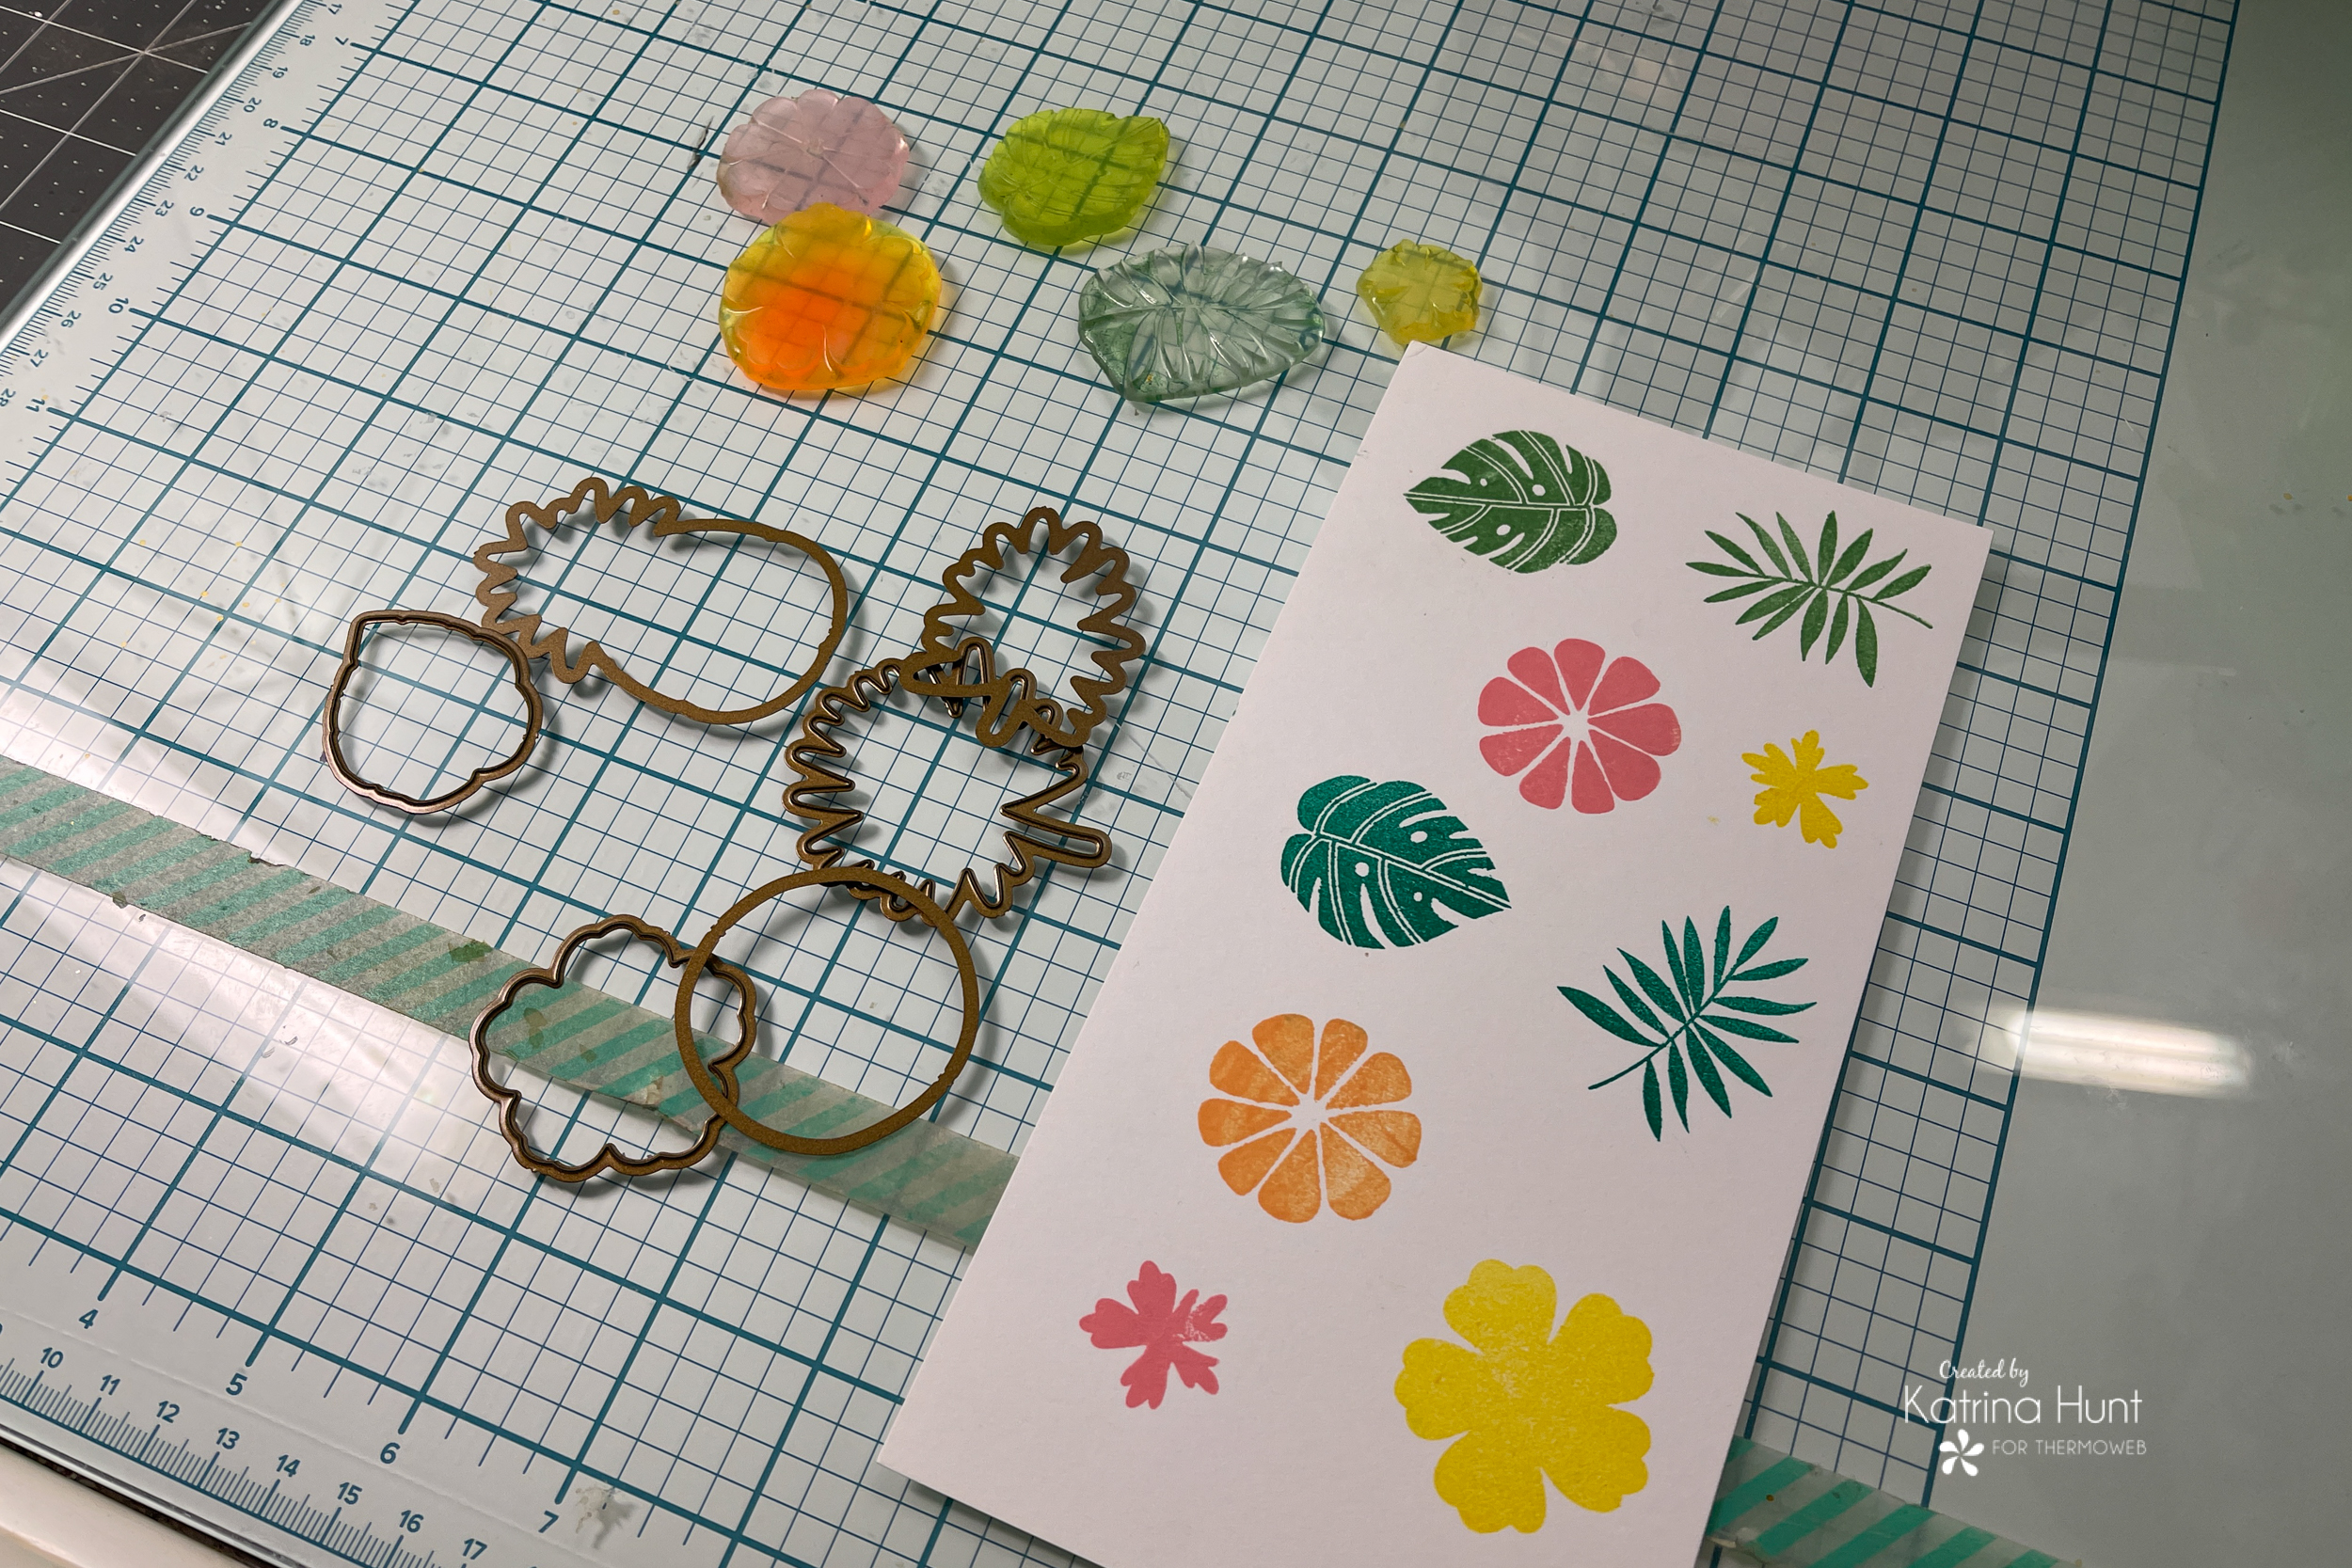
 So, I knew I wanted to mix the paper collection embellishments with the stamps and dies. As I was looking at the stamps and picking them out, I saw the citrus center section and thought...HHHmmmmm, could that make a flower? Turns out, it made a perfectly cute and fun flower! So I stamped a bunch of images in different ink colors and then went to die cut. The citrus section I had to hand-cut, as there is no die for it.
 I used the new Pixie Tape to hold my dies in place as I ran them thru my Gemini Jr. machine.
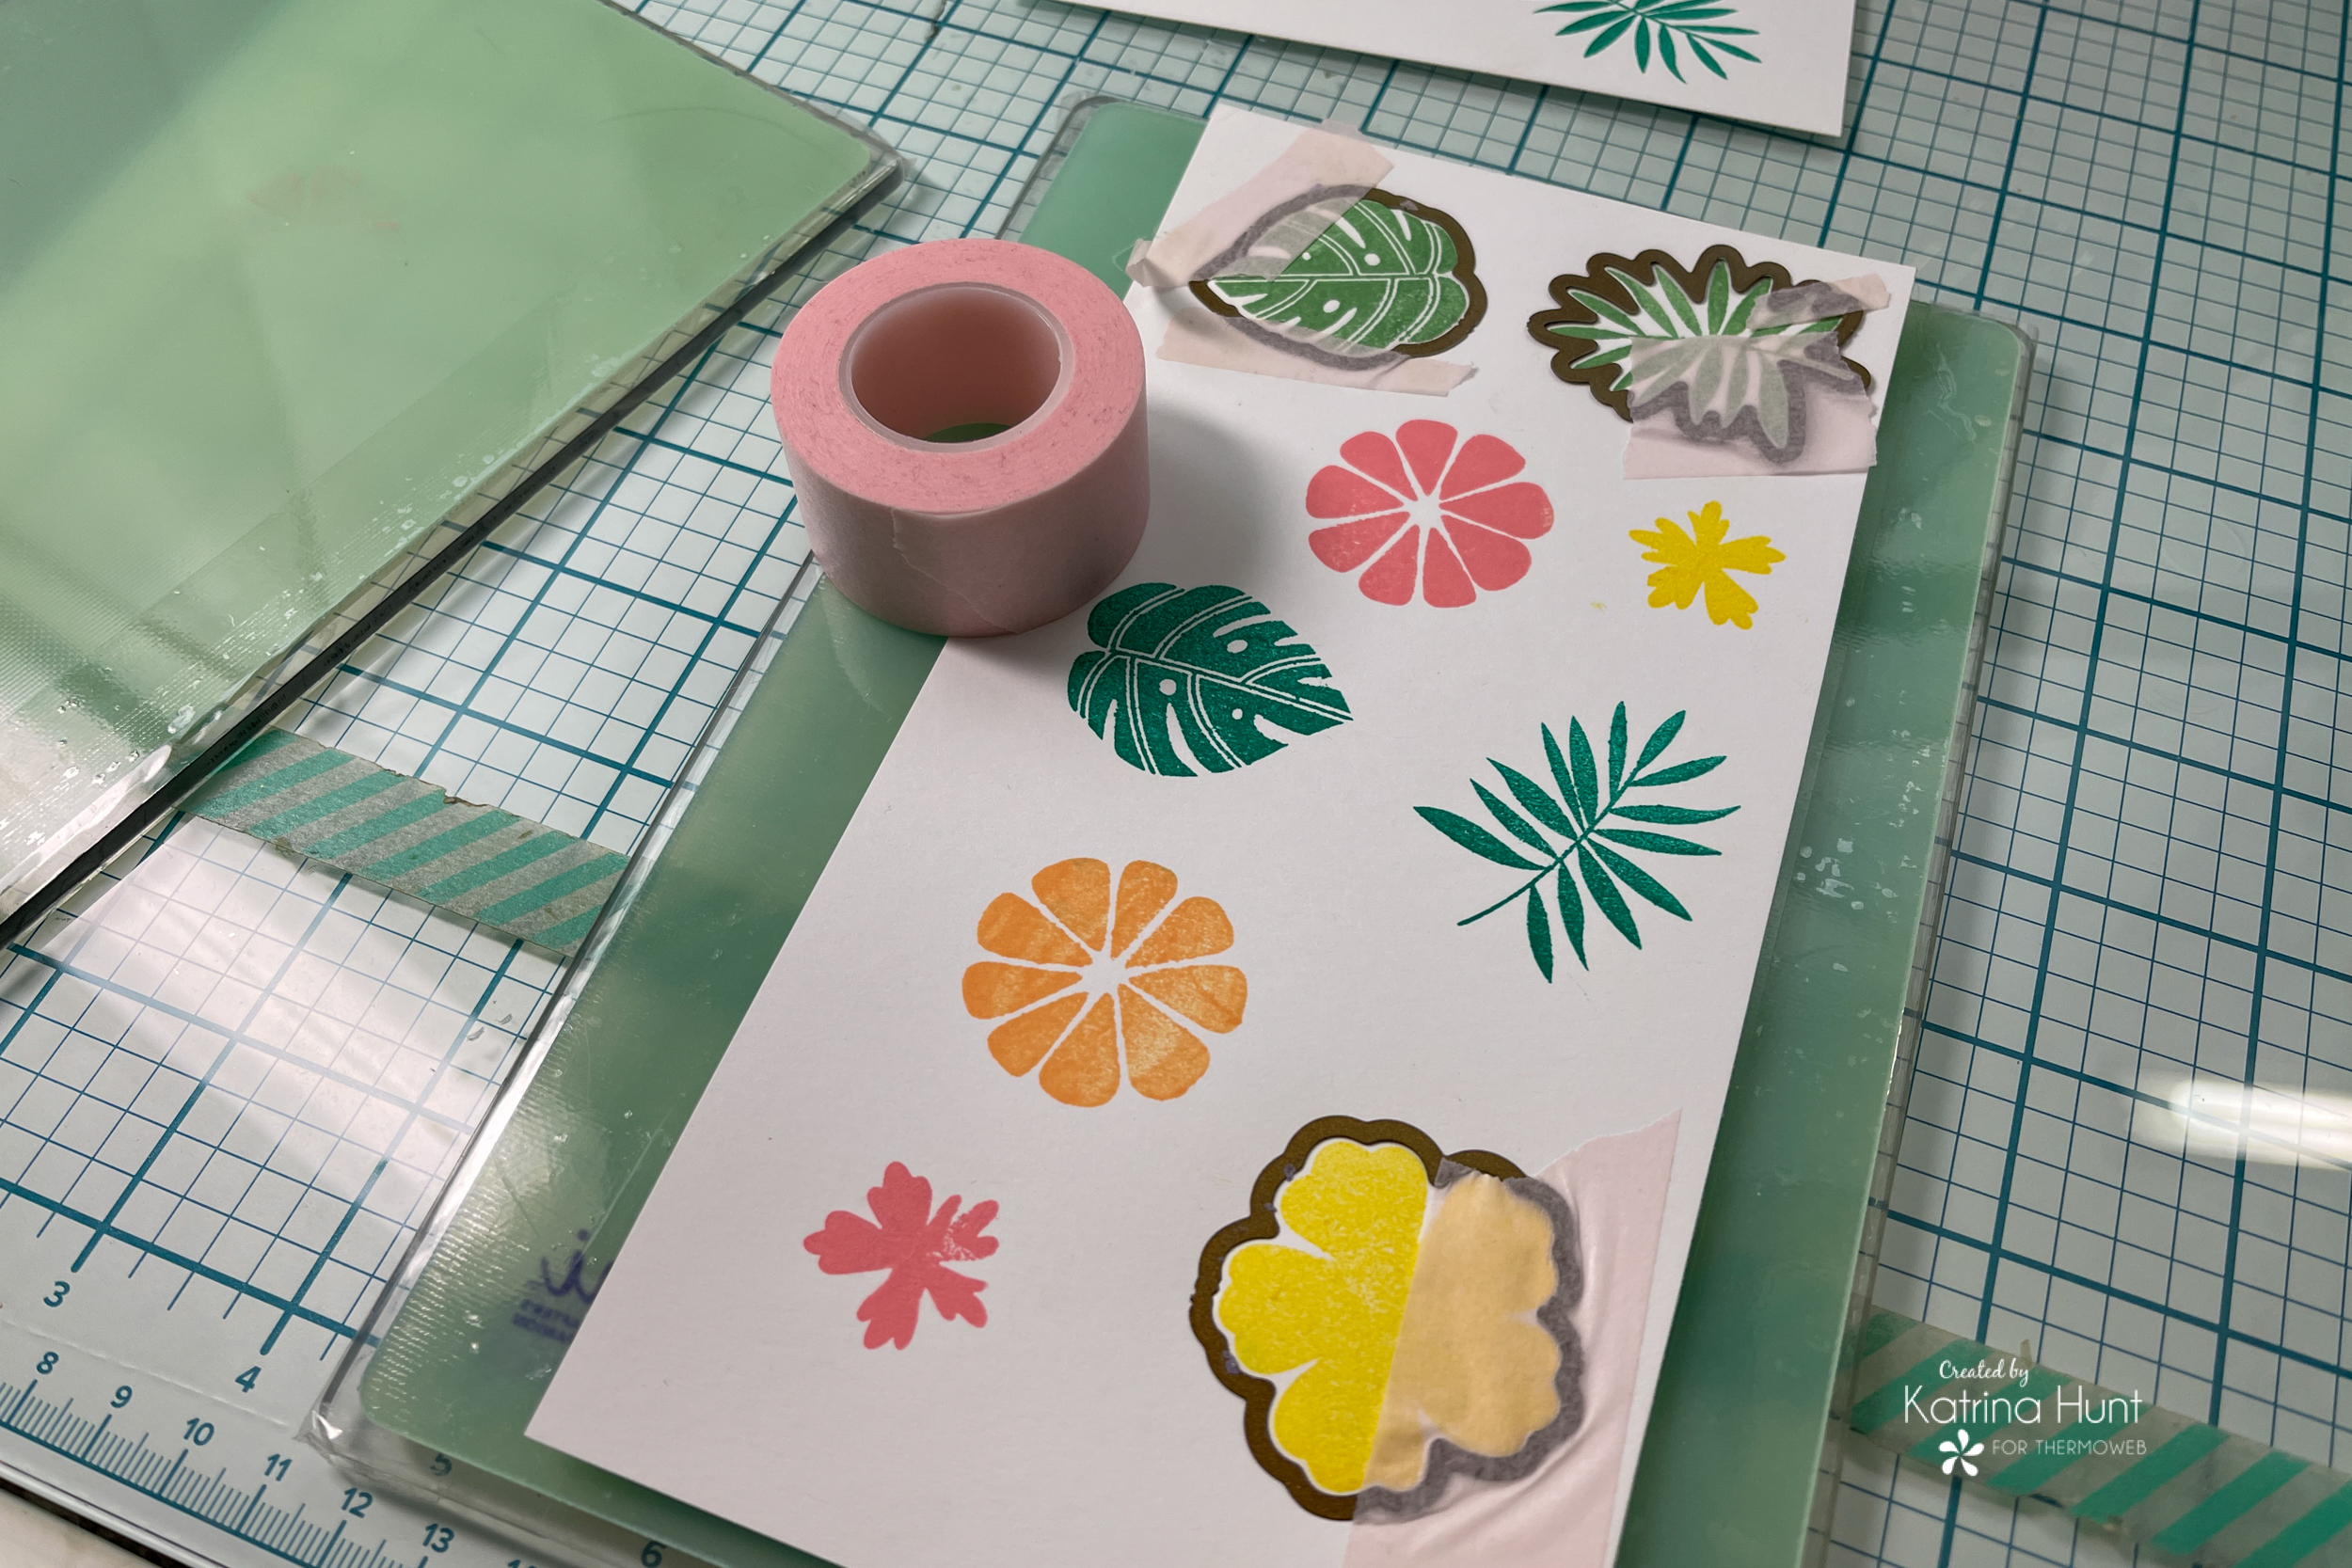 As I was doing this, I realized that the little tiny flower centers did not have a die either. What to do? Well, place a flower die around them and die cut. Make a white flower with a colored center!
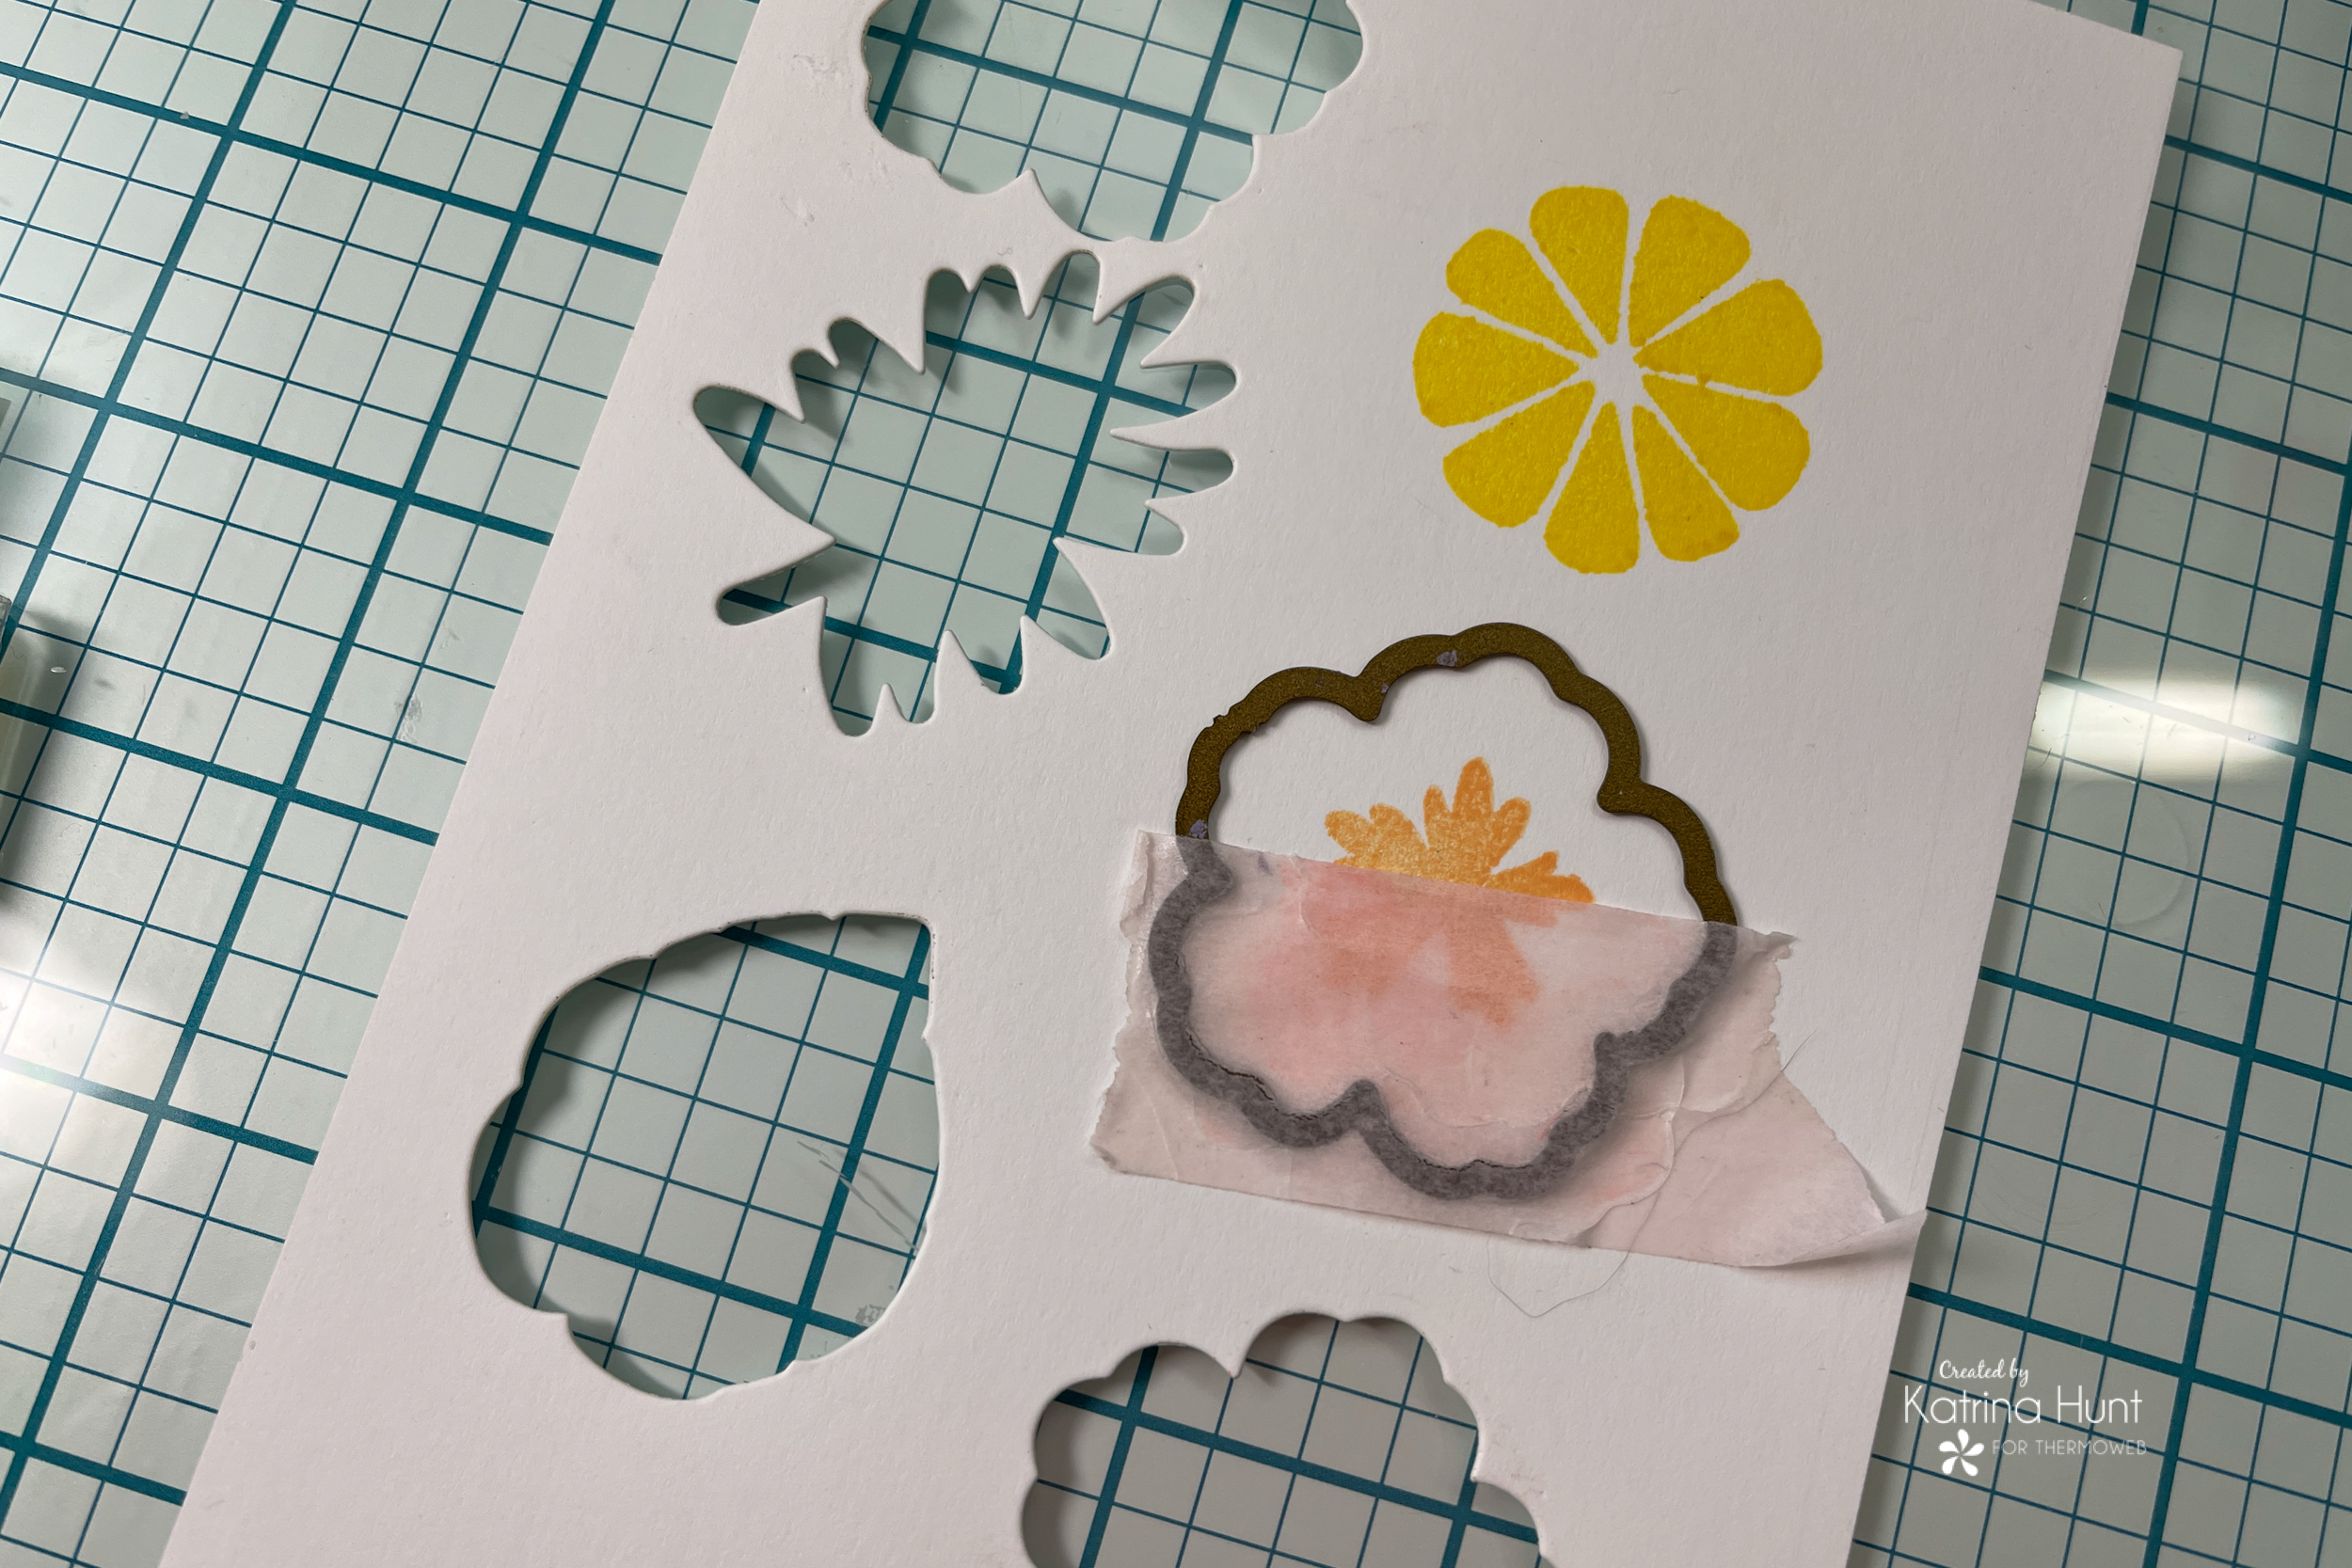 Turns out THAT was a good idea also! This is a great way to stretch your stamps and dies to get more out of them. I also really like the plain white die-cut flowers, but none of them ended up on my layout!
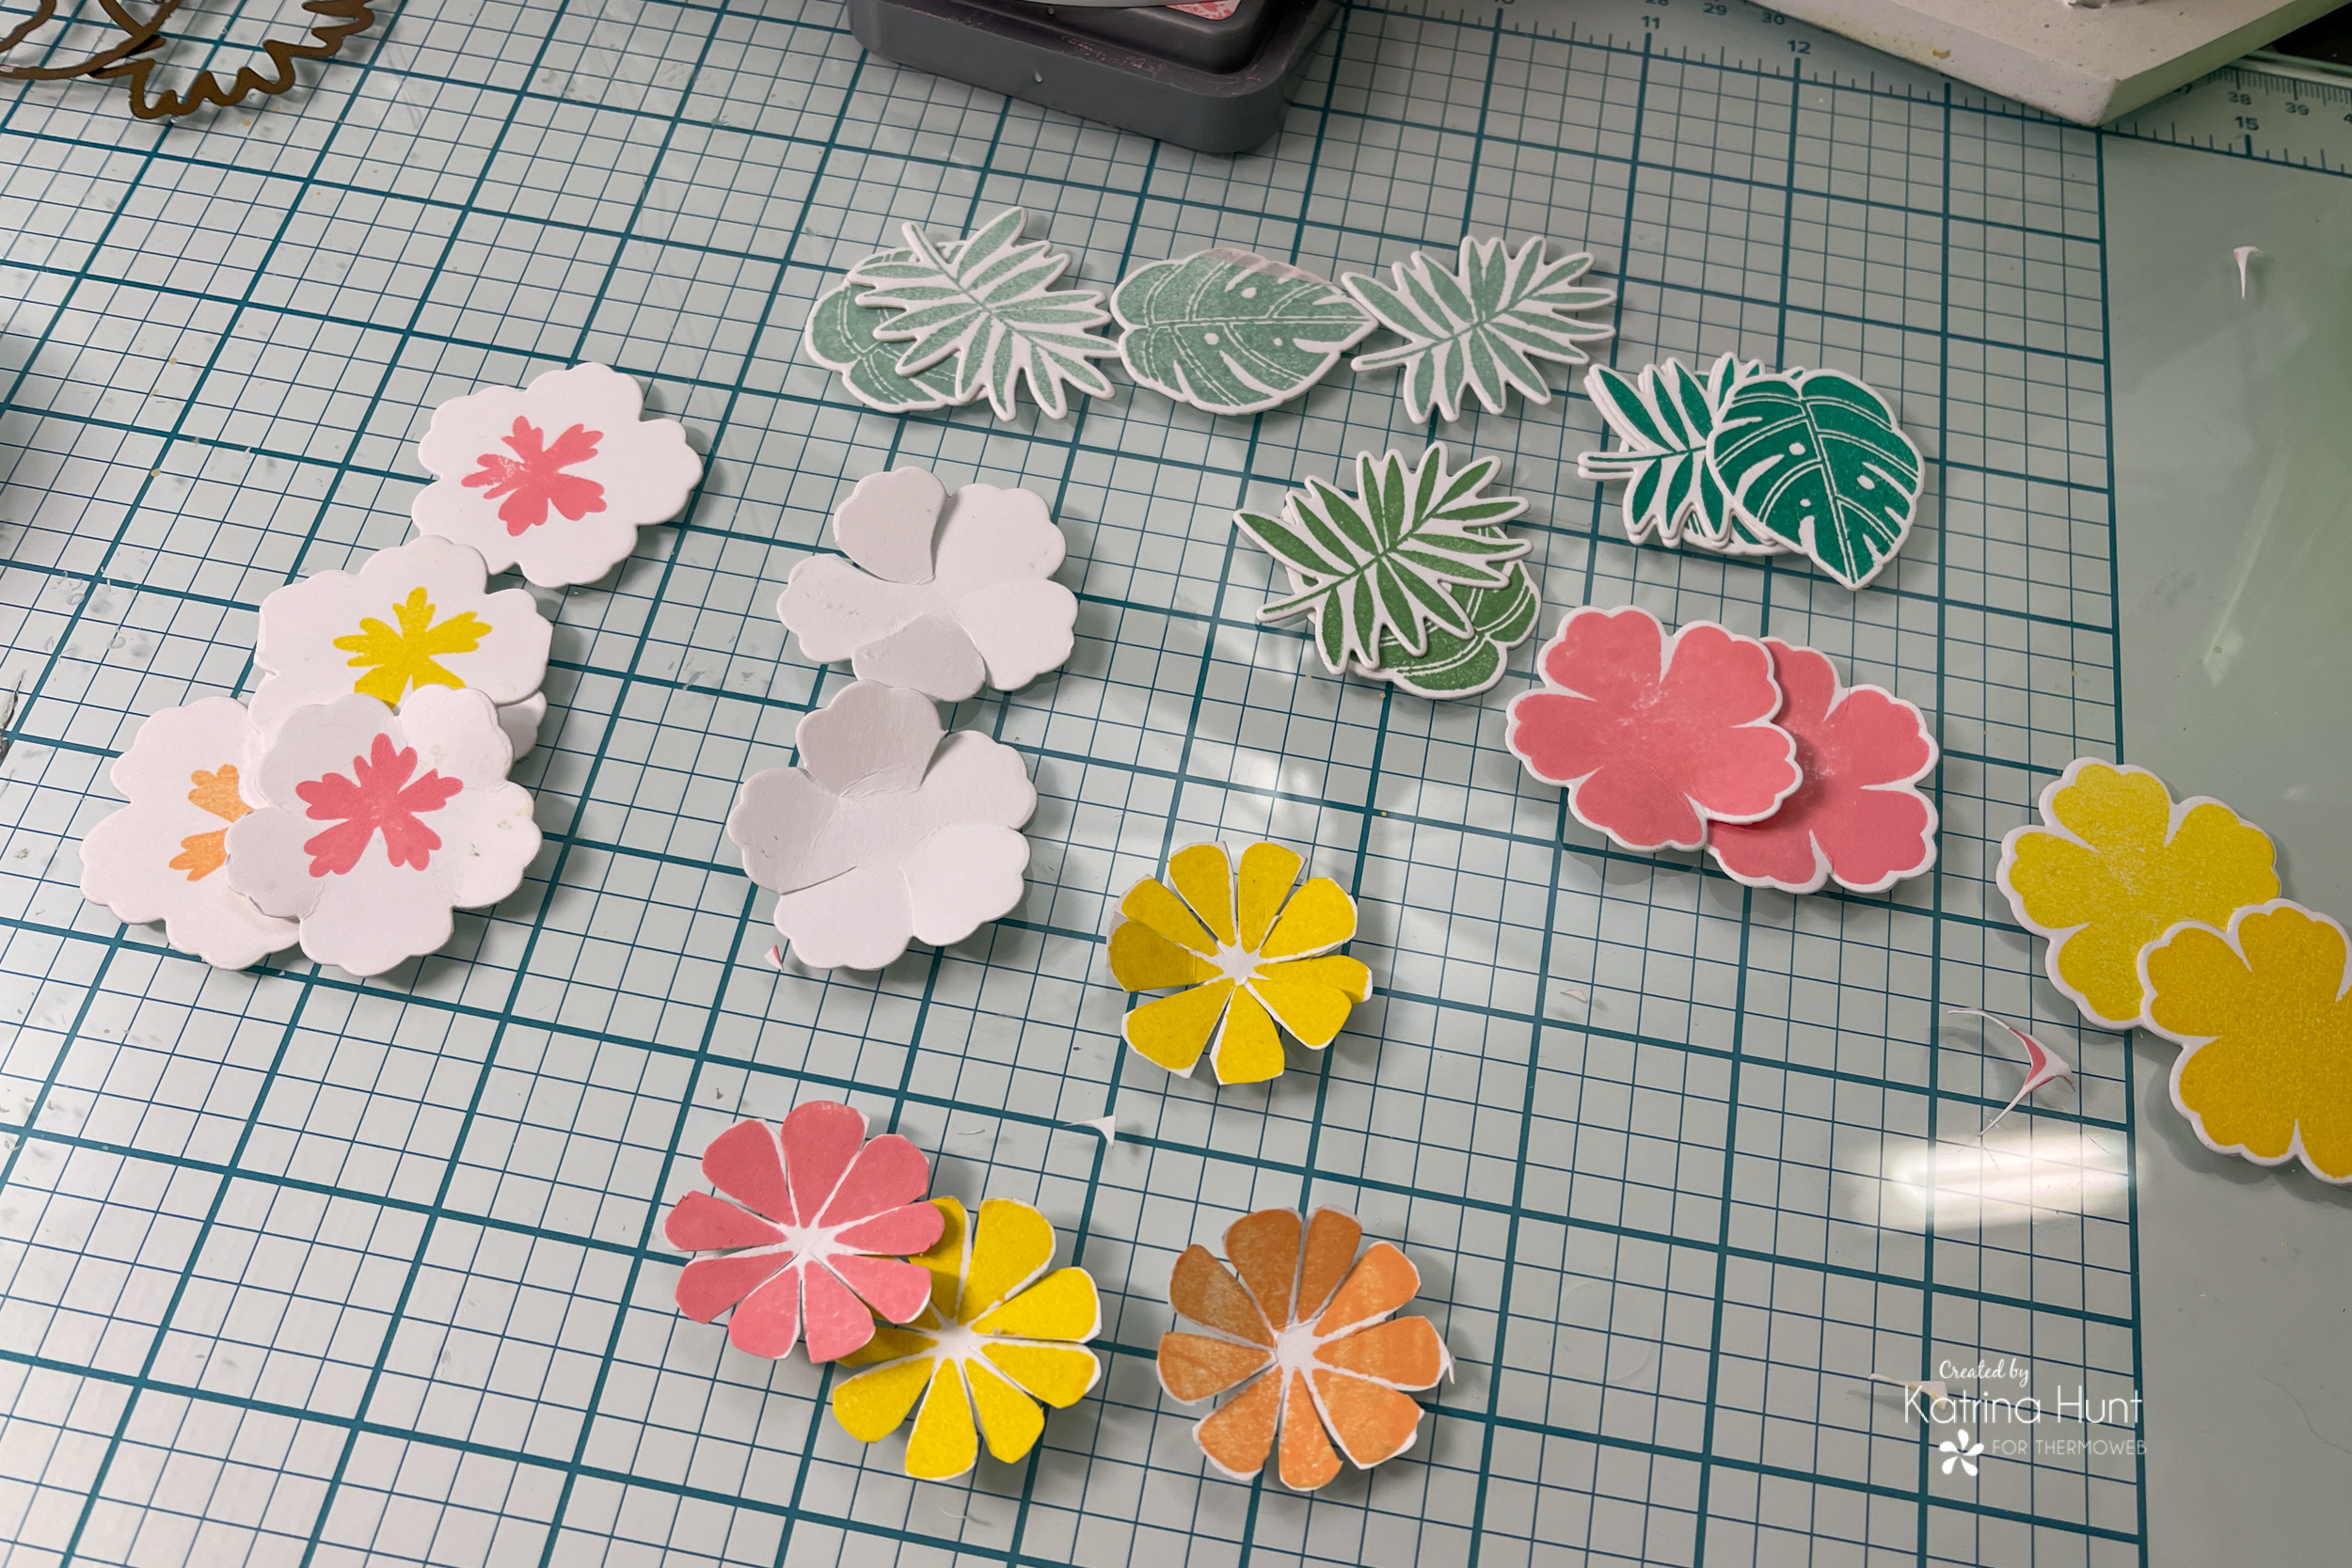
 For added dimension, scissor cut between petals.
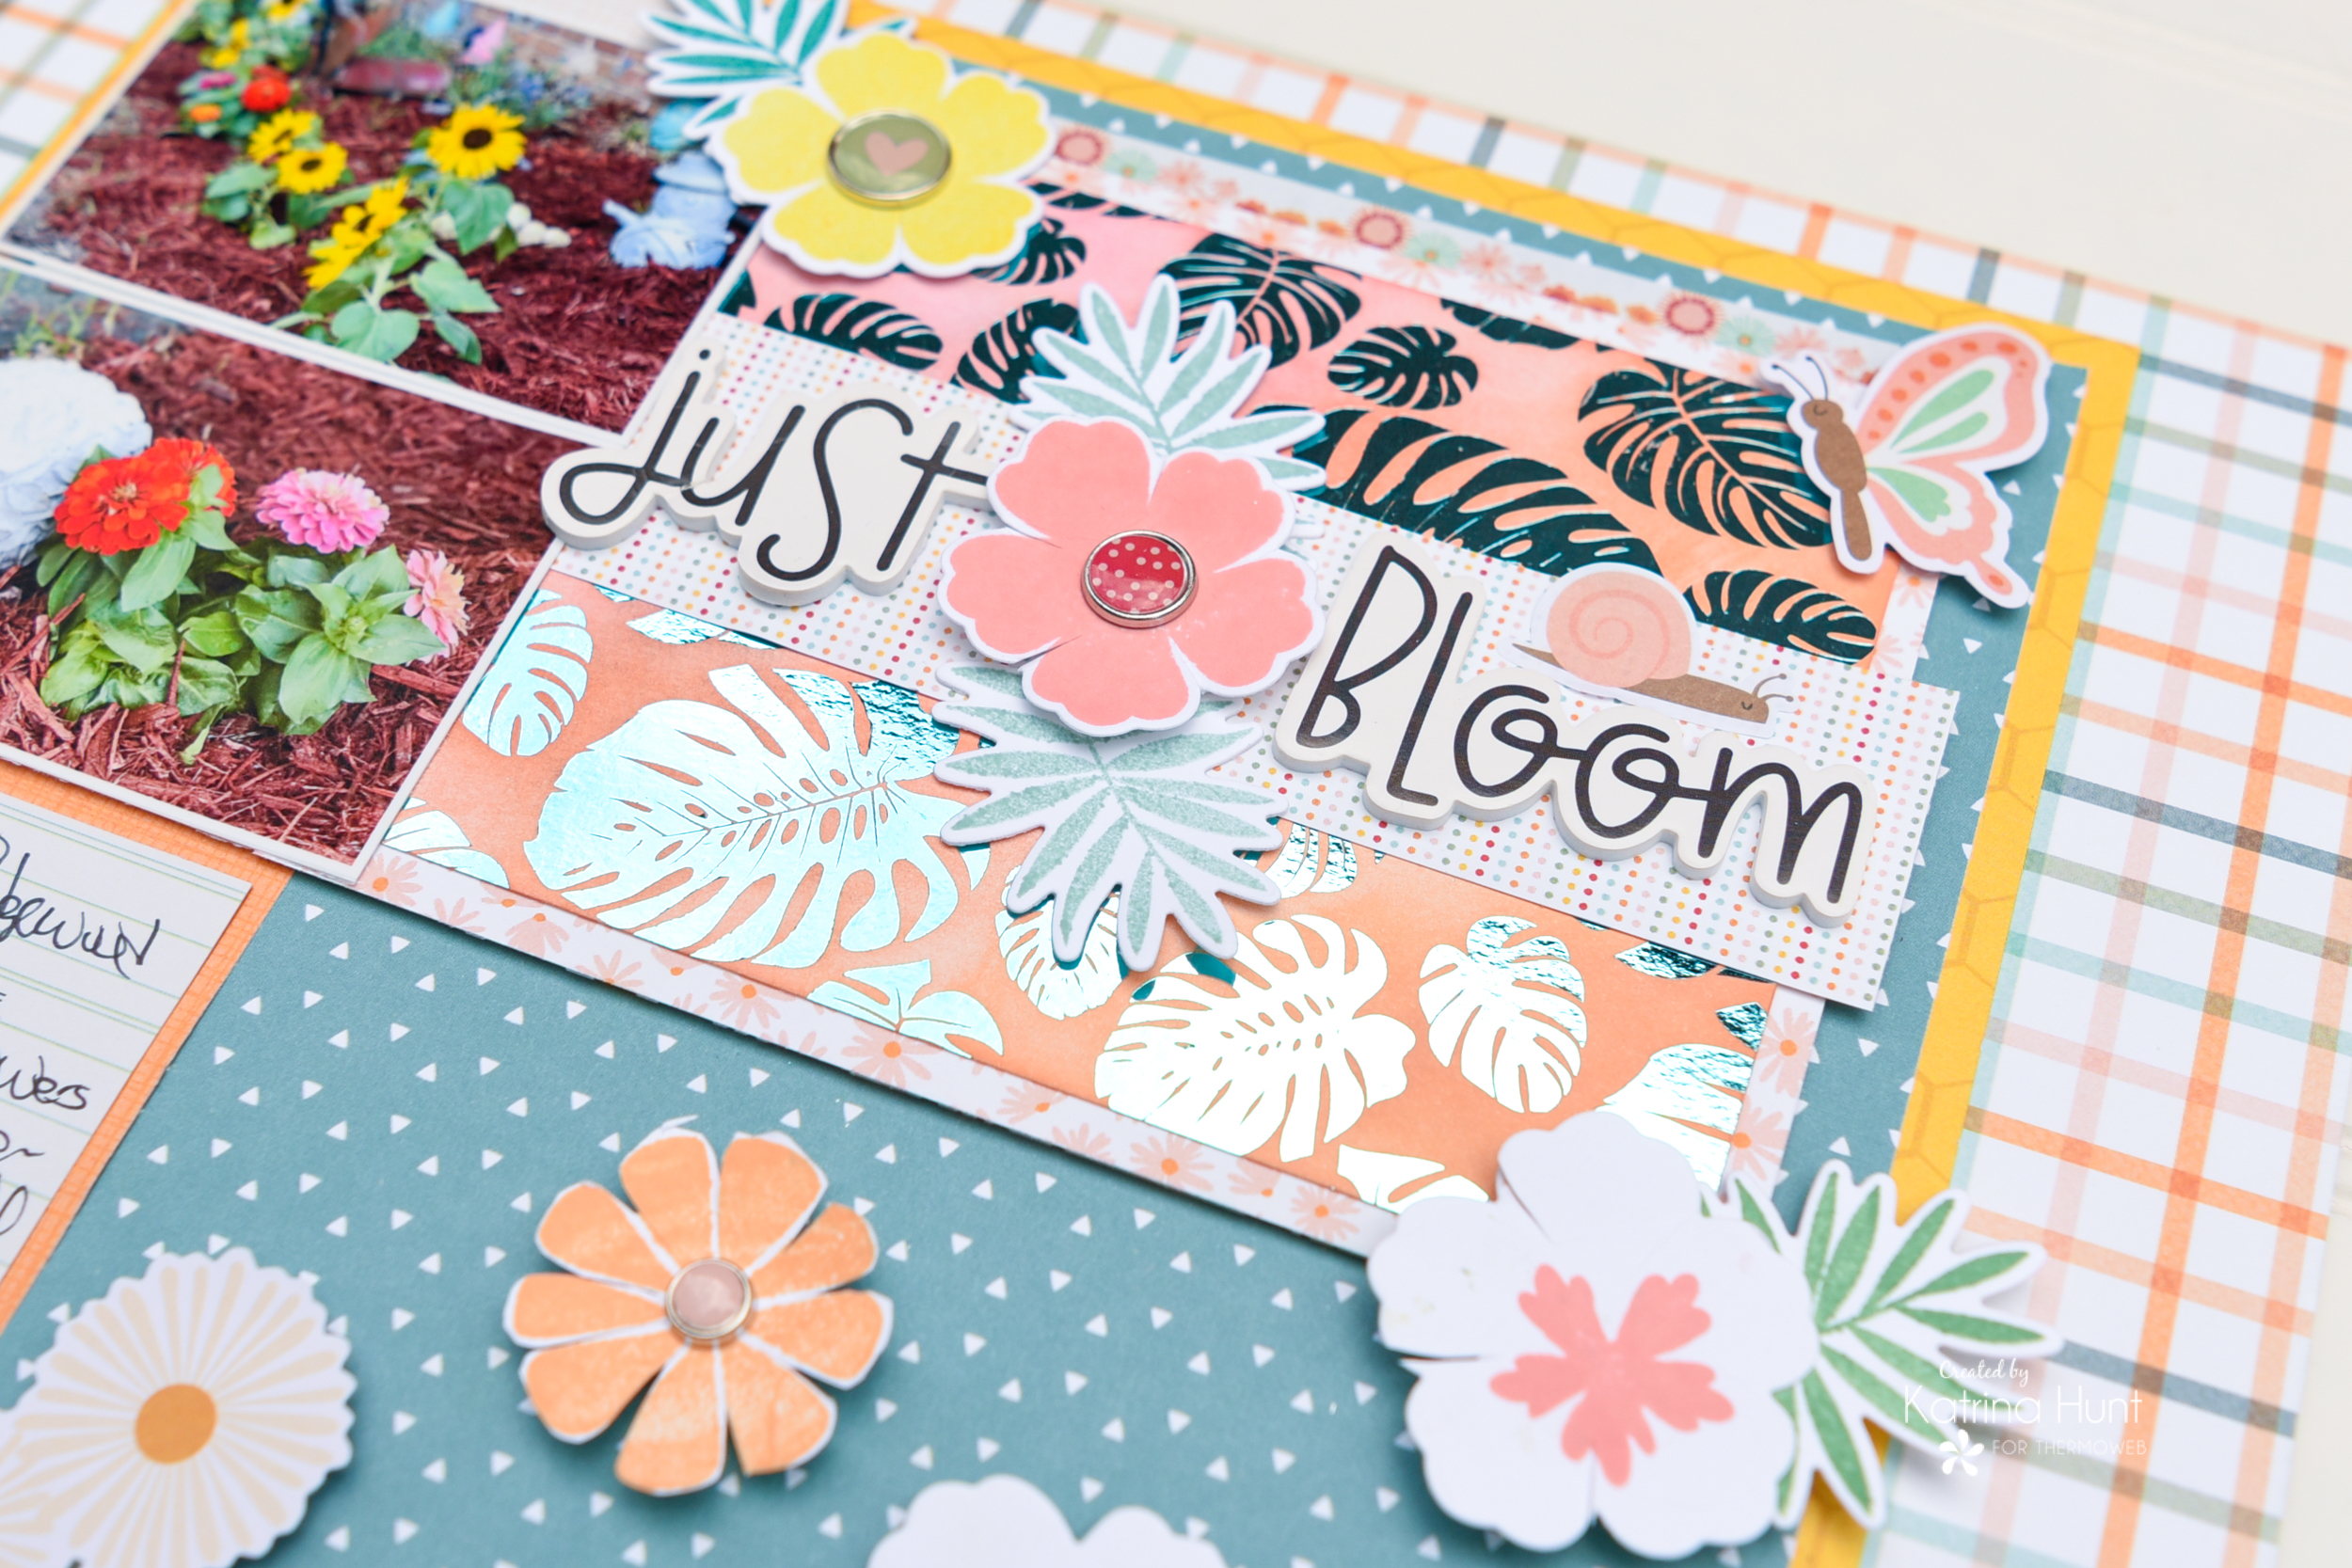
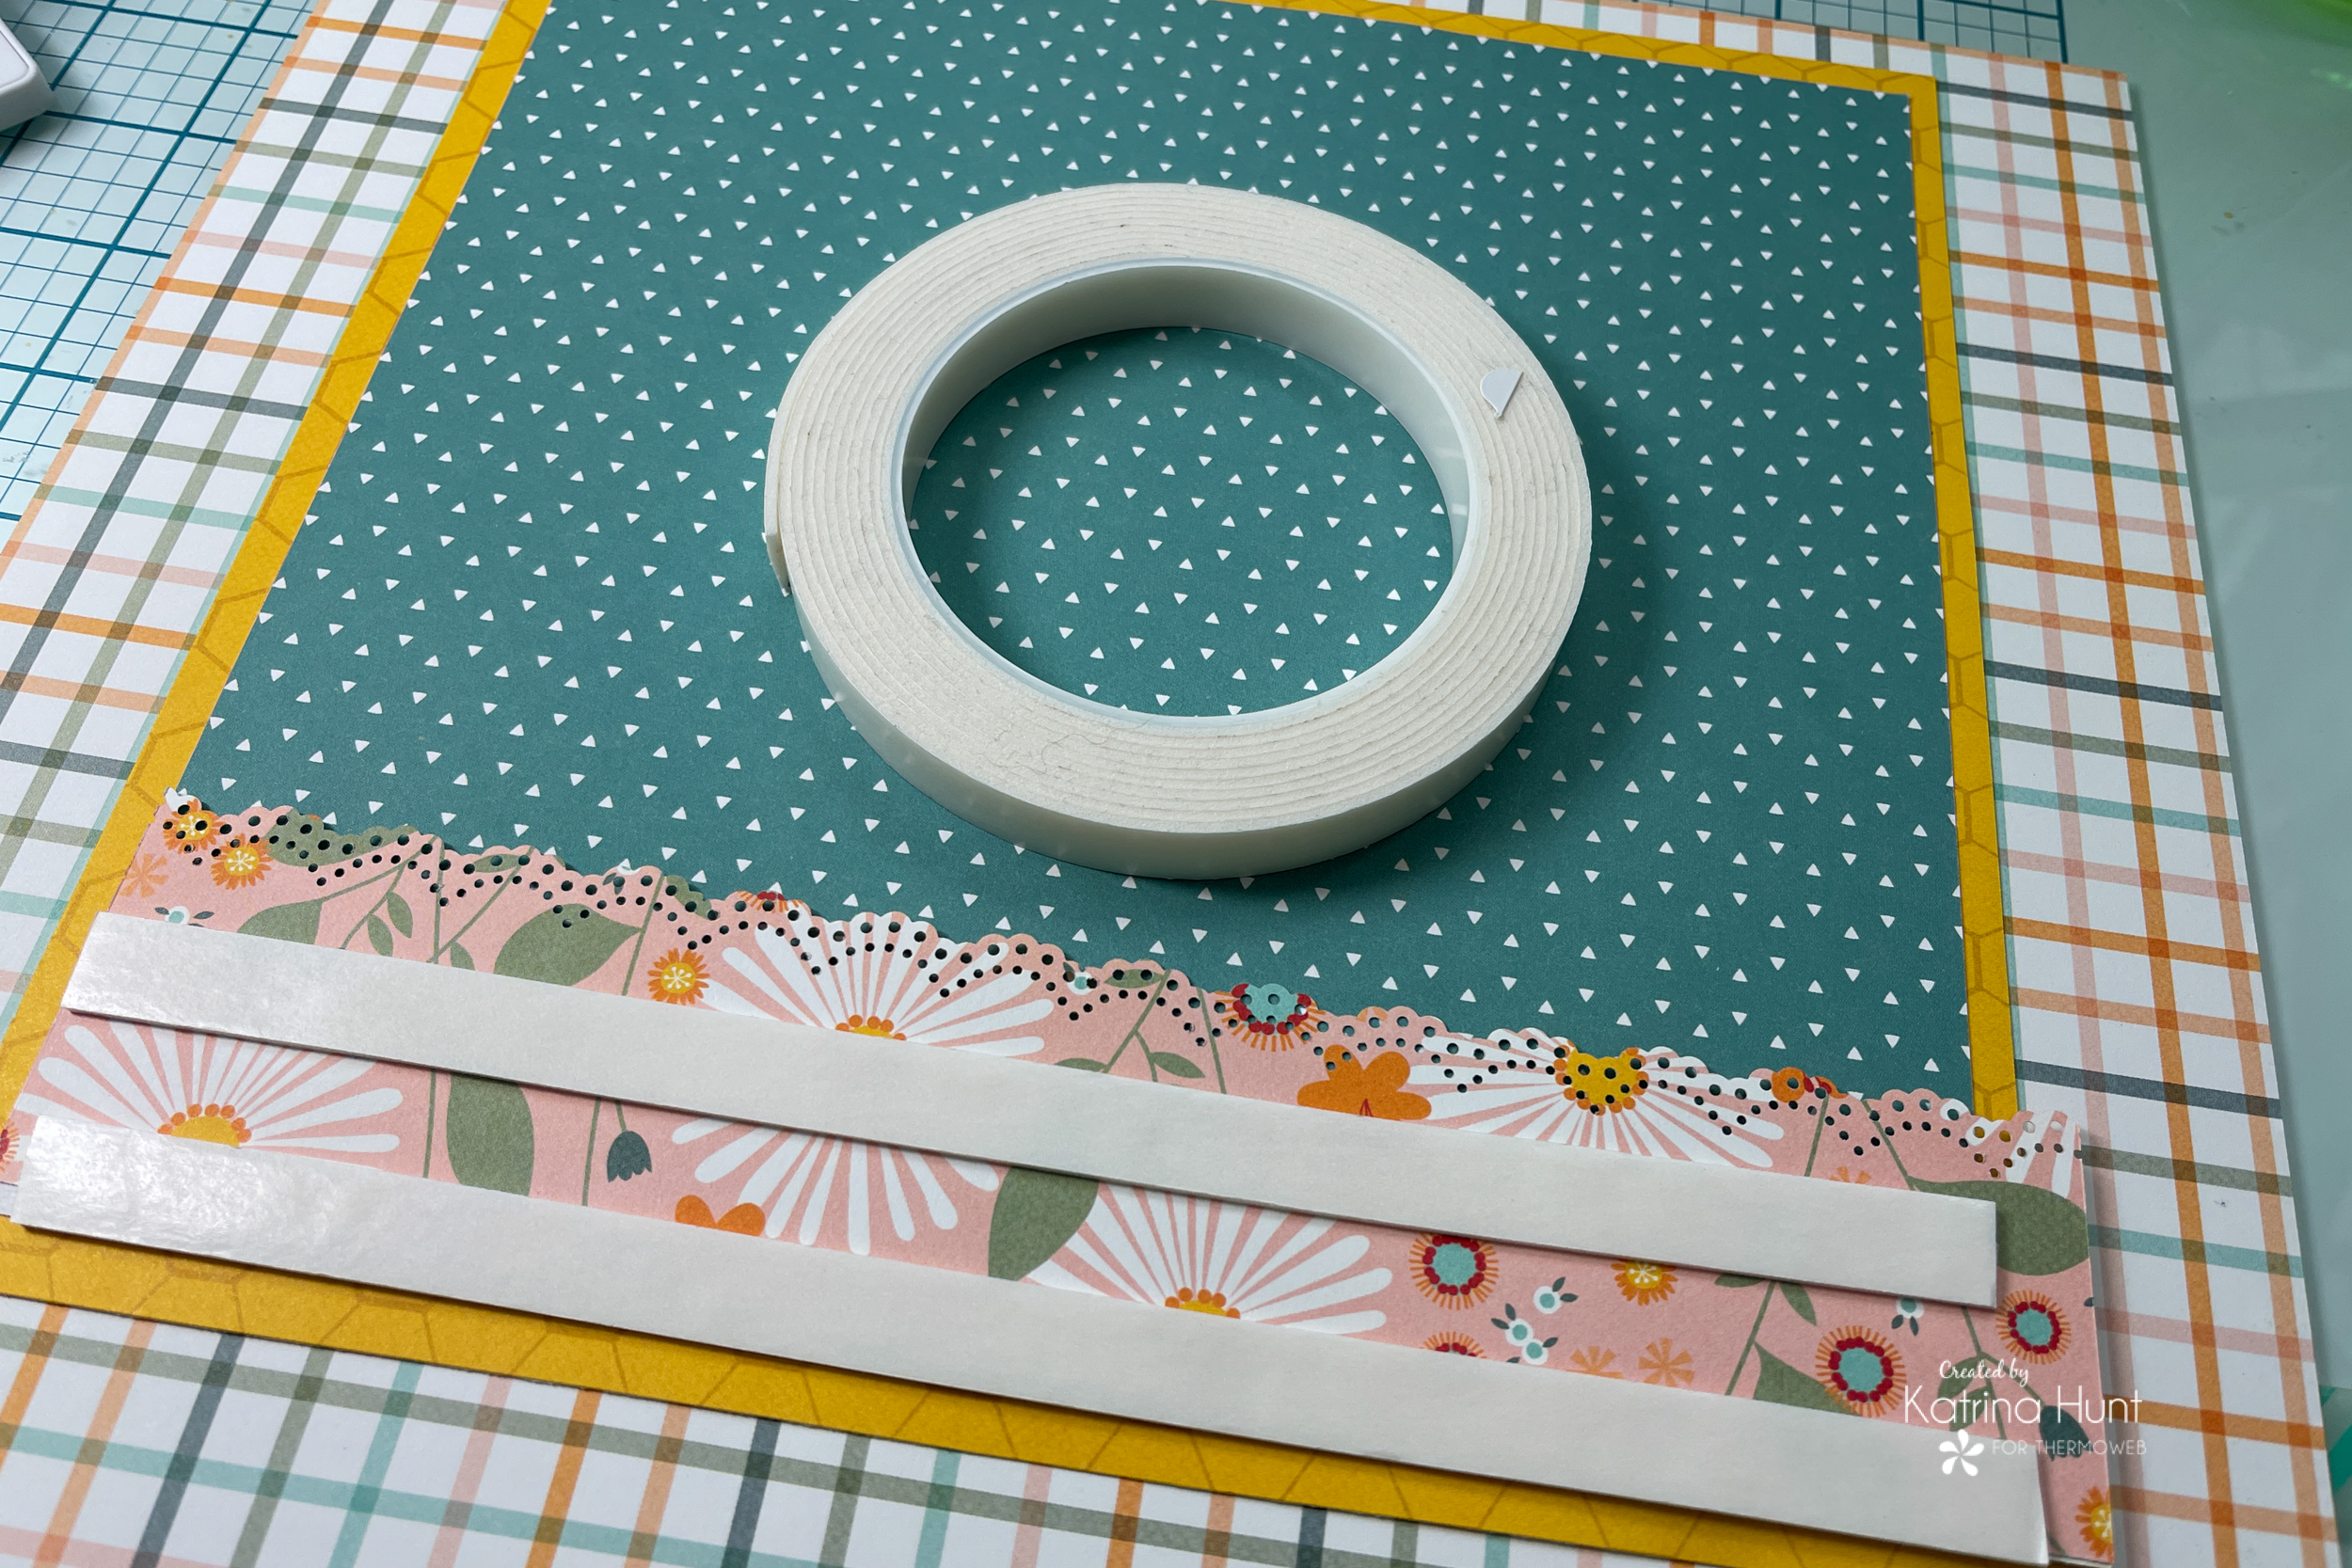
 I did punch three border strips and adhered those with the foam tape at the bottom ( which veers from the sketch I used).
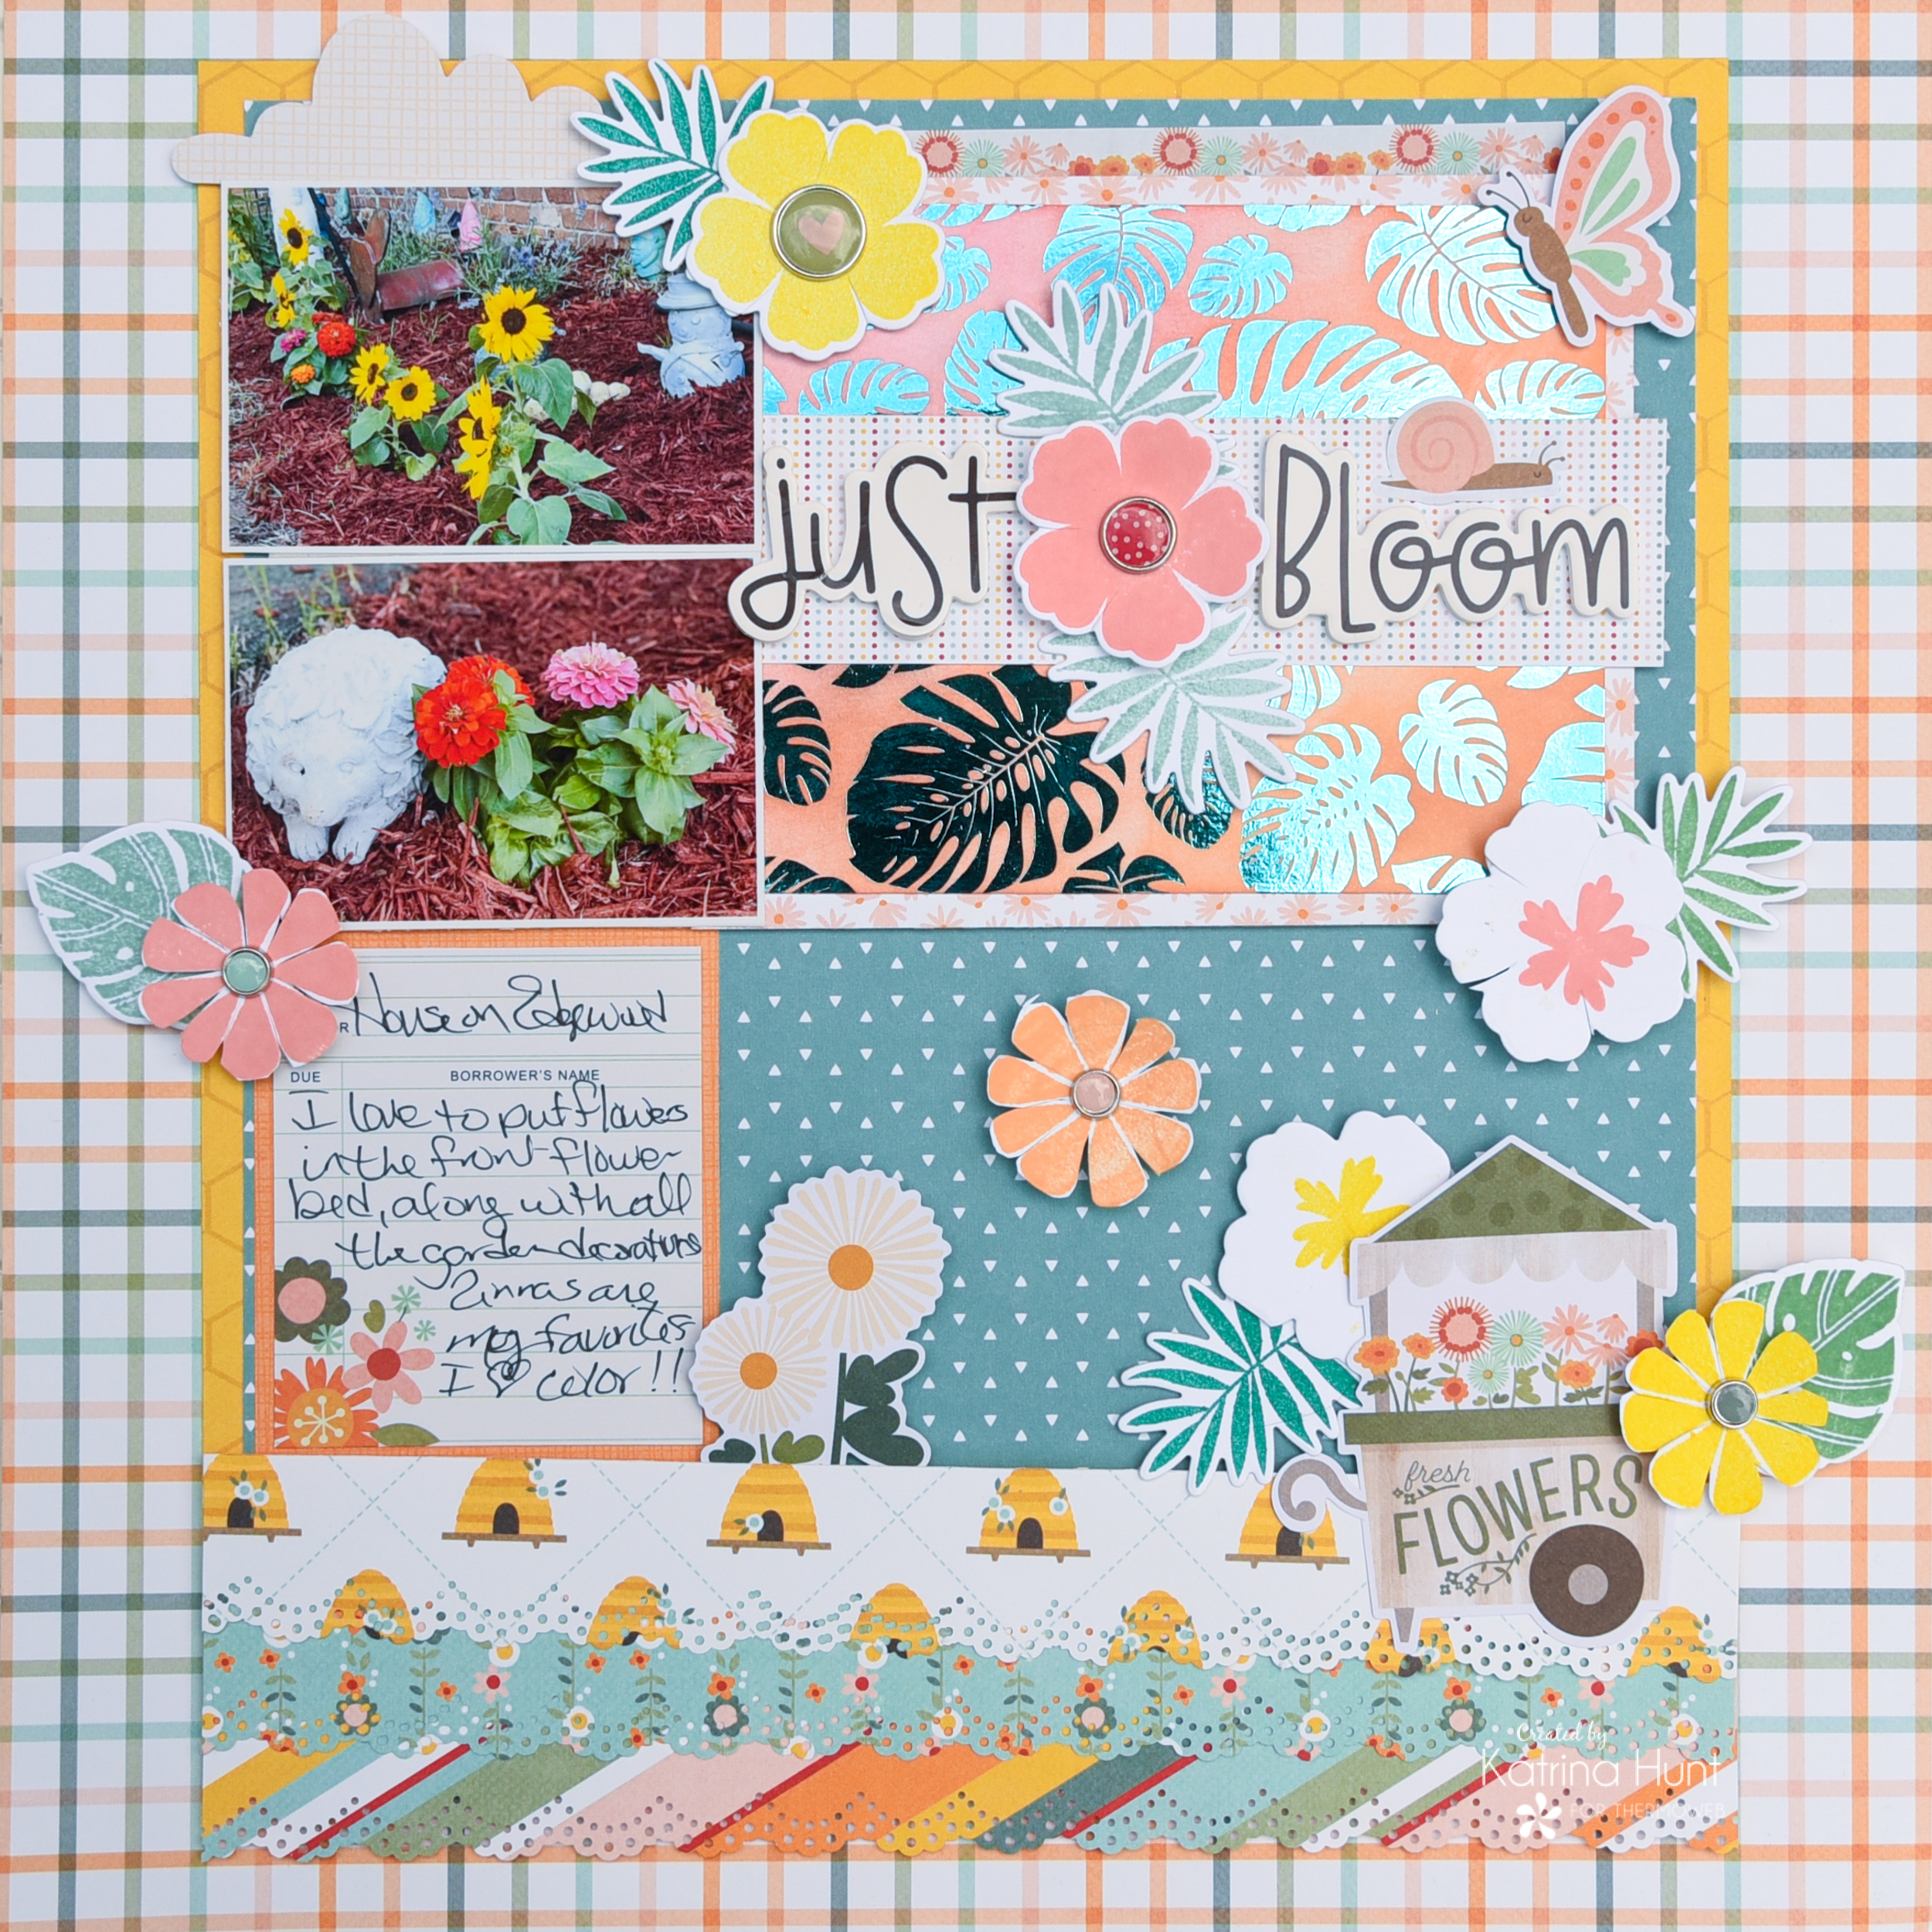
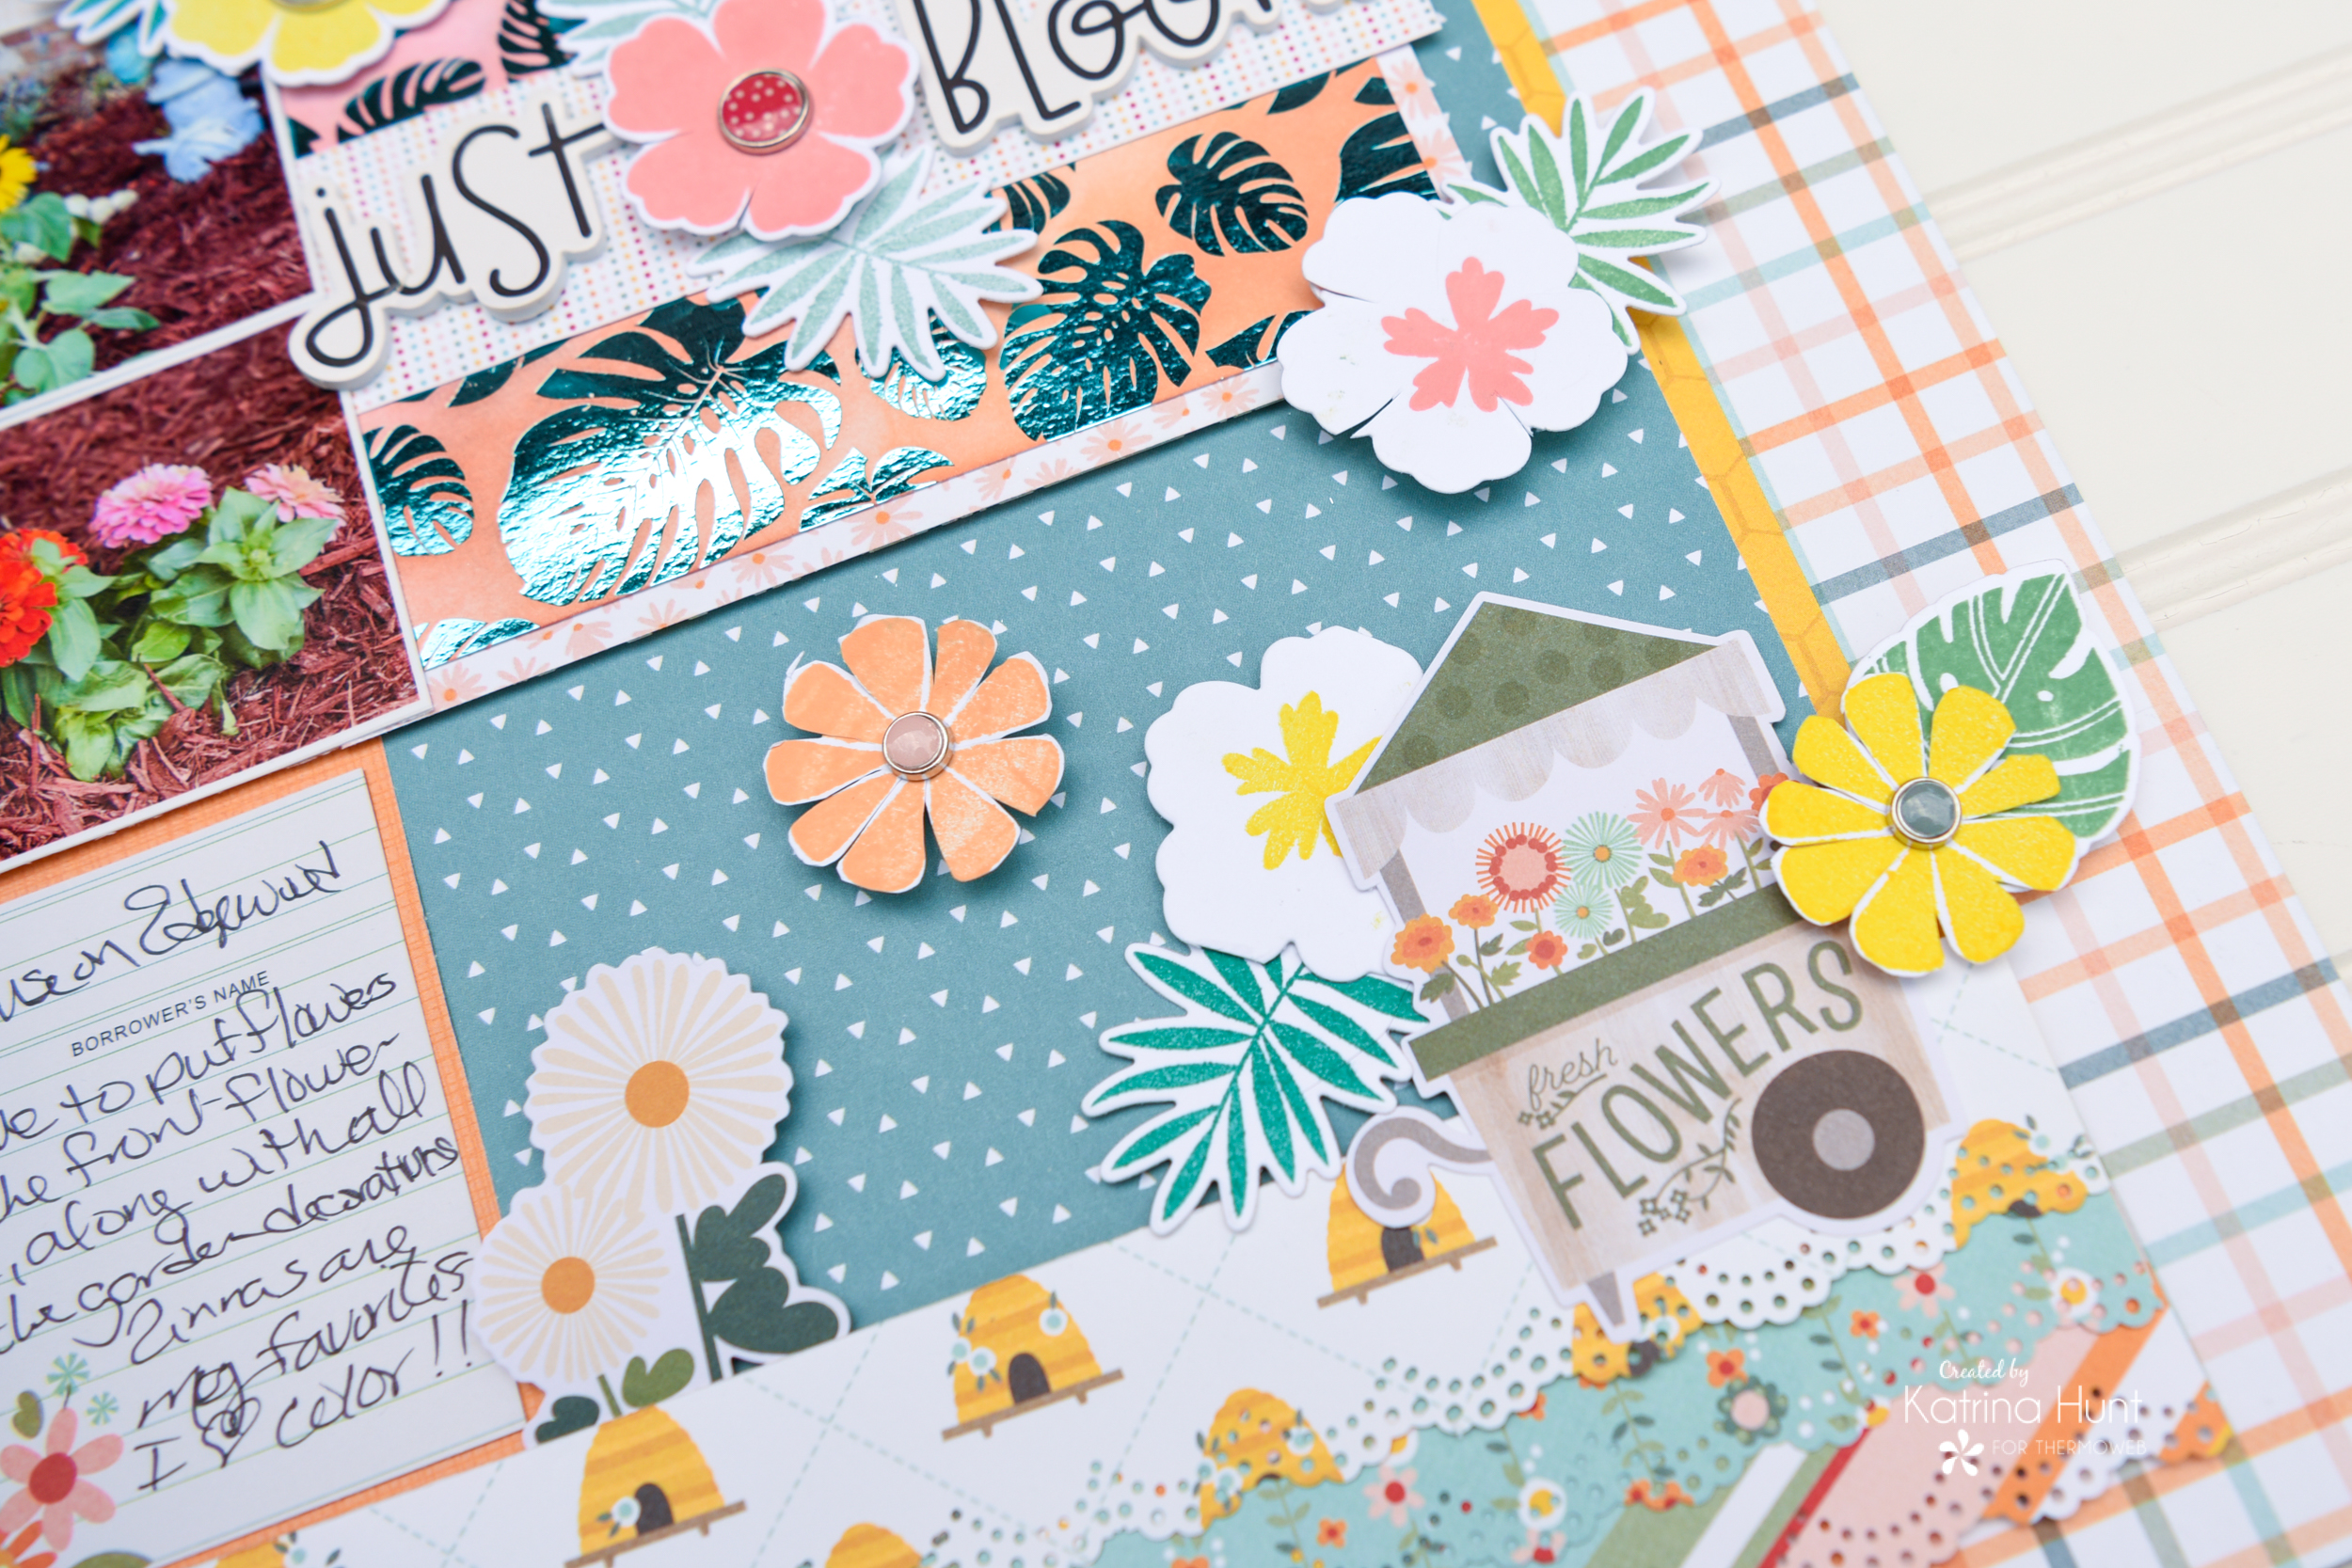
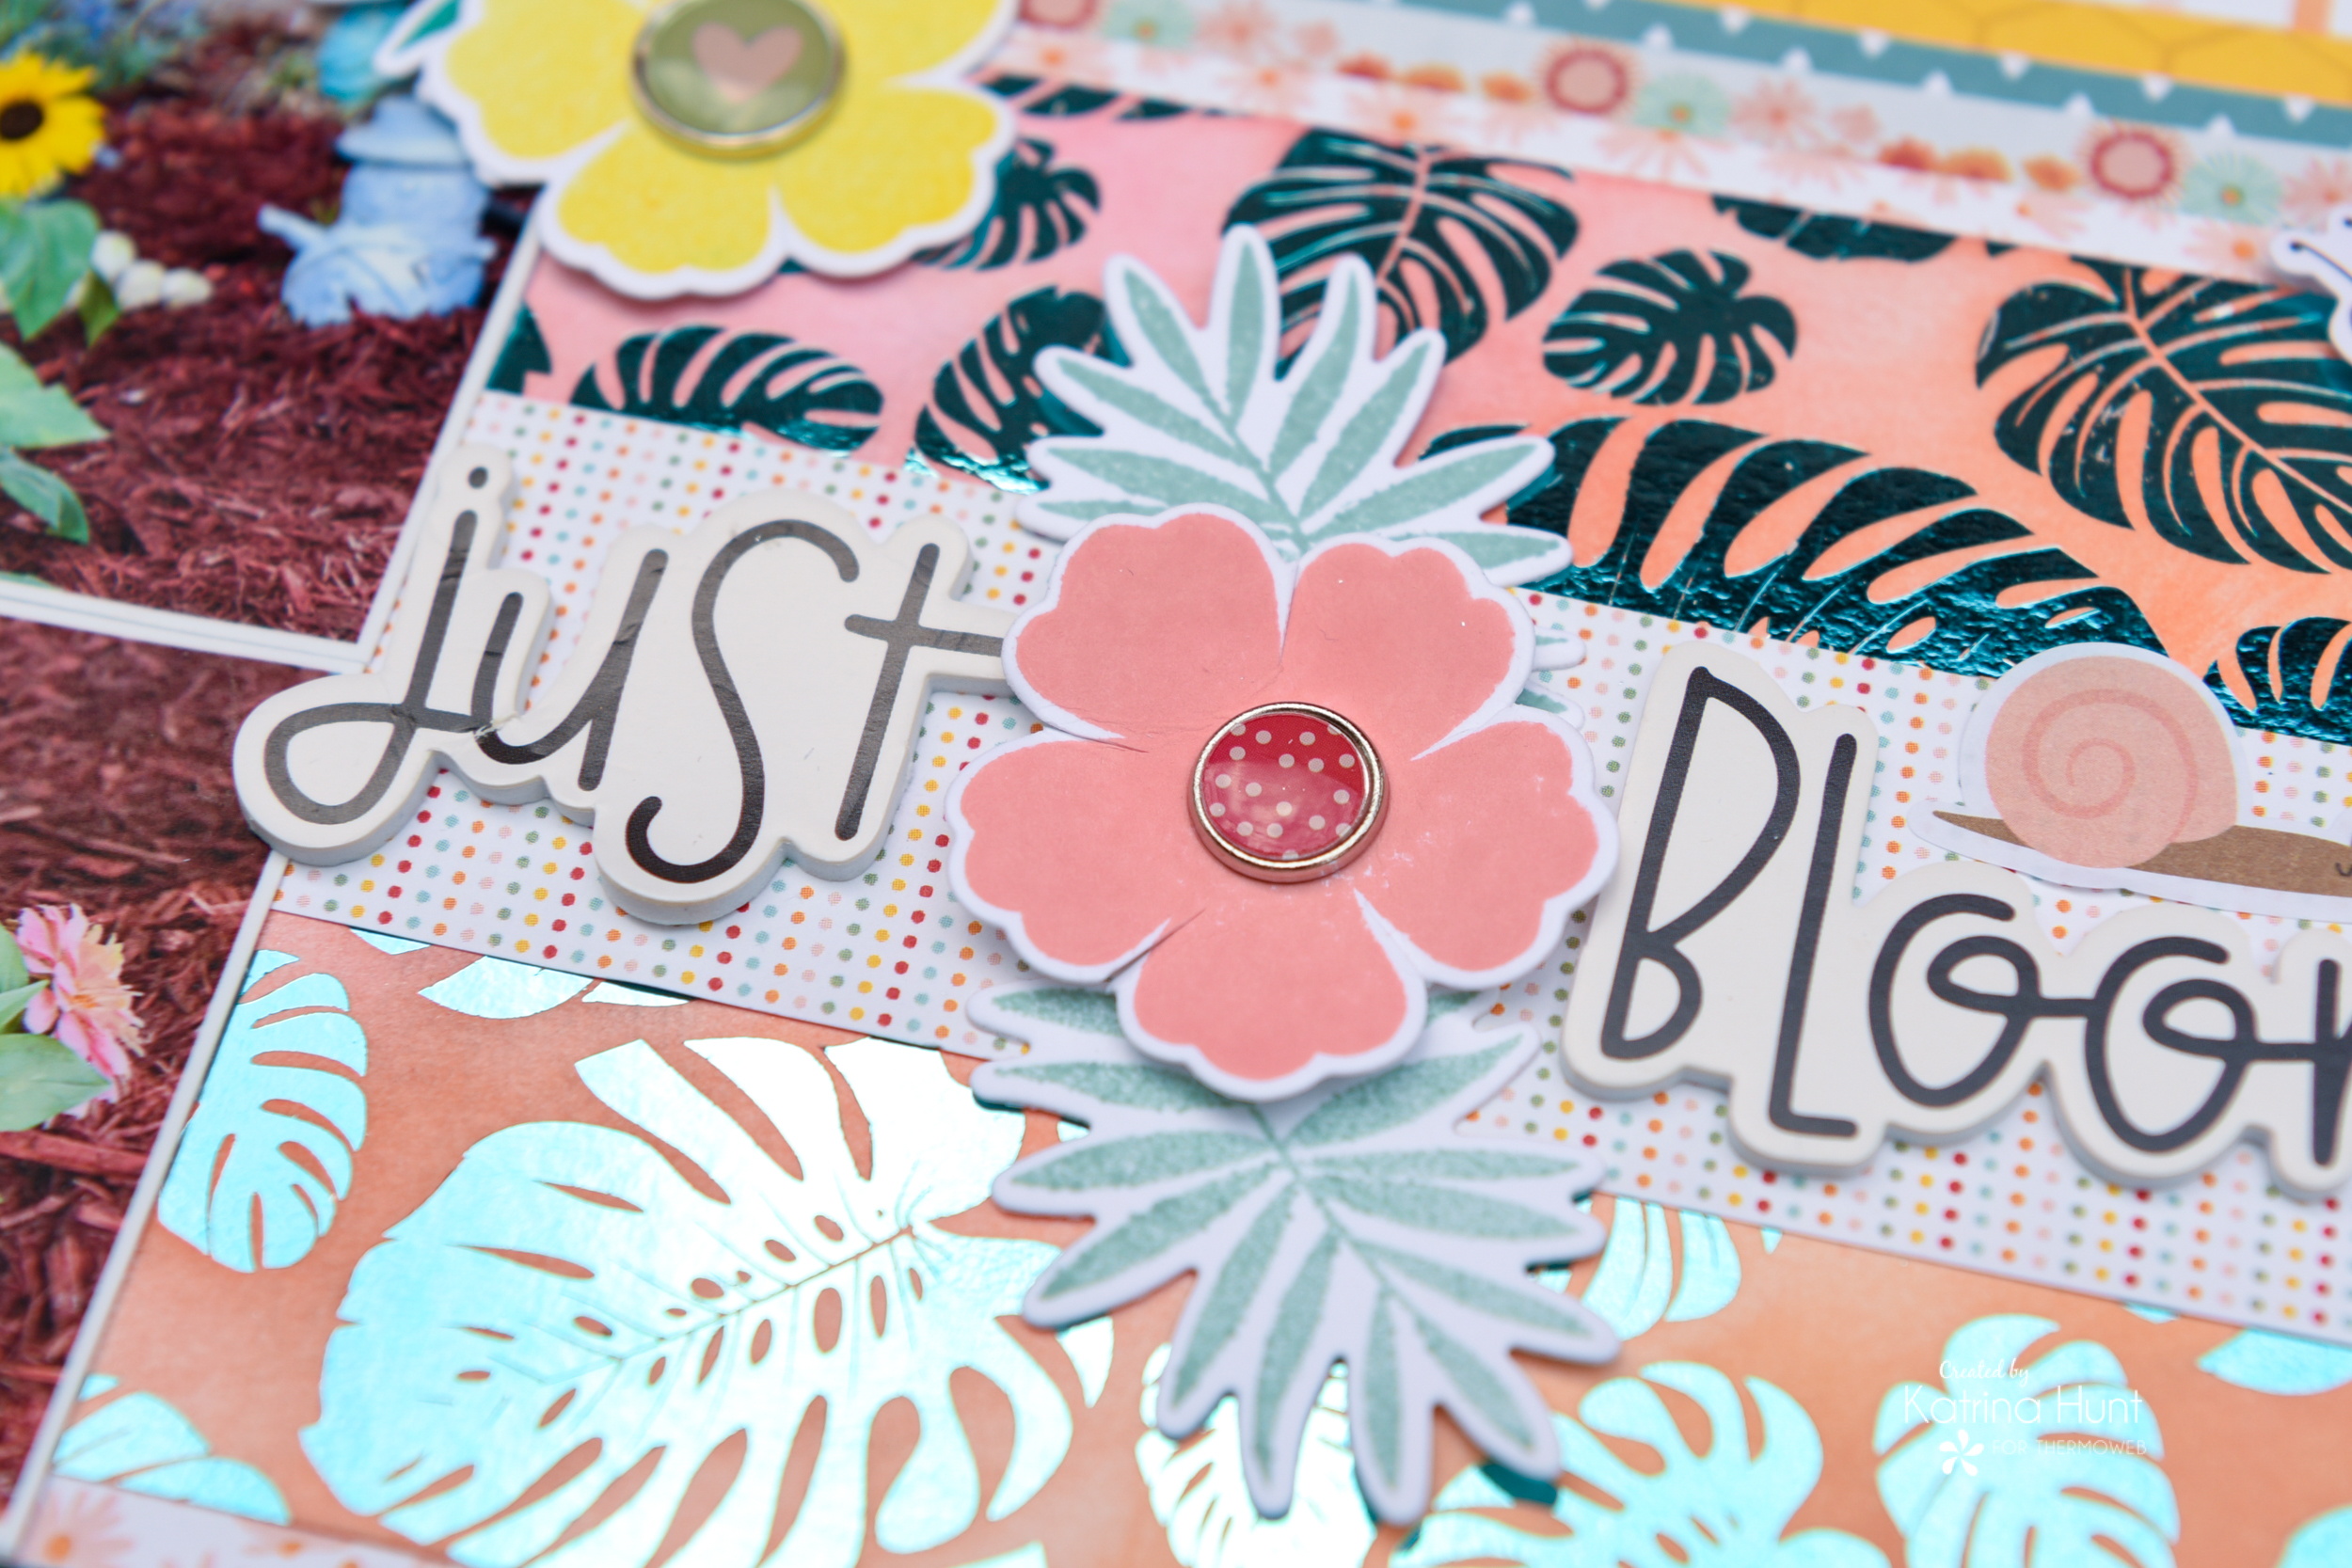
 After everything was put together, I added a few embellishments from the paper collection and a lot of the sticky brad for flower centers. I love how this layout turned out!
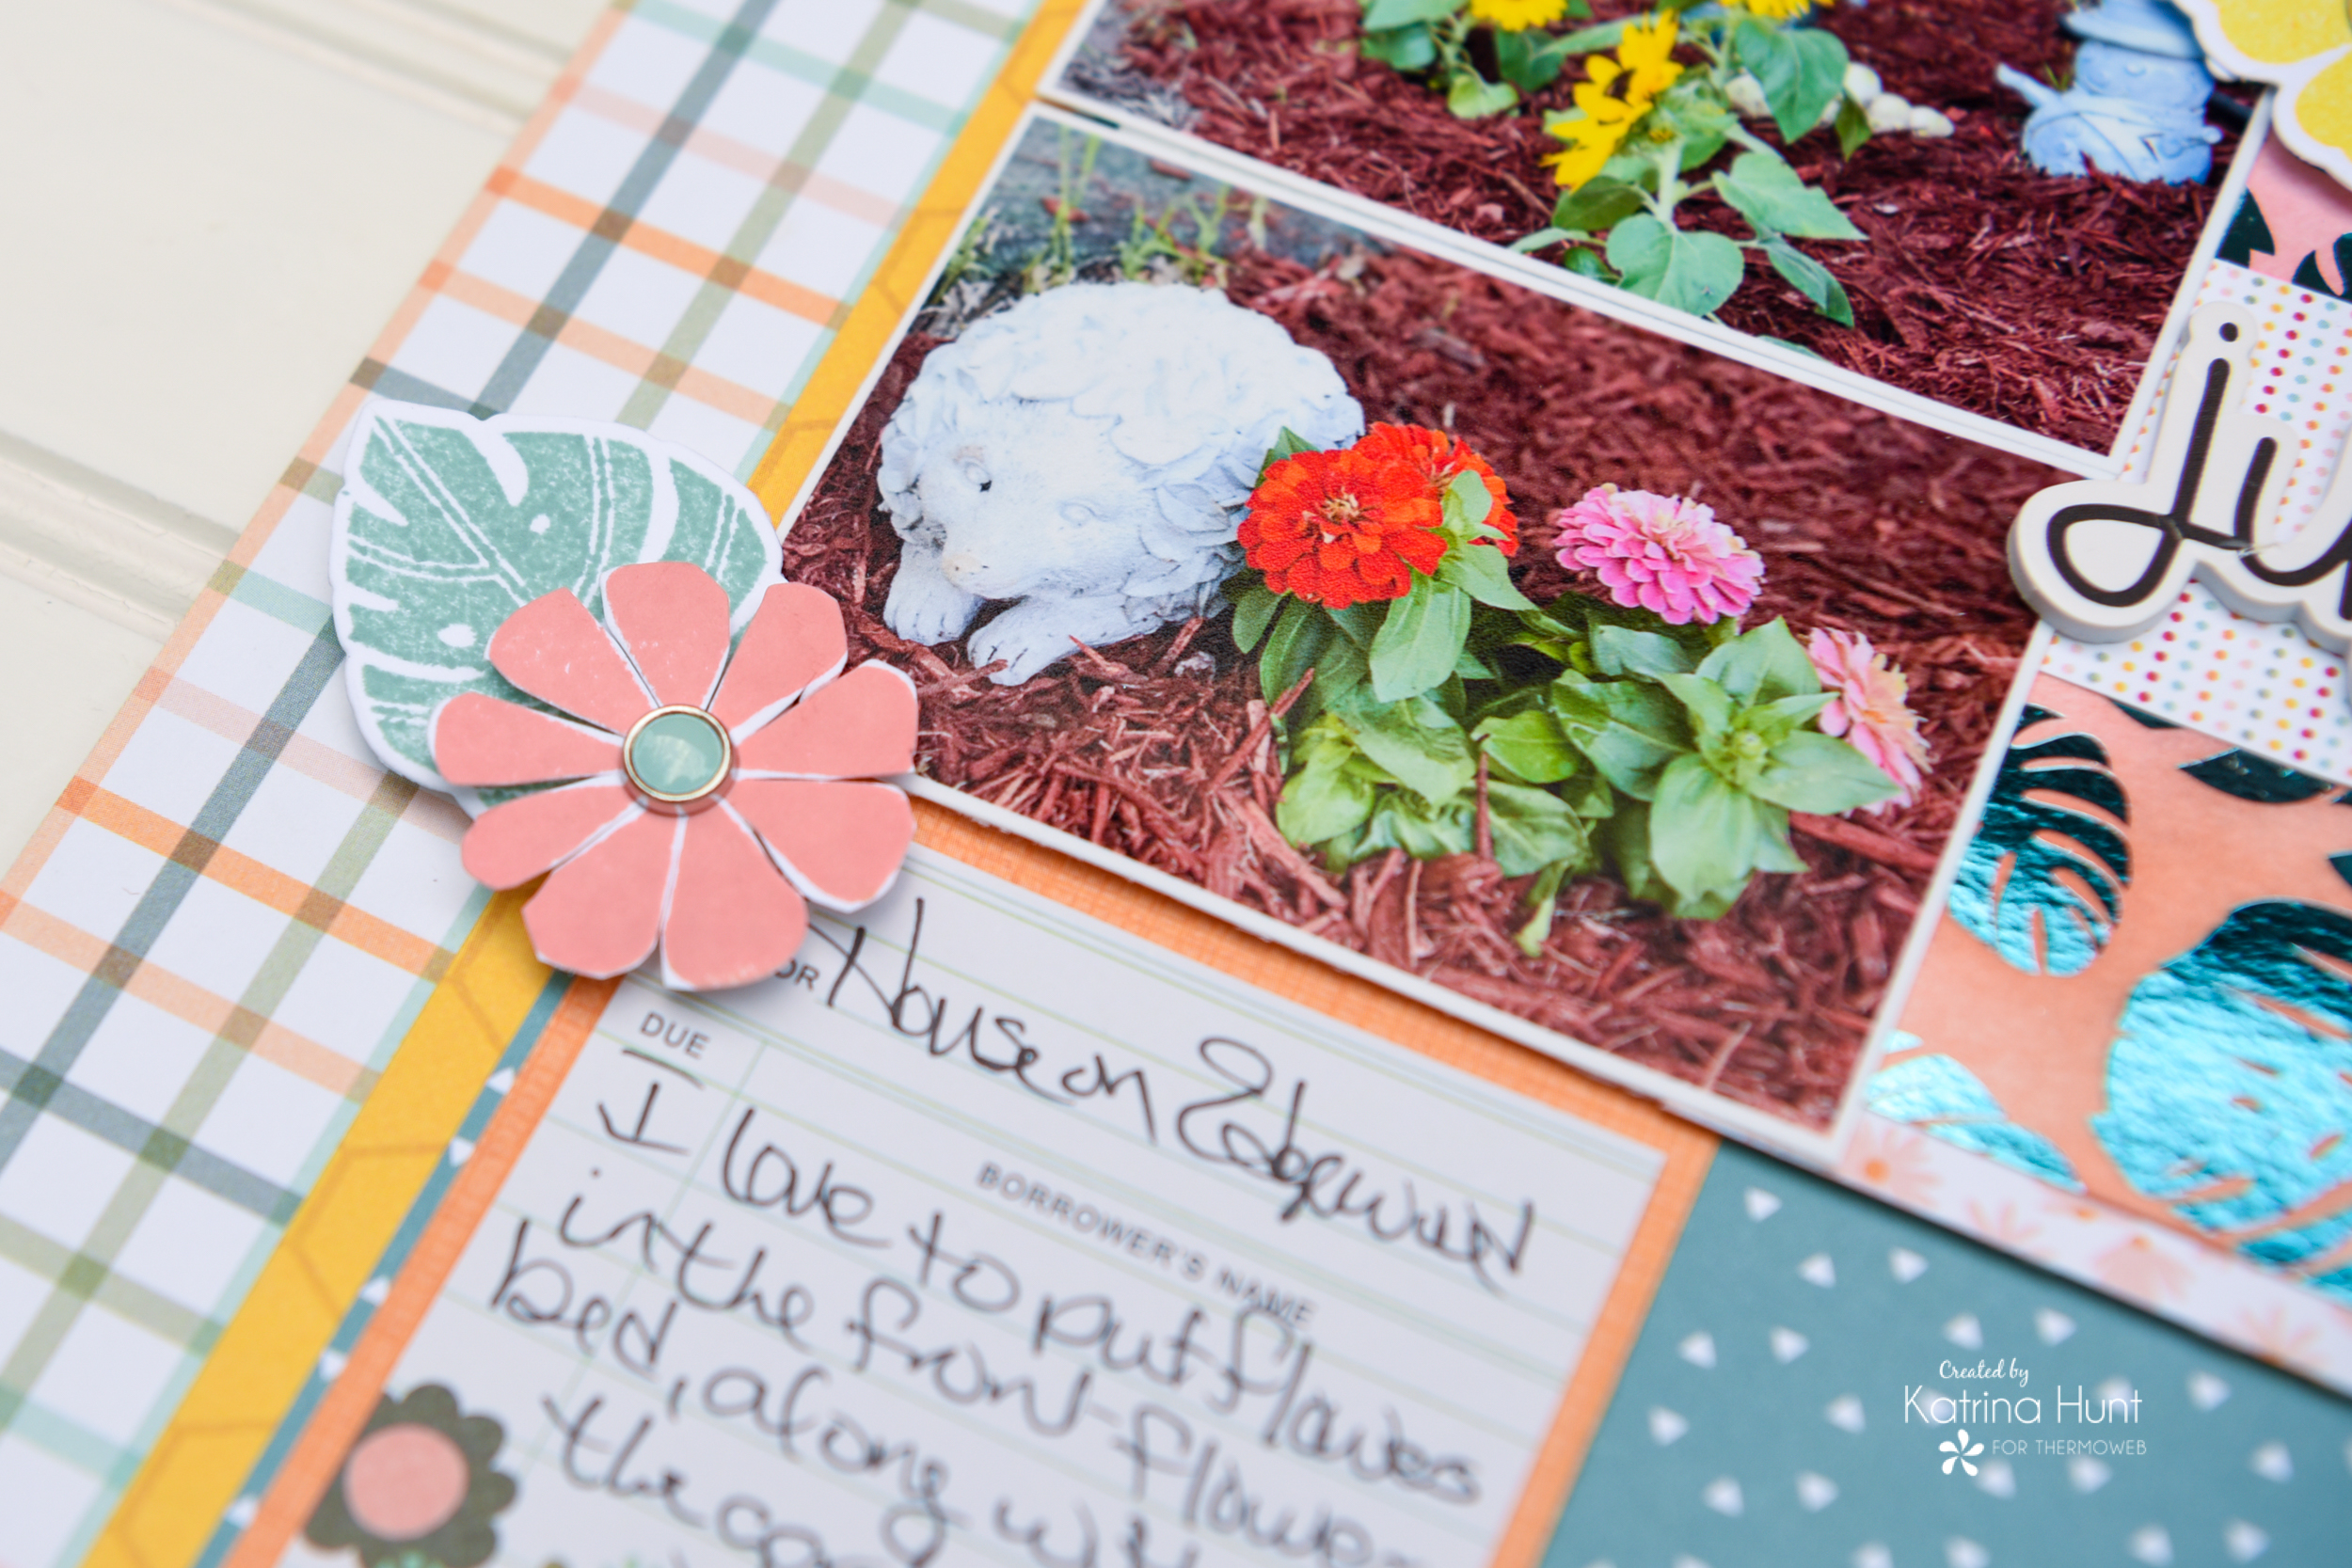 And I am missing my zinnias this year. The weather has not been great for planting and no one seems to have these double dwarf ones. I just decided to give the flower bed a break and try again next year!
Thanks for stopping by the blog today! Make sure and document all your beautiful blooms!!! Have a great day!
This post contains affiliate links. For more information, see our disclosure HERE.
And I am missing my zinnias this year. The weather has not been great for planting and no one seems to have these double dwarf ones. I just decided to give the flower bed a break and try again next year!
Thanks for stopping by the blog today! Make sure and document all your beautiful blooms!!! Have a great day!
This post contains affiliate links. For more information, see our disclosure HERE.