No Products in the Cart
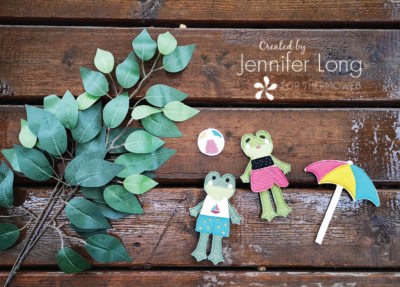
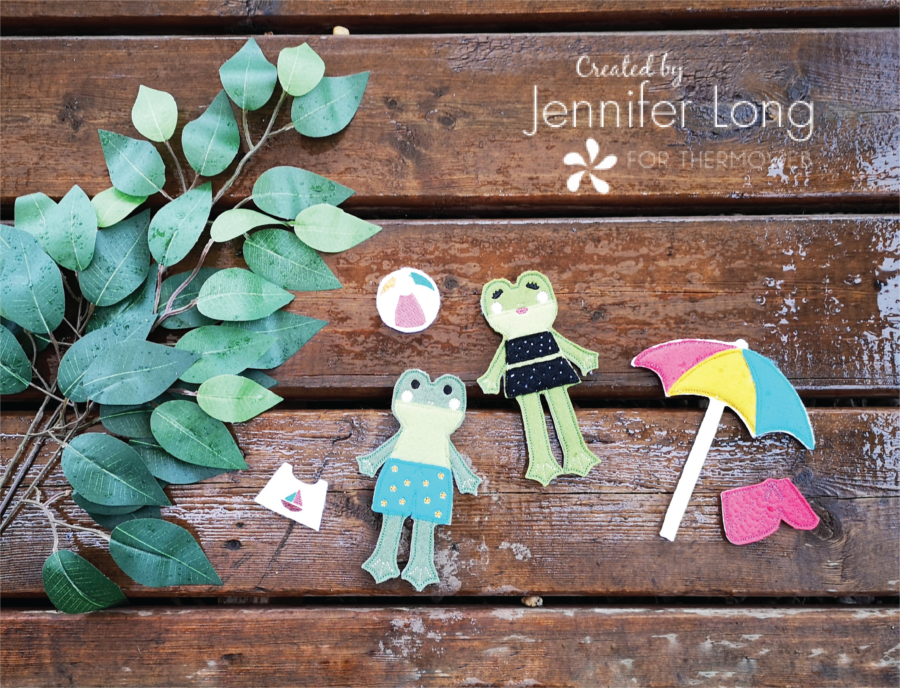
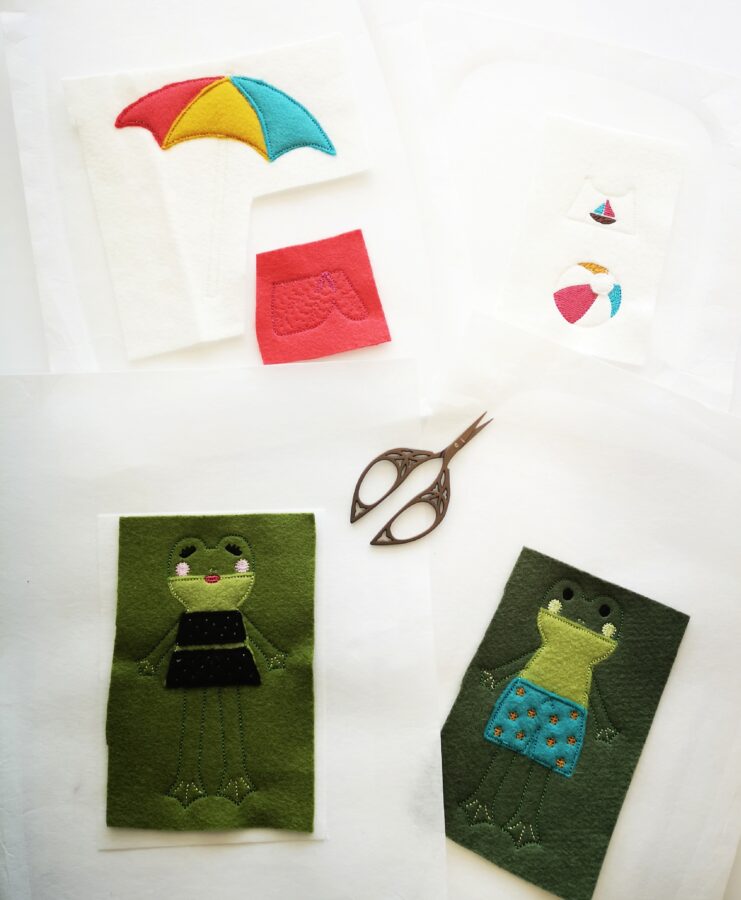
 Hello! This is Jennifer Long of Bee Sew Inspired - Modern Rag Doll Designer, Educator, and former professional Ballet dancer. Do you remember playing with paper dolls? When we were young, my sister and I loved collecting, dressing, and acting out elaborate scenes for our paper dolls! They were wonderful because we could take a whole collection of them almost anywhere... in the car, on a picnic, camping, even to church! We had hours and hours of fun... but it sure was disappointing when their heads or hands ripped off.
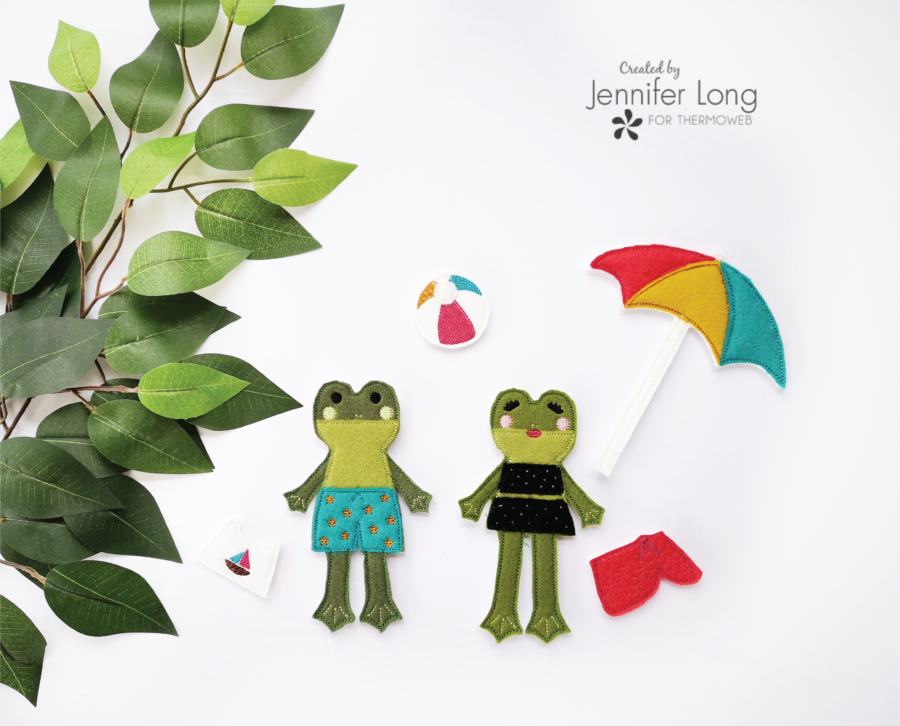
Sometimes the tabs on their dresses would get overused and not fold over anymore. I am so excited to introduce to you the solution for avoiding the disappointment of ripping, crumpling paper dolls... Felt Dolls! These dolls are constructed completely "in-the-hoop" of your domestic, home embroidery machine!!! They are full of wonderful details and are stabilized so they will never rip or tear! Best of all felt naturally sticks to felt… so you don't even need anything extra for attaching their clothes!!! Are you ready to enter this world of imagination with me?
Hello! This is Jennifer Long of Bee Sew Inspired - Modern Rag Doll Designer, Educator, and former professional Ballet dancer. Do you remember playing with paper dolls? When we were young, my sister and I loved collecting, dressing, and acting out elaborate scenes for our paper dolls! They were wonderful because we could take a whole collection of them almost anywhere... in the car, on a picnic, camping, even to church! We had hours and hours of fun... but it sure was disappointing when their heads or hands ripped off.
Sometimes the tabs on their dresses would get overused and not fold over anymore. I am so excited to introduce to you the solution for avoiding the disappointment of ripping, crumpling paper dolls... Felt Dolls! These dolls are constructed completely "in-the-hoop" of your domestic, home embroidery machine!!! They are full of wonderful details and are stabilized so they will never rip or tear! Best of all felt naturally sticks to felt… so you don't even need anything extra for attaching their clothes!!! Are you ready to enter this world of imagination with me?
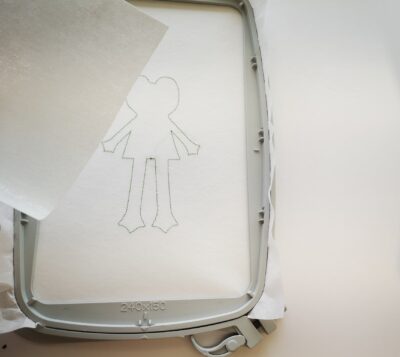
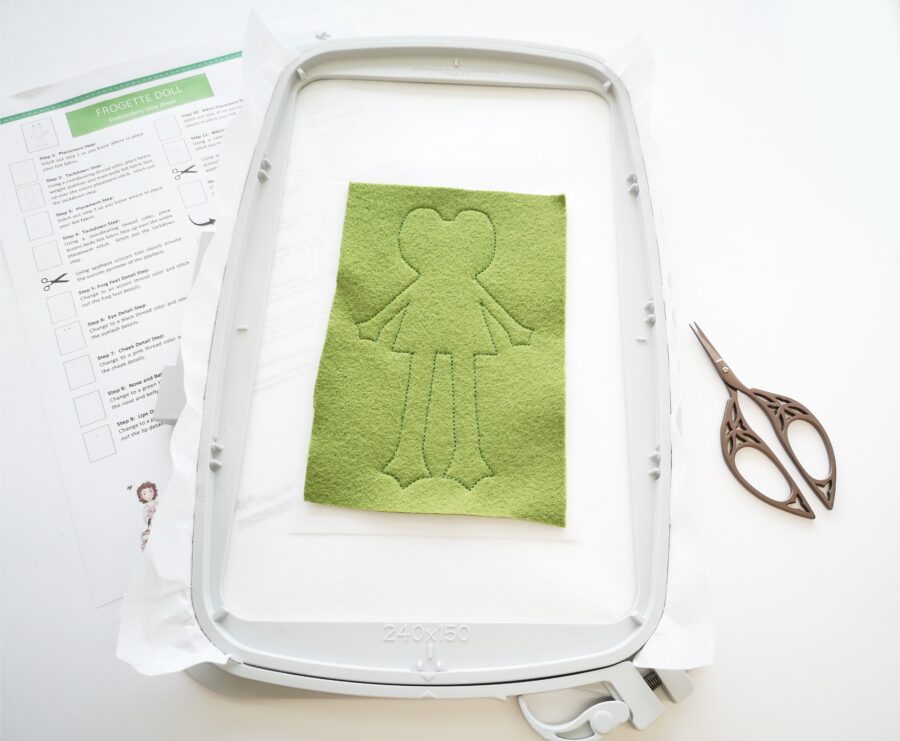
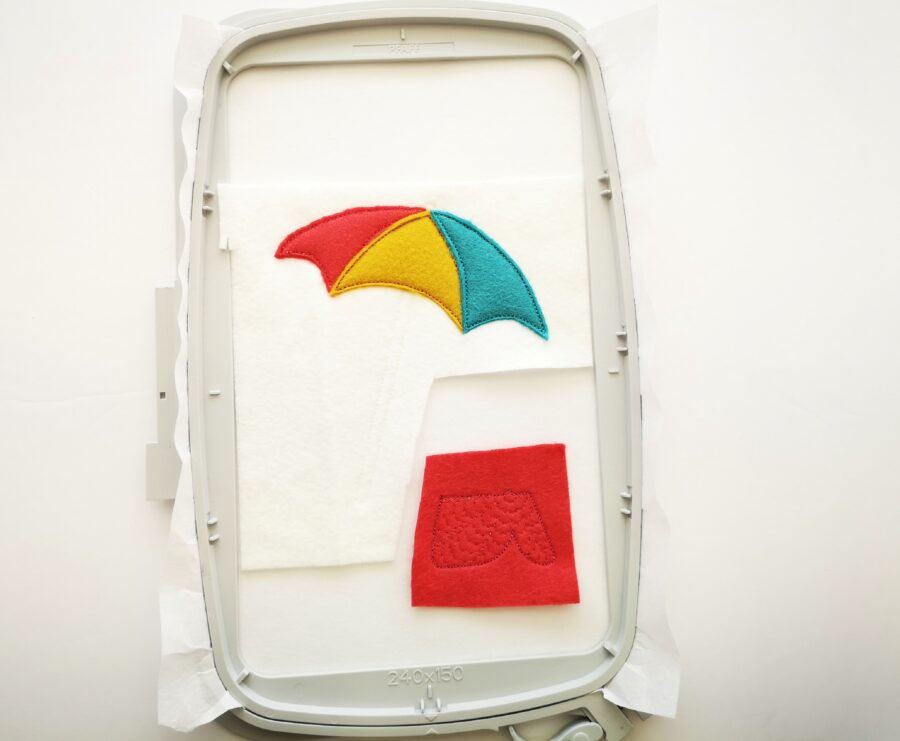
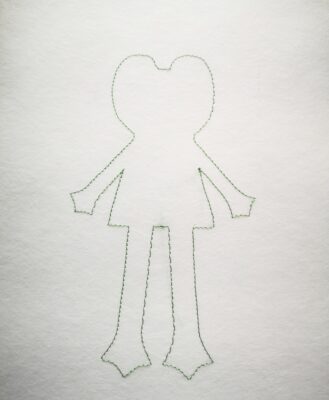 Step 1: Placement Step:
Stitch out step 1 so you know where to place your felt fabric.
Step 1: Placement Step:
Stitch out step 1 so you know where to place your felt fabric.

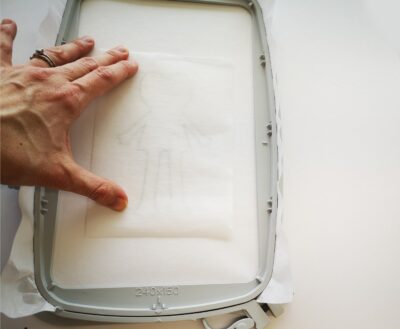
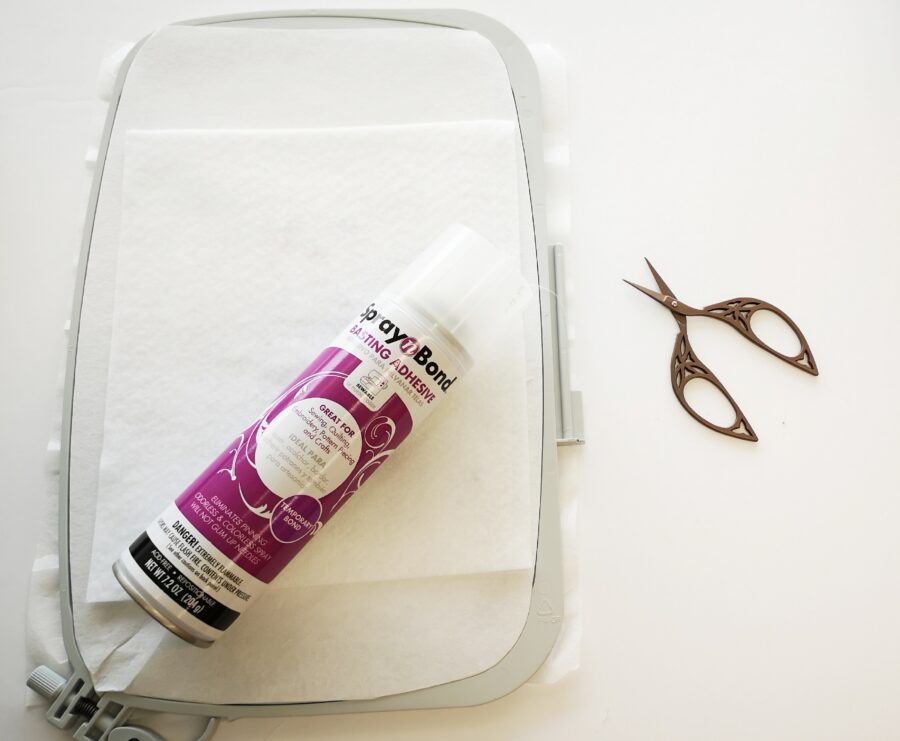
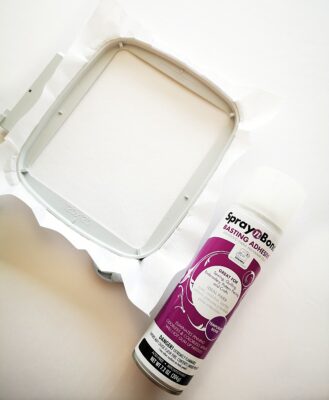 Step 2: Tack down Step:
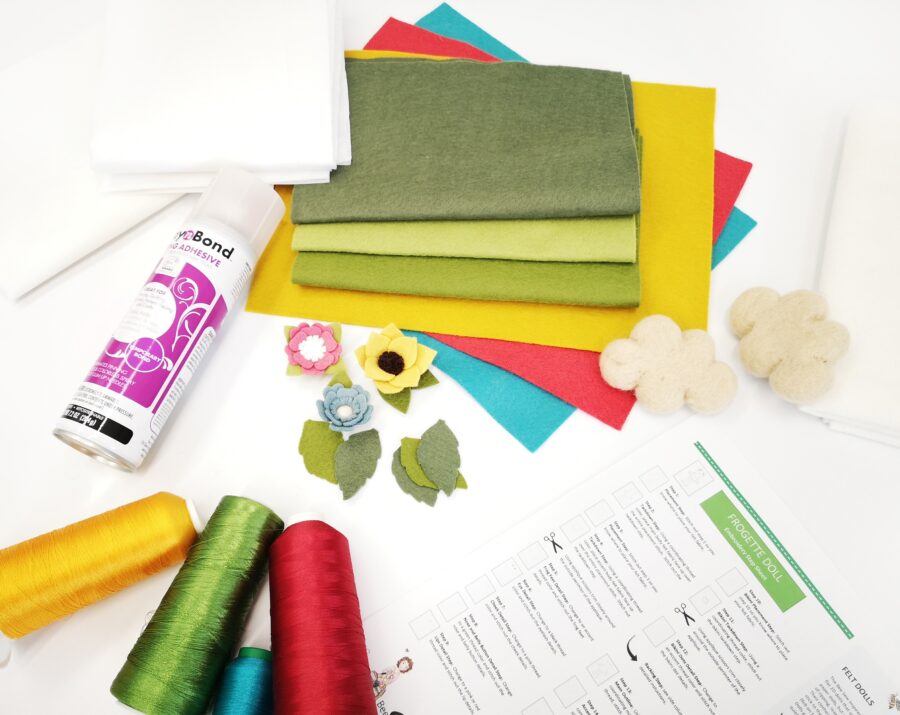
Place Heat n Bond Craft Extra-firm Fusible Interfacing over the entire placement stitch. Press. Spray with Adhesive Basting spray and place the felt over the stitched area and stitch tack down step.
Step 2: Tack down Step:
Place Heat n Bond Craft Extra-firm Fusible Interfacing over the entire placement stitch. Press. Spray with Adhesive Basting spray and place the felt over the stitched area and stitch tack down step.
 Step 3: Placement Step:
Stitch out step 3 so you know where to place your felt fabric.
Step 3: Placement Step:
Stitch out step 3 so you know where to place your felt fabric.
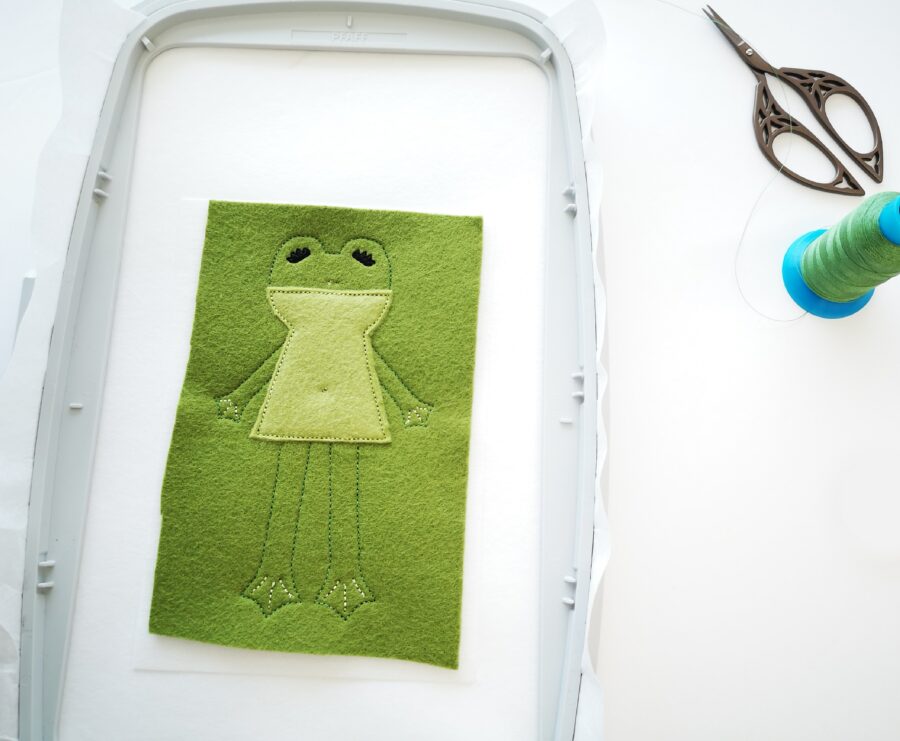
 Step 4: Tack down Step:
Spray with Adhesive Basting spray and place the accent body felt face up over the entire placement stitch. Using a coordinating thread color, stitch out the tack-down step. Next, trim closely around the outside perimeter of the applique using your applique scissors.
Step 4: Tack down Step:
Spray with Adhesive Basting spray and place the accent body felt face up over the entire placement stitch. Using a coordinating thread color, stitch out the tack-down step. Next, trim closely around the outside perimeter of the applique using your applique scissors.
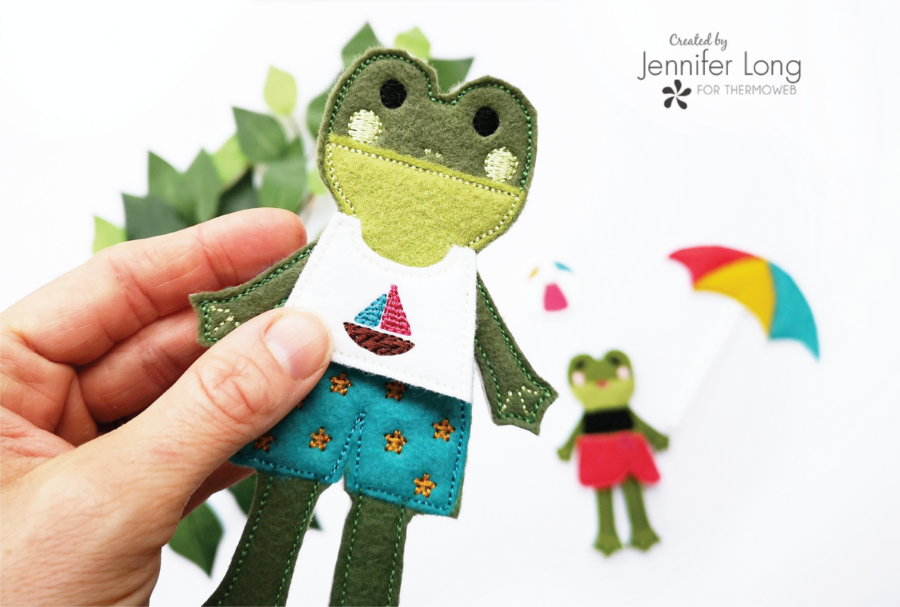
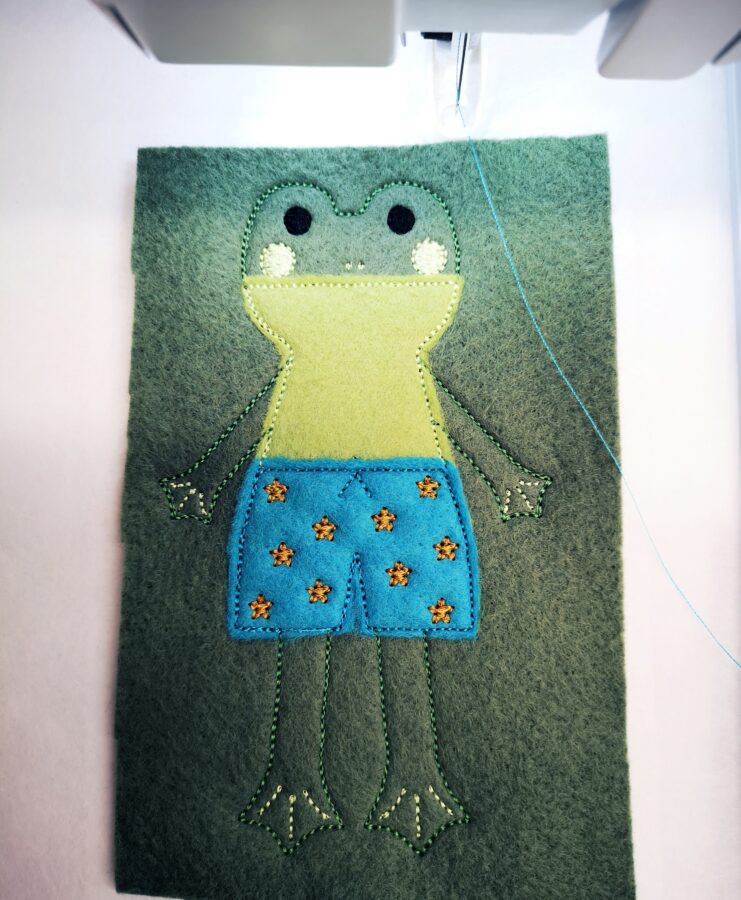
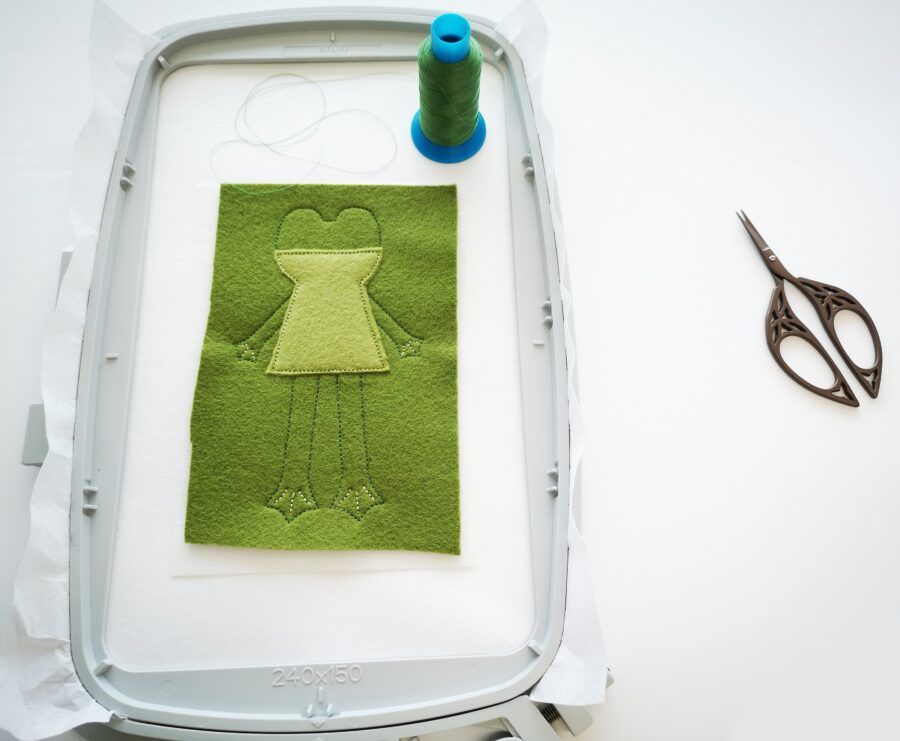 Step 5: Frog Feet Detail Step:
Change to an accent thread color and stitch out the frog feet details.
Step 5: Frog Feet Detail Step:
Change to an accent thread color and stitch out the frog feet details.
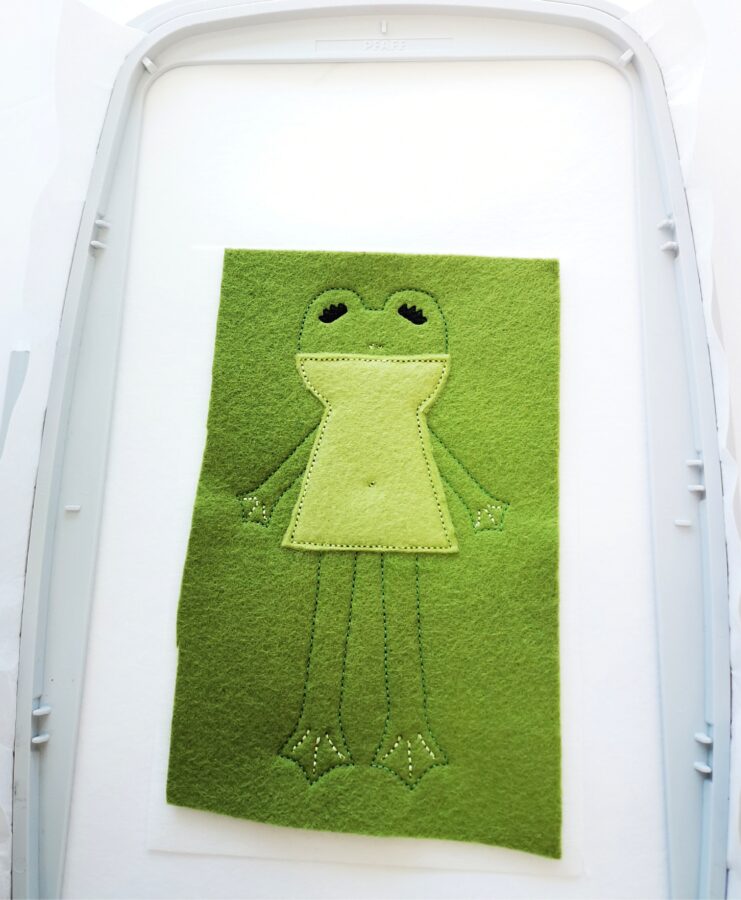 Step 6: Eye Detail Step:
Change to a black thread color and stitch out the eyelash details.
Step 6: Eye Detail Step:
Change to a black thread color and stitch out the eyelash details.
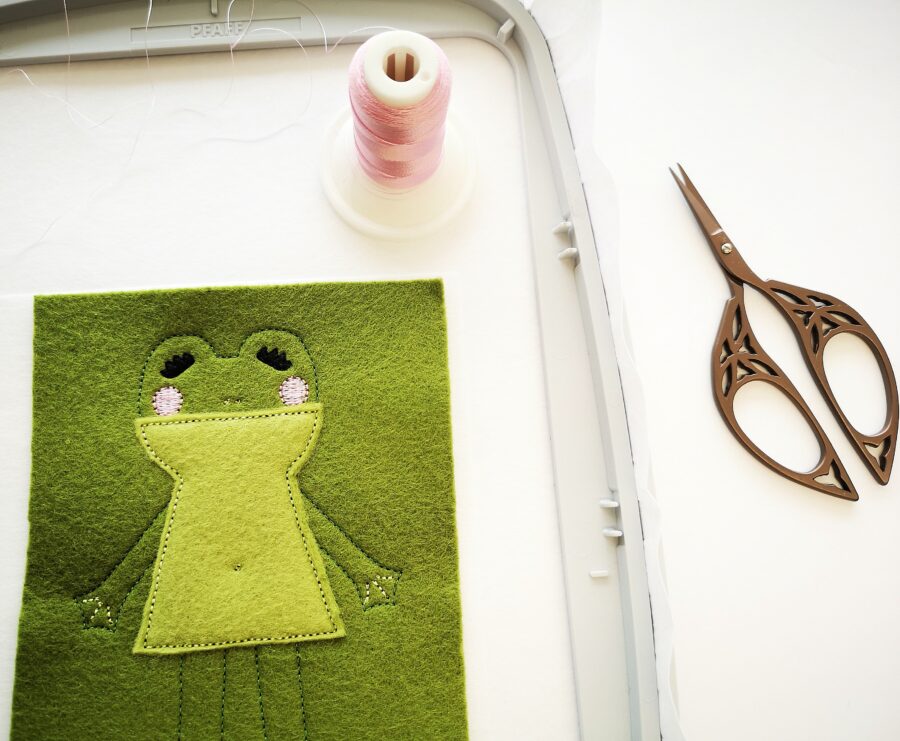 Step 7: Cheek Detail Step:
Change to a pink thread color and stitch out the cheek details.
Step 7: Cheek Detail Step:
Change to a pink thread color and stitch out the cheek details.
 Step 8: Nose and Belly Button Detail Step:
Change to a green thread color and stitch out the nose and belly button details.
Step 8: Nose and Belly Button Detail Step:
Change to a green thread color and stitch out the nose and belly button details.
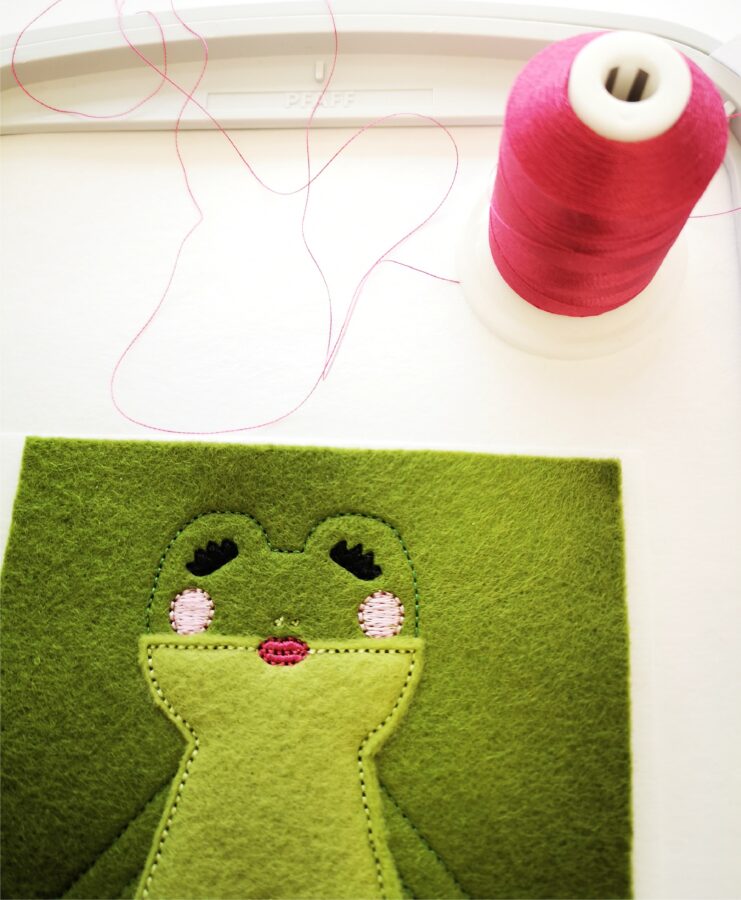 Step 9: Lips Detail Step:
Change to a pink or red thread color and stitch out the lip details.
Step 9: Lips Detail Step:
Change to a pink or red thread color and stitch out the lip details.
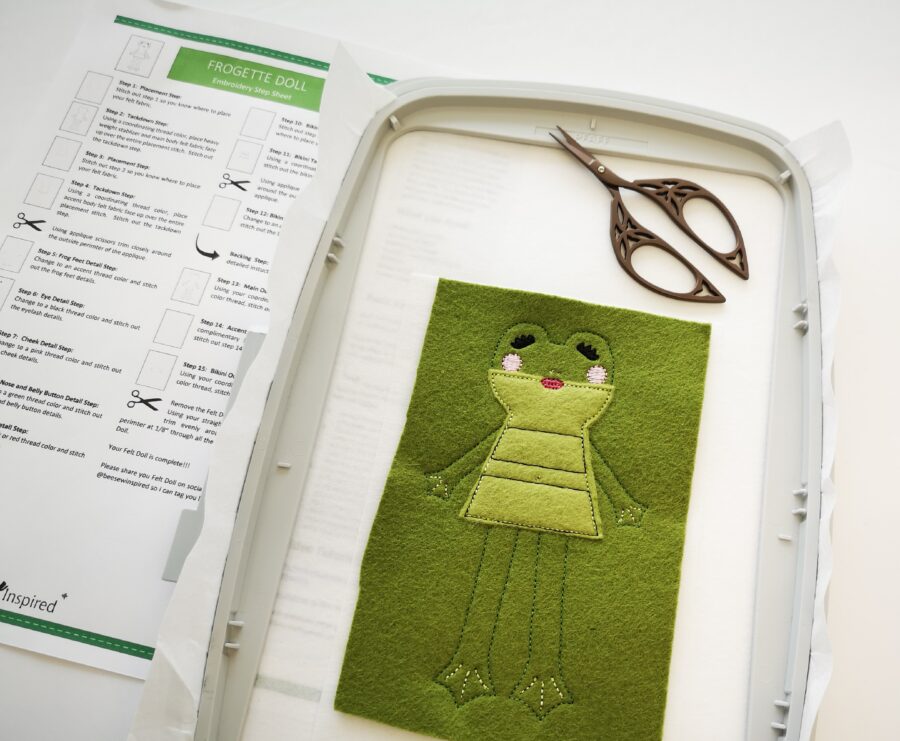 Step 10: Bikini Placement Step:
Stitch out step 10 so you know where to place your felt fabric.
Step 10: Bikini Placement Step:
Stitch out step 10 so you know where to place your felt fabric.
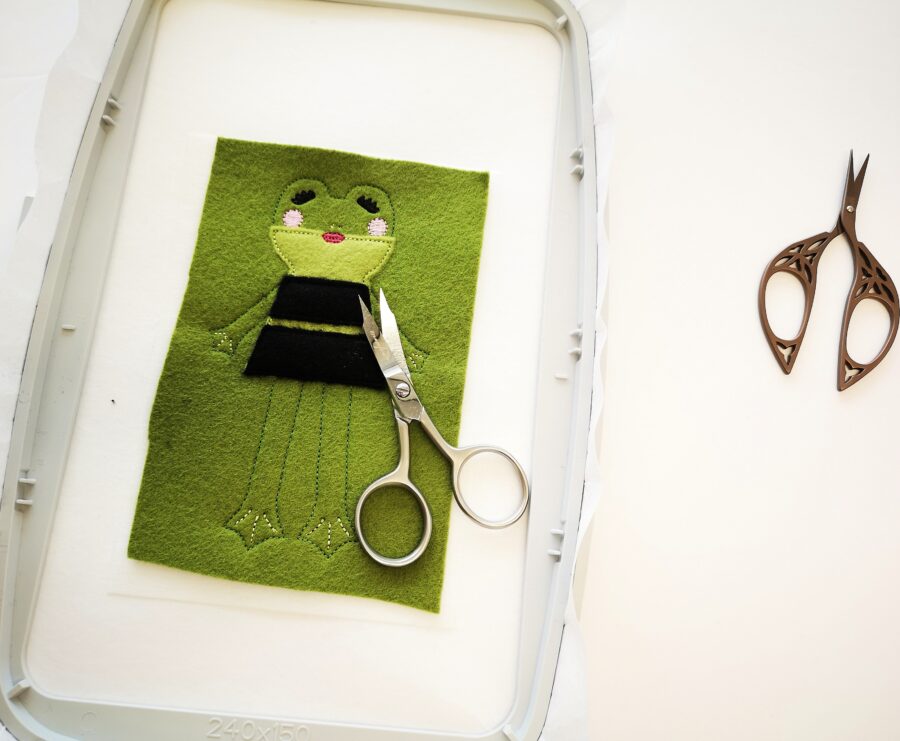 Step 11: Bikini Tack down Step:
Using a coordinating thread color, stitch out the bikini tack-down step. Using applique scissors trim closely around the outside perimeter of the applique.
Step 11: Bikini Tack down Step:
Using a coordinating thread color, stitch out the bikini tack-down step. Using applique scissors trim closely around the outside perimeter of the applique.
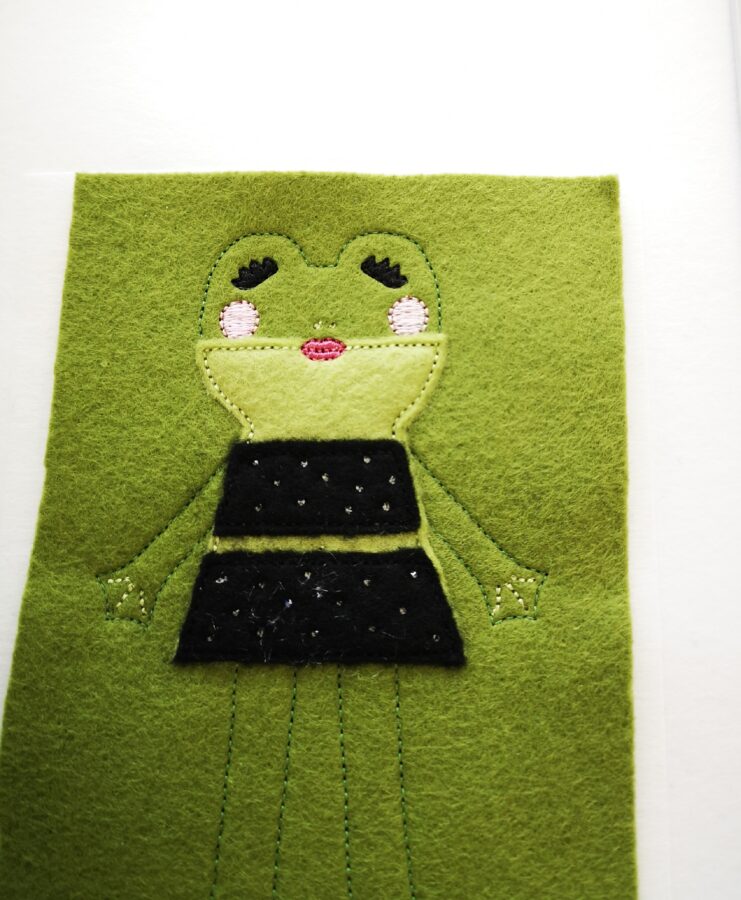 Step 12: Bikini Dots Detail Step:
Change to an accent thread color and stitch out the bikini dot details.
Step 12: Bikini Dots Detail Step:
Change to an accent thread color and stitch out the bikini dot details.
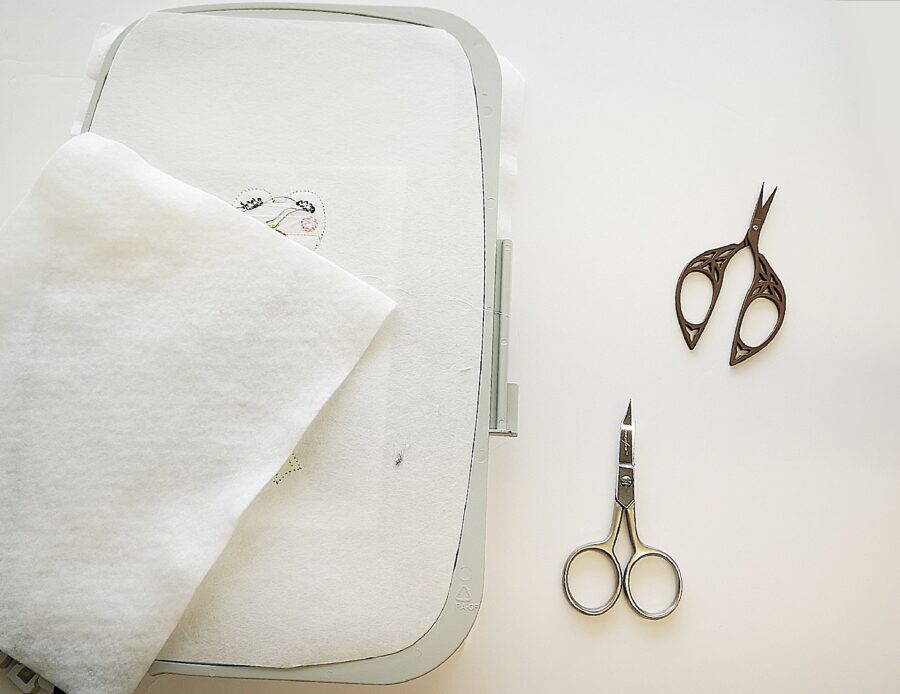 Backing Step: This is the Backing Step or Finishing Step of the Felt Doll Project.
 Final Outline Steps:
Using your coordinating body-color threads, stitch out outline steps so all three layers are stitched together.
Final Outline Steps:
Using your coordinating body-color threads, stitch out outline steps so all three layers are stitched together.
 Remove the Felt Doll from the hoop. Using your straight, sharp scissors, trim evenly around the outside perimeter at 1/8” through all the layers of the Felt Doll.
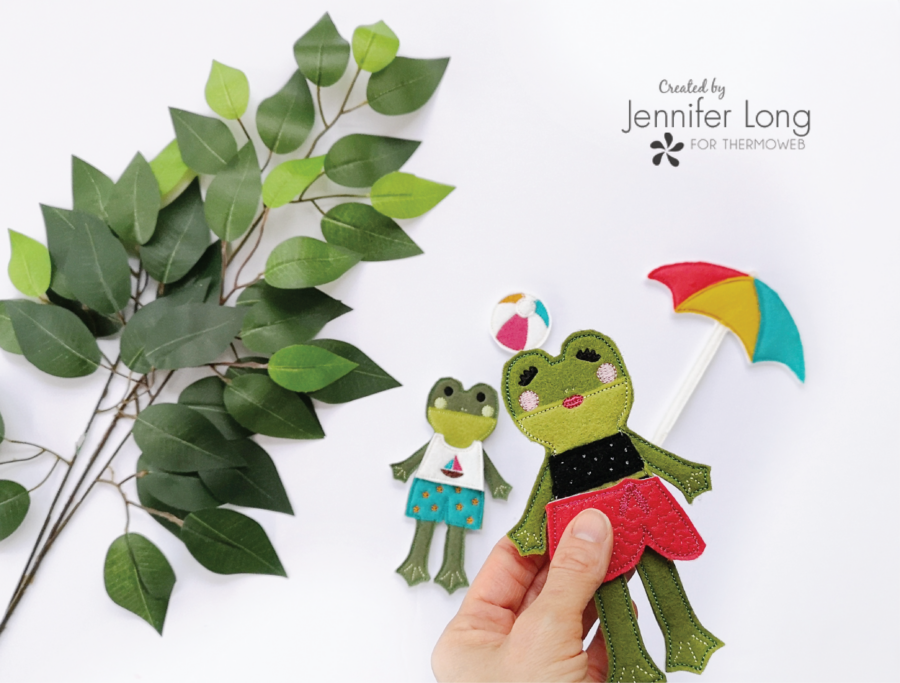
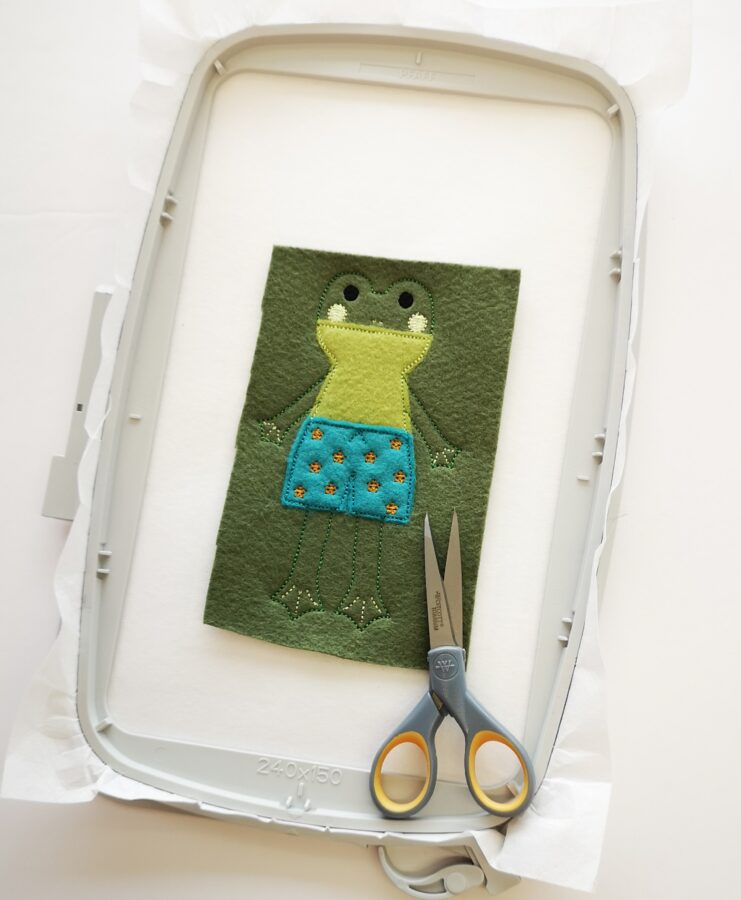 Your Felt Doll is complete!!! Repeat this process for all the Felt Dolls: Frog and Frogette Doll and Frog and Frogette Accessories. Place your Felt Dolls and Accessories in a little bag and have them in your purse or vehicle for “On the Go” fun anytime!!! This is the first in a series of Felt Doll Embroidery Patterns being released monthly! Make sure you sign up for the FREE Doll Making Newsletter at www.beesewinspired.com to be INSPIRED and know when the next patterns will be released!
Beach Frog Embroidery Files and Pattern Use the code "BEACHDAY" to download this ENTIRE set for FREE until May 31, 2021!
Your Felt Doll is complete!!! Repeat this process for all the Felt Dolls: Frog and Frogette Doll and Frog and Frogette Accessories. Place your Felt Dolls and Accessories in a little bag and have them in your purse or vehicle for “On the Go” fun anytime!!! This is the first in a series of Felt Doll Embroidery Patterns being released monthly! Make sure you sign up for the FREE Doll Making Newsletter at www.beesewinspired.com to be INSPIRED and know when the next patterns will be released!
Beach Frog Embroidery Files and Pattern Use the code "BEACHDAY" to download this ENTIRE set for FREE until May 31, 2021!
 Please share your Felt Doll on social media and tag @thermoweb and @beesewinspired. I would love to share and tag you back!
Video Tutorials:
Inspired Doll Making Facebook Group
Join our FREE, private educational FB group where we offer free weekly tutorial videos on all the Bee Sew Inspired Projects. The Frog Felt Doll Tutorial using Benzie Felt and Thermoweb HeatnBond Fusible Interfacing and Basting Adhesive will be LIVE on Wednesday, May 18th. Pattern questions email to info@beesewinspired.com
Please share your Felt Doll on social media and tag @thermoweb and @beesewinspired. I would love to share and tag you back!
Video Tutorials:
Inspired Doll Making Facebook Group
Join our FREE, private educational FB group where we offer free weekly tutorial videos on all the Bee Sew Inspired Projects. The Frog Felt Doll Tutorial using Benzie Felt and Thermoweb HeatnBond Fusible Interfacing and Basting Adhesive will be LIVE on Wednesday, May 18th. Pattern questions email to info@beesewinspired.com