No Products in the Cart




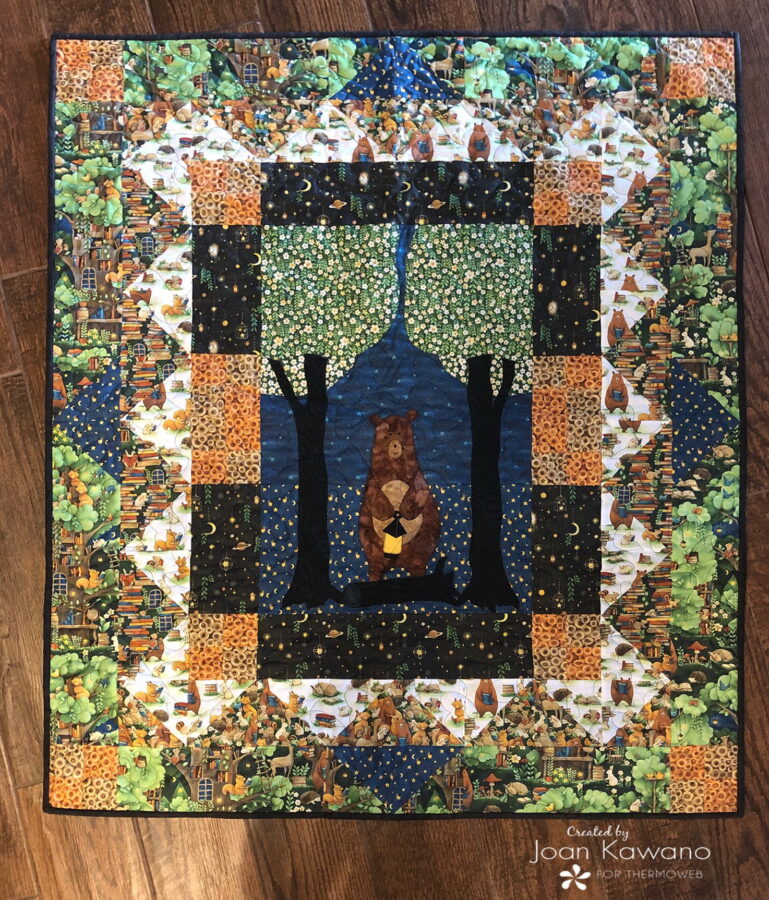 I love when Thermoweb teams up with industry partners and we get to play with new products. Have you ever heard of a "Flat Stack"? "PBS Fabrics" has taken a revolutionary approach to the traditional fat quarter bundle. Their stacks are continuous sheets of fabric, with all of the collection's fat quarters printed on them. They are the most Eco-friendly fat quarter option, as they are more efficient to ship and create less fabric waste.
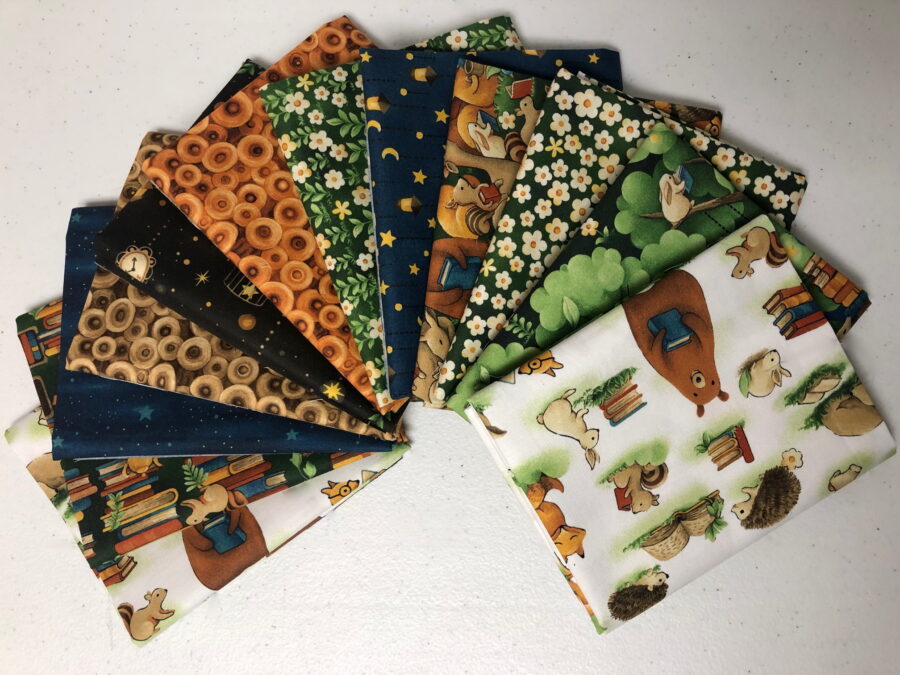 This line is called "Forest Fables". These bright and cheery prints will put a smile on any little book worm or campers' face. While the pattern I have designed, is fat quarter friendly and takes advantage of all the fabrics in the stack, you will need an additional 2/3 yd of fabric to complete it.
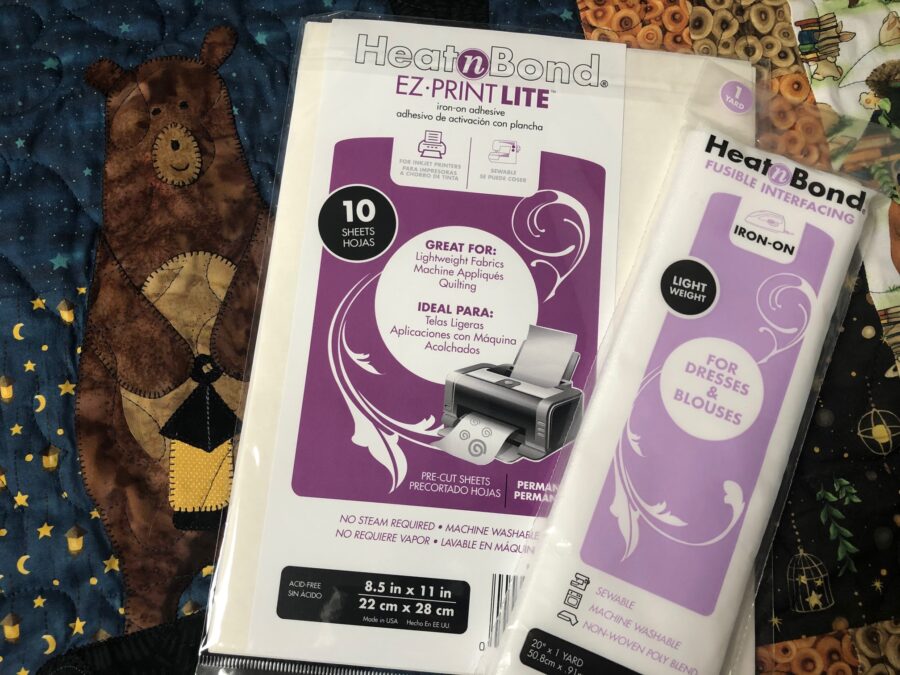 HeatNBond EZ Print Lite and HeatNBond®Light-Weight Fusible Interfacing, make applique a breeze.
To make your very own 40" x 48" crib size quilt
HeatNBond EZ Print Lite and HeatNBond®Light-Weight Fusible Interfacing, make applique a breeze.
To make your very own 40" x 48" crib size quilt
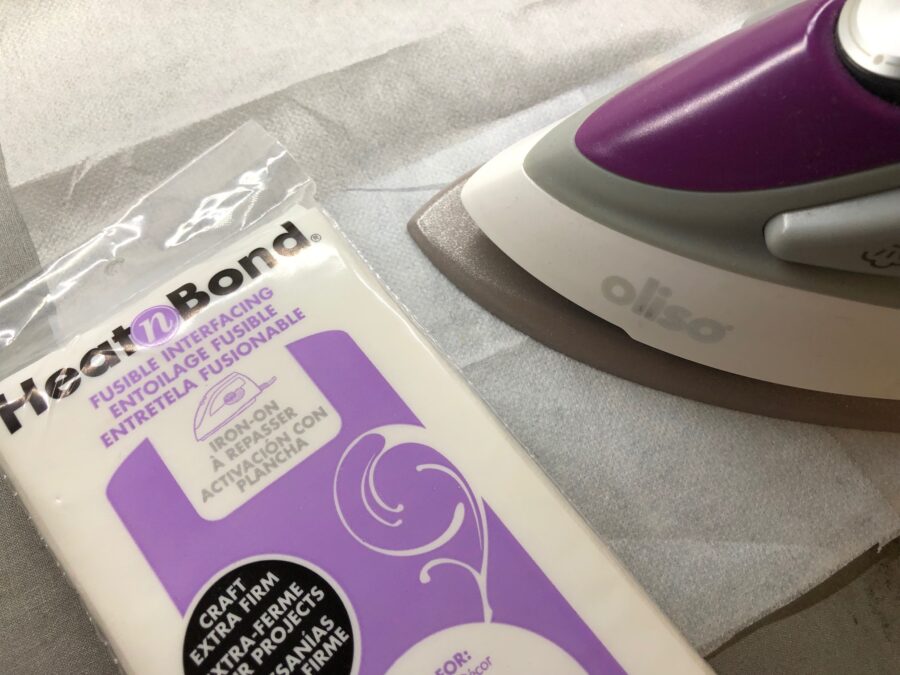 Fuse interfacing on the back of centerpiece, following manufacturer's directions.
Print applique pieces on HeatNBond EZ Print Lite or trace onto your favorite fusible web. All pieces have been reversed for you already.
Cut apart and fuse to the back of fabrics following the manufacturer’s directions. When cool cut out all applique shapes and arrange them on the background block.
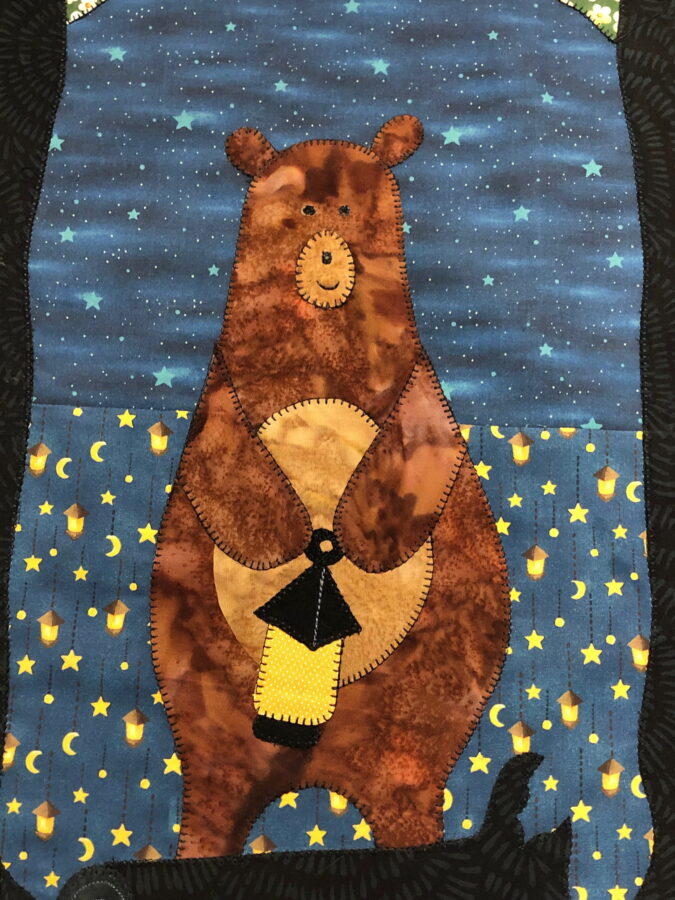
Note: Trees should be placed even with the top and sides of the center panel, allowing them to be stitched into the seam allowance. Fuse and stitch in place using your preferred method. Embroider or free-motion stitch bears eyes, nose, and mouth, as well as the line on lantern top.
Fuse interfacing on the back of centerpiece, following manufacturer's directions.
Print applique pieces on HeatNBond EZ Print Lite or trace onto your favorite fusible web. All pieces have been reversed for you already.
Cut apart and fuse to the back of fabrics following the manufacturer’s directions. When cool cut out all applique shapes and arrange them on the background block.
Note: Trees should be placed even with the top and sides of the center panel, allowing them to be stitched into the seam allowance. Fuse and stitch in place using your preferred method. Embroider or free-motion stitch bears eyes, nose, and mouth, as well as the line on lantern top.
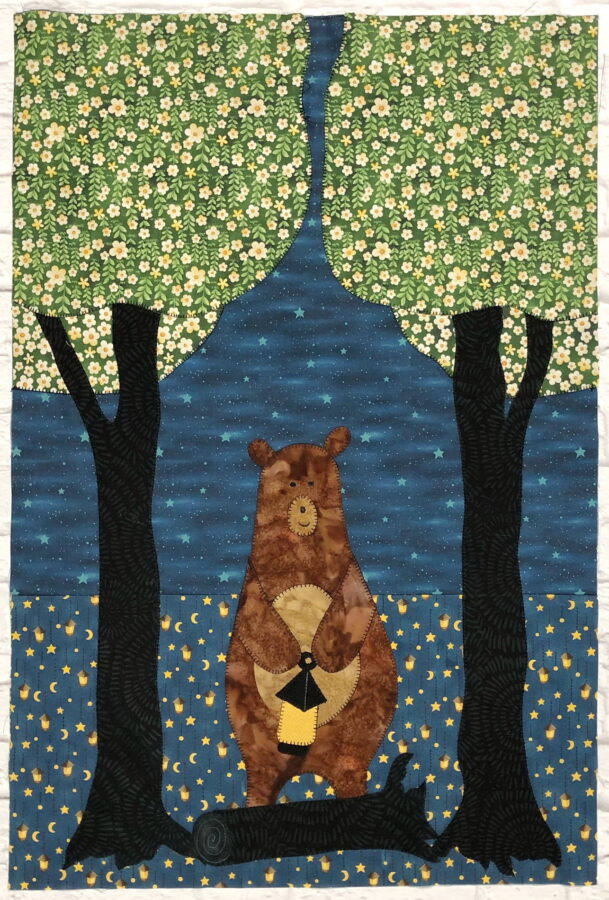 The Center panel measures 16 ½” x 24 ½”
There are 3 borders that comprise the remainder of the quilt. Most of the blocks are 4 1/2" half square triangles.
The Center panel measures 16 ½” x 24 ½”
There are 3 borders that comprise the remainder of the quilt. Most of the blocks are 4 1/2" half square triangles.
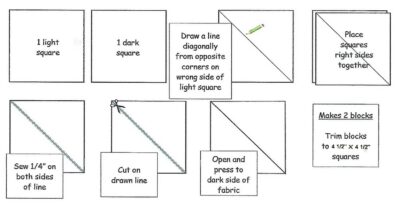 This chart shows you how they are constructed. Many of the prints in this line are directional, but don't let that scare you. I have come up with a way to take the mystery out of working directional s. I call it my “NO-Cry” method, for half-square triangles with directional fabrics. I've included a 2 page tutorial, with photos, to help you along.
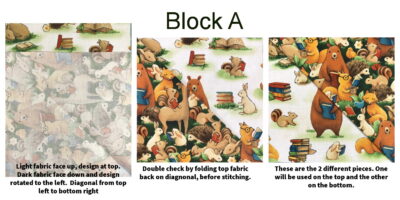
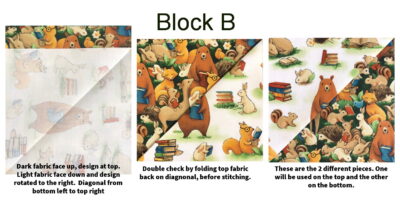
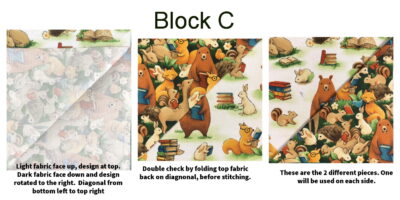
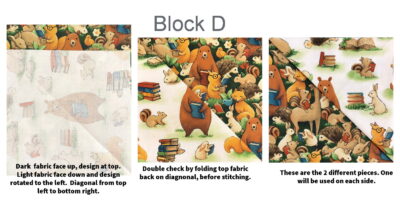 You will also find photos of each border and a quilt layout sheet you can use as a guide when making those directional triangles. I do suggest you make your triangles one at a time, laying them where they go, as you sew.
Before you know it you will have rocked the directional fabric world, with your very own "In the Woods" quilt.
You will also find photos of each border and a quilt layout sheet you can use as a guide when making those directional triangles. I do suggest you make your triangles one at a time, laying them where they go, as you sew.
Before you know it you will have rocked the directional fabric world, with your very own "In the Woods" quilt.
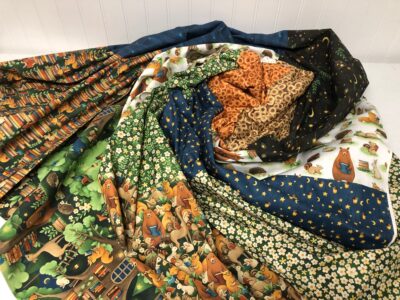 A big thanks to "Paintbrush Studio" and "Thermoweb", for making our world, a fun place to play.
 Enjoy!
Joan
This post contains affiliate links. For more information, see our disclosure HERE.
Enjoy!
Joan
This post contains affiliate links. For more information, see our disclosure HERE.
