No Products in the Cart
 Fruit Card Instructions
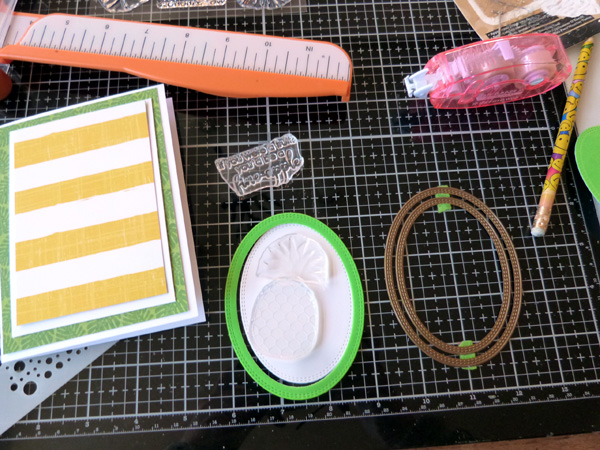 To begin, create an A2 card base from Luxury White cardstock. Layer the card base with patterned paper and cardstock. Nestle two oval dies together, and hold them in place with Purple Tape. Die-cut the ovals one time from Luxury White cardstock, and one time from Screamin' Green Neon Flock Sheet.
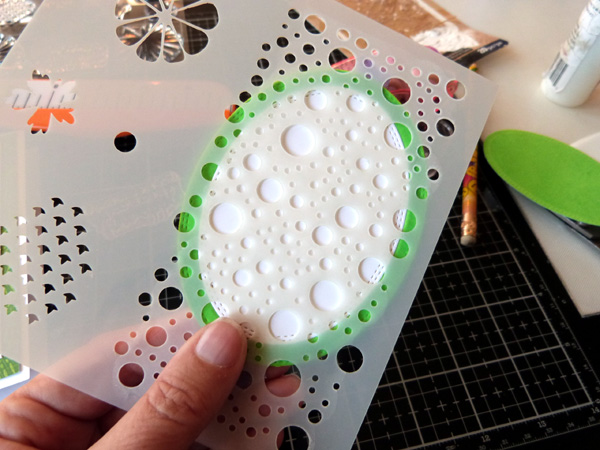 Place the white cardstock oval inside the flock frame, and secure the pieces together on the backside with more Purple Tape. Place the dot portion of the Sending Sunshine Stencil over the layered die cuts, and run this combo through your die cutting machine, replacing the top cutting pad with a rubber embossing pad.
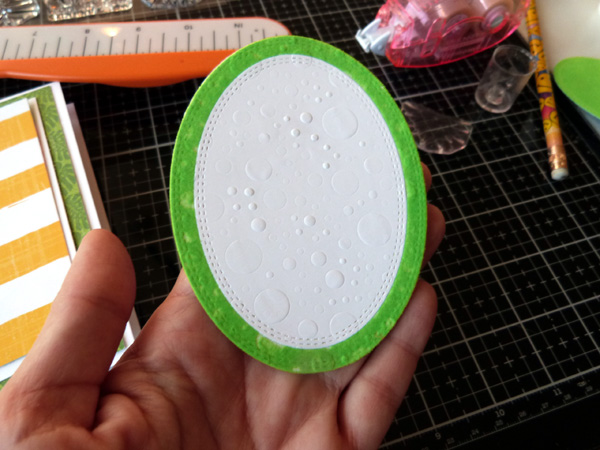 This is an easy way to use your stash of stencils to create embosses patterns.
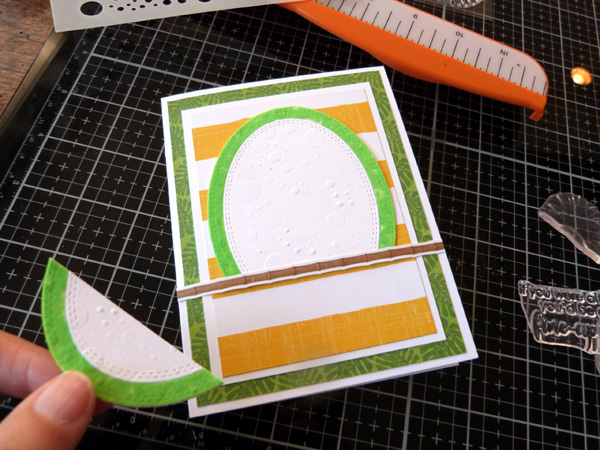 Trim off approximately the bottom third of the oval, and then adhere the top portion to the card base. Add a border sticker across the bottom edge of the ovals.
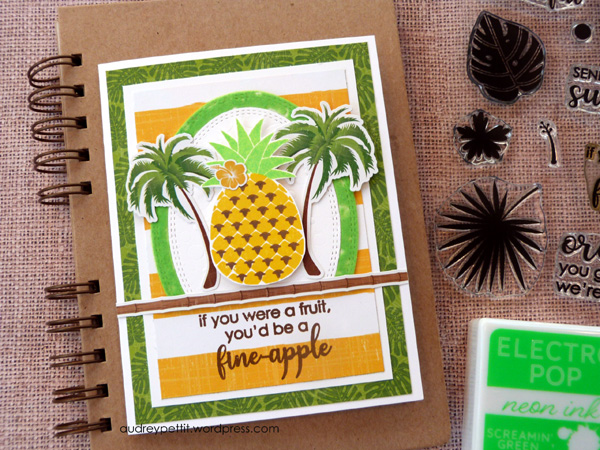
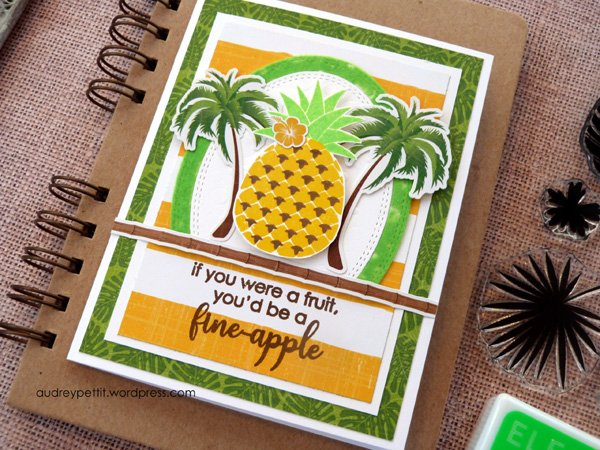
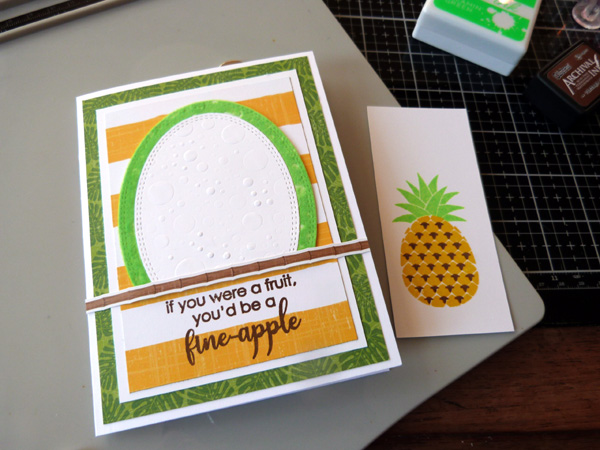 Stamp the sentiment below the border sticker in brown ink. Stamp the pineapple image using yellow, brown, and Screamin' Green Electro-Pop Neon ink. Die-cut the pineapple with the matching die. Adhere the pineapple to the oval frame using Foam Squares. Add cardstock stickers around the sides.
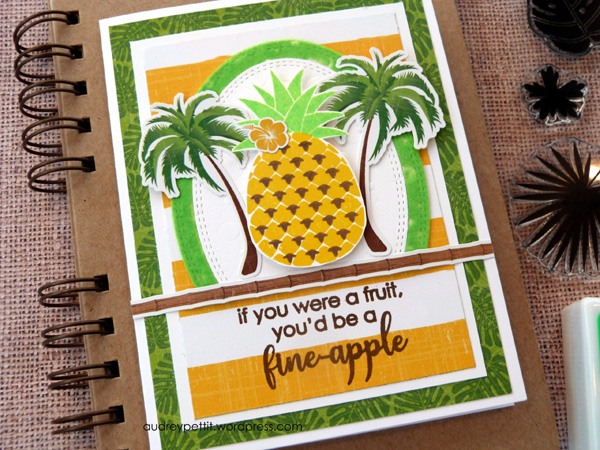 Enjoy!