How to Sew the Whale Zipper Pouch with HeatnBond Support
How to Sew the Whale Zipper Pouch with HeatnBond Support
by Jennifer Long on June 23, 2025
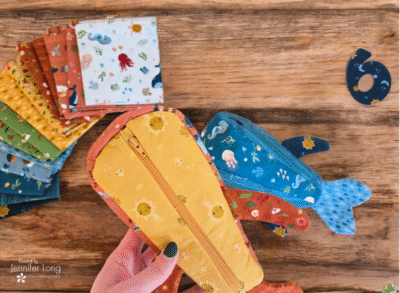
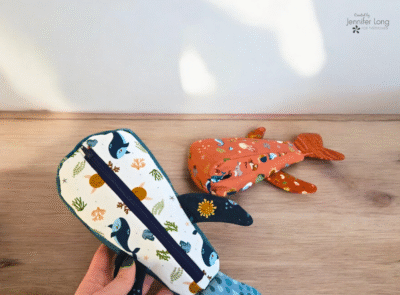
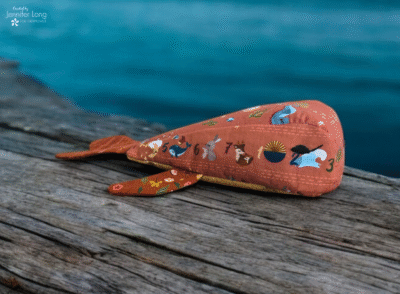
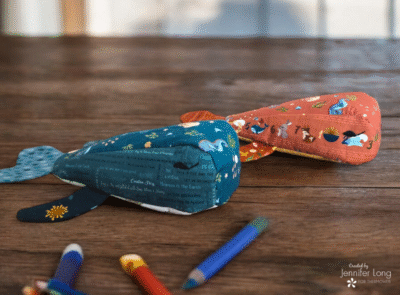
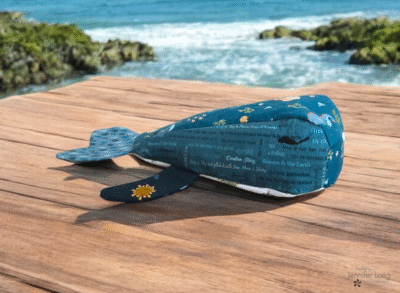
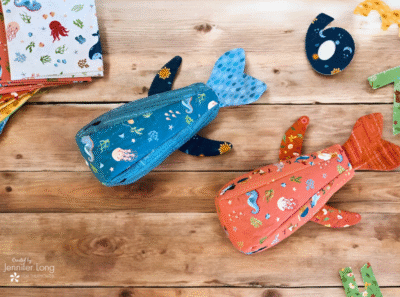
Hello friends! I'm so excited to share this sweet and simple project with you today: the Whale Zipper Pouch. This fully lined, curved pouch is a cheerful make that’s perfect for storing crayons, snacks, small toys, or travel essentials.It’s also a great project to build confidence with zipper installation, shaped seams, and structured finishing. Using ThermoWeb products helps the pouch keep its shape while adding softness and stability in all the right places.
Materials You’ll Need
Fabric & Pattern:
Fat eighths or scraps from the Created With Love fabric collection by Jennifer Long for Riley Blake Designs
Quilty™ Hemostat – For turning and shaping curved pieces
Step-by-Step Instructions
1. Fuse Your Fabric
Apply HeatnBond Fusible Fleece to the wrong side of the pouch’s back, sides, belly, and tail fabrics. Fuse according to ThermoWeb’s instructions using firm, dry heat and a press cloth.Next, apply HeatnBond Craft Extra Firm Fusible to the fin and tail pieces where added structure is needed. This keeps those smaller elements crisp and shapely.
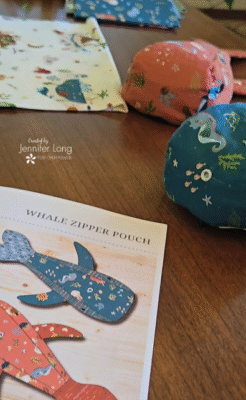
2. Cut & Trace
Using the pattern templates, trace and cut all required shapes. Be sure to note which pieces need to be reversed. Carefully mark all notches and placement dots to guide assembly.
3. Make the Tail and Fins
Place fin pieces right sides together. Sew around the outer edges, leaving the straight edge open. Clip curves, turn right side out using the Quilty Hemostat, then press and topstitch. Repeat for the tail.
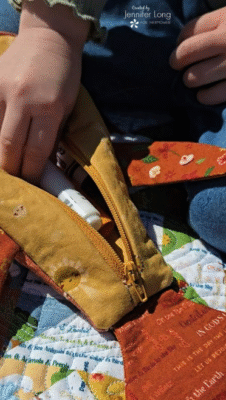
4. Install the Zipper
Add zipper tabs to reduce your zipper length to 8 inches. Align the zipper with the belly panel, sandwiching between outer and lining layers. Baste, then topstitch for a clean finish.Repeat this process for the opposite side, then unzip the zipper partway before moving to the next step.
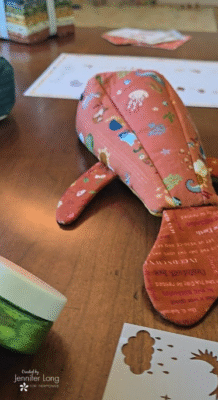
5. Sew the Whale Body
Stitch the top panel to both side pieces, using careful alignment to maintain the curved seams. Repeat this process for the lining.Baste the fins and tail to the outer body using the marked placement lines. Use clips or washi tape to hold the pieces in place temporarily.Layer the belly unit with the outer body and stitch around the edge, keeping the lining free. Repeat for the lining unit but leave a small gap for turning.Turn the pouch right side out through the opening. Shape the edges and curves with the Hemostat and press flat.
6. Final Touches
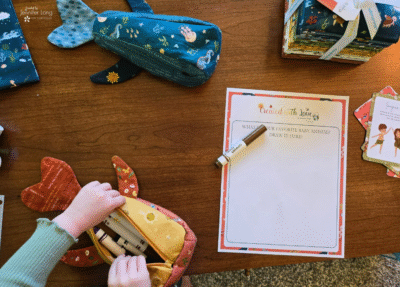
Hand stitch the opening closed using a ladder stitch. Add a grommet to the top corner and embellish as desired.
Optional Embellishments
Add a personal touch with these simple ideas:
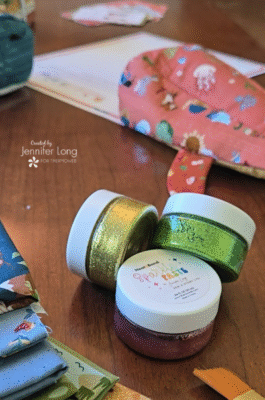
Use ThermoWeb Sparkle Paste and a stencil to decorate the tail or fins before assembly
Create a matching wrist strap using scraps and fusible fleece
Add a name tag, charm, or patch using HeatnBond Lite and raw-edge appliqué
Try the Pattern Club Free
ThermoWeb readers can enjoy one FREE month in the Sew A Story Pattern Club to access SVG cut files, printable templates, and more.Join HEREUse code: JUNECLUB
At Sew A Story...
We believe every handmade project has the power to inspire connection, spark imagination, and bring families closer together. We’re so glad you’re here. Let’s make something meaningful, together.