No Products in the Cart



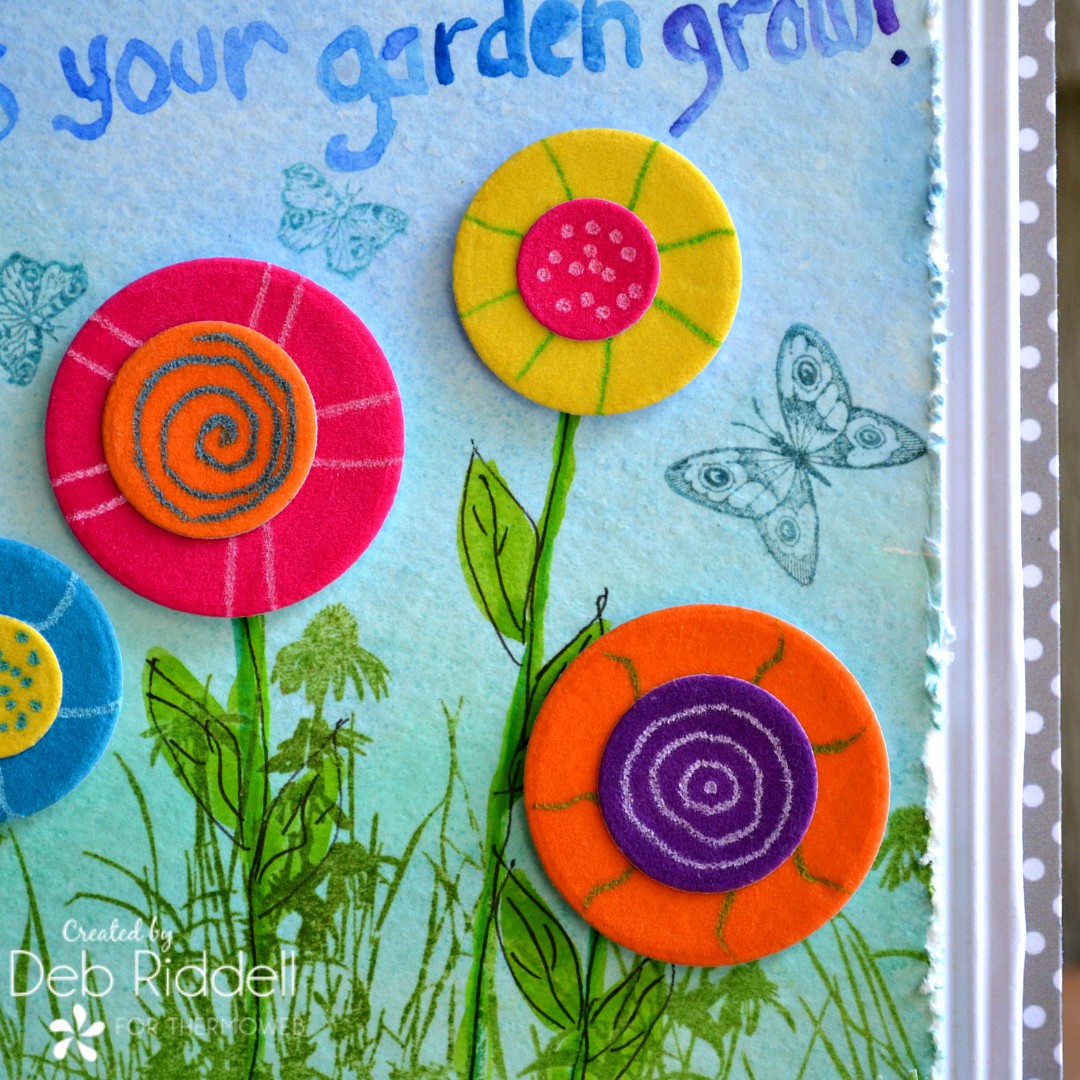
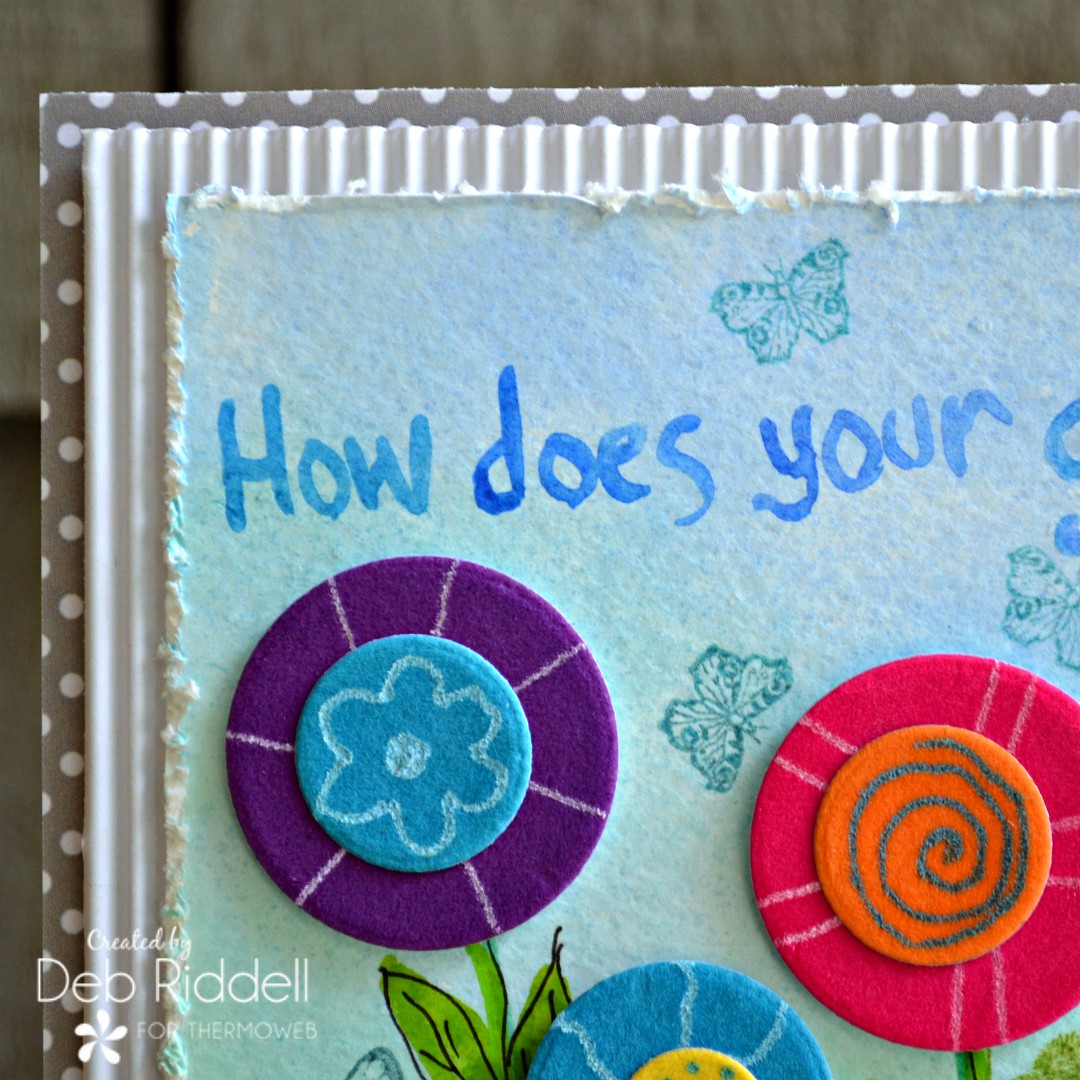
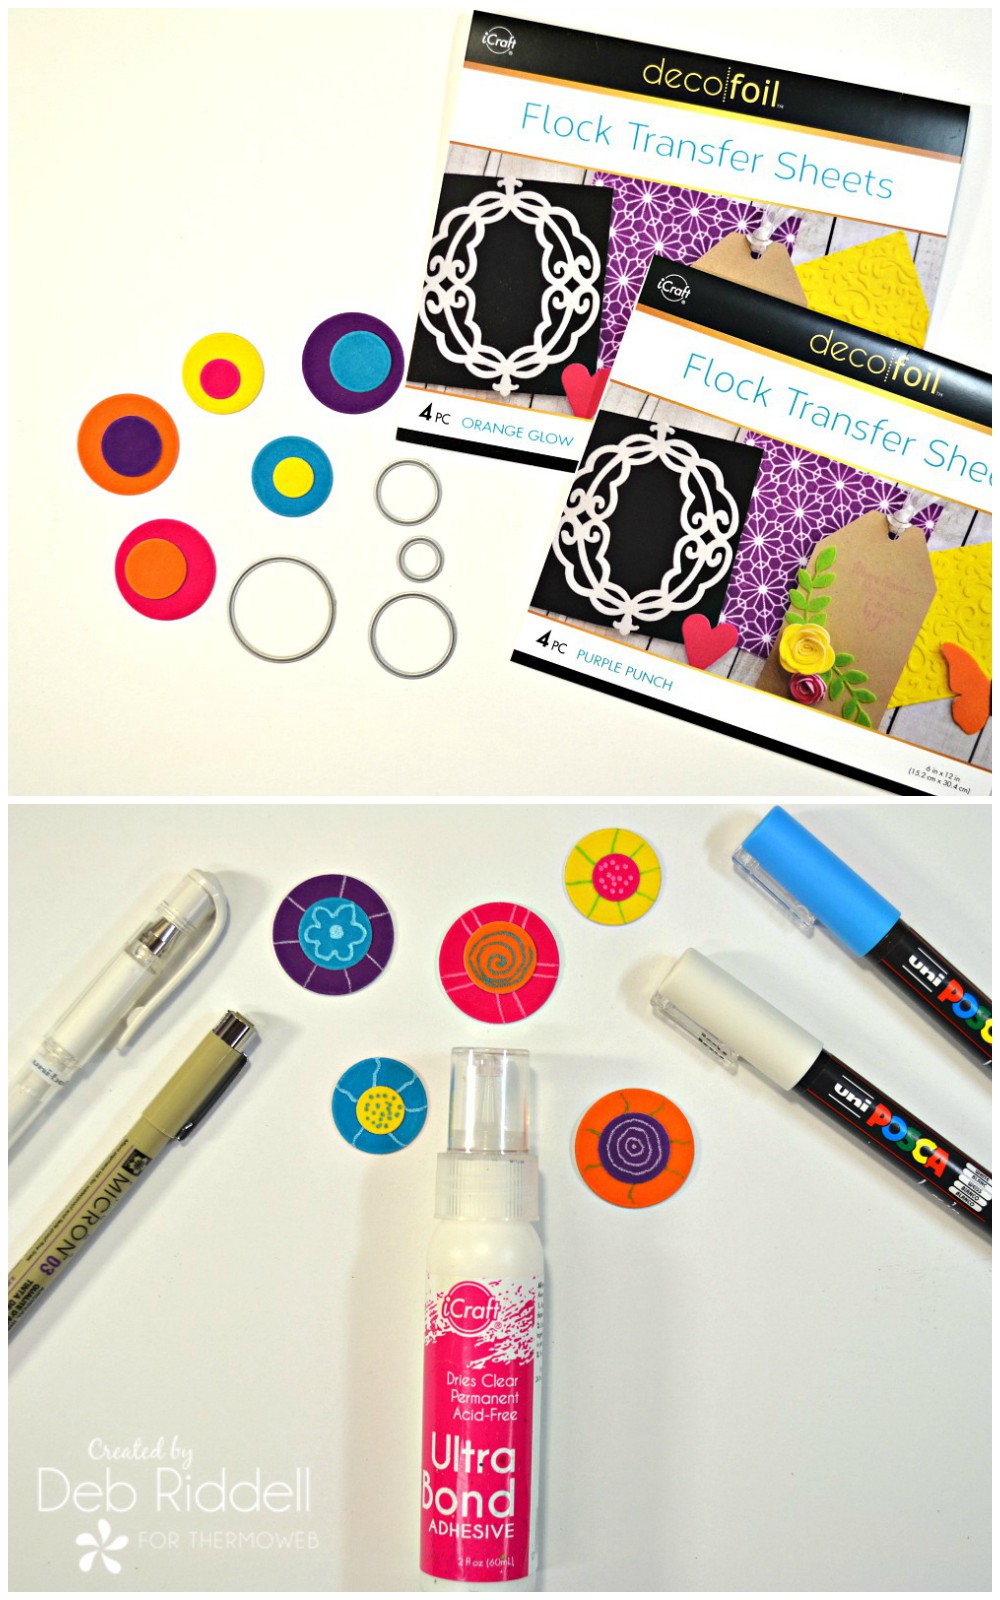 With your paint pens or markers, doodle some lines on the larger circles and adhere the smaller circles into the centers with iCraft Ultra Bond adhesive, alternating the colors as you like. Doodle more marks onto the flower centers with the paint pens or markers.
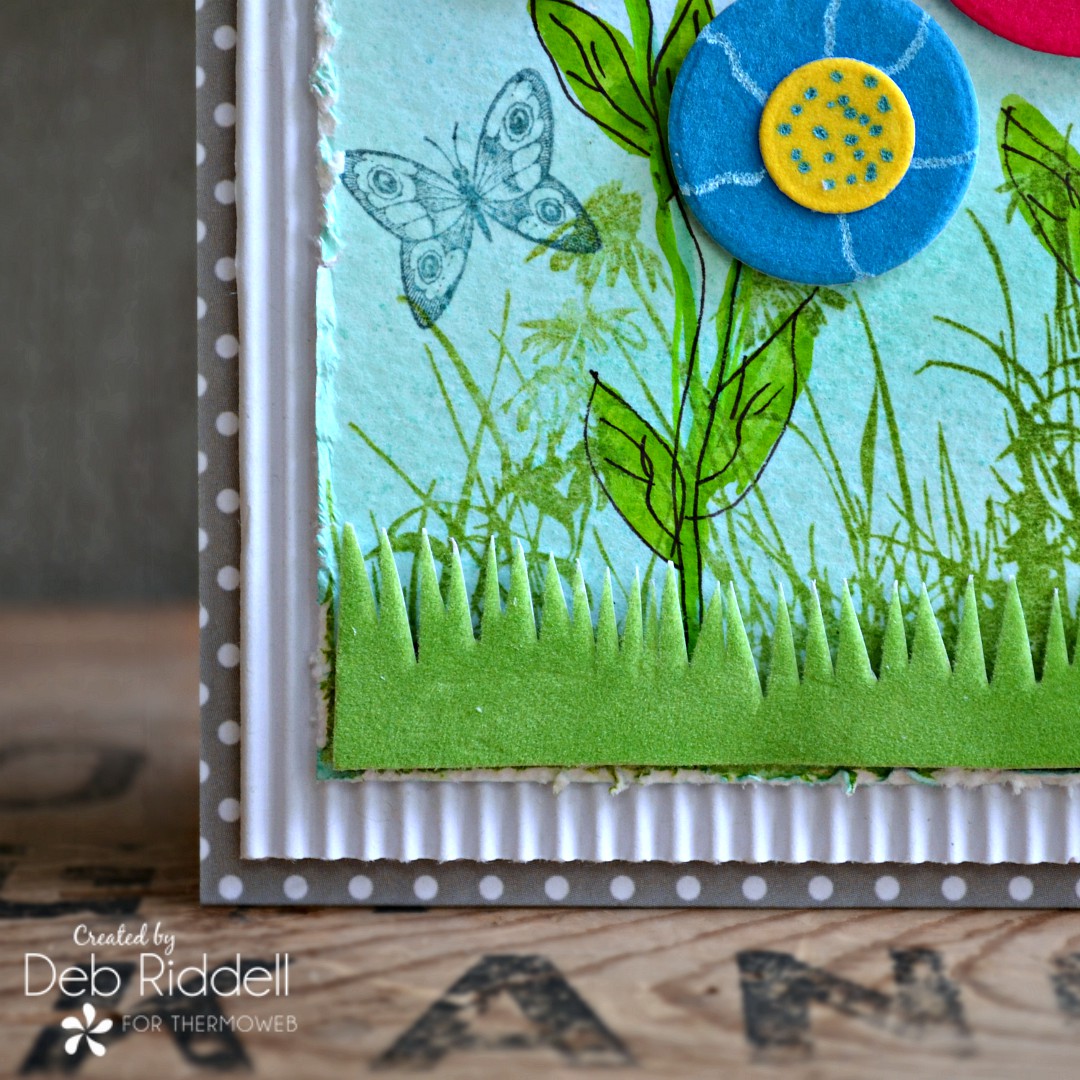
Cut a strip of Green Envy Flock transfer sheet and cut some 'V' marks with your scissors to simulate grass.
With your paint pens or markers, doodle some lines on the larger circles and adhere the smaller circles into the centers with iCraft Ultra Bond adhesive, alternating the colors as you like. Doodle more marks onto the flower centers with the paint pens or markers.
Cut a strip of Green Envy Flock transfer sheet and cut some 'V' marks with your scissors to simulate grass.
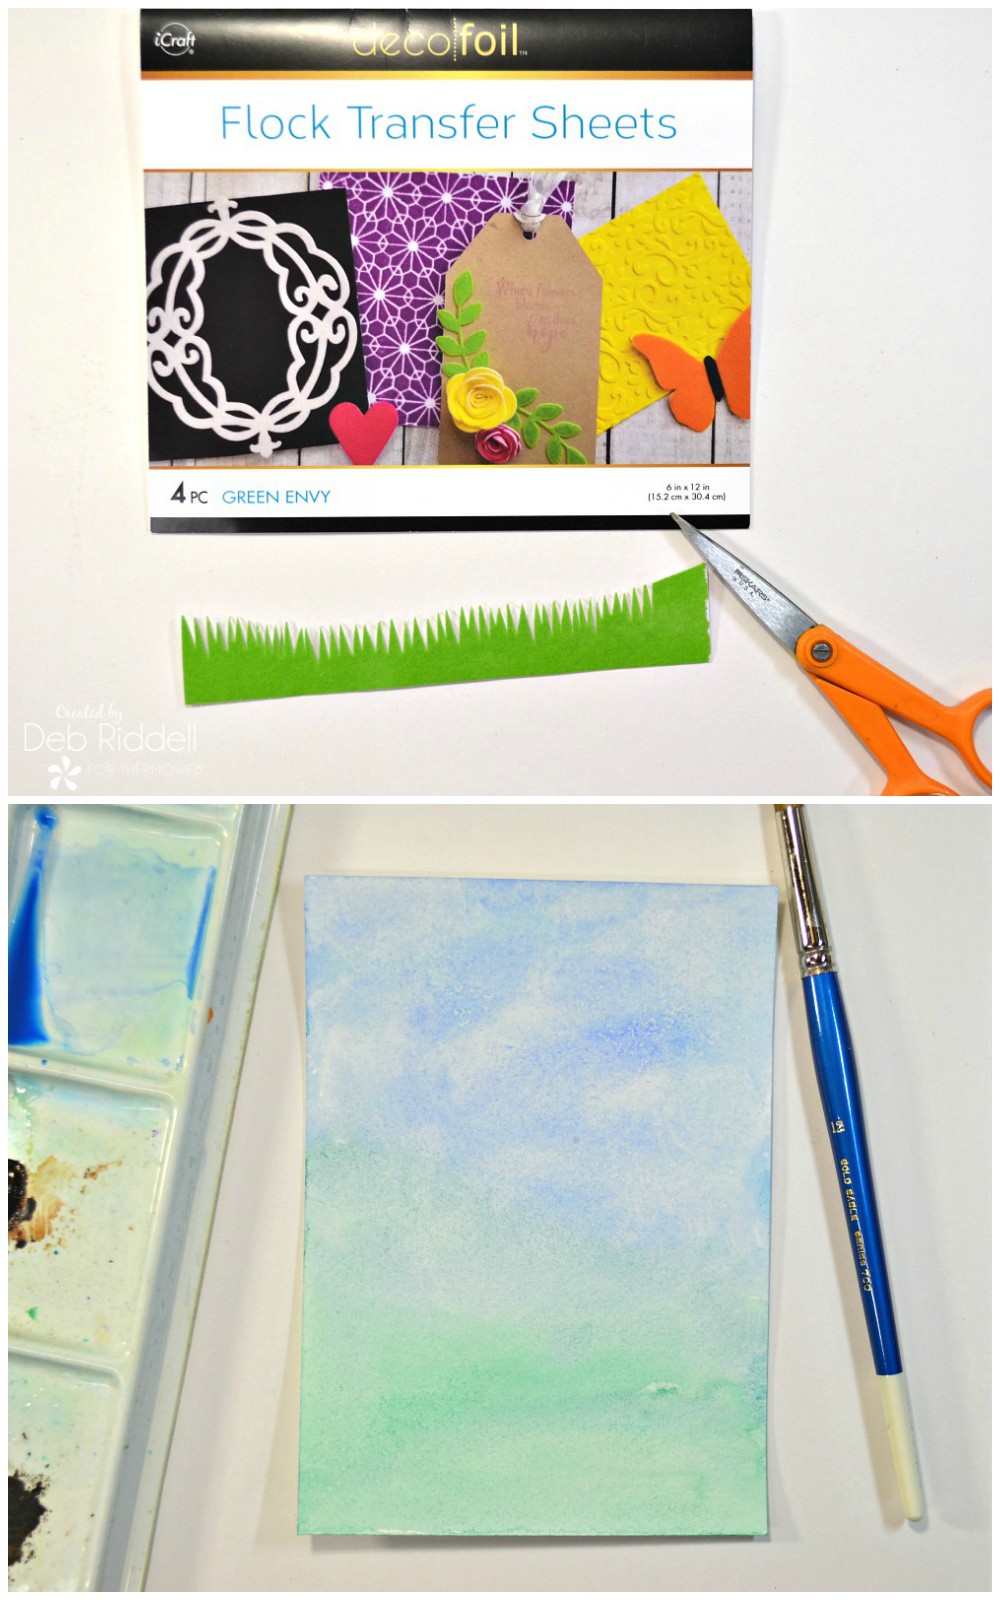 Paint a piece of watercolor paper with washes of blue and green watercolor paint for the background (you could also ink the background with water-reactive inks). The size of your background will depend upon the size of the circle dies that you used to create your 'flowers'. I started with a piece of watercolor paper 5" x 7".
Stamp along the bottom of your background with the botanical stamp and green permanent ink.
Paint a piece of watercolor paper with washes of blue and green watercolor paint for the background (you could also ink the background with water-reactive inks). The size of your background will depend upon the size of the circle dies that you used to create your 'flowers'. I started with a piece of watercolor paper 5" x 7".
Stamp along the bottom of your background with the botanical stamp and green permanent ink.
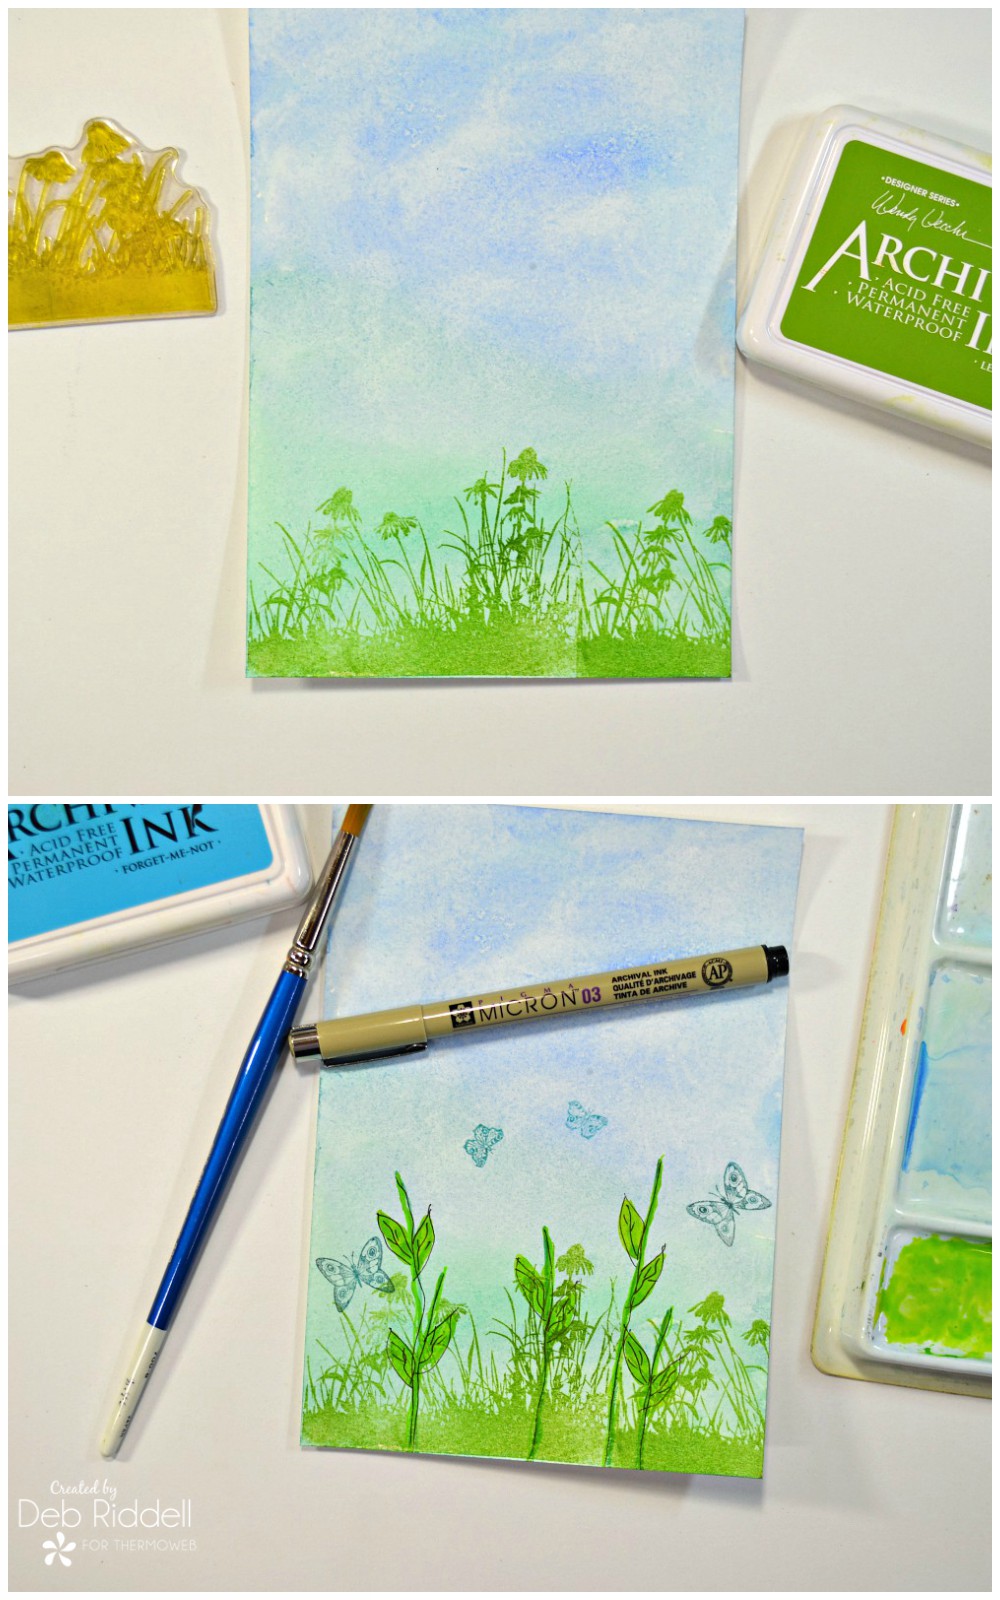 Decide where you want to place your flower heads and then paint in some stems and leaves with green watercolor paint, adding some line work with a black Micron pen after the paint has dried. Stamp a few butterflies here and there with blue permanent ink.
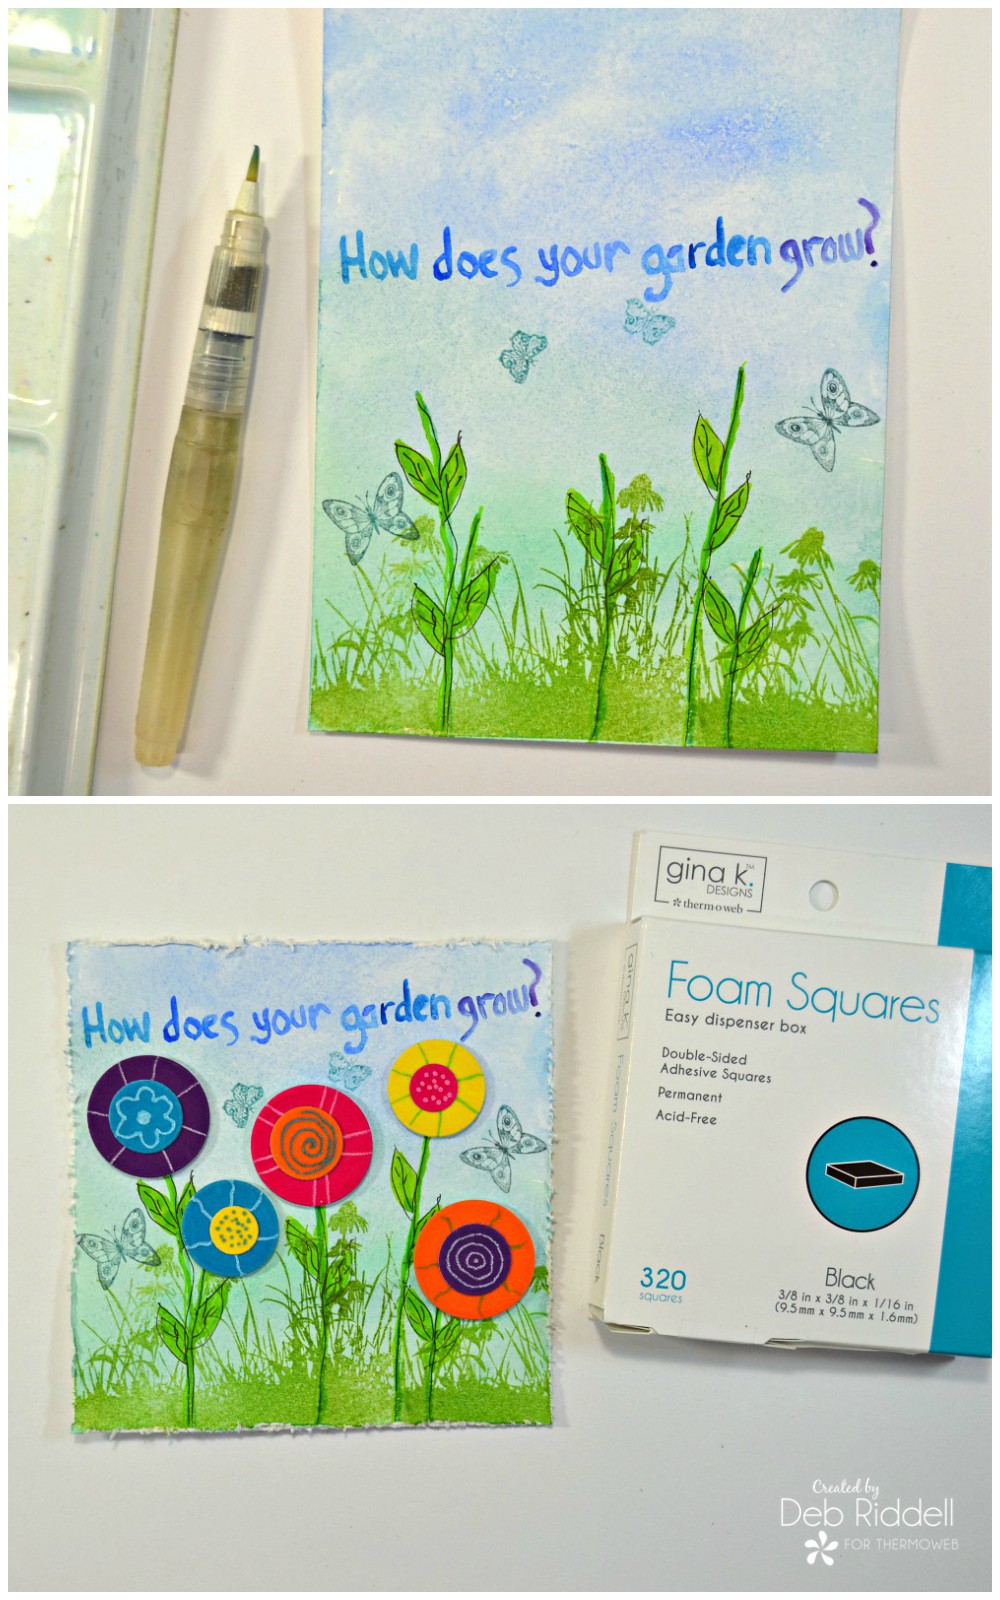 Trim the watercolor paper to size just above the sentiment and distress the edges of the background with a distressing tool or your scissors if desired. Adhere your flower heads to the background, popping them up on some Gina K. Designs Foam Squares.
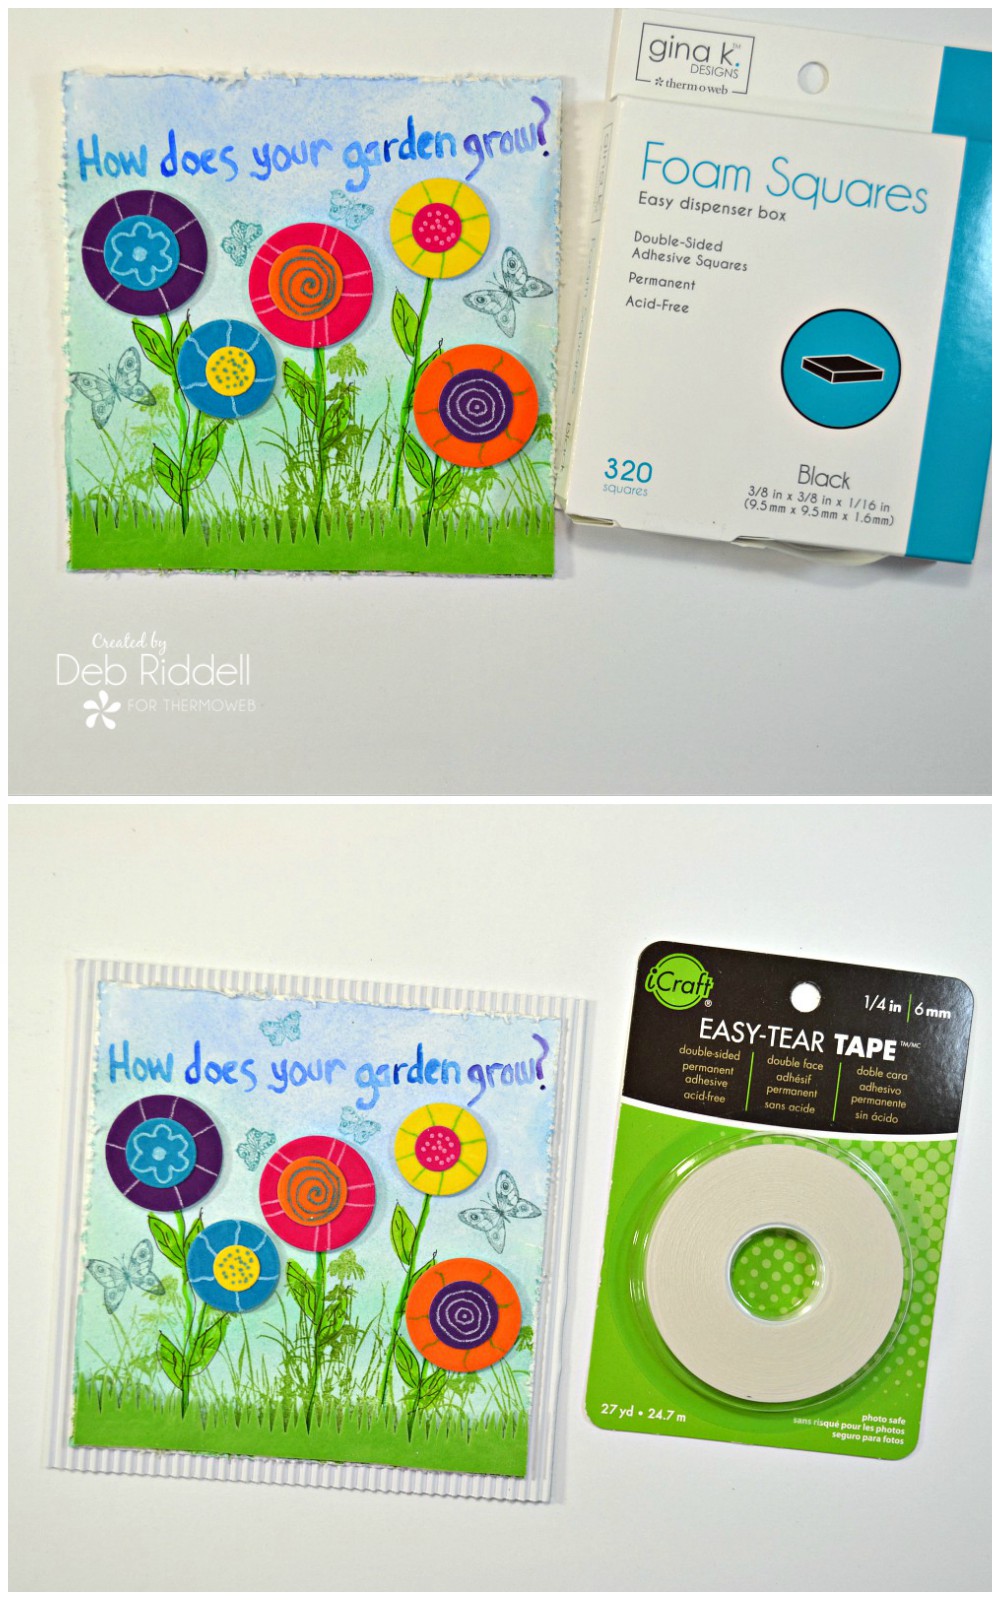 Adhere the background to a piece of corrugated white cardstock with iCraft Adhesive tape, leaving about a 1/3" reveal on all sides.
Finally adhere the whole assembly to a piece of taupe polka dot scrapbook paper with about a 1/4" reveal on all sides, popping it up on Gina K. Designs Foam Tape for more dimension.
Adhere the background to a piece of corrugated white cardstock with iCraft Adhesive tape, leaving about a 1/3" reveal on all sides.
Finally adhere the whole assembly to a piece of taupe polka dot scrapbook paper with about a 1/4" reveal on all sides, popping it up on Gina K. Designs Foam Tape for more dimension.
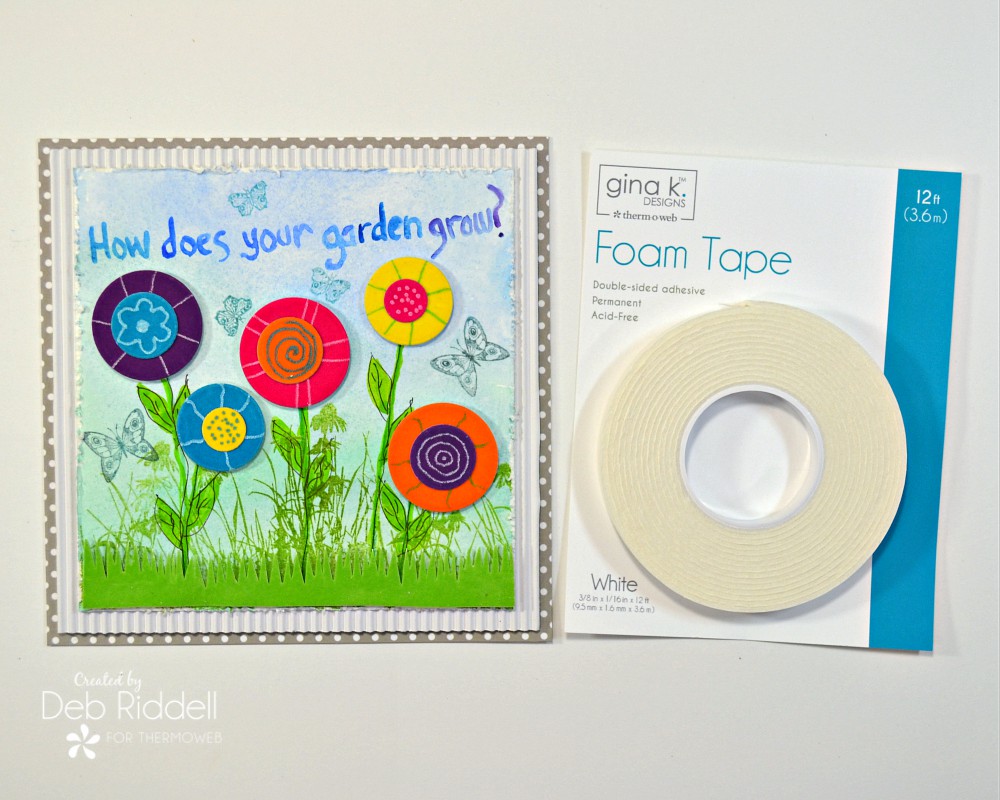 Add a hanger or a small easel die cut to the back of the plaque for display and you are done! You could also easily make this project into a card by mounting the assembly onto a card blank.
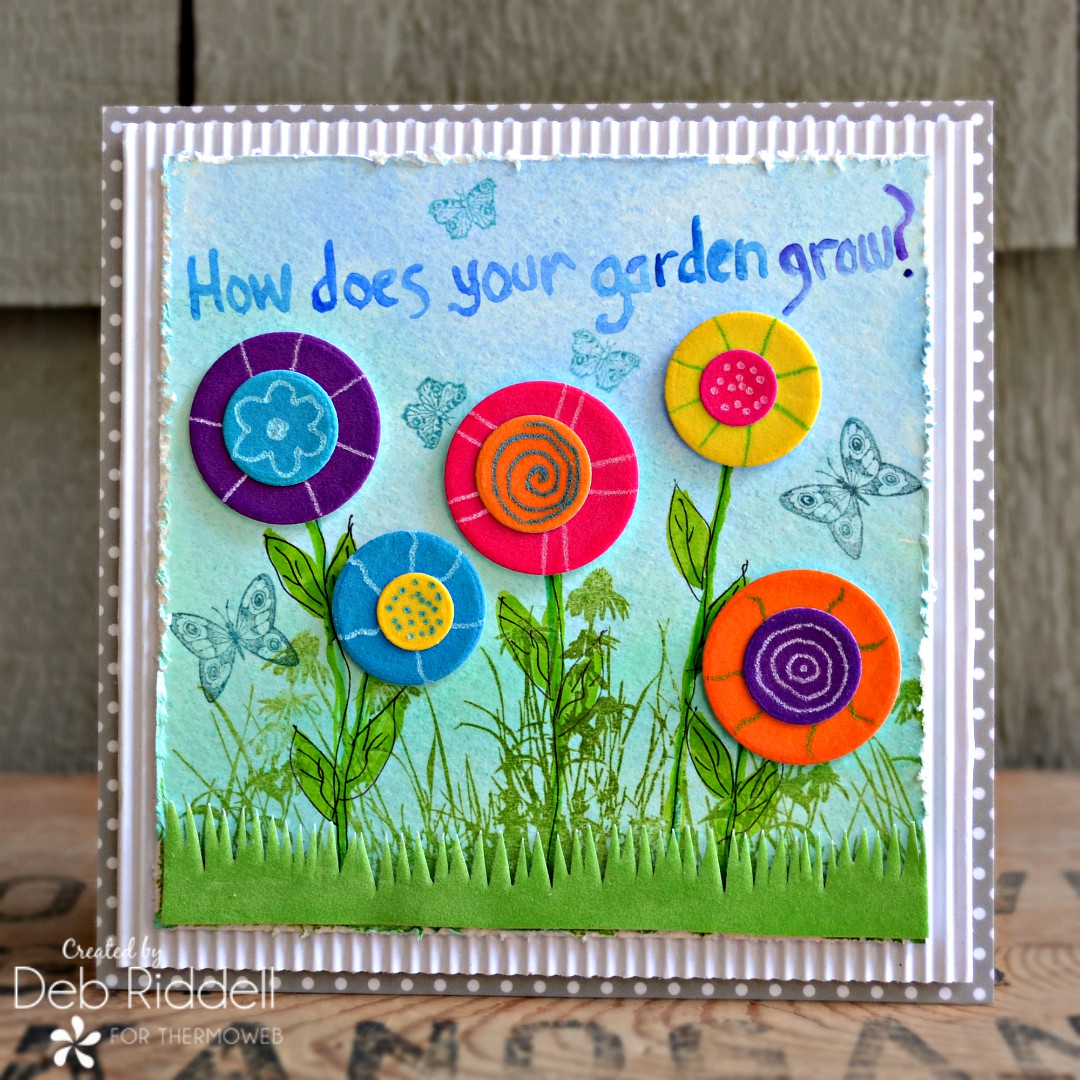
Here are a few closeups of the finished garden grow flower plaque project.
Add a hanger or a small easel die cut to the back of the plaque for display and you are done! You could also easily make this project into a card by mounting the assembly onto a card blank.
Here are a few closeups of the finished garden grow flower plaque project.
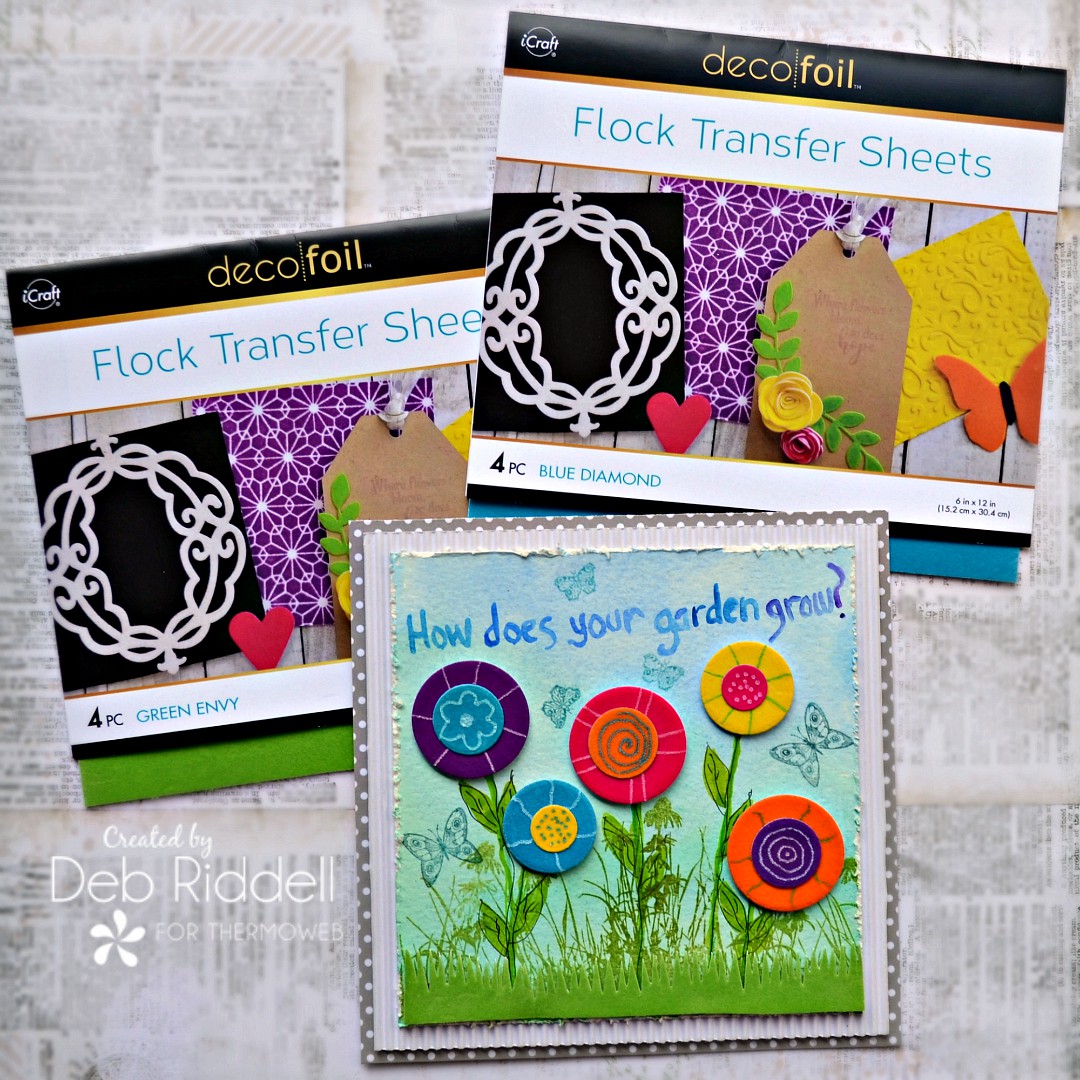
 I hope that you've enjoyed seeing how my little garden-inspired plaque came together and that you've been inspired to get out your Deco Foil Flock Transfer Sheets and make your own flocked garden! The Flock sheets are so versatile and take inks, paint, and markers beautifully so doodle to your heart's content! Thanks so much as always for stopping by today and happy Summer creating!
Deb xo
I hope that you've enjoyed seeing how my little garden-inspired plaque came together and that you've been inspired to get out your Deco Foil Flock Transfer Sheets and make your own flocked garden! The Flock sheets are so versatile and take inks, paint, and markers beautifully so doodle to your heart's content! Thanks so much as always for stopping by today and happy Summer creating!
Deb xo
