No Products in the Cart
 Therm O Web Supplies Used
Memory Runner XL
Memory Runner XL Refill
3D Foam Squares – Combo Pack
Deco Foil Slimline Kraft Card Front – Time To Fly
Deco Foil Transfer Sheets-Lime
Purple Tape-1/2 inch
Ultra Bond Liquid Adhesive
ZOTS Clear Adhesive Dots Small Singles-125 pk
ZOTS Clear Adhesive Dots Small Box-300 pk
Gina K Designs Foam Tape – White
Gina K Designs Foam Squares-White
Other Supplies Used
Photo Play Paper-Fern and Willard Collection
Therm O Web Supplies Used
Memory Runner XL
Memory Runner XL Refill
3D Foam Squares – Combo Pack
Deco Foil Slimline Kraft Card Front – Time To Fly
Deco Foil Transfer Sheets-Lime
Purple Tape-1/2 inch
Ultra Bond Liquid Adhesive
ZOTS Clear Adhesive Dots Small Singles-125 pk
ZOTS Clear Adhesive Dots Small Box-300 pk
Gina K Designs Foam Tape – White
Gina K Designs Foam Squares-White
Other Supplies Used
Photo Play Paper-Fern and Willard Collection
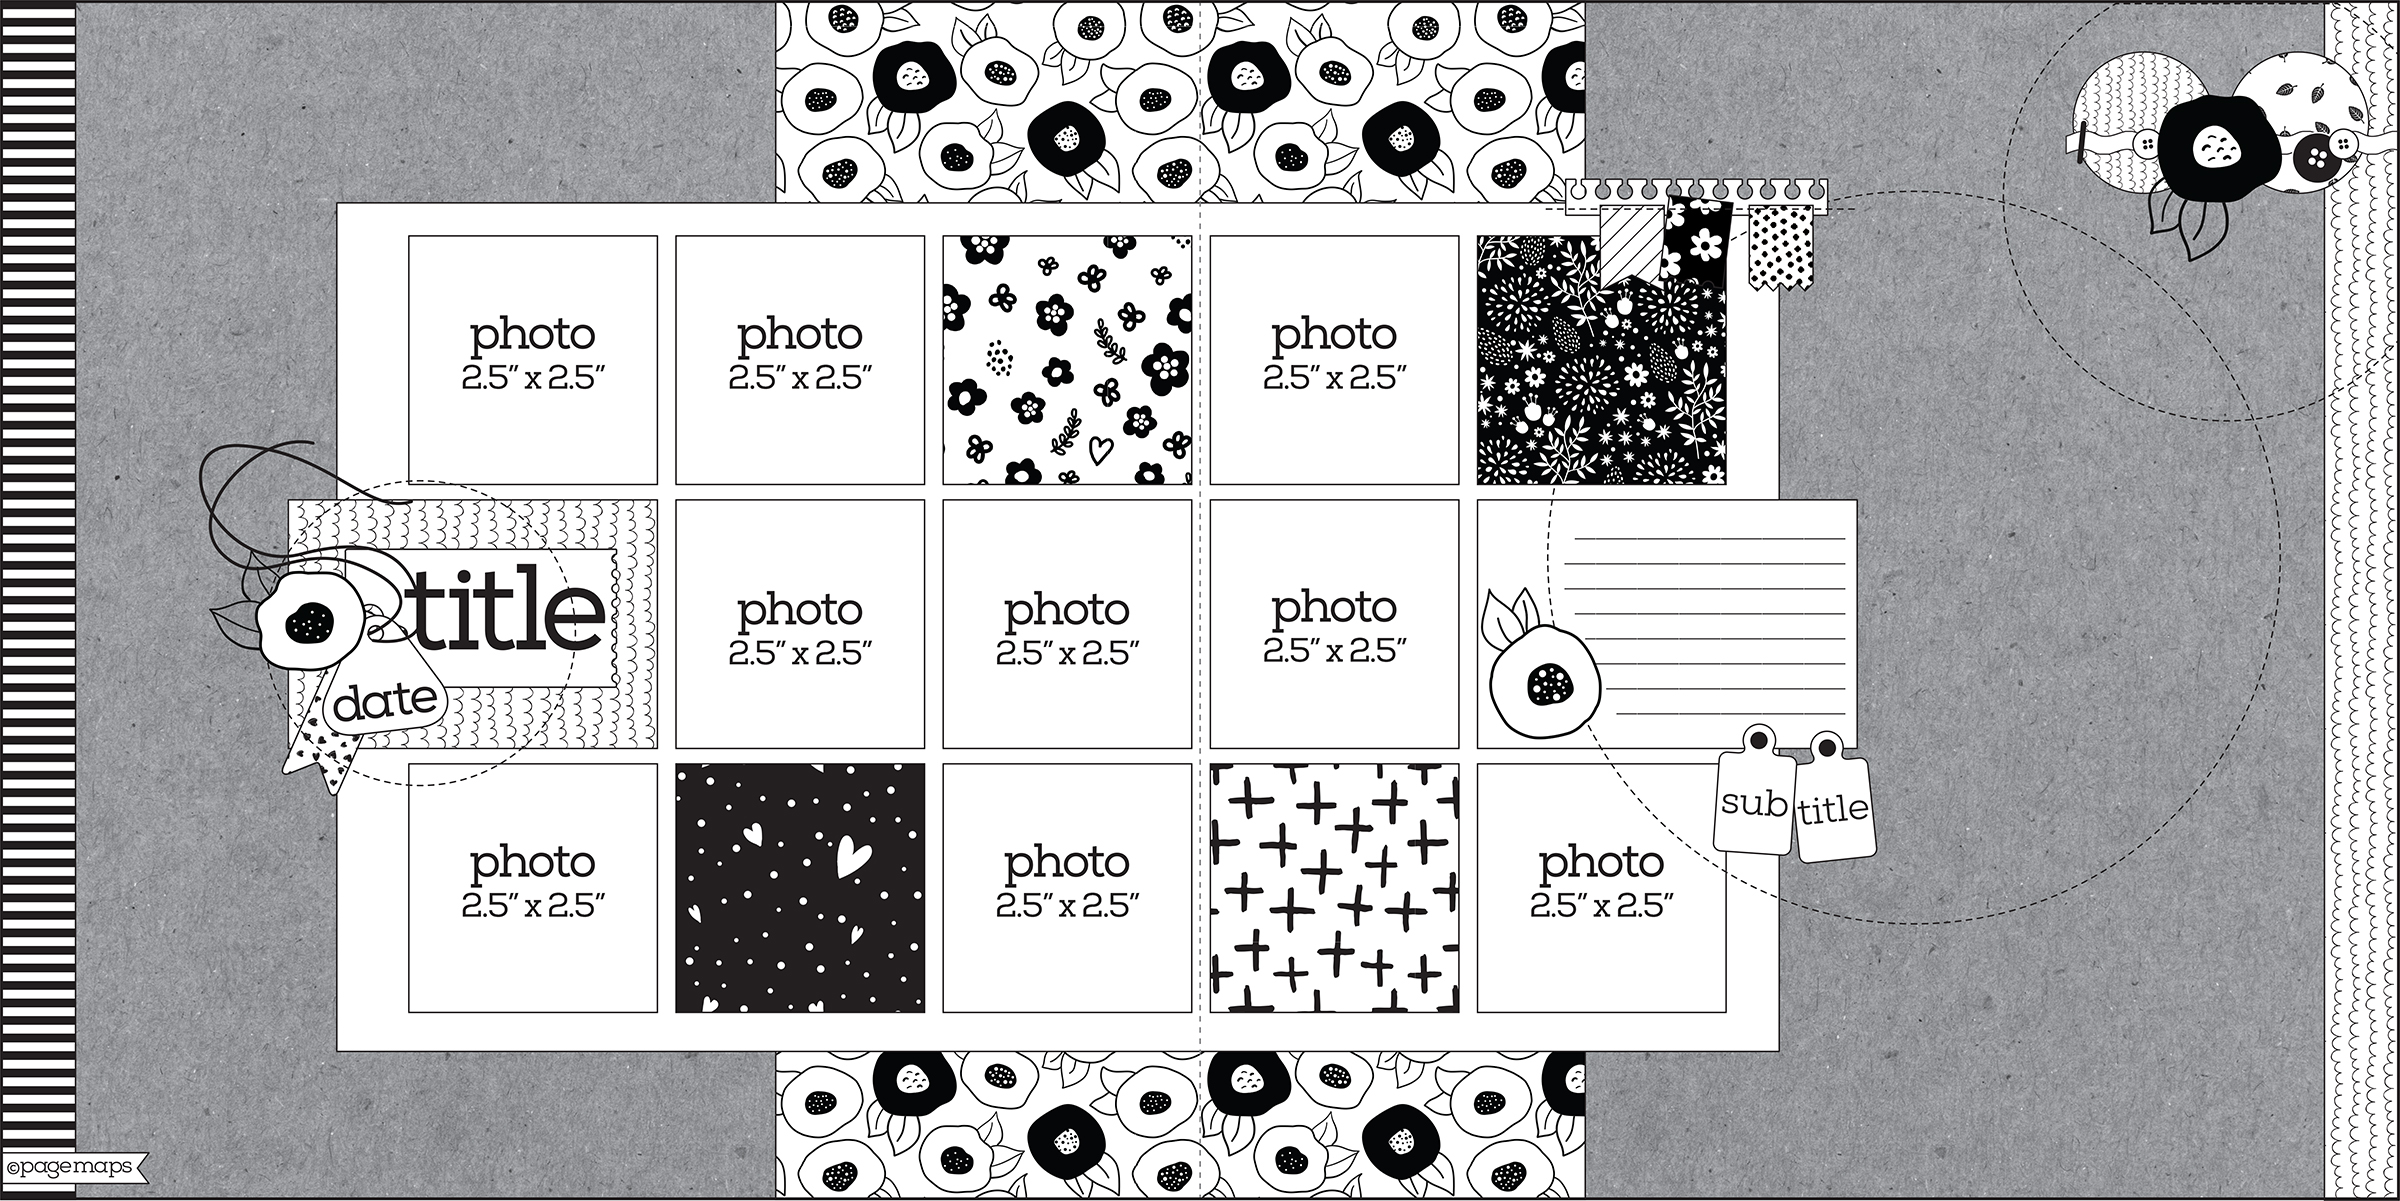 I usually don't follow sketches exactly, I try to change them to make them my own. This one I followed pretty closely though. I have found when I want to do a double-page sketch, it's a lot easier on my brain to find a sketch!
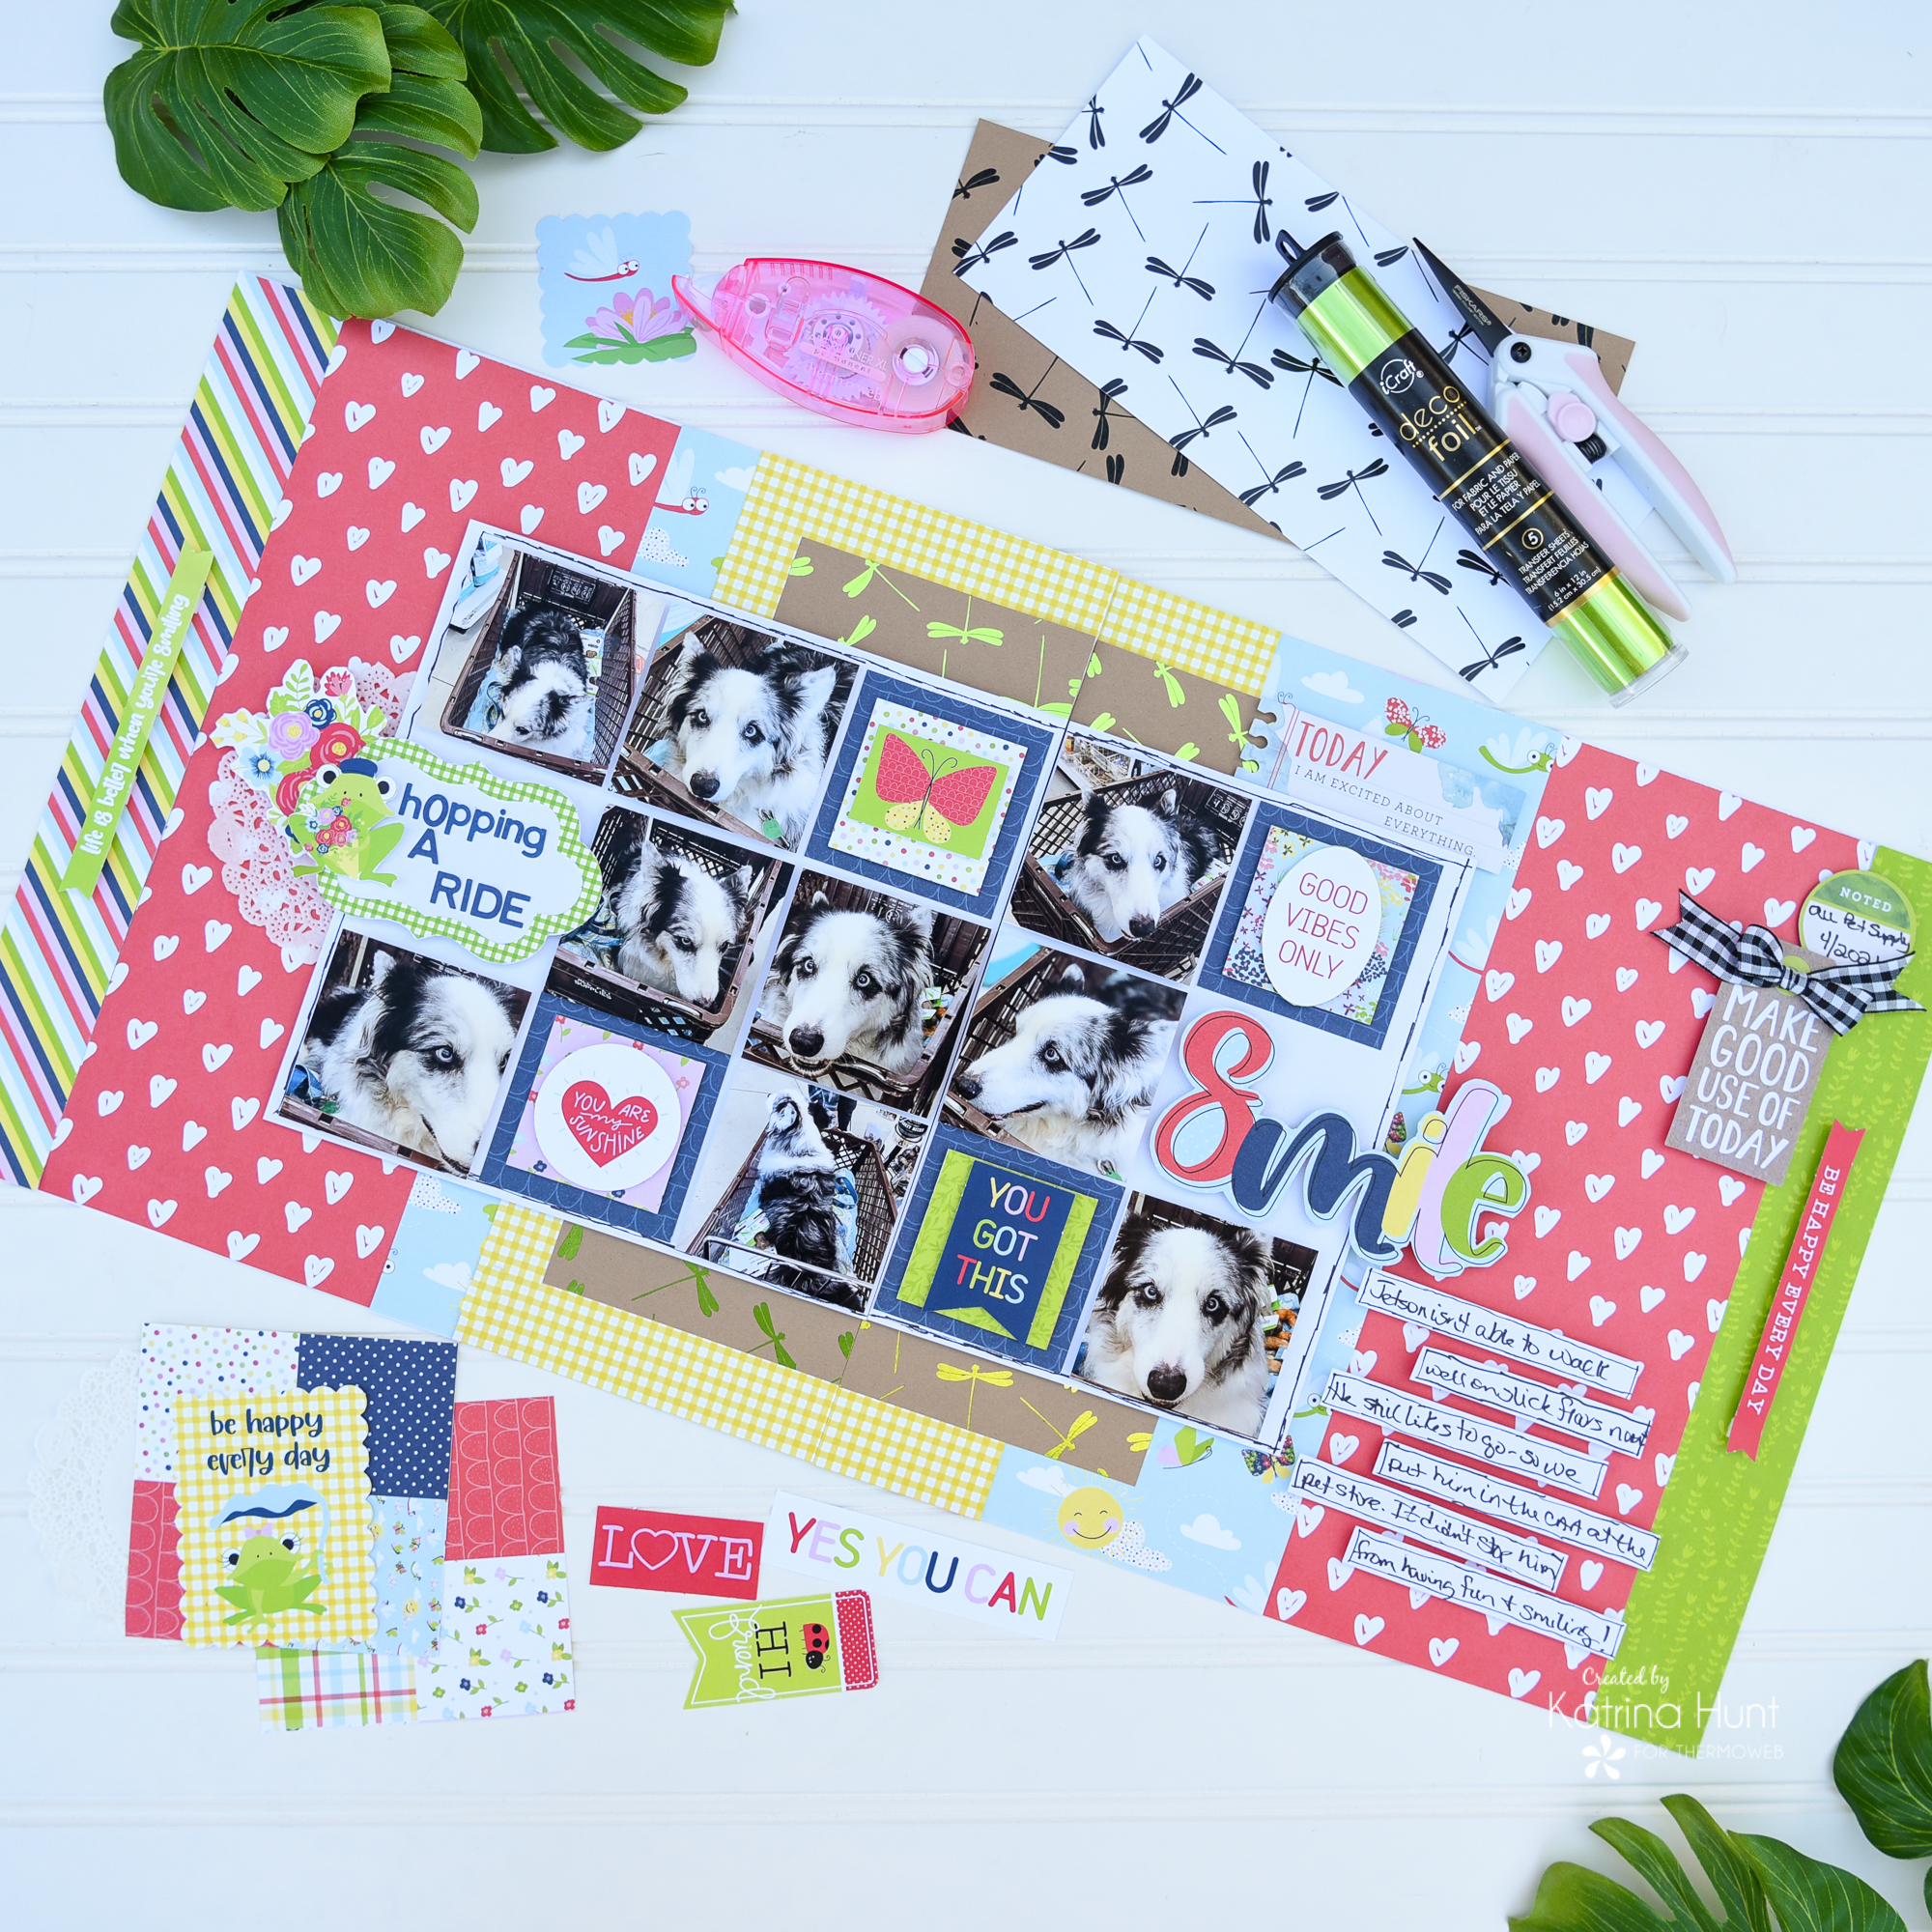
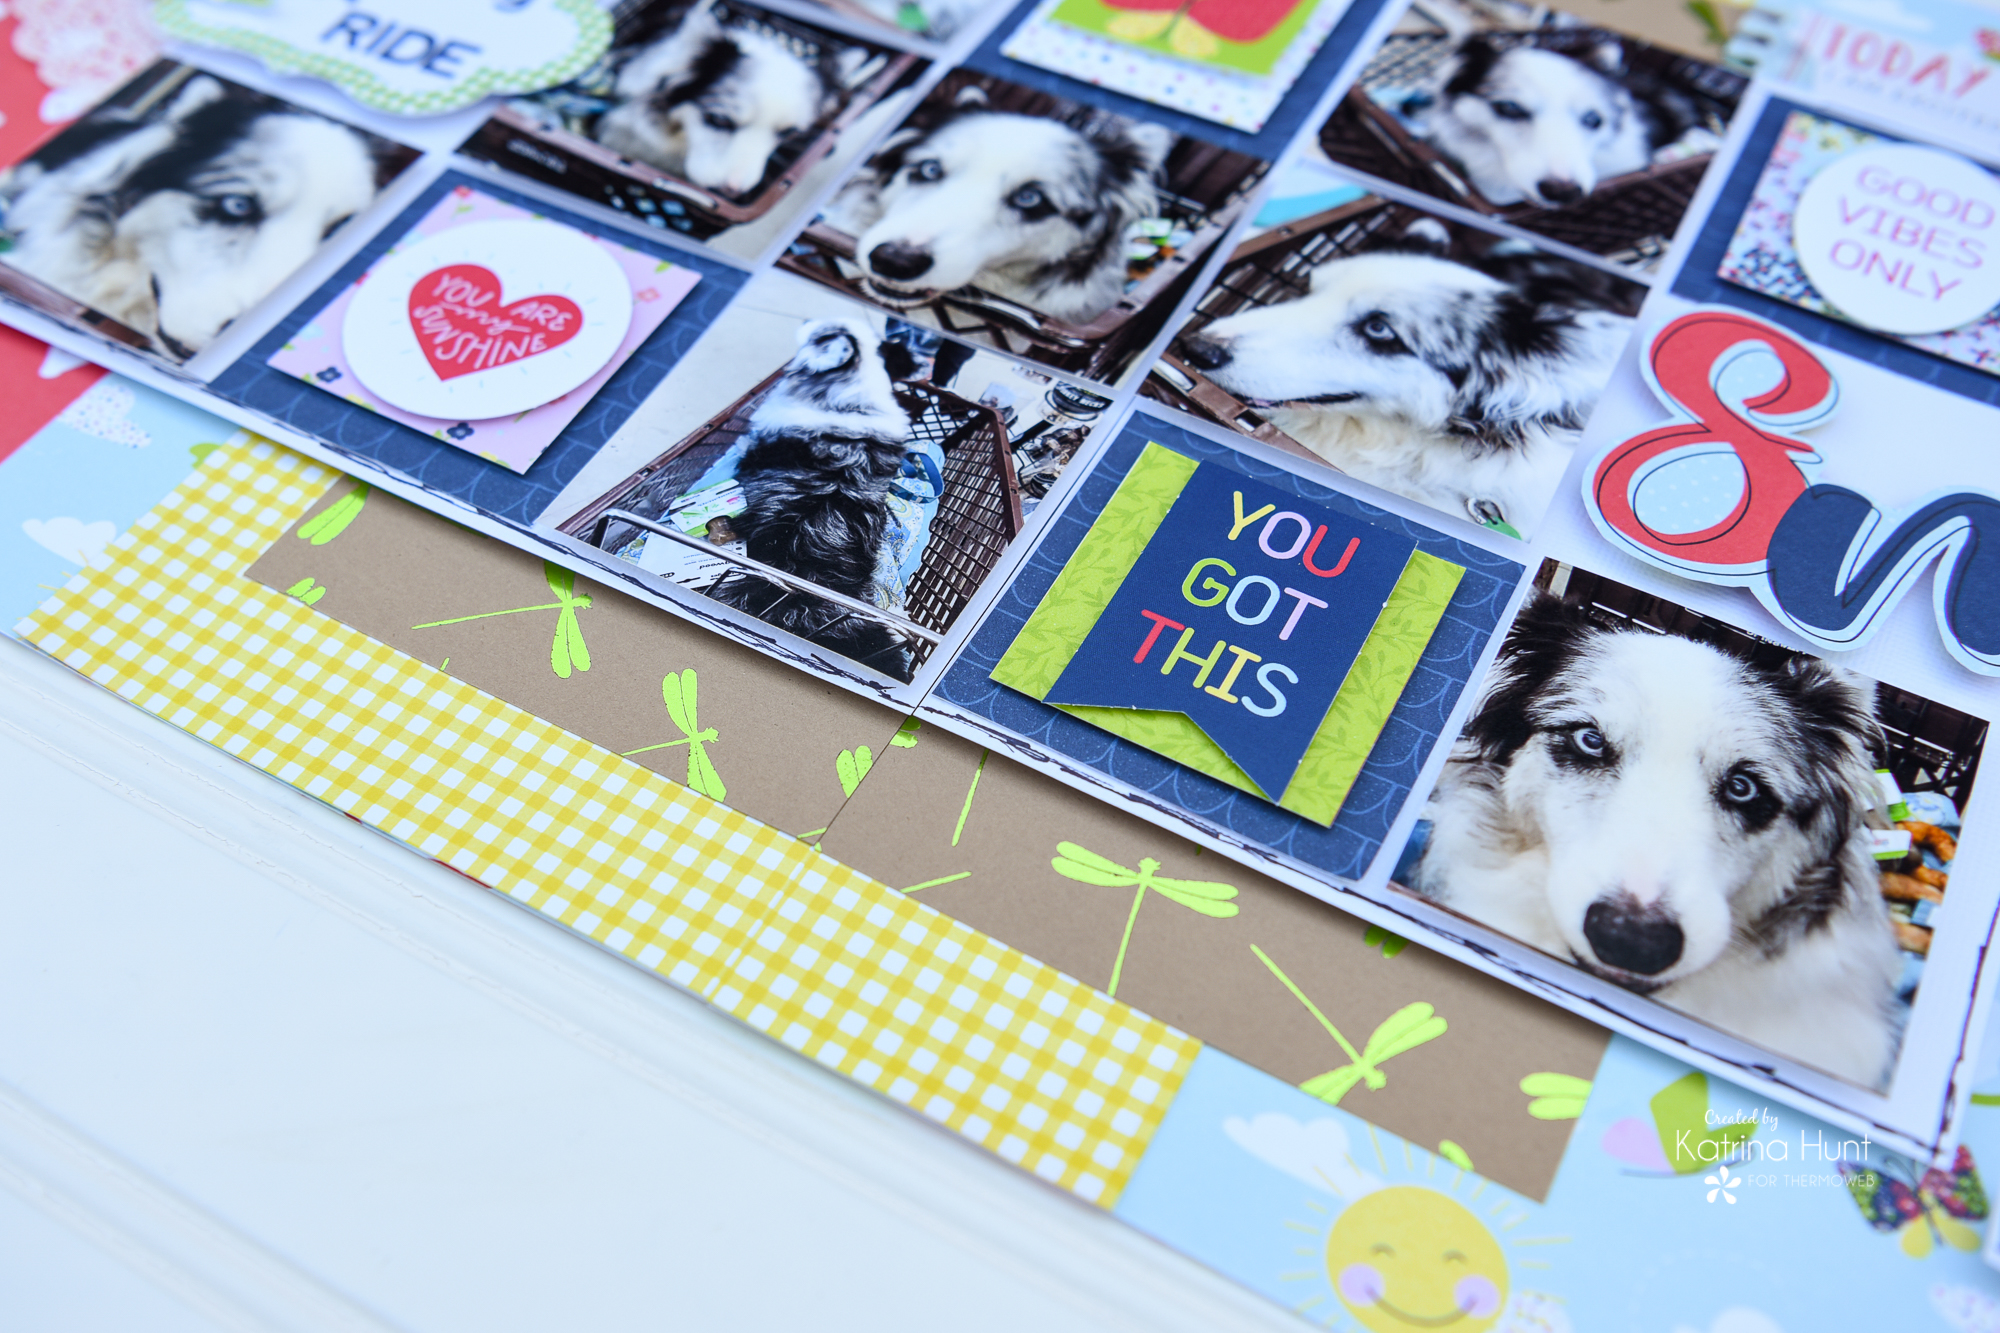
I had all these pictures I took of Jetson when we went to the pet store. This sketch was perfect to get all those different photos documented in one layout.
I usually don't follow sketches exactly, I try to change them to make them my own. This one I followed pretty closely though. I have found when I want to do a double-page sketch, it's a lot easier on my brain to find a sketch!
I had all these pictures I took of Jetson when we went to the pet store. This sketch was perfect to get all those different photos documented in one layout.
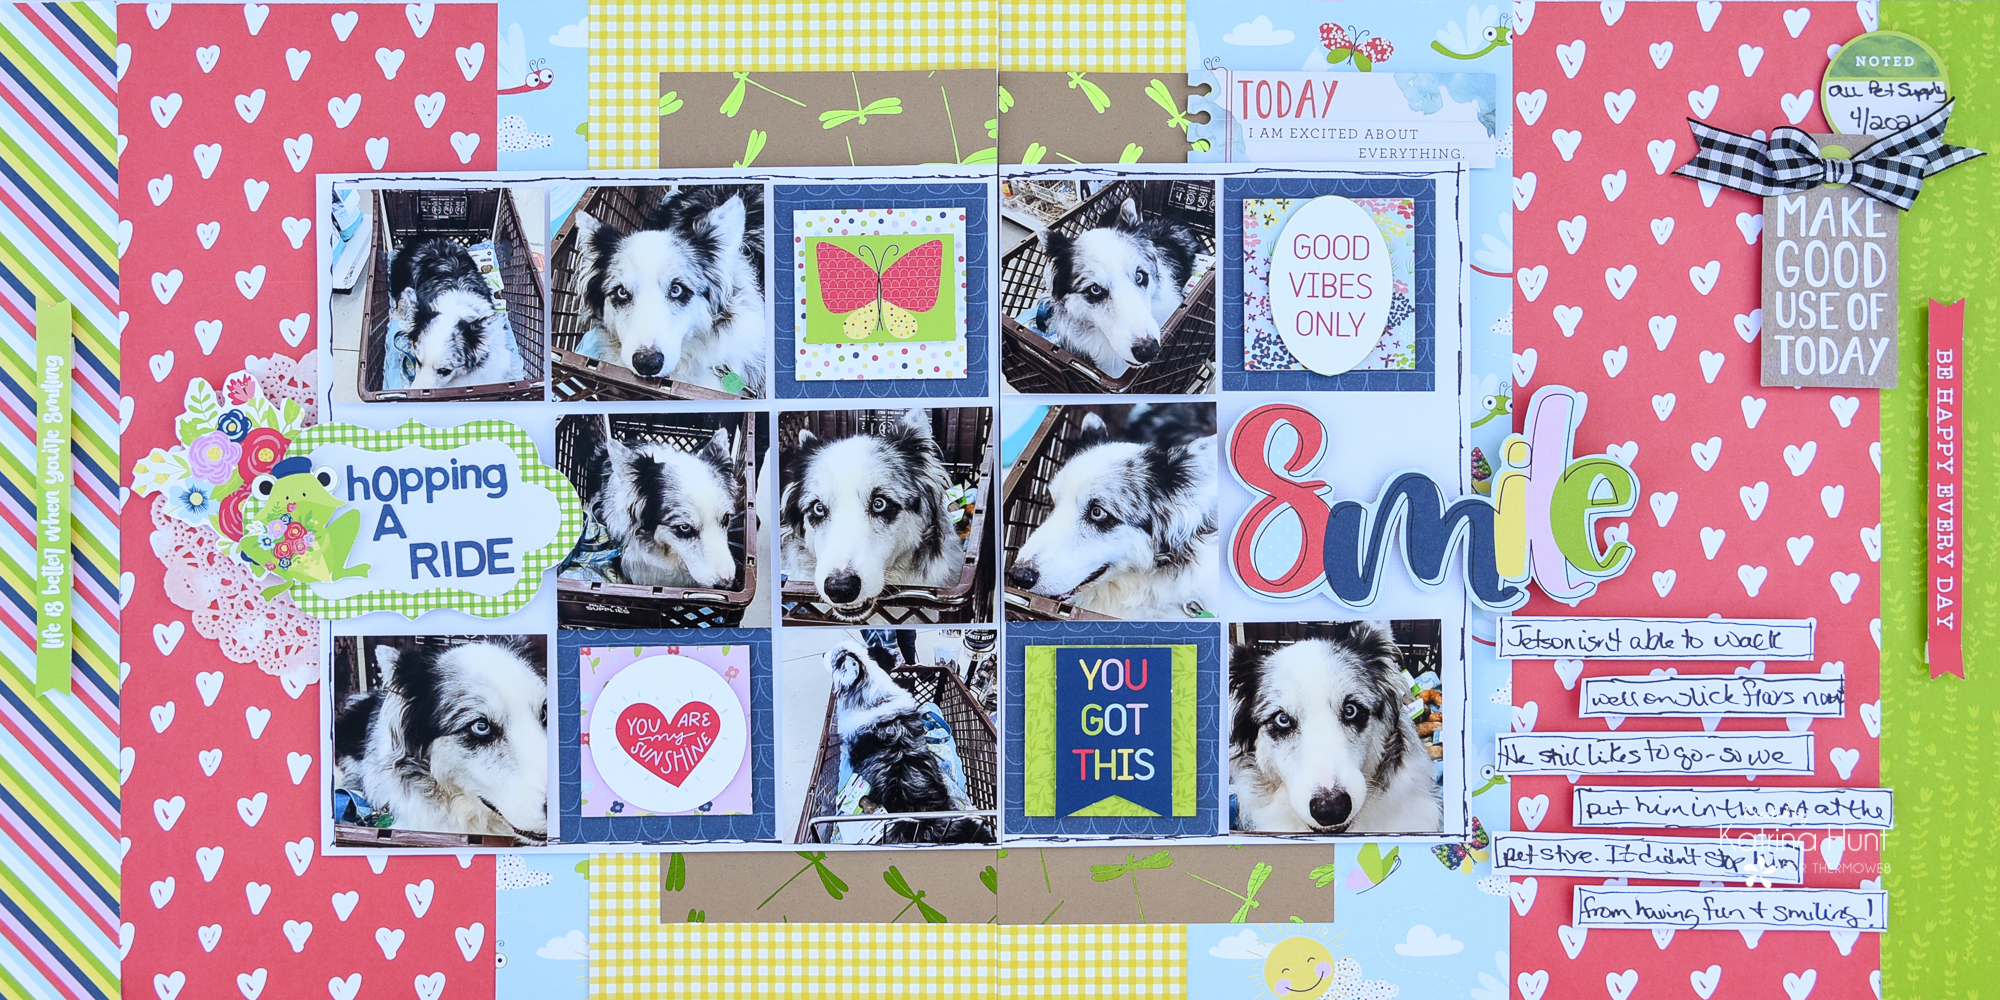 The biggest major change I did was use more pattern paper than the sketch shows. I am NOT a cardstock-loving girl for backgrounds, so I switched it up with pattern paper. Otherwise, the layout is pretty much like the sketch.
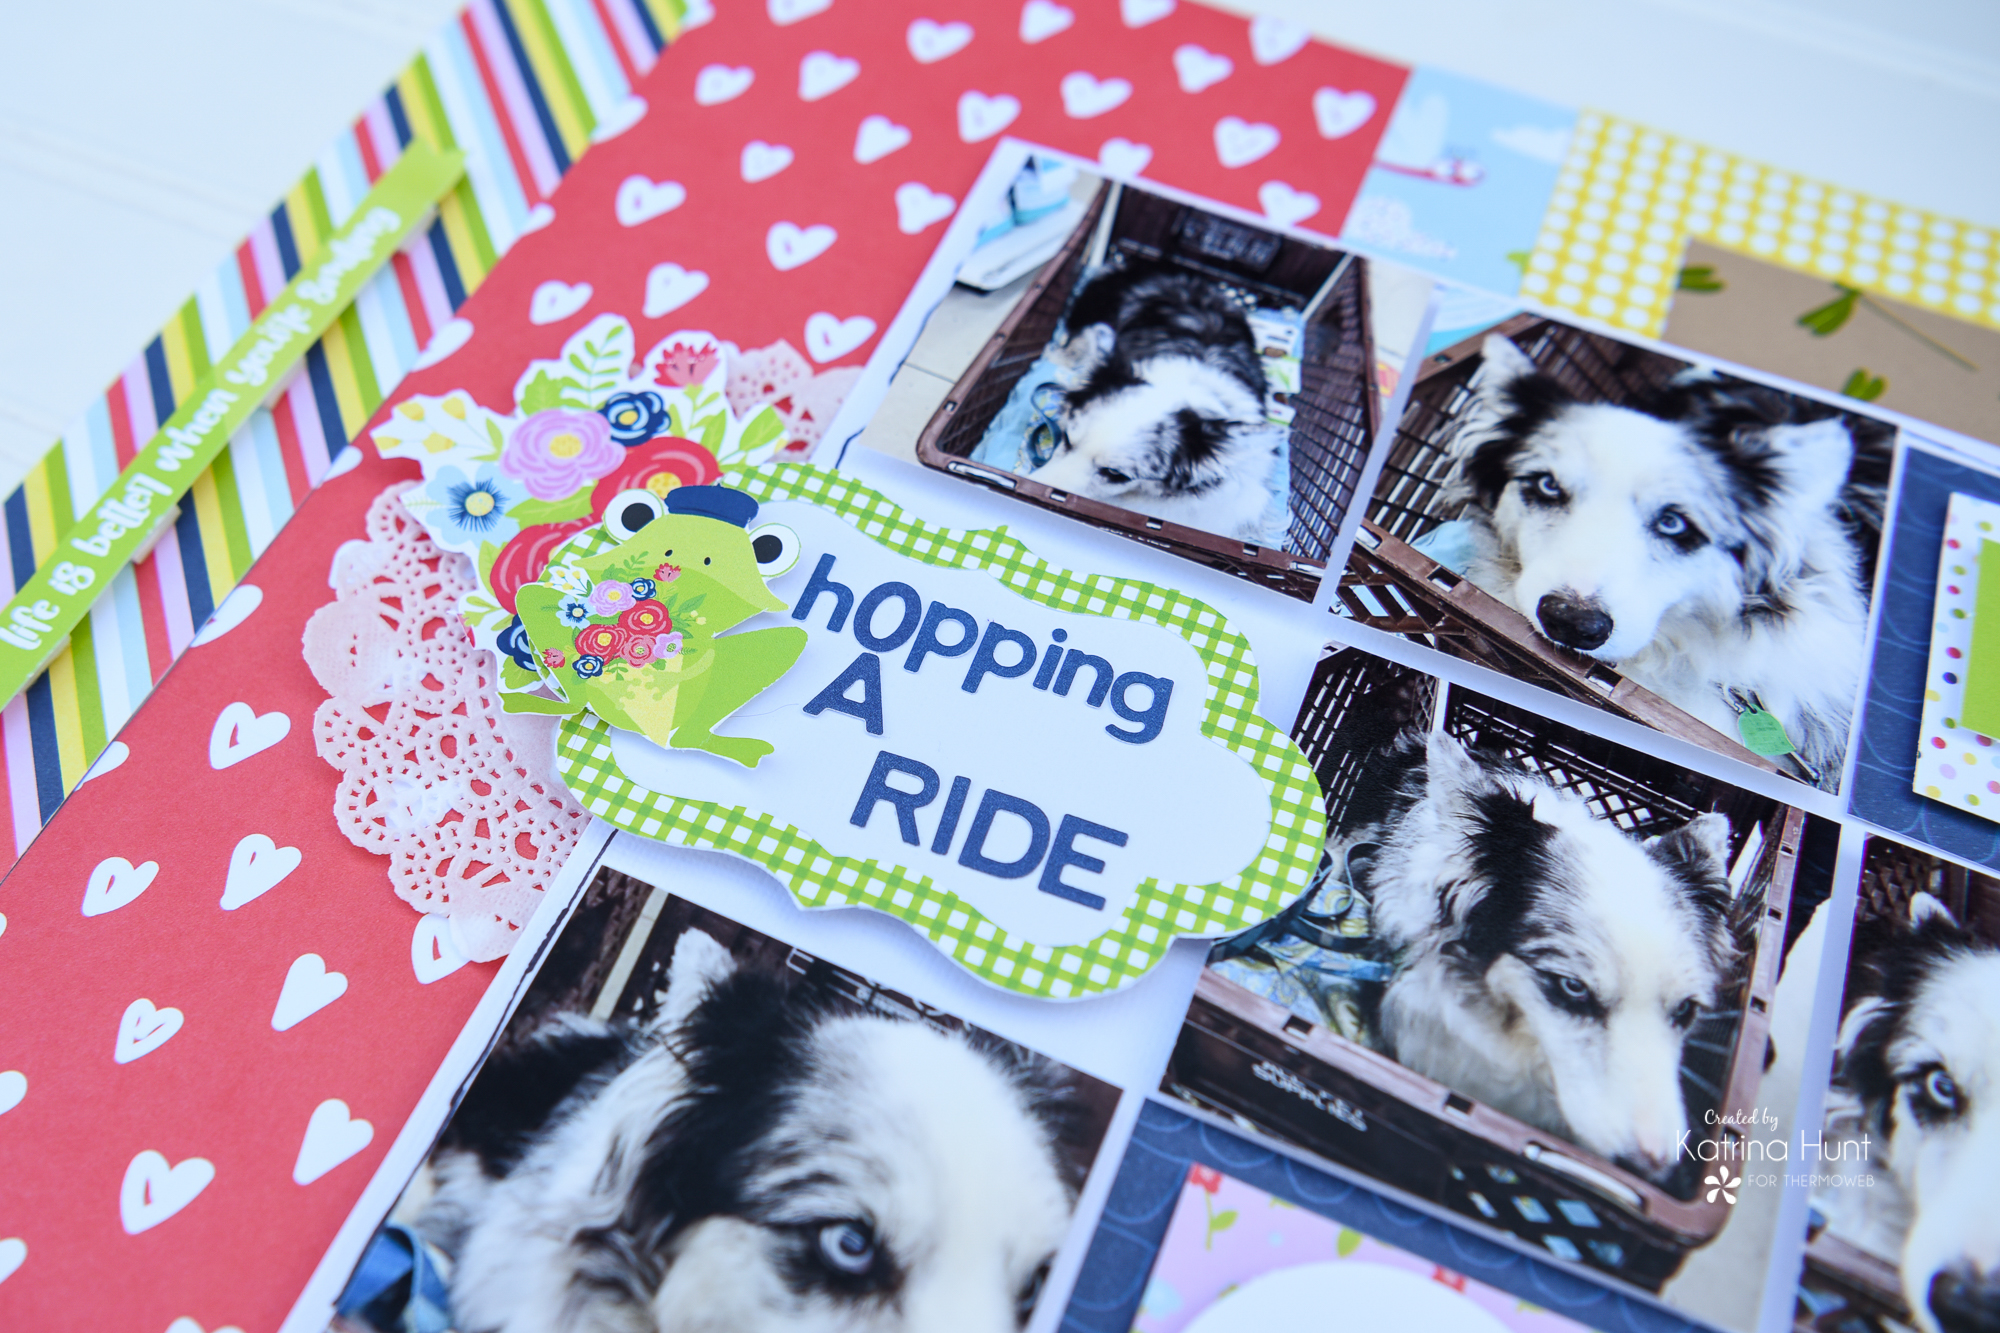 I made my own title card by fussy-cutting a frog out of one of the pocket cards and then backed the frame in the element pack with white cardstock. Add some letter stickers and you have a cute title area.
 I also used the kraft slimline Toner Card Fronts from Time to Fly as a layer to my background. I used the Lime Deco Foil, which matched perfectly with the paper collection. If you look closely you can see the seam where the two card fronts meet, but I just positioned it to go with the split down the middle!
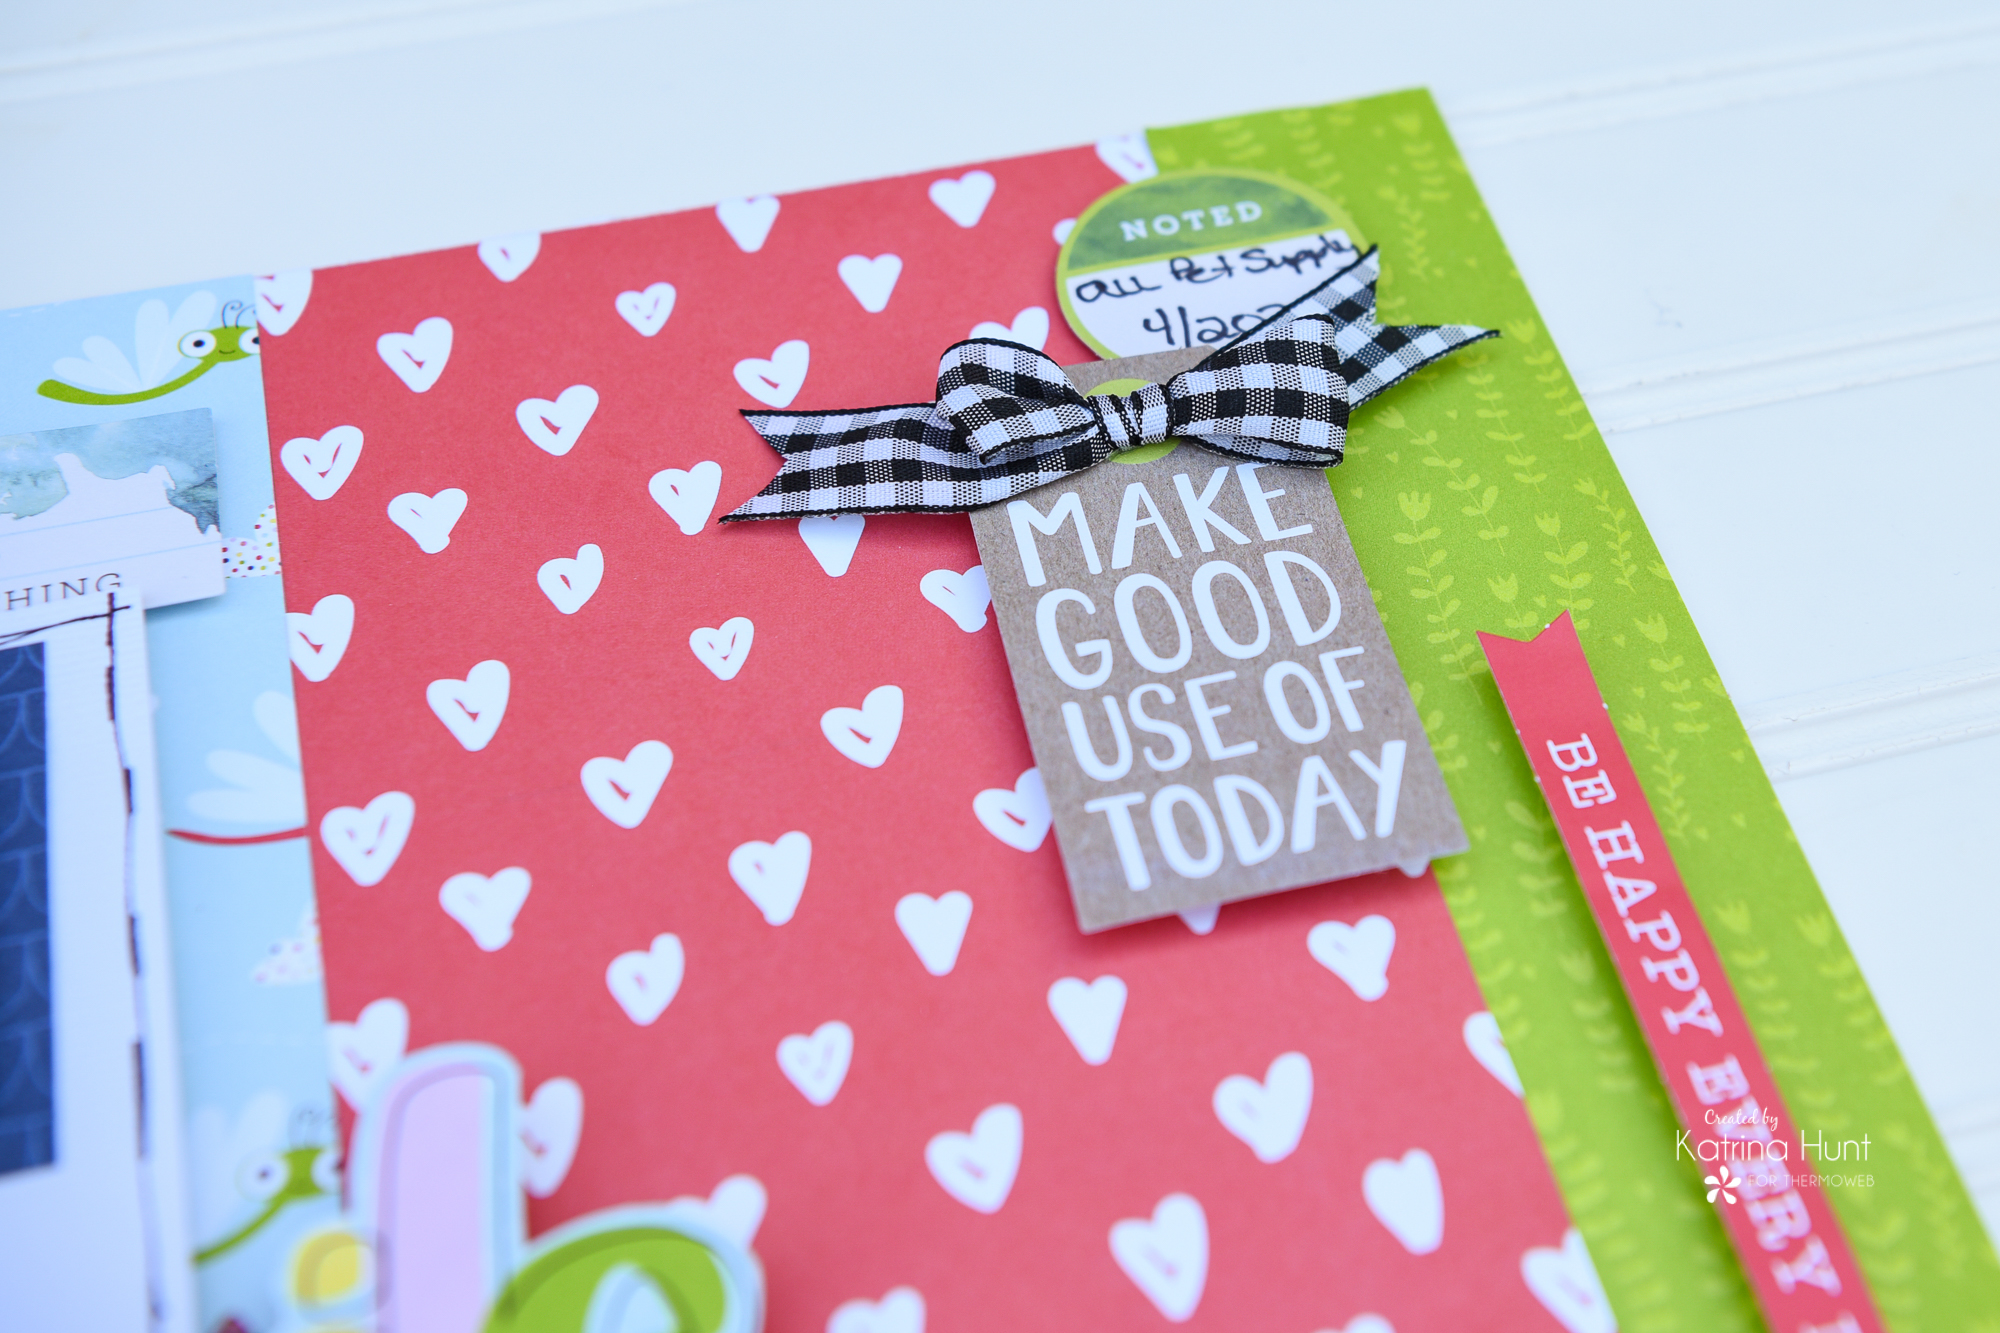 Up in the corner, where the embellishment cluster was, I just make mine a little different, since I used what I had on hand! Adding bows to tags is always fun and easy with Zots Adhesive Dots.
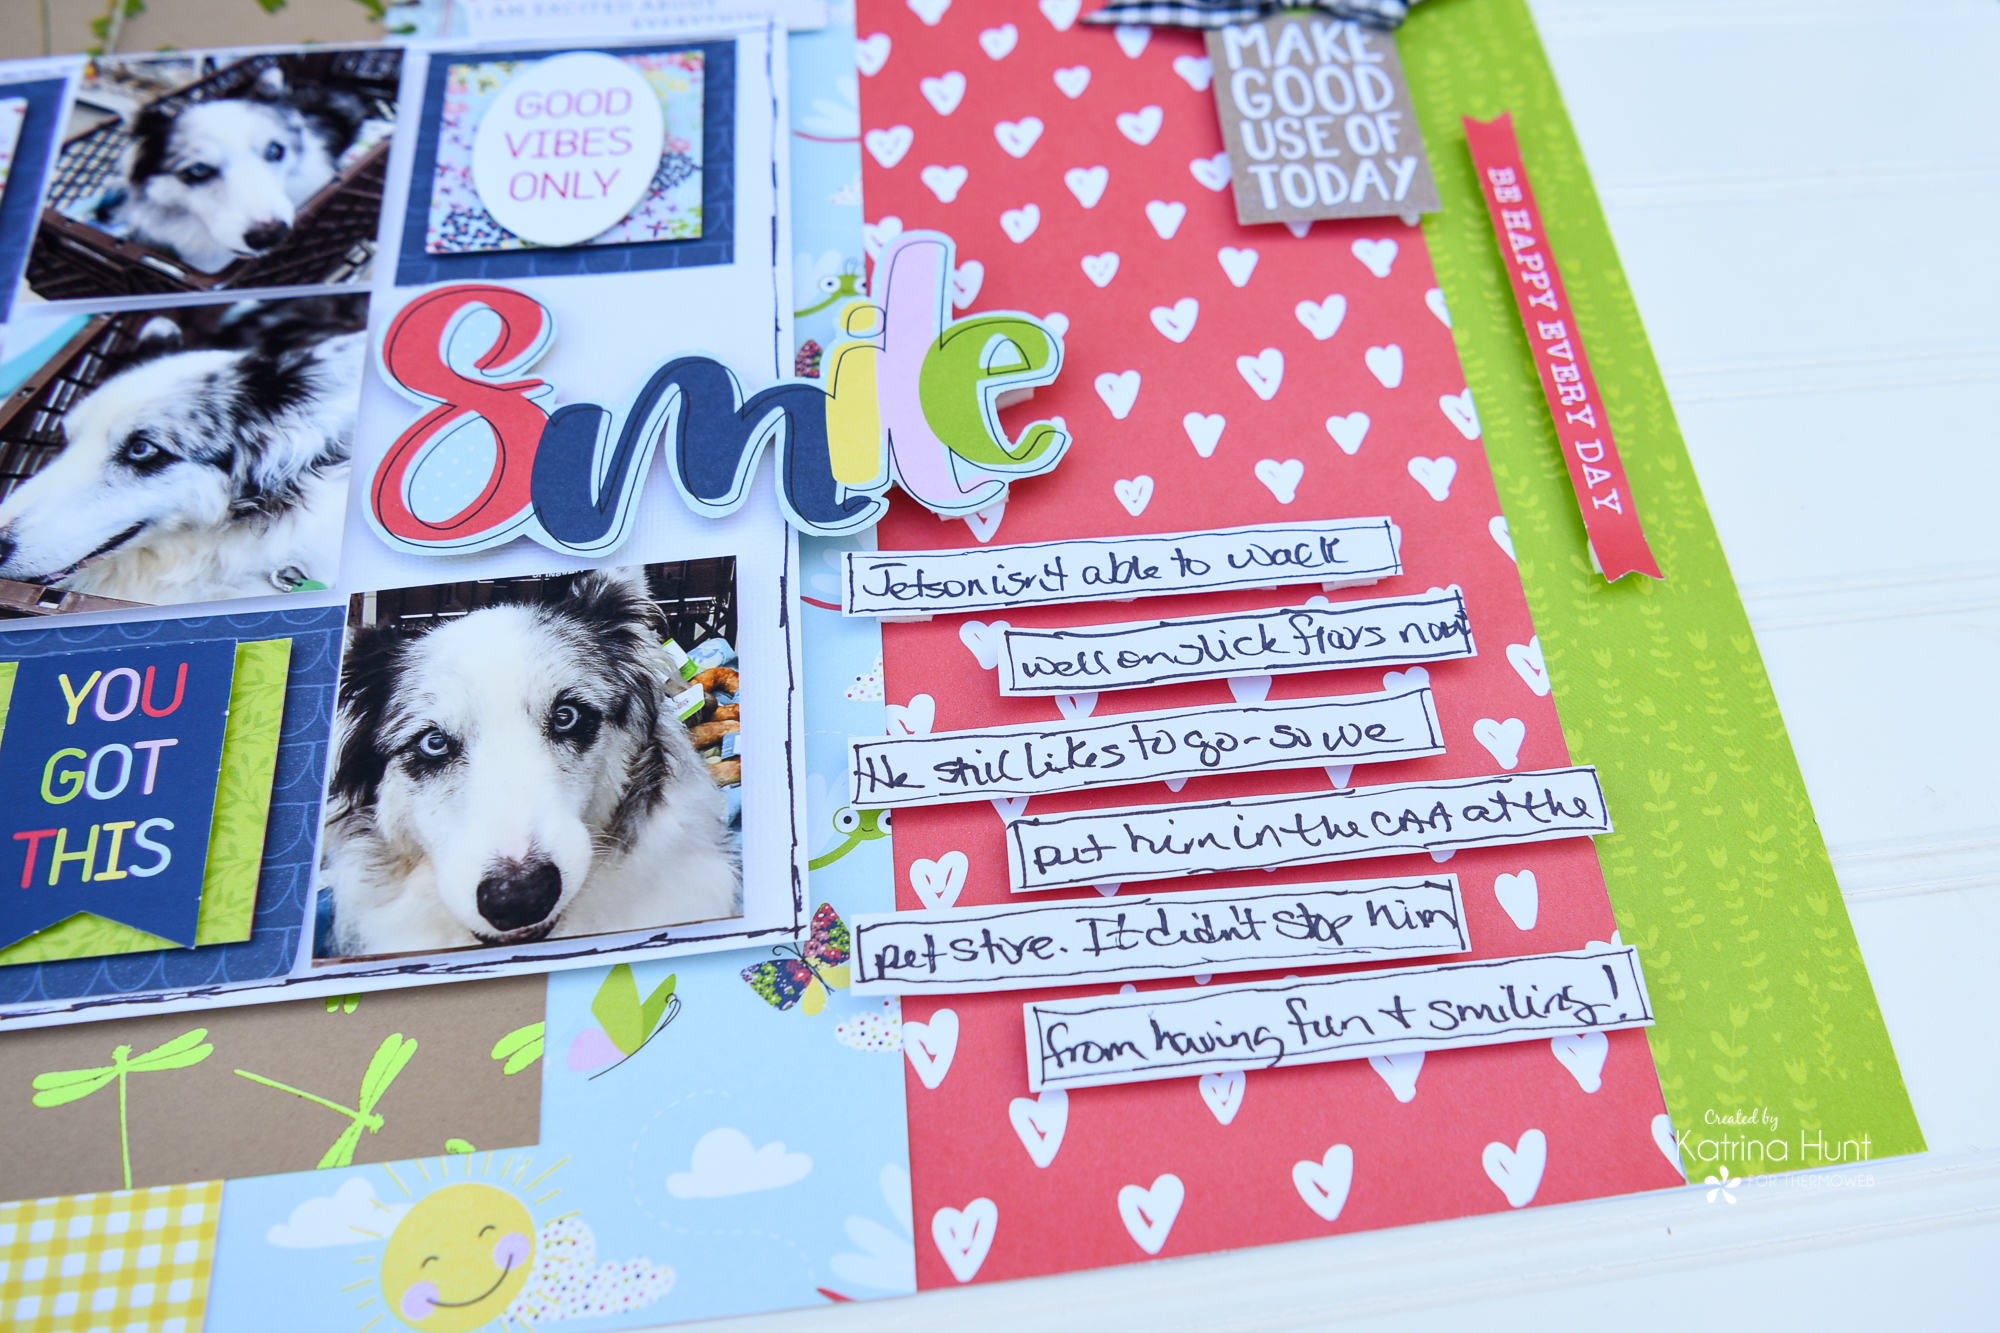 Another change was how I did my journaling. I added some journaling strips and popped them up with 3D Foam Squares for some texture and dimension. I also outlined the strips and the background for my pictures with a fine tip black marker. I love how that will make things pop and come alive.
Thanks for stopping by today and I hope you loved this layout as much as I do!!!
This post contains affiliate links. For more information, see our disclosure HERE.
Another change was how I did my journaling. I added some journaling strips and popped them up with 3D Foam Squares for some texture and dimension. I also outlined the strips and the background for my pictures with a fine tip black marker. I love how that will make things pop and come alive.
Thanks for stopping by today and I hope you loved this layout as much as I do!!!
This post contains affiliate links. For more information, see our disclosure HERE.