No Products in the Cart
 Hey Therm o Web fans! It's Katrina from Paper, Scissors and Glue to share a fun project for our team up with Lawn Fawn this week.
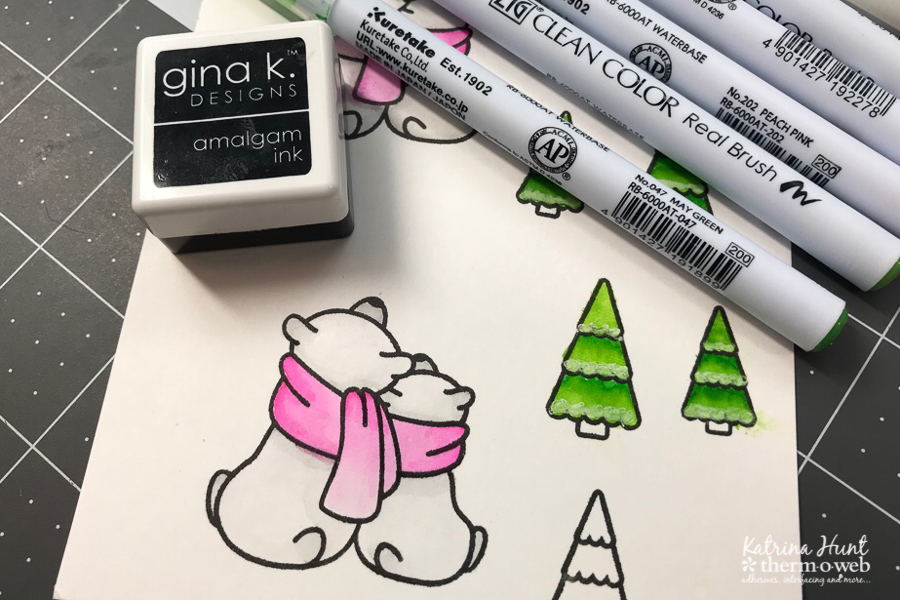
 Start the project by stamping with Gina K. Amalgam ink and coloring images that you want to use for the shaker components. Stamp a few extras, in case of coloring errors and you may decide that you need more than you originally planned on.
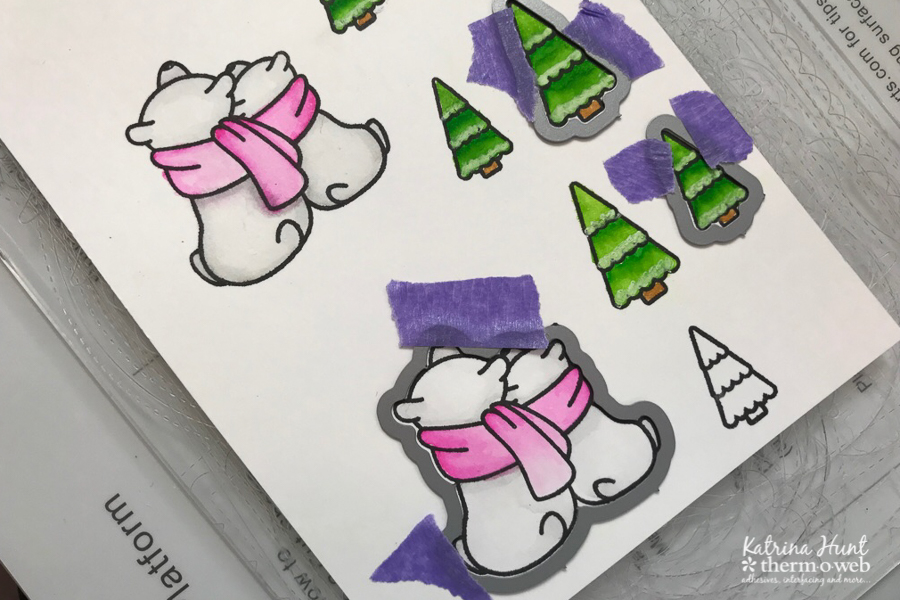
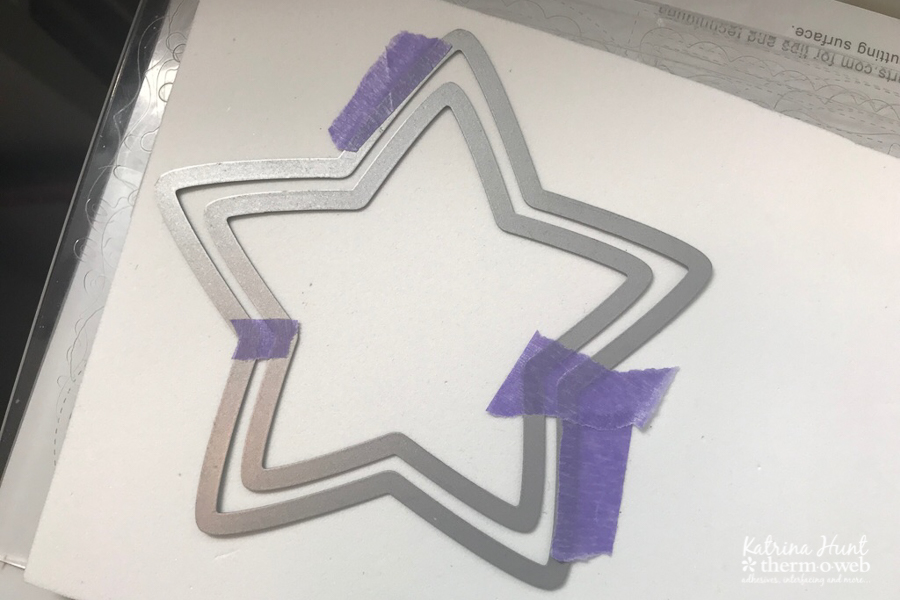
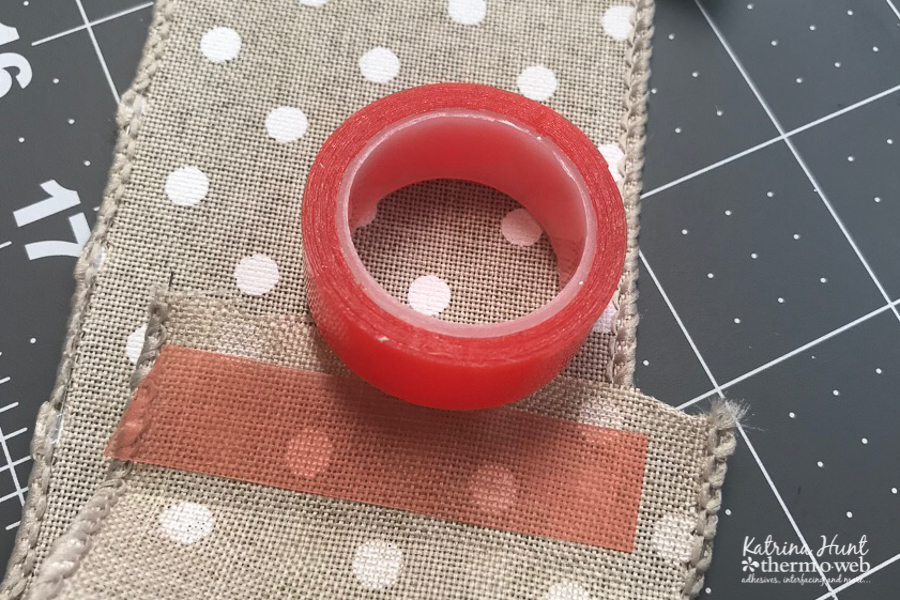
 After you have colored images, hold the coordinating dies in place using the iCraft Purple tape and manually die cut all images.
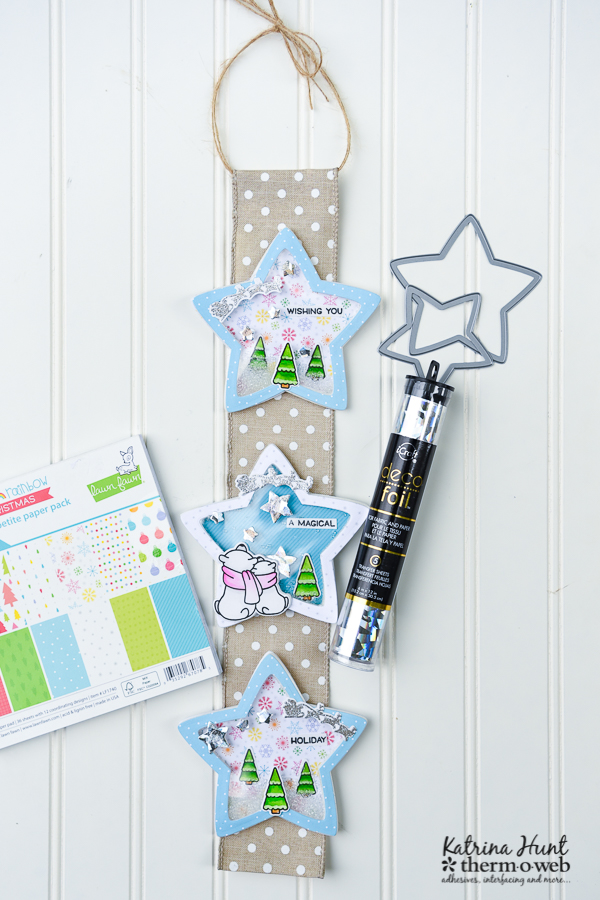
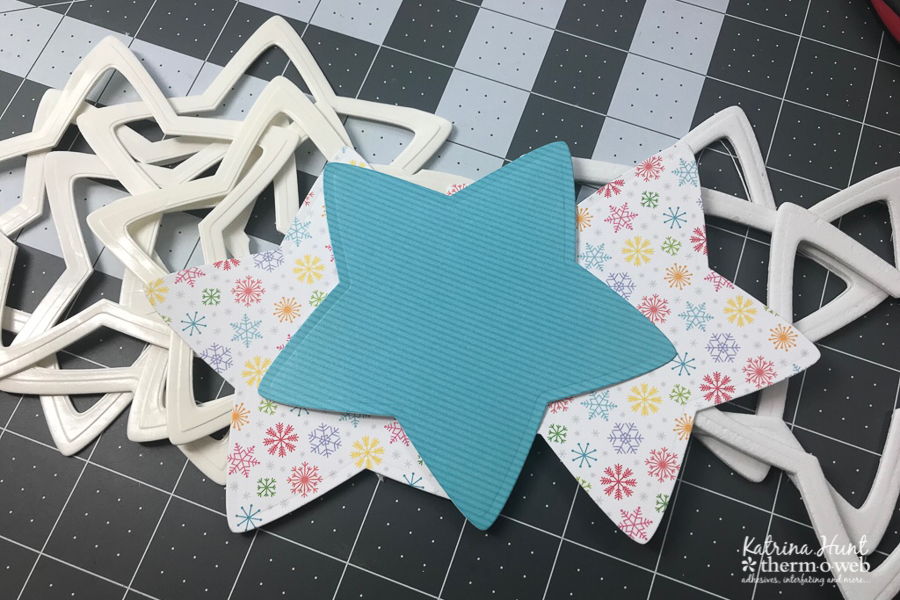
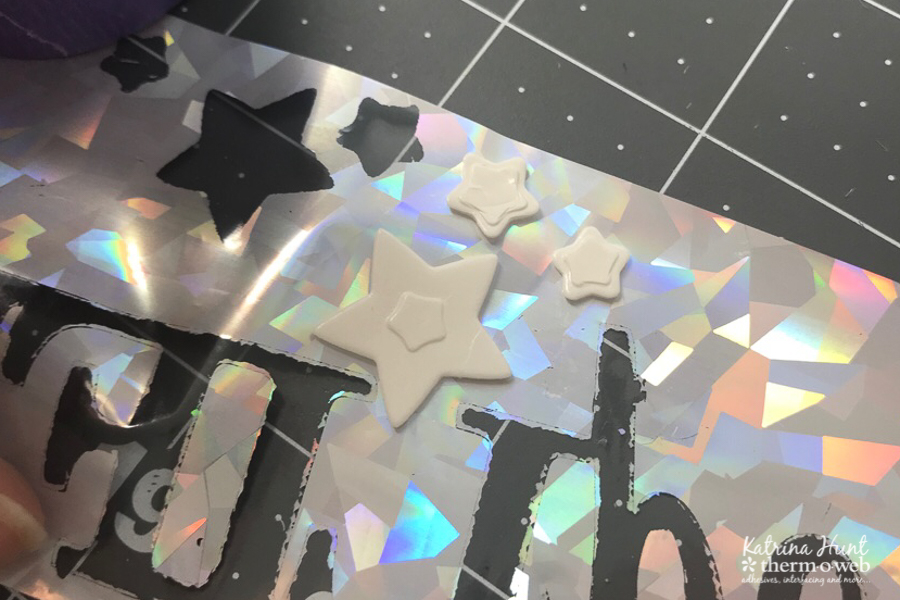
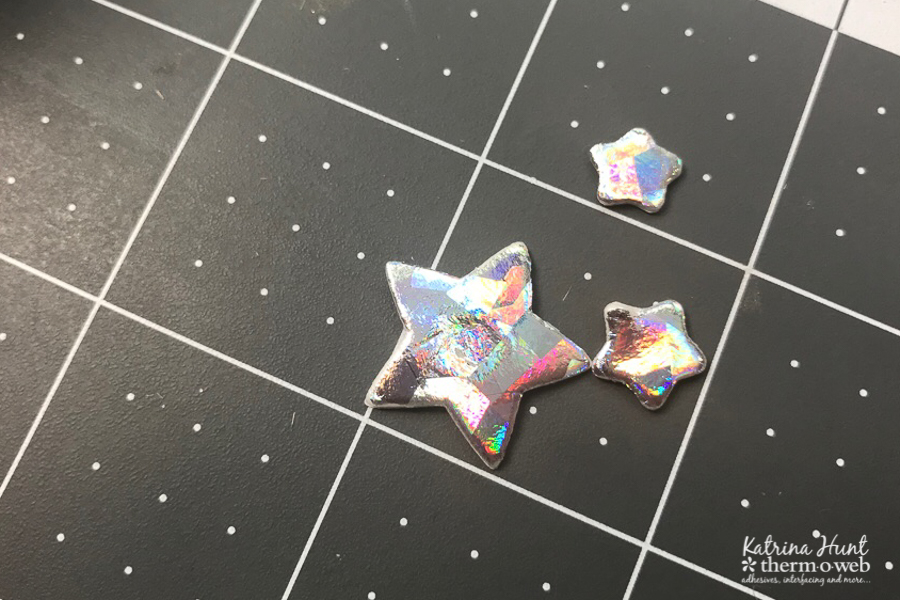
 Now to create shaker component you will need to cut out the following for each shaker that you want on your banner. Use the biggest star and cut one star out of pattern paper and one start out of the Clear Toner Sheets. Layer the biggest star and next size, using purple tape to hold in place. Cut out 2 of the outlines in Deco Foil Foam Adhesive, one out of white craft foam, and one out of pattern paper.
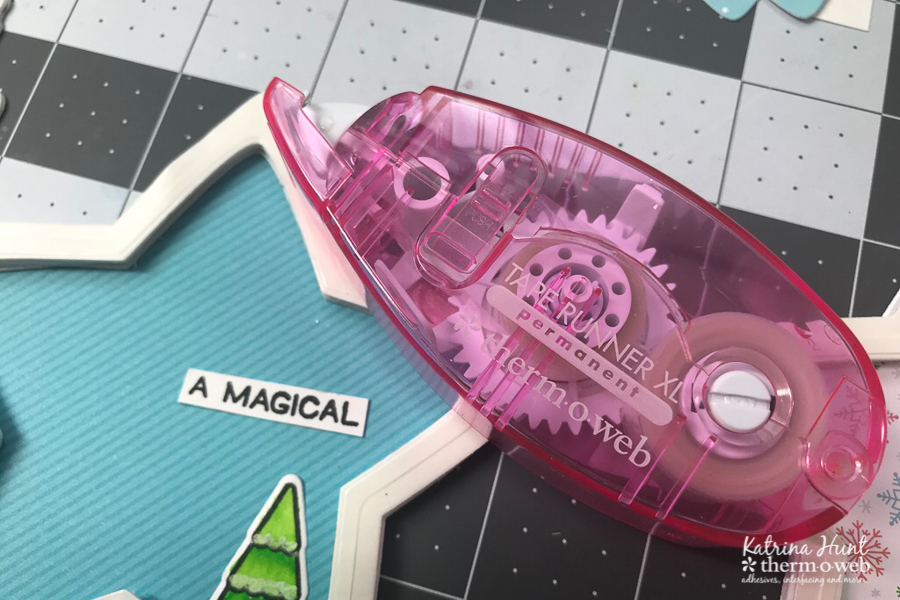
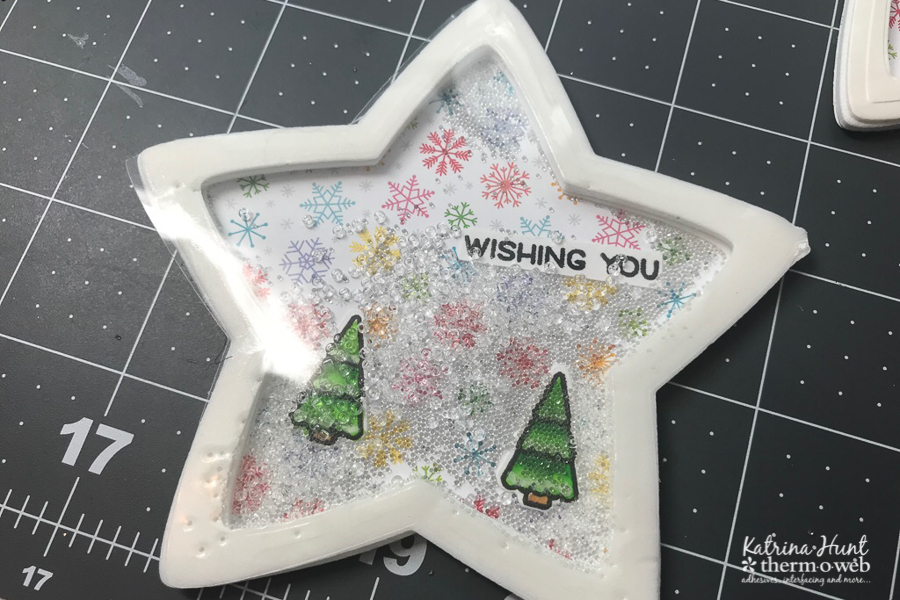
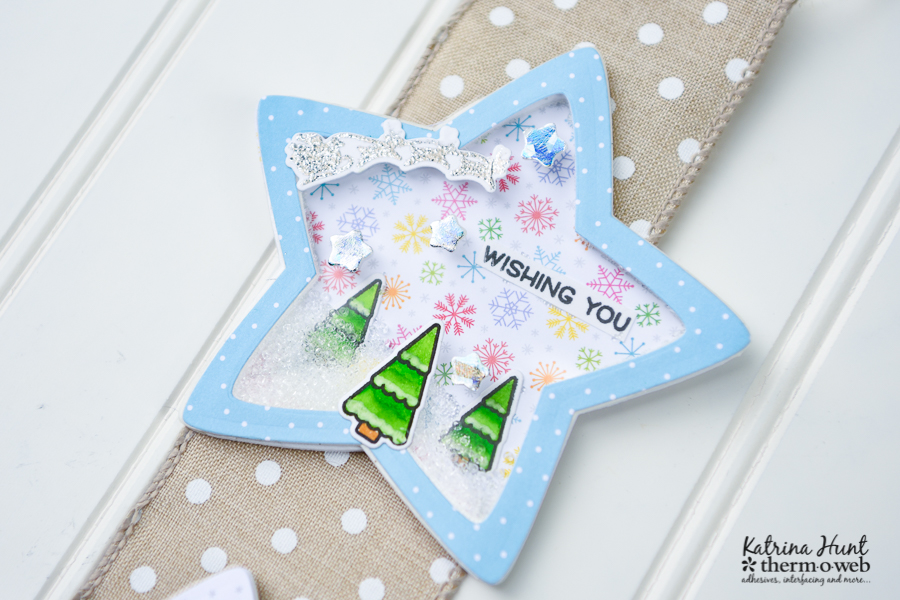 At this point, fill your inside well with the items you want for inside the shaker. Beads, glitter, sequins, anything small will work. You can also add stamped images inside. It's best to adhere them flat, so the shaker insides do not get caught on the pieces. Use the Memory Runner XL to do this.
 Now close up the shaker by removing the adhesive cover on the Deco Foil foam adhesive outline and adhering the clear full star on top. If it doesn't match perfectly, you can just trim to fit. The point is you want the shaker bits to stay in!
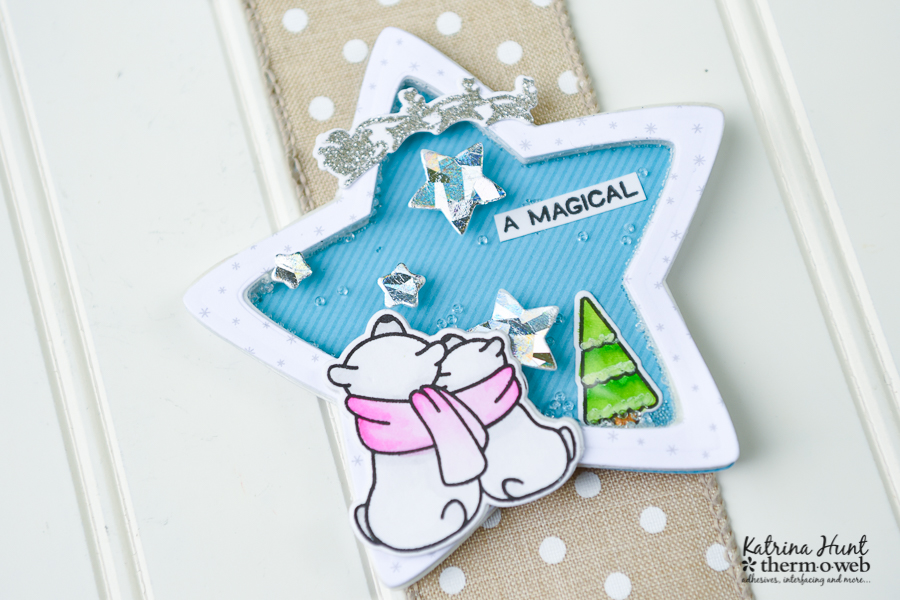 Decorate the outside of the shaker also, with the stamp and die cuts of your choosing. You can die cut some of the coordinating dies for the stamps out of Deco Foil foam adhesive and then foil them.
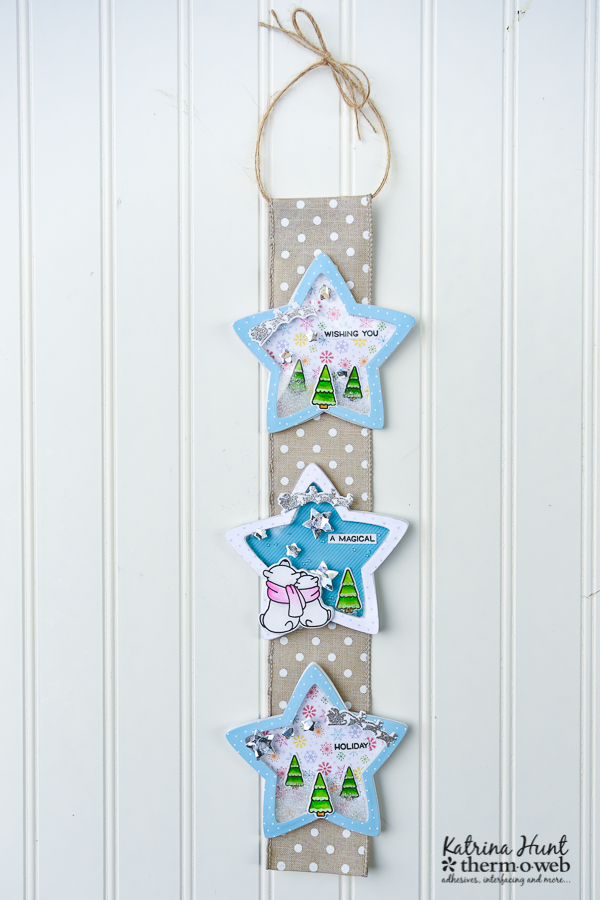
 These stars had stamps that matched, but I thought the foiled stars would be fun on the outside of the shaker!
 This would also be cute on a wooden pallet going across it, instead of placing on a ribbon.
 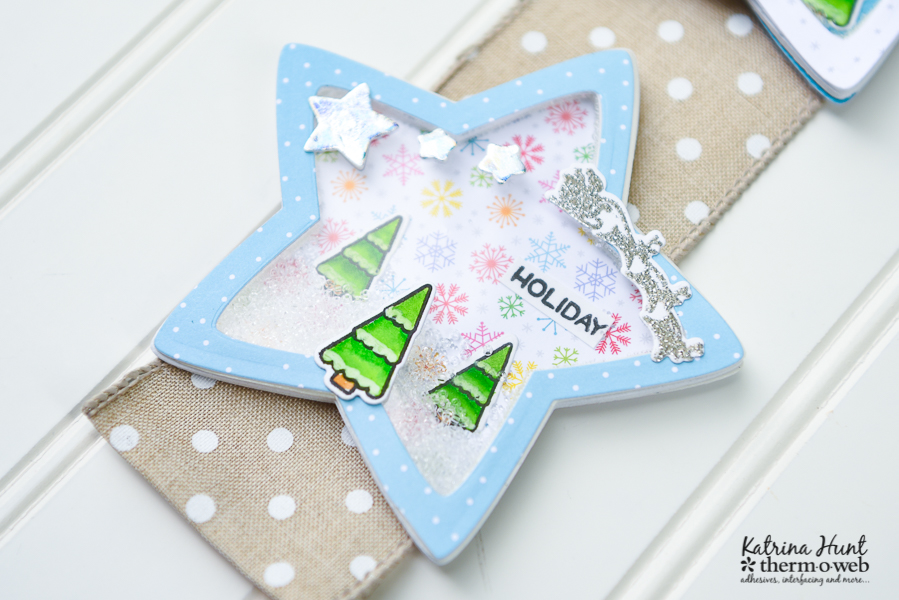 That's all from me!! Thanks for stopping by the Therm O Web blog today and sharing in on our team up with Lawn Fawn!