No Products in the Cart



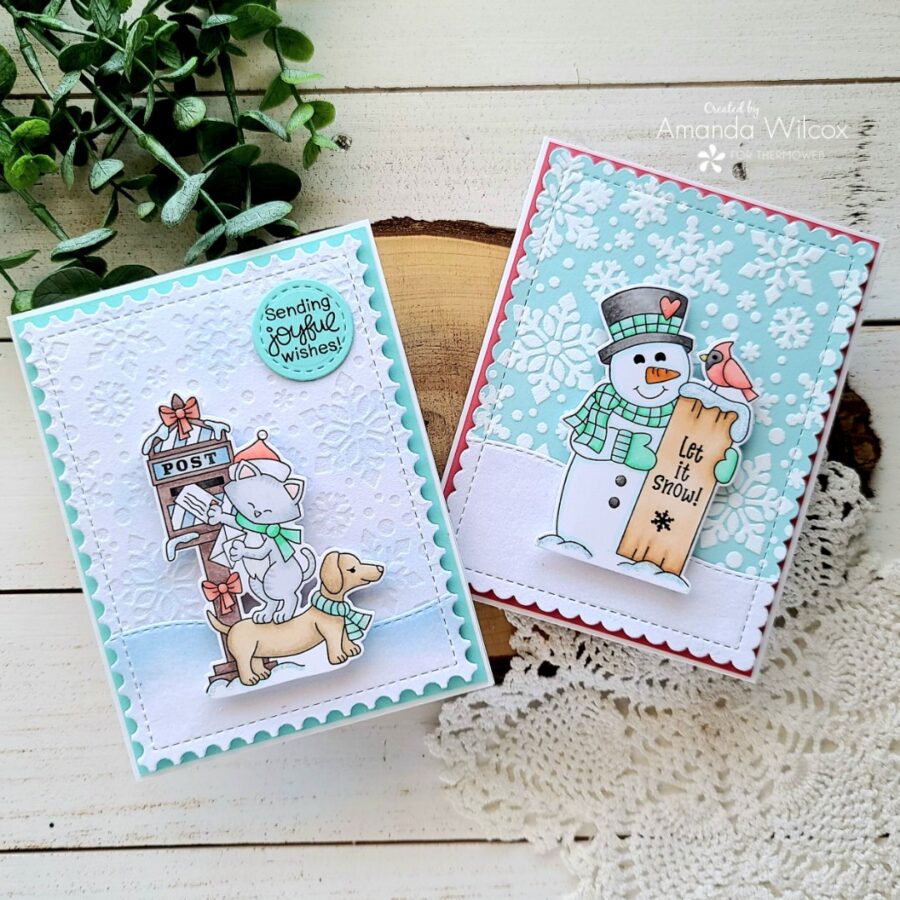
 Hi crafty friends! This is Amanda with Twiddler's Nook today to share a couple of cards I made with a bunch of Newton's Nook stamps and dies AND my favorite Deco Foil Flock transfer sheets!!! Here's a look at the cards I made and then we'll get started!
 Therm O Web Products used on today's cards:
Deco Foil Transfer Gel Blanco
Deco Foil Flock Transfer - White Latte
Thermoweb Foam Tape and foam squares
iCraft liquid adhesive
Stencil pal
More Supplies
Newton's Nook Snowfall stencil
Newton's Nook Framework dies
Newton's Nook Frames & Flags dies
Newton's Nook Frames Squared dies
Newton's Nook Land Borders dies
Newton's Nook Holiday Post stamps and dies
Newton's Nook Snowman Greetings stamps and dies
Glossy accents
Stickles - unicorn
Trinity Stamps blending buddy brush
Lawn Fawn dye ink - kiddie pool
Therm O Web Products used on today's cards:
Deco Foil Transfer Gel Blanco
Deco Foil Flock Transfer - White Latte
Thermoweb Foam Tape and foam squares
iCraft liquid adhesive
Stencil pal
More Supplies
Newton's Nook Snowfall stencil
Newton's Nook Framework dies
Newton's Nook Frames & Flags dies
Newton's Nook Frames Squared dies
Newton's Nook Land Borders dies
Newton's Nook Holiday Post stamps and dies
Newton's Nook Snowman Greetings stamps and dies
Glossy accents
Stickles - unicorn
Trinity Stamps blending buddy brush
Lawn Fawn dye ink - kiddie pool
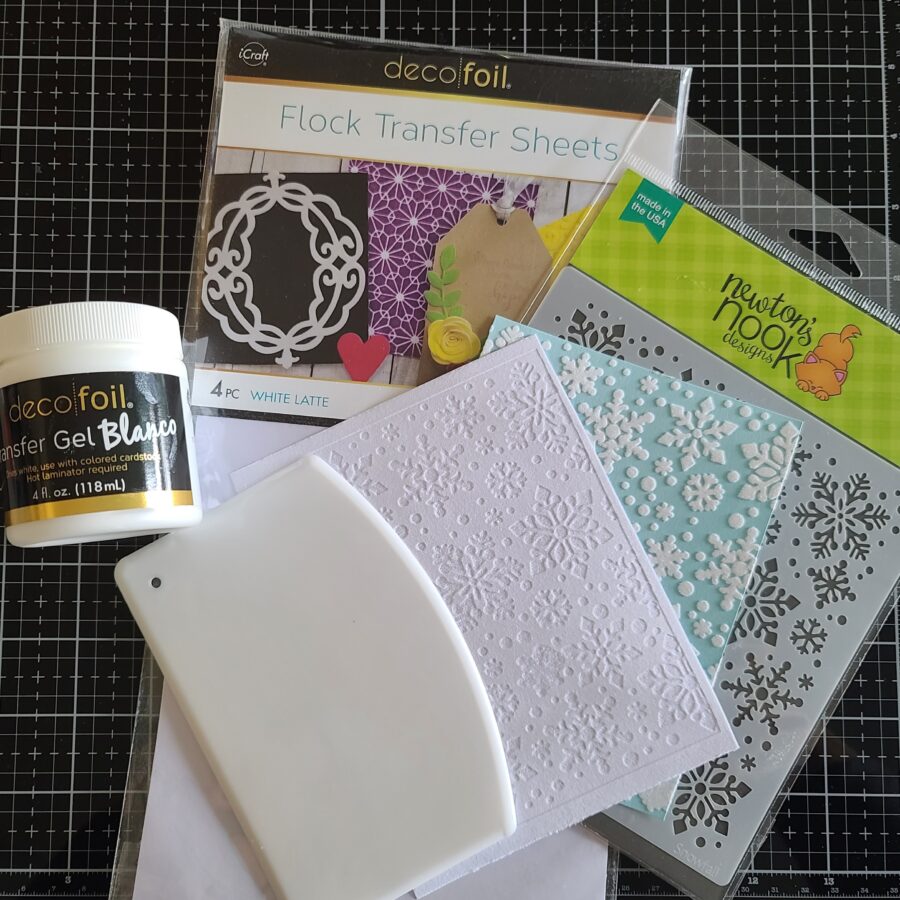
 I started by taking an A2-size piece of light blue cardstock and taping it to my glass mat. I taped my stencil in place and spread transfer gel Blanco through the stencil with my stencil pal. I removed the stencil and set the cardstock aside to dry while I cleaned up. Once it was dry, I ran it through my laminator with a white latte flock transfer sheet. I pulled them apart but kept both pieces because the negative makes for a fabulous background as well!
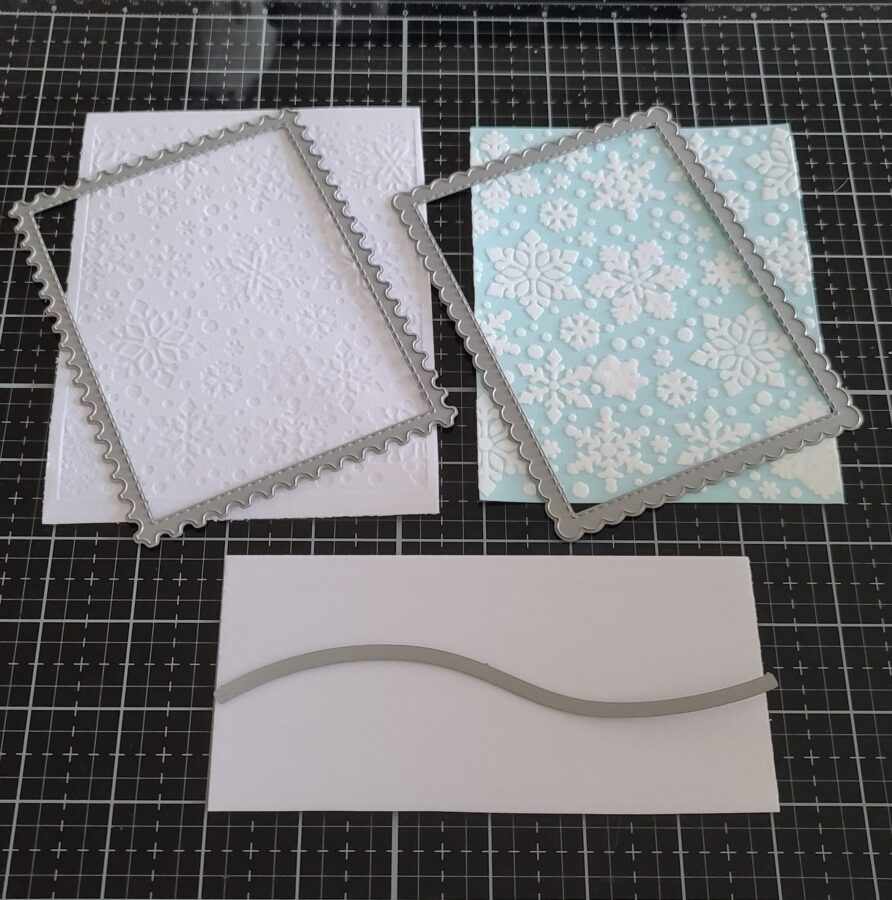 Next, I die cut the panels with Newton's Nook frame dies from two sets - Frames & Flags and Framework. Then I took another piece of the flock and used the land border die to cut a couple of hills. After I cut the hills, I used the frame dies on those so they would match up for my scenes.
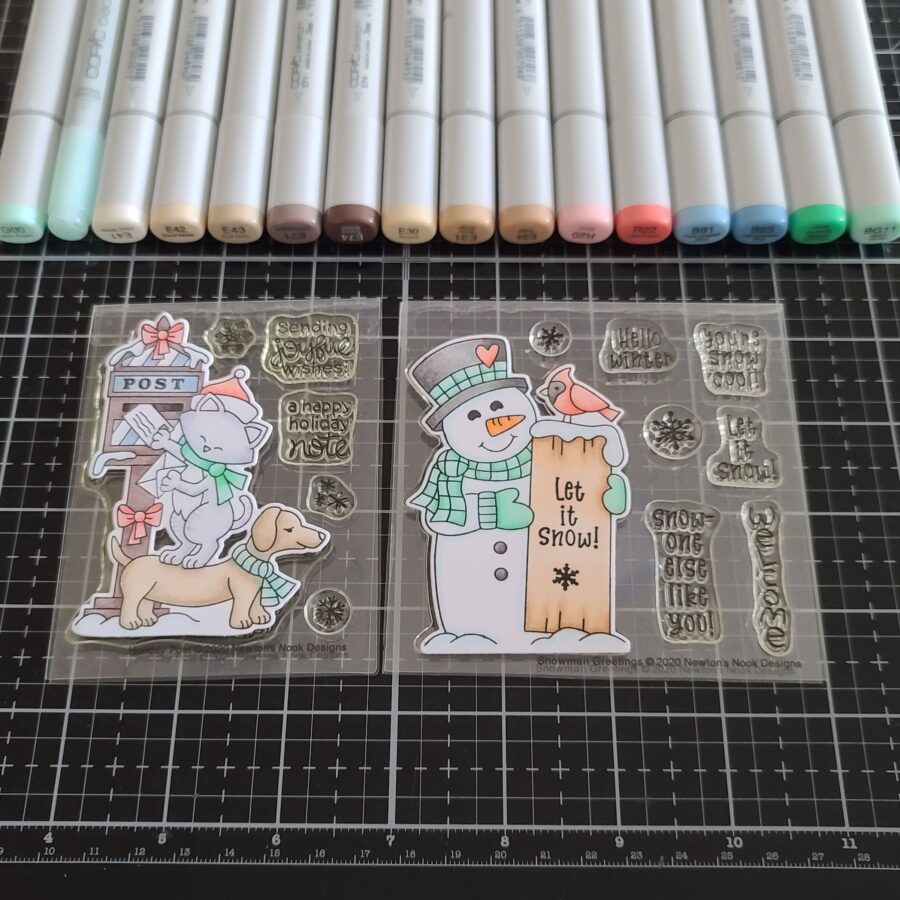 Next, I stamped and colored the focal images I wanted to use on my cards. These are from Holiday Post and Snowman Greetings. They are nice and big but not too big. to cover the whole awesome backgrounds we just created.
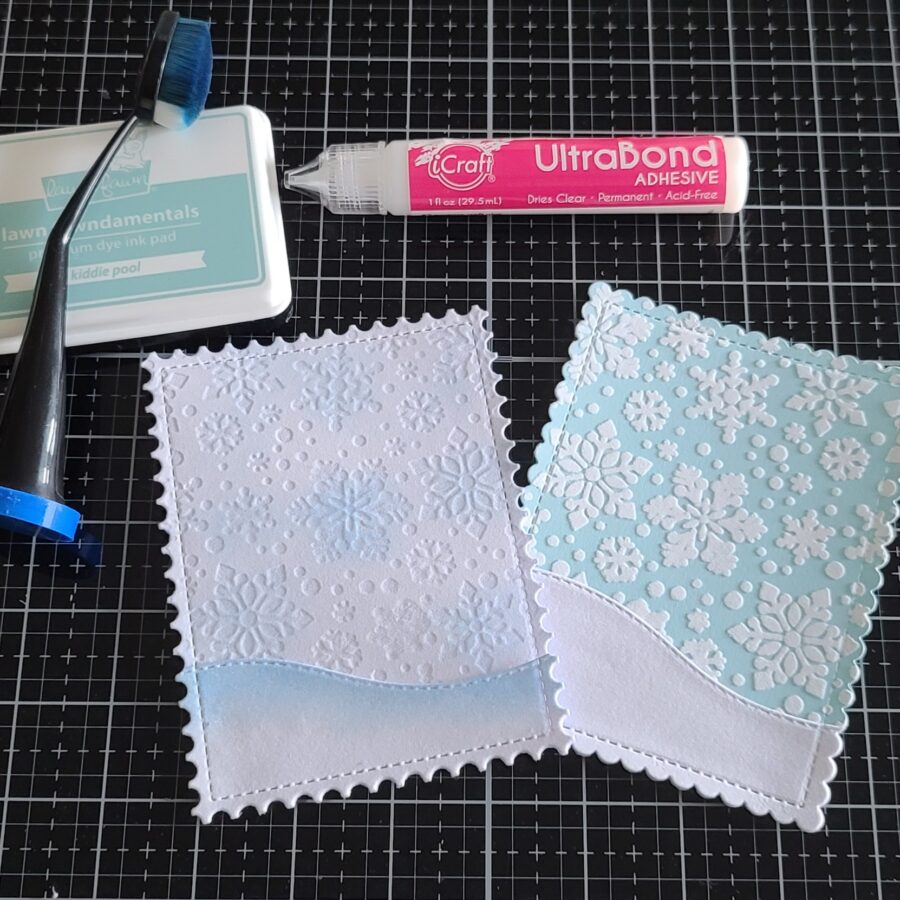 I used a blending brush to add some accent colors on the negative background and the hill for that card too. Just a little contrast. Then I used liquid glue to adhere the snowbanks to the background panels.
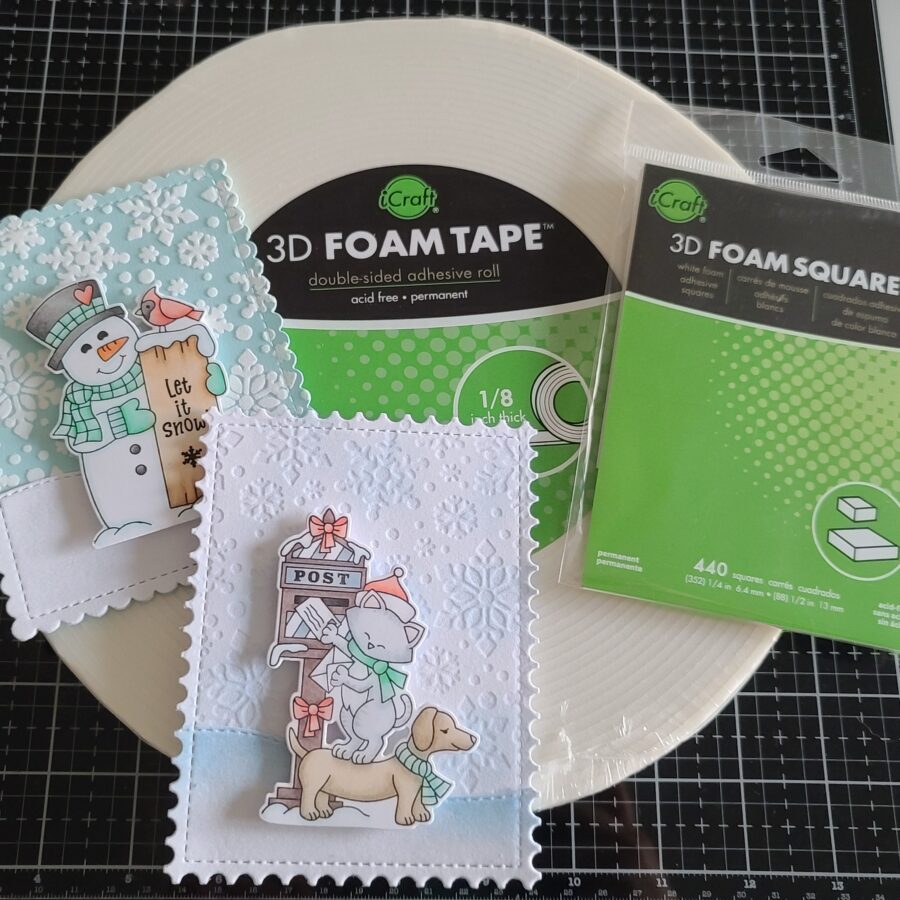 Next, I added foam squares to the images and popped them right in place. Then I covered the back of the panels with foam tape. I chose contrasting cardstock and cut panels to 4 1/8x5 3/8 so there was a tiny border on the A2 size white card bases and adhered everything together.
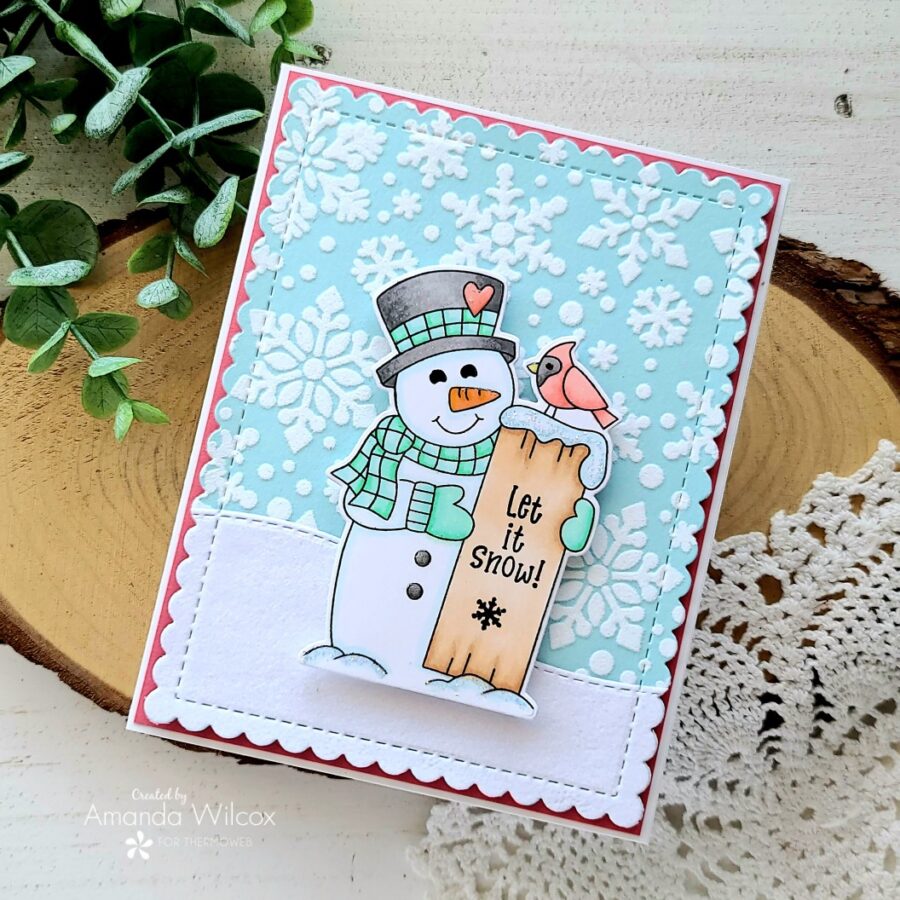 For this snowman card, I finished things off with some black glaze pen on his eyes and glossy accents on his carrot nose, buttons, the heart on his hat, and the beak on his cardinal friend. Then I added a little unicorn Stickles to the snow on the image.
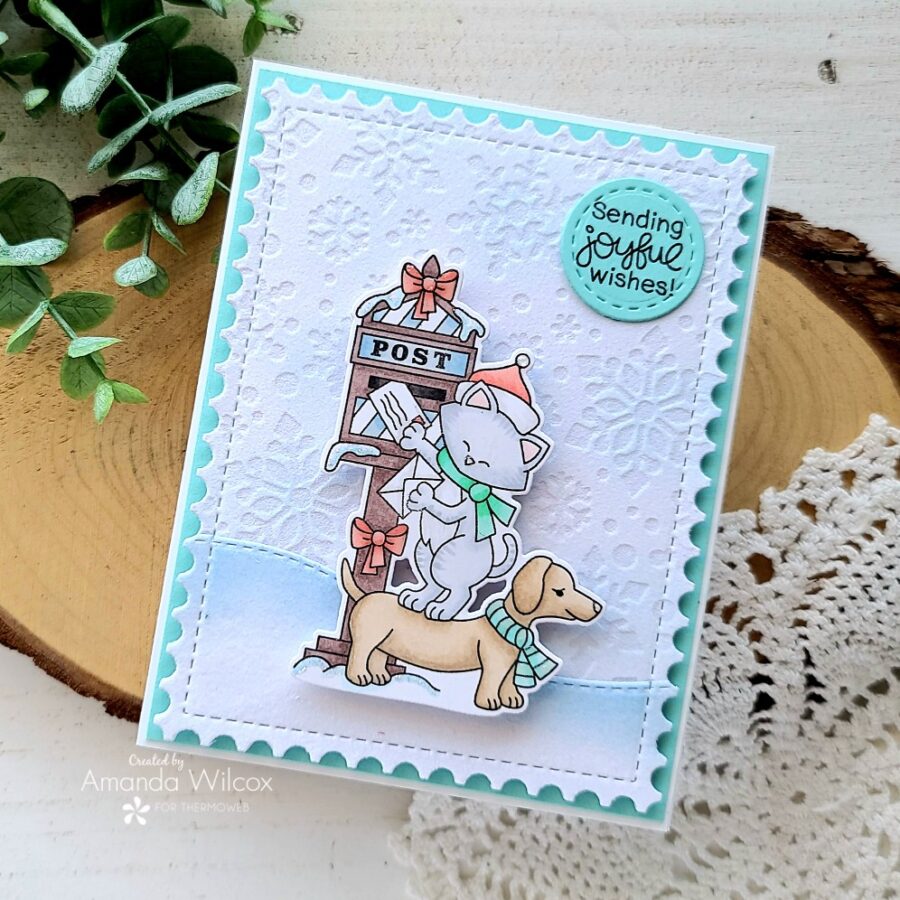 For the second card, I added some glossy accents to things like noses bows and stripes. And I also added unicorn Stickles to the snow here too. Since this card didn't have a sentiment in the image, I stamped one from the Holiday Post set and die cut it with a stitched circle. This is the same cardstock as the base panel so it ties in the mint color a little bit more.
I hope you enjoyed today's projects and found a little inspiration to create something wonderful!
I appreciate you sharing your time with me. Have a fabulous day!
This post contains affiliate links. For more information, see our disclosure HERE.
For the second card, I added some glossy accents to things like noses bows and stripes. And I also added unicorn Stickles to the snow here too. Since this card didn't have a sentiment in the image, I stamped one from the Holiday Post set and die cut it with a stitched circle. This is the same cardstock as the base panel so it ties in the mint color a little bit more.
I hope you enjoyed today's projects and found a little inspiration to create something wonderful!
I appreciate you sharing your time with me. Have a fabulous day!
This post contains affiliate links. For more information, see our disclosure HERE.