No Products in the Cart



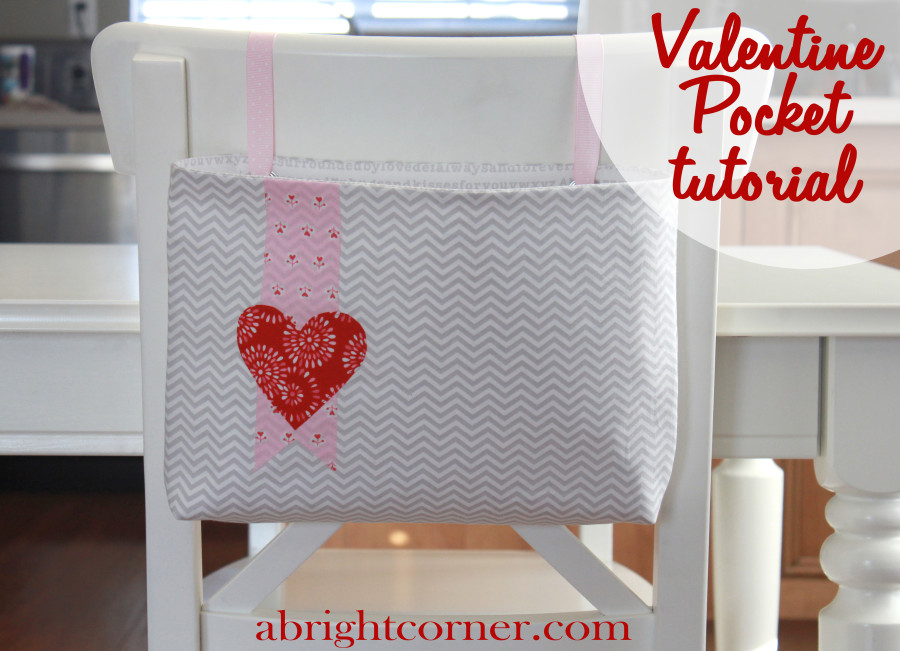 Hello everyone! My name is Andy Knowlton from A Bright Corner and I'm excited to share this Valentine Pocket tutorial with you!
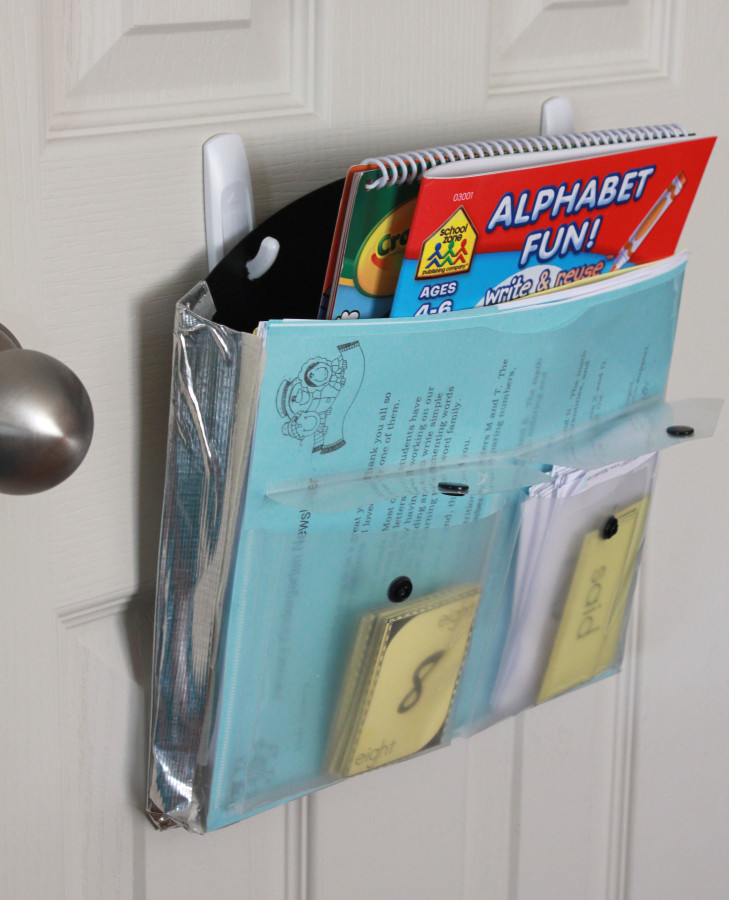
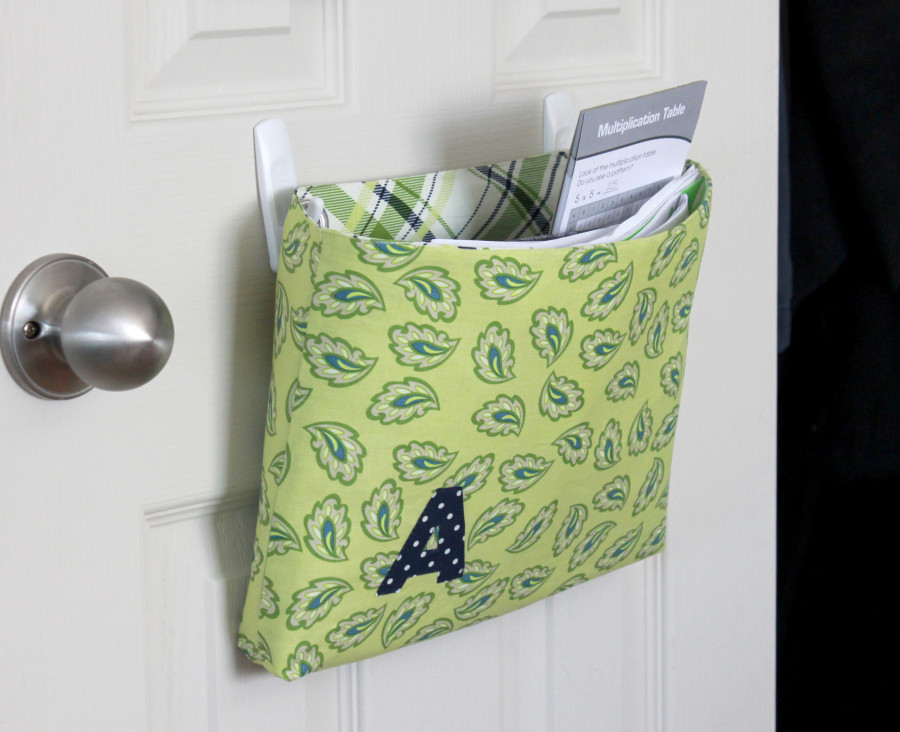
Today I have two tutorials in one! Let me explain- Inside our coat closet we have these four plastic folders hanging from hooks. There's one for each of us and we use them to hold school papers, schedules, important receipts and such. These simple folders do a marvelous job of keeping our household's papers in check. As you can see, they take quite a beating.
My youngest son's folder has been taped back together multiple times. Time to replace them!
Hello everyone! My name is Andy Knowlton from A Bright Corner and I'm excited to share this Valentine Pocket tutorial with you!
Today I have two tutorials in one! Let me explain- Inside our coat closet we have these four plastic folders hanging from hooks. There's one for each of us and we use them to hold school papers, schedules, important receipts and such. These simple folders do a marvelous job of keeping our household's papers in check. As you can see, they take quite a beating.
My youngest son's folder has been taped back together multiple times. Time to replace them!
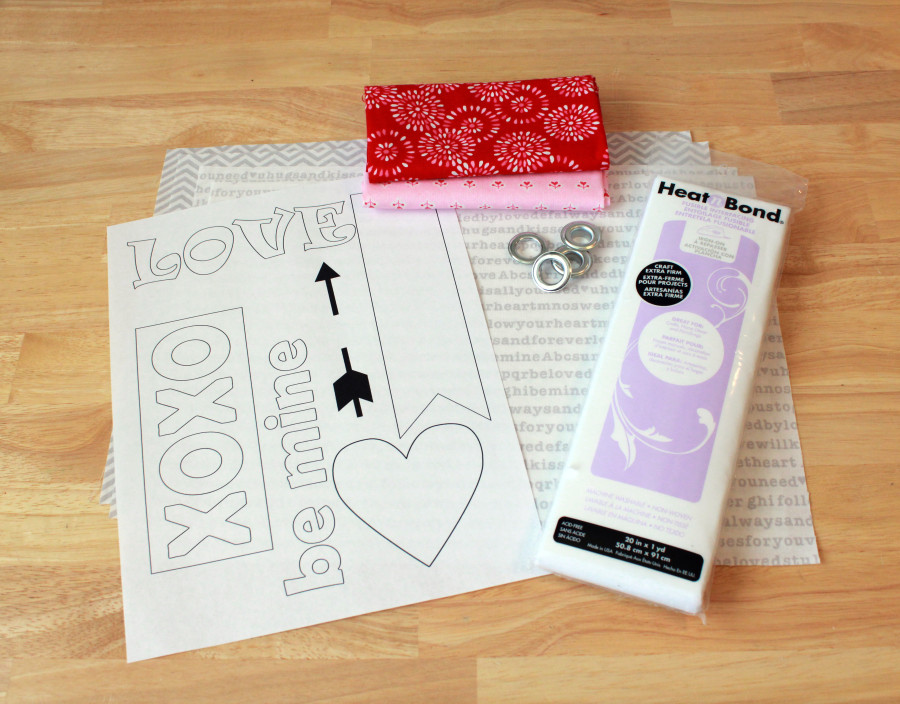
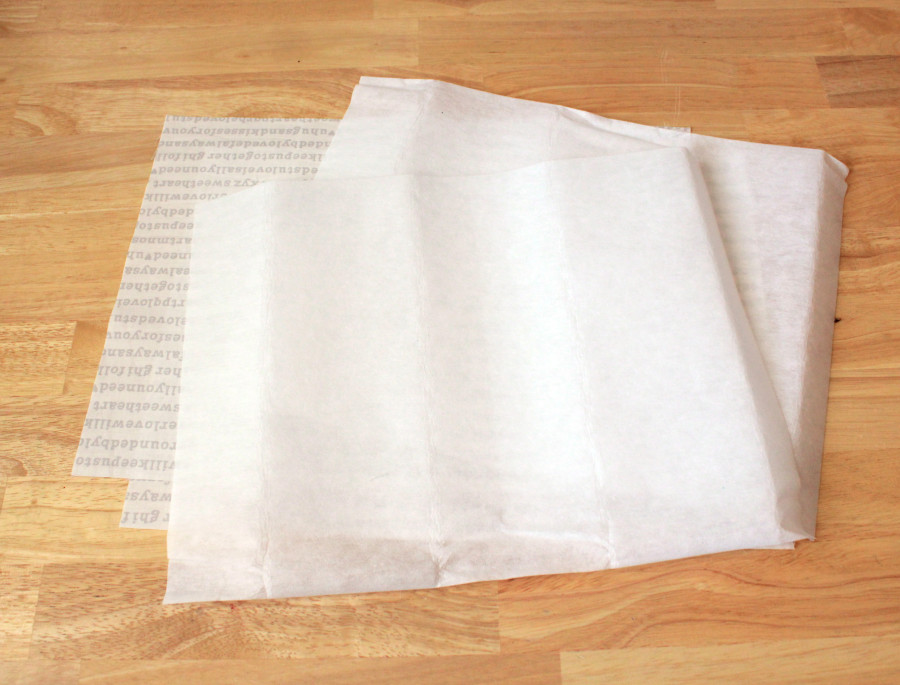 Following the instructions on the package, iron the fusible interfacing to the wrong side of each of the lining pieces, leaving about 1/4" all the way around.
Place the lining pieces right sides together, matching corners. Pin in a few places. Sew together along the sides and bottom using a 1/4" seam and leaving a 4" opening on the bottom edge. This is important because this opening will be used to turn the pocket right sides out in a later step!
Trace the desired applique shapes onto the HeatnBond® Lite. Iron on to the wrong side of the fabric scraps and cut out shapes.
Following the instructions on the package, iron the fusible interfacing to the wrong side of each of the lining pieces, leaving about 1/4" all the way around.
Place the lining pieces right sides together, matching corners. Pin in a few places. Sew together along the sides and bottom using a 1/4" seam and leaving a 4" opening on the bottom edge. This is important because this opening will be used to turn the pocket right sides out in a later step!
Trace the desired applique shapes onto the HeatnBond® Lite. Iron on to the wrong side of the fabric scraps and cut out shapes.
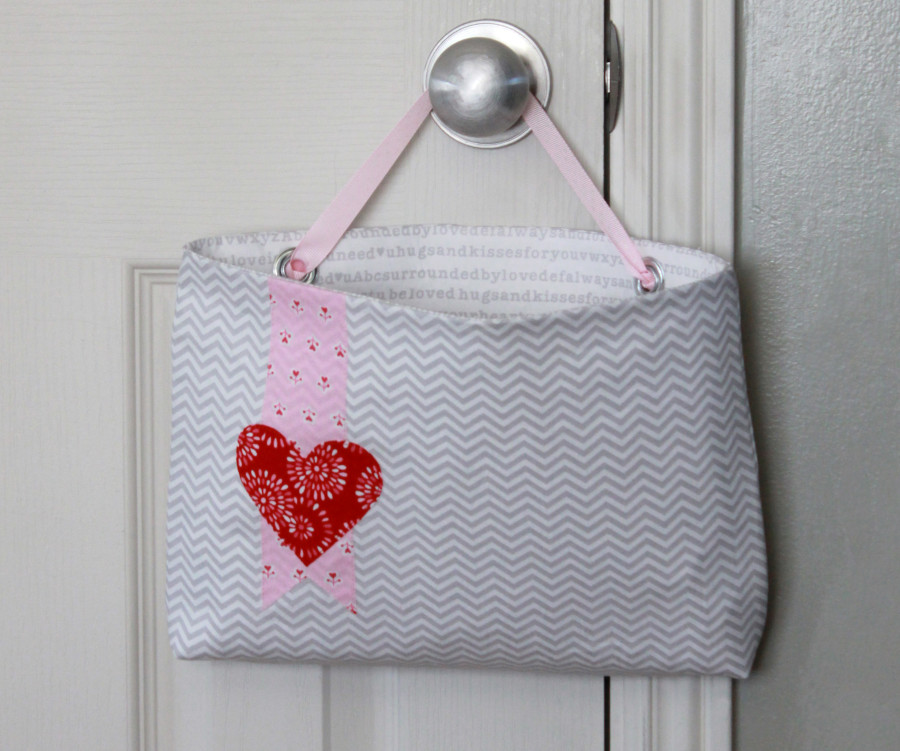
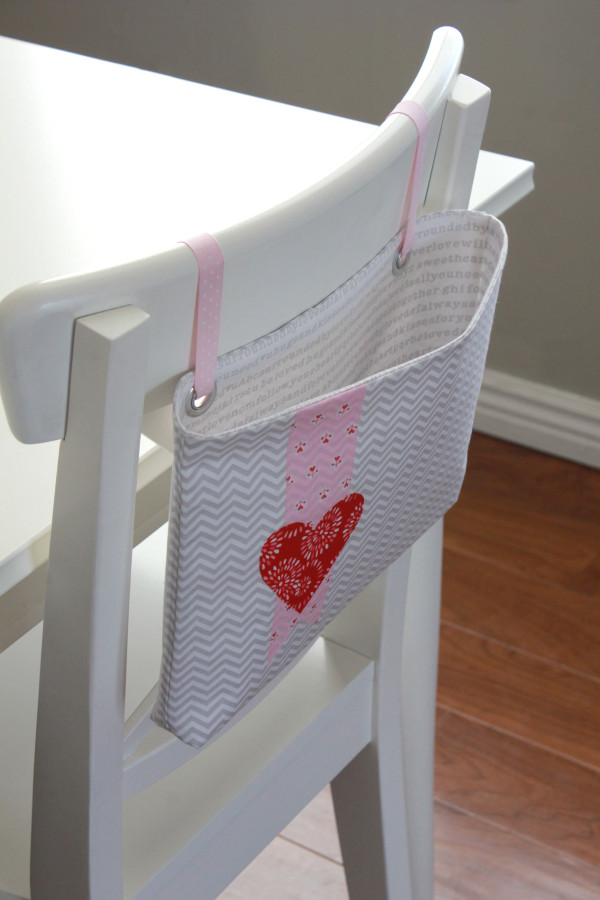
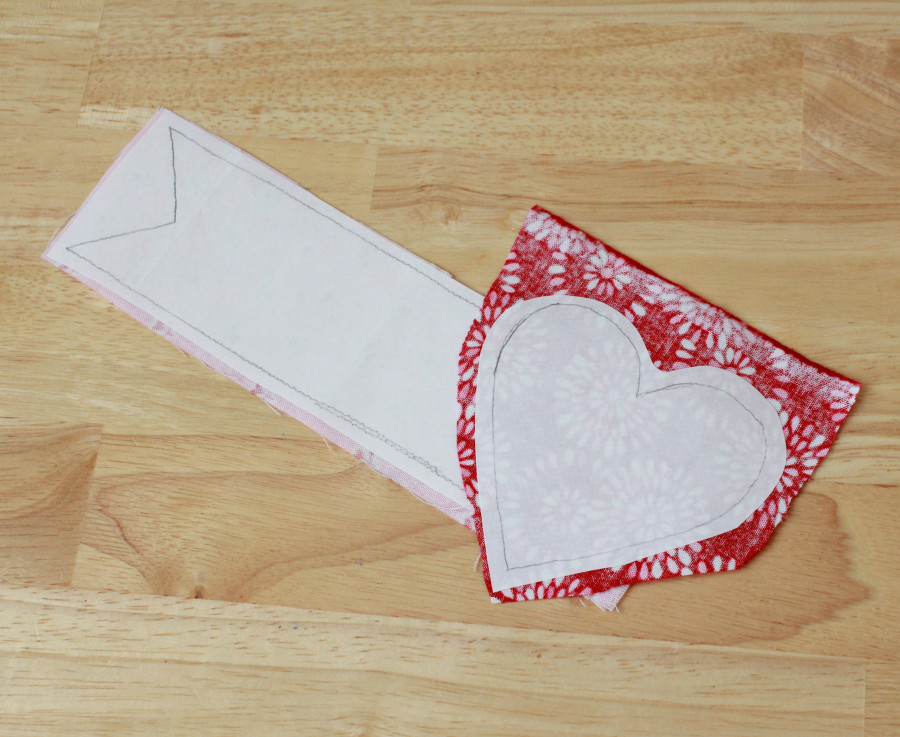 Peel off paper backing and place shapes on one of the outer pocket rectangles. Iron in place. For the Valentine ribbon and heart appliques shown in the photos, place the ribbon about 3" in from the left edge of the pocket.
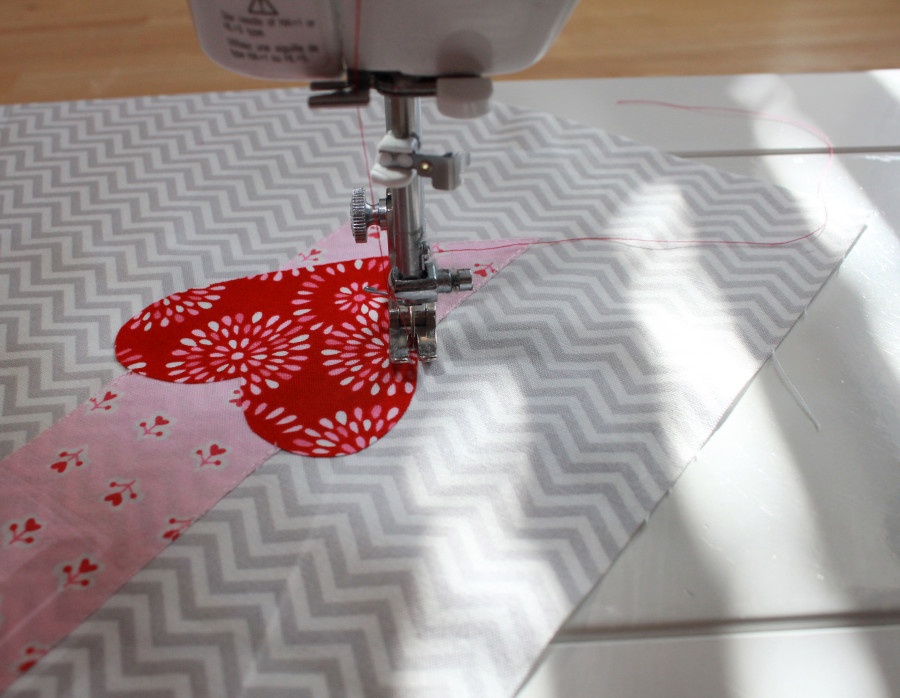
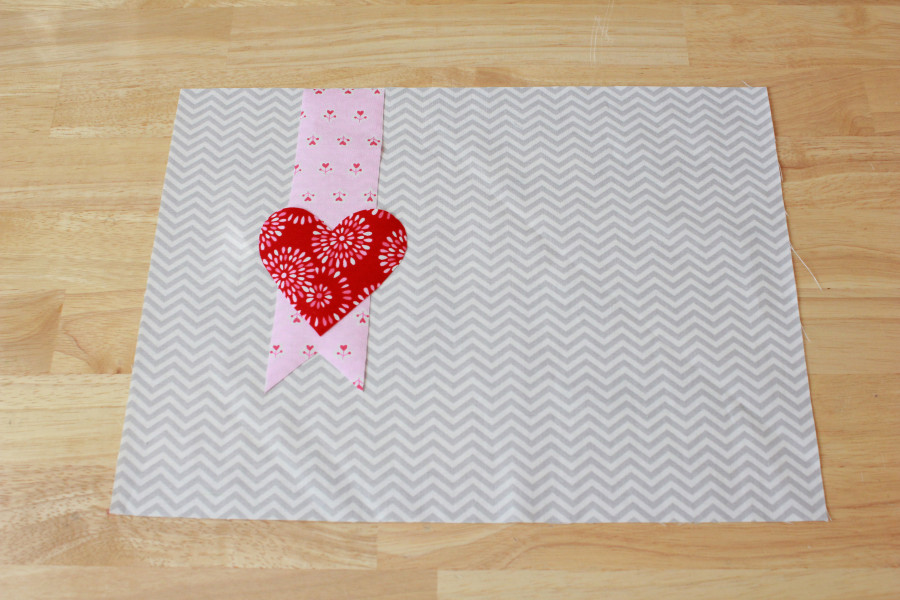 Using coordinating thread and a straight stitch, sew along the outside edge of each applique piece.
 Place outer pocket pieces right sides together, matching corners. Pin in a few places. Sew together along the sides and bottom of pocket using a 1/4" seam.
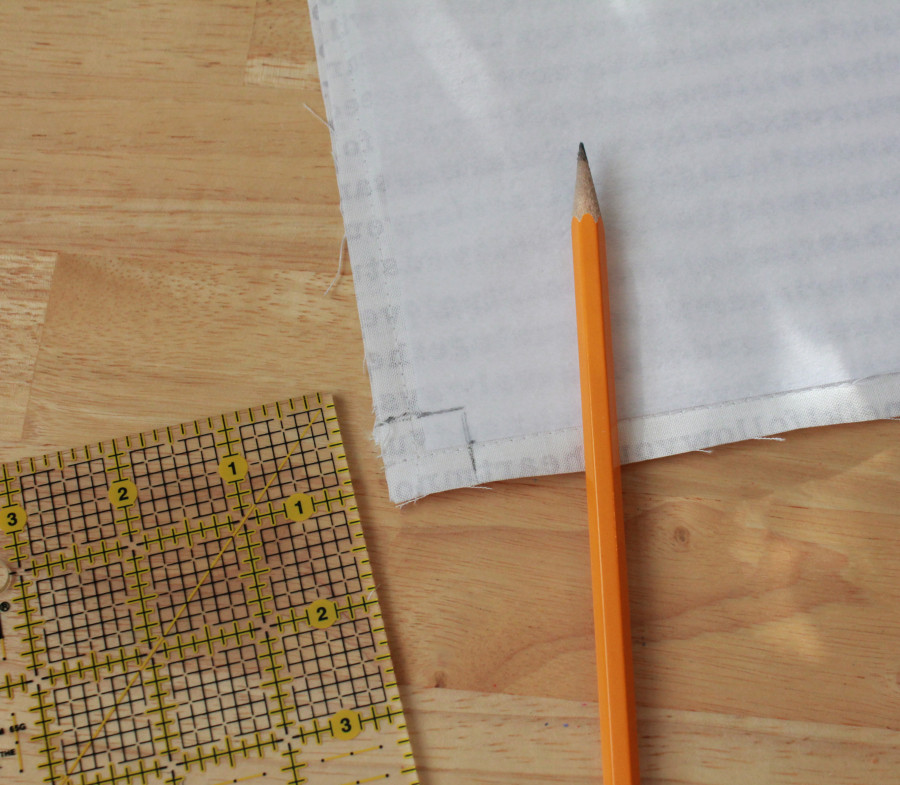
Next we will box the bottom corners - On the bottom two corners of the pocket lining, draw a 3/4" square and carefully cut out using sharp scissors (rotary cutter not recommended here).
Place outer pocket pieces right sides together, matching corners. Pin in a few places. Sew together along the sides and bottom of pocket using a 1/4" seam.
Next we will box the bottom corners - On the bottom two corners of the pocket lining, draw a 3/4" square and carefully cut out using sharp scissors (rotary cutter not recommended here).
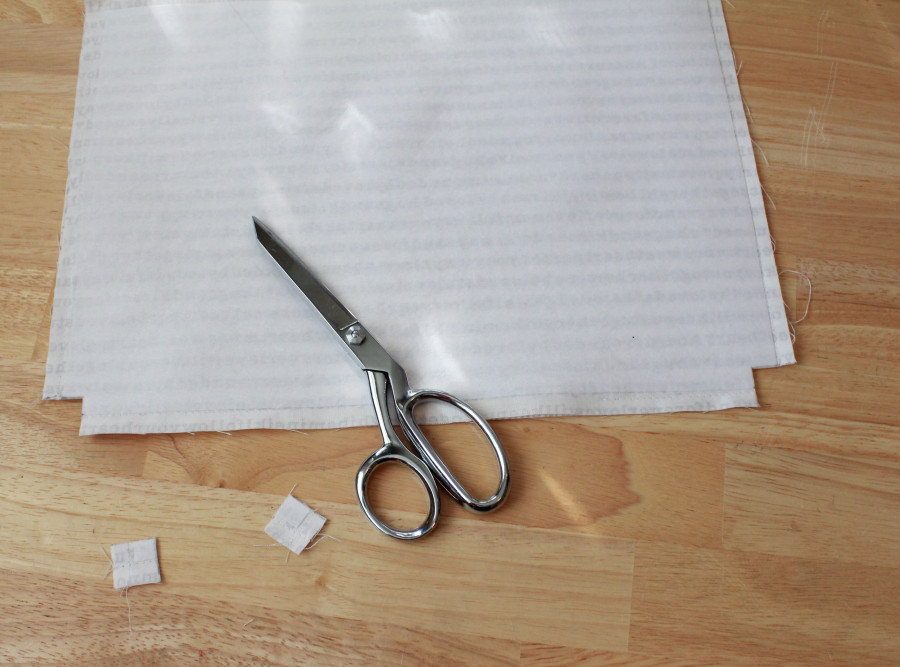 Repeat for the bottom two corners of the outer pocket.
Open that cut area and fold so that the seams match.
Repeat for the bottom two corners of the outer pocket.
Open that cut area and fold so that the seams match.
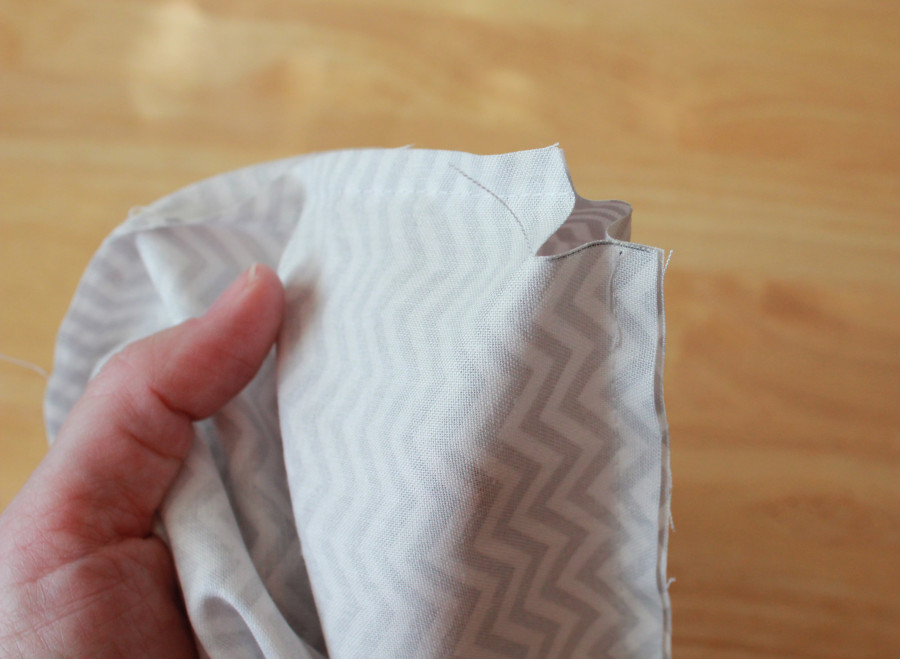 Sew along that edge using a 1/4" seam. Repeat for all bottom corners.
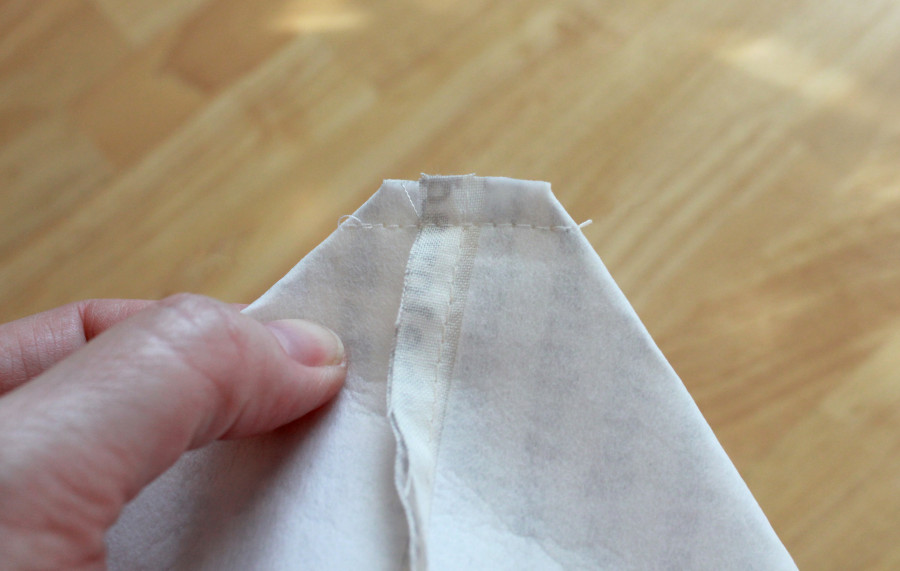 Turn outer pocket so it is right side out. Place it inside of the pocket lining so that the two are right sides together.
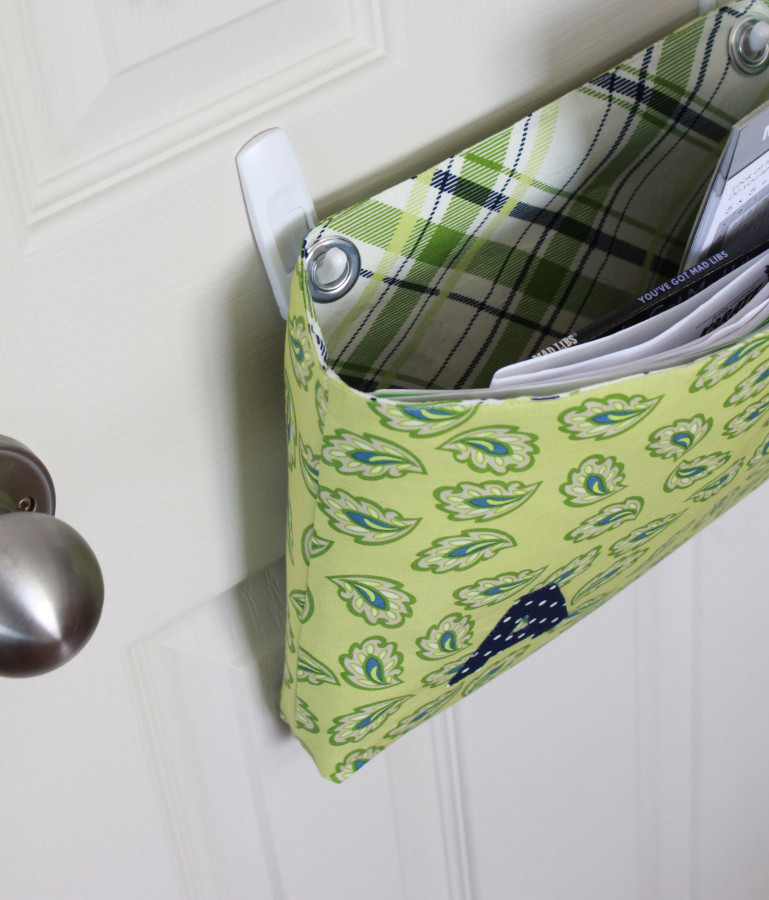
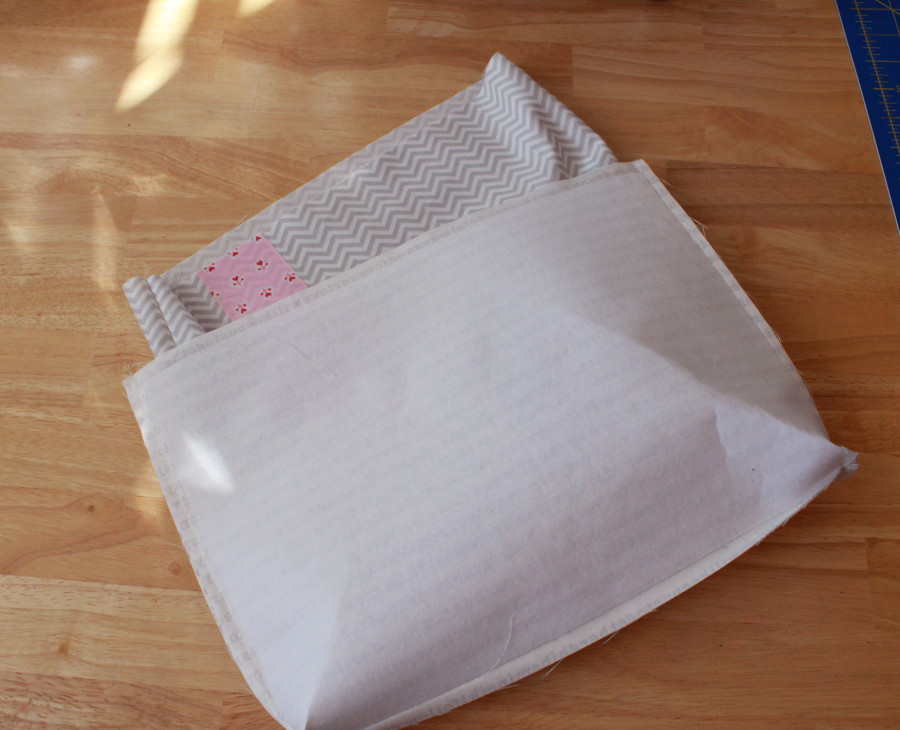 Pin outer pocket and lining together along top edge, matching side seams. (If you will be using ribbons instead of grommets for hanging, they should be added in this step.)
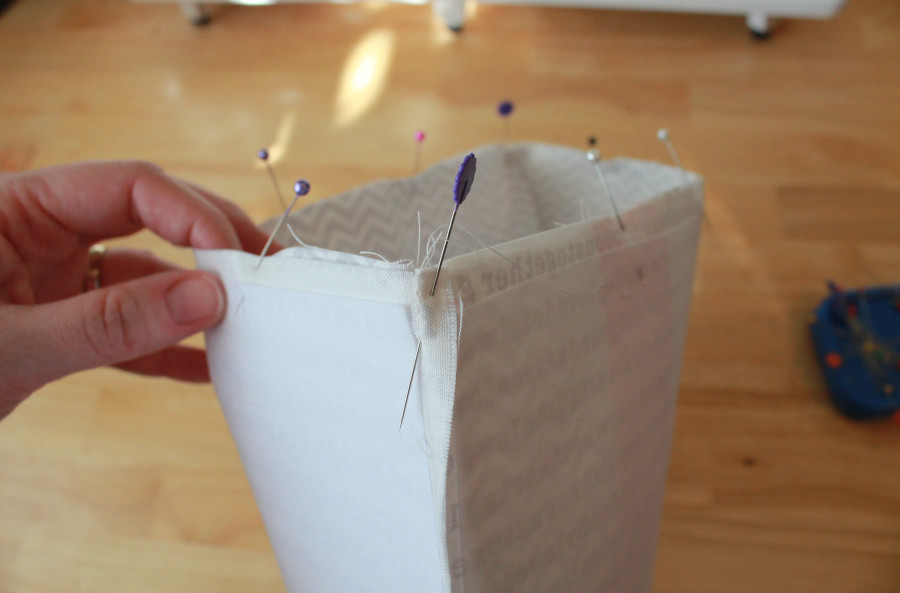 Sew all the way around the top edge of pocket, using a 1/4" seam.
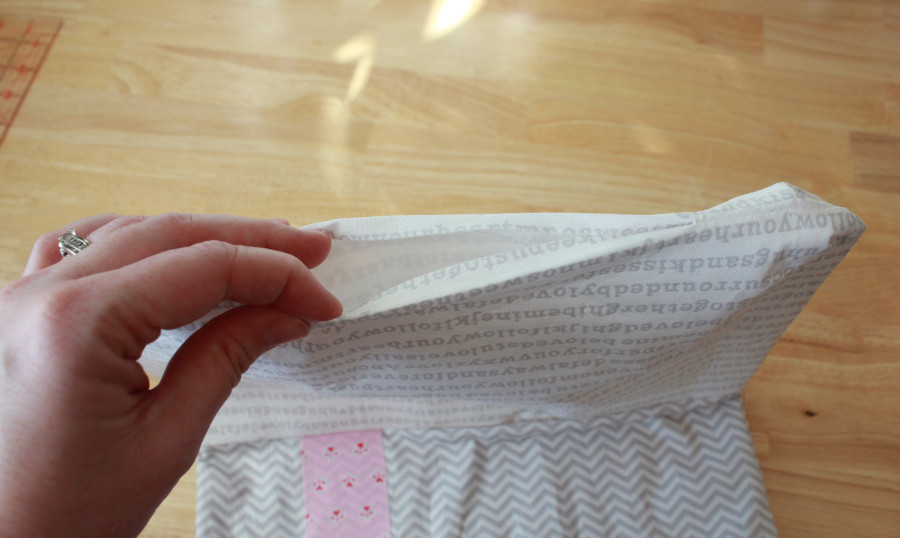
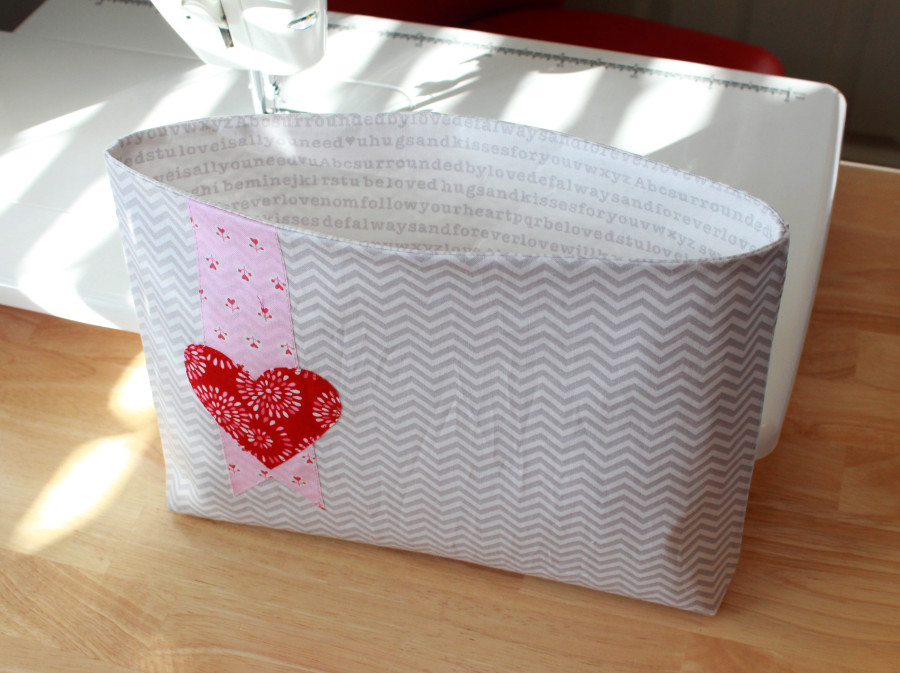
Turn pocket right side out through the 4" opening in the lining.
Sew all the way around the top edge of pocket, using a 1/4" seam.
Turn pocket right side out through the 4" opening in the lining.
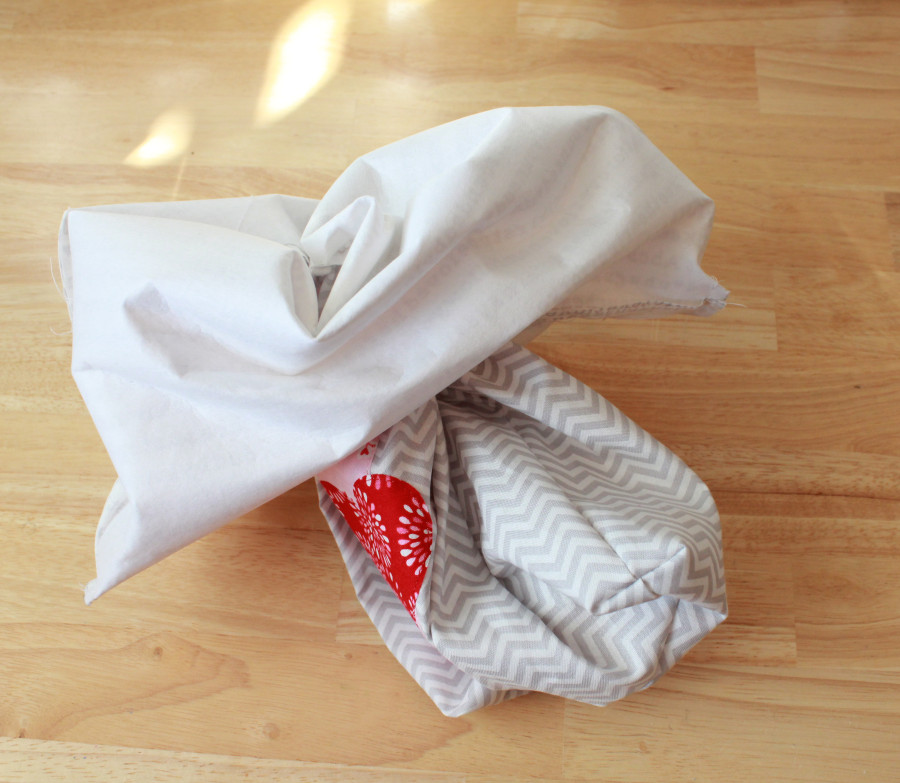
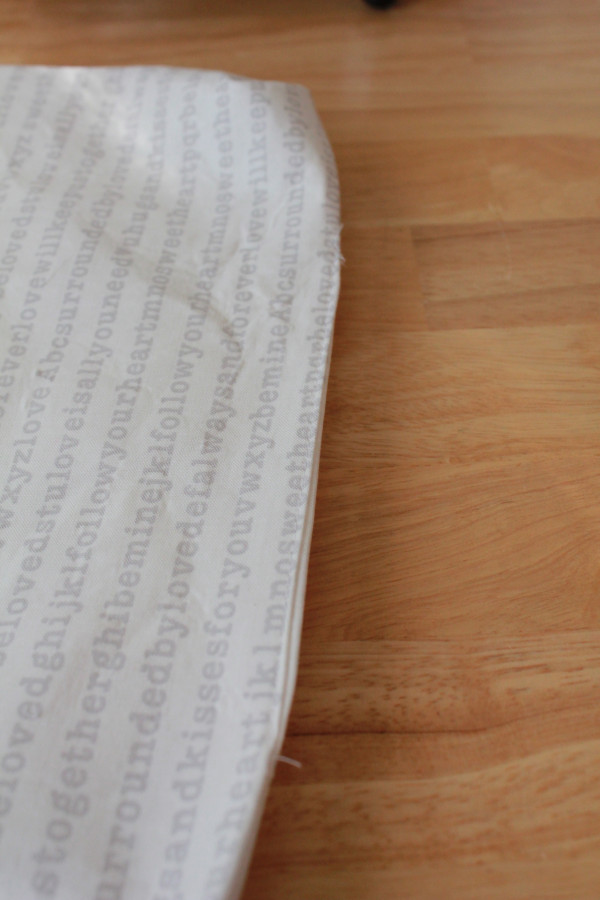
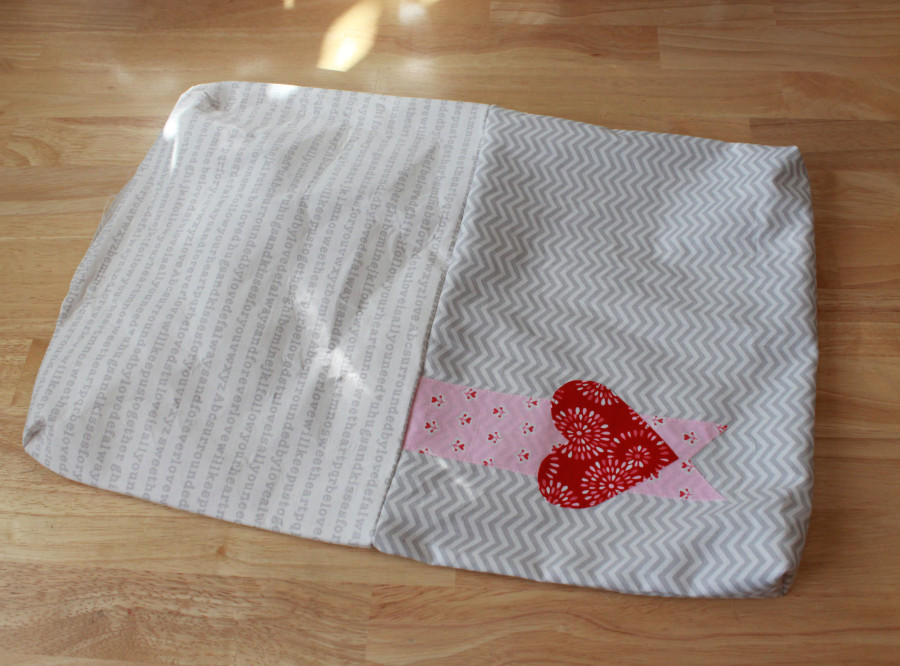 Fold the raw edges of the opening in, press and stitch closed. This doesn't have to be pretty since it is the bottom of the lining!
Written by Andy Knowlton
