No Products in the Cart
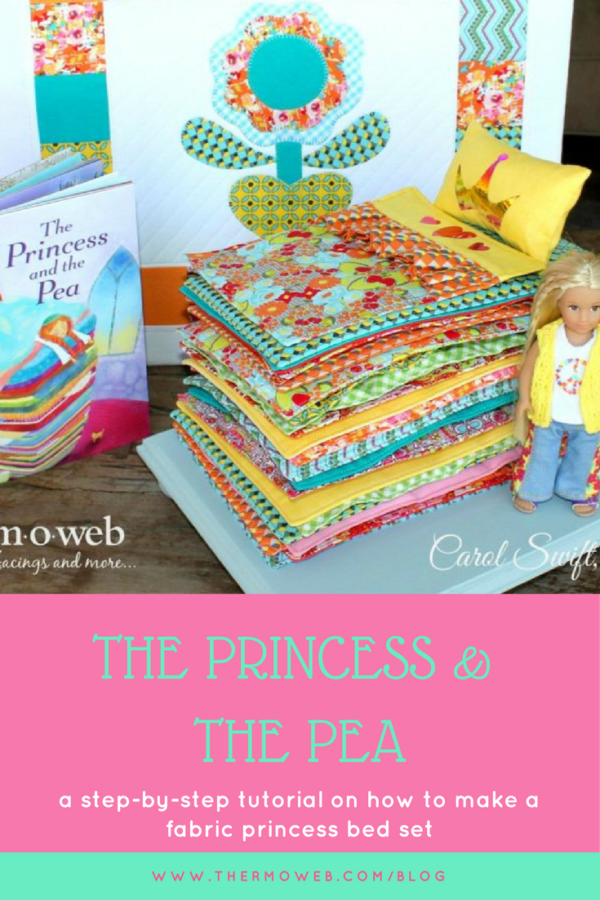
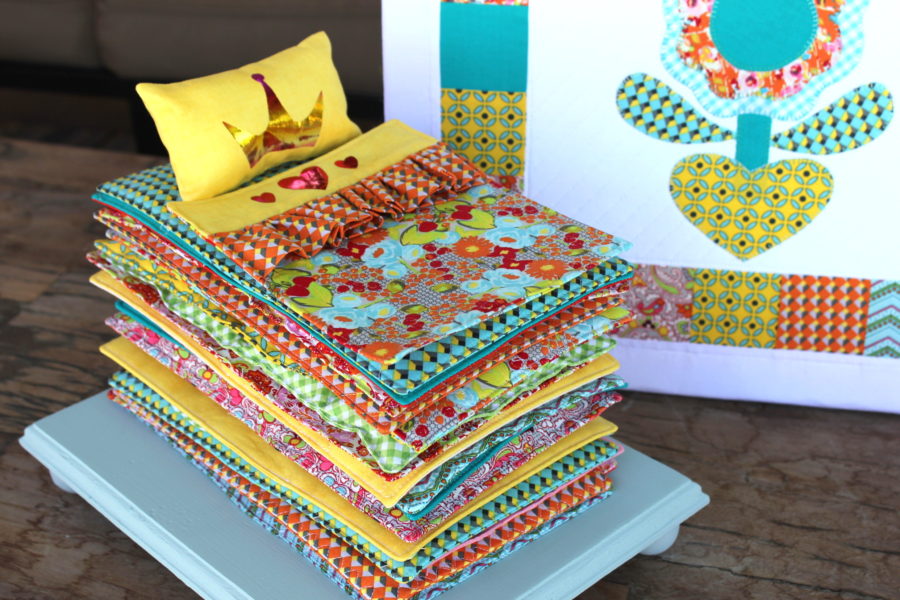
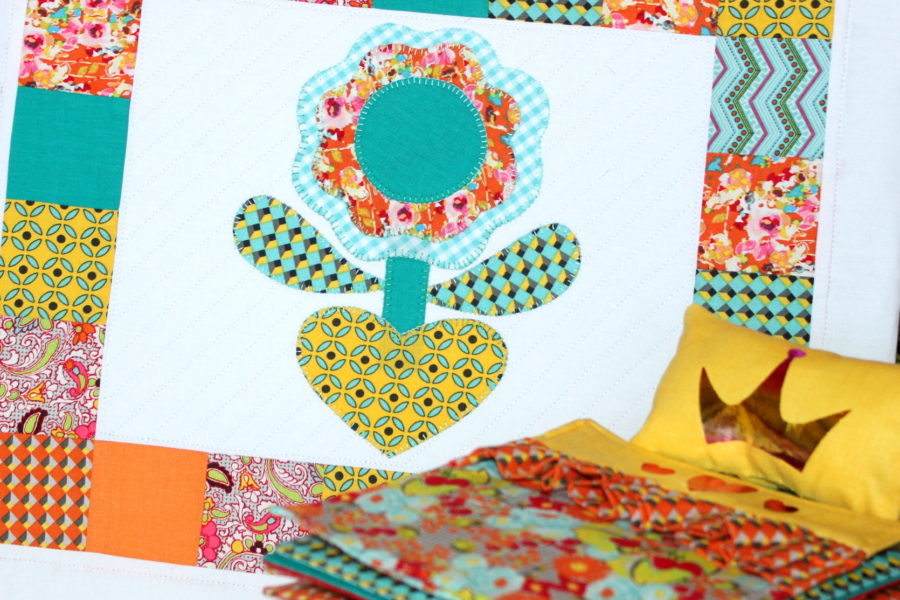
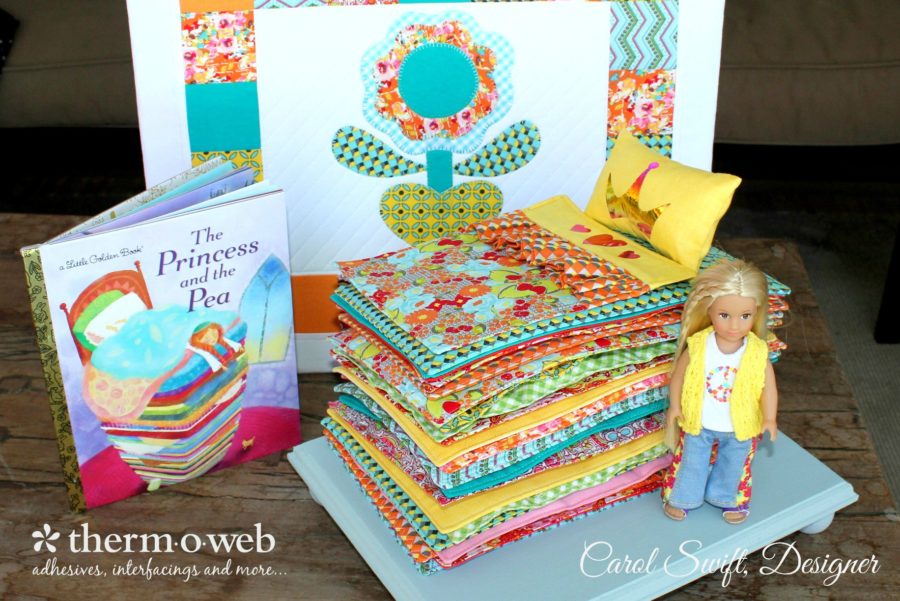 This princess is a little hipper than the one in the book. She refuses to wear anything but jeans…my kind of girl! The princess has a Deco Foil crown on her pillow and loves how it makes her hair glow when she has her head on it. The pea on the bottom mattress is still there as a reminder to stay humble and to remember to be kind to others. The zipper bag stores everything when it’s time for a royal trip.
 The bright and cheery fabric in the zipper bag and mattresses includes Bittersweet from Riley Blake Designs.
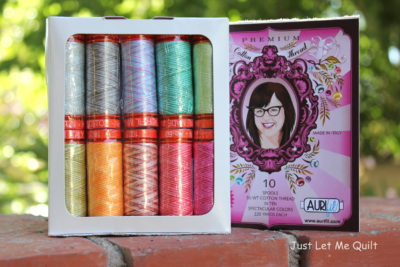
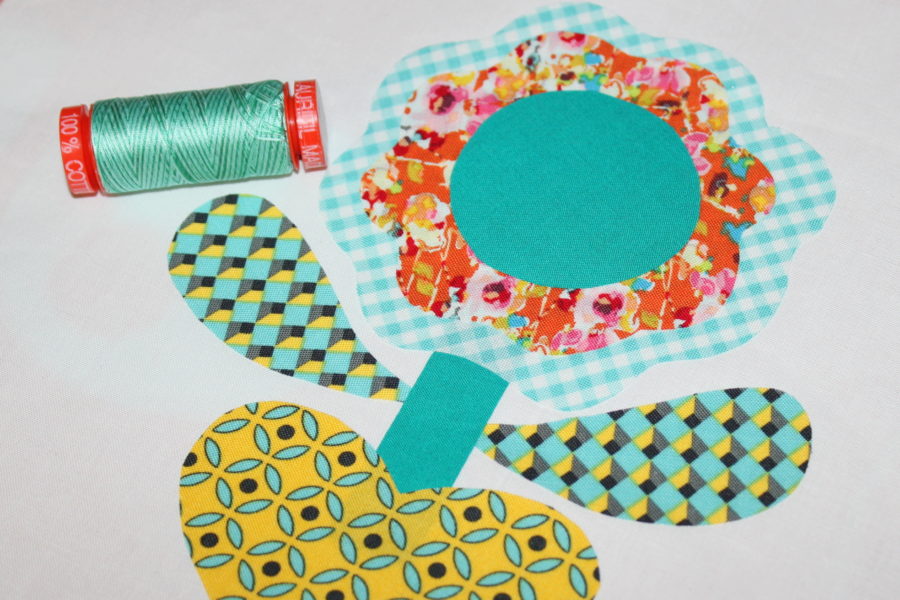
 Aurifil’s Tula Pink 50 weight variegated thread set worked beautifully with the fabric.
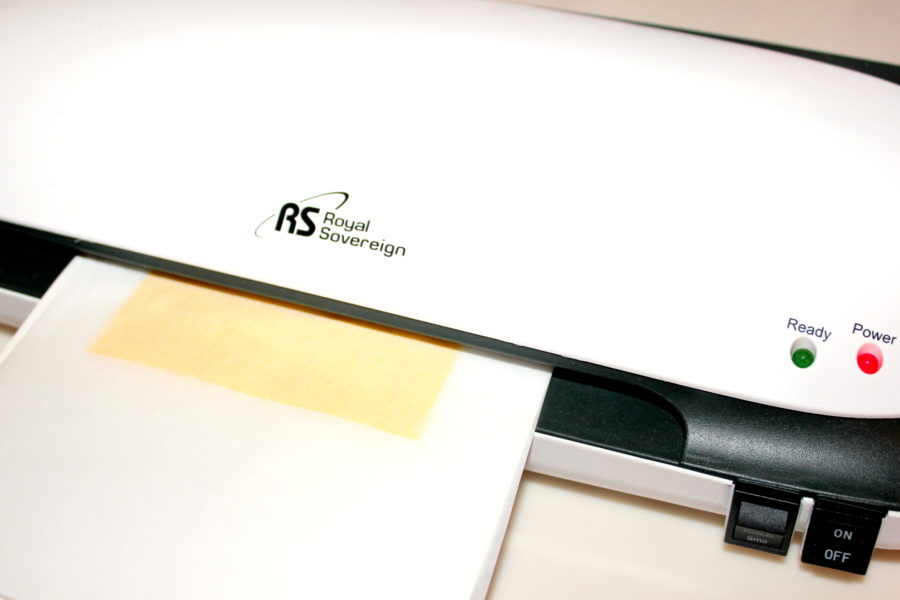
 Step 3: Place design onto 3½” x 5½” fabric pillow with adhesive (rough side) face down and place between two pieces of parchment paper. Run through preheated laminator. Remove parchment paper and allow to cool. Peel off liner from design.
 Step 4: Cut a piece of foil slightly larger than the design. Place foil, color side facing up, on top of the adhesive design and place a piece of parchment paper over the foil.
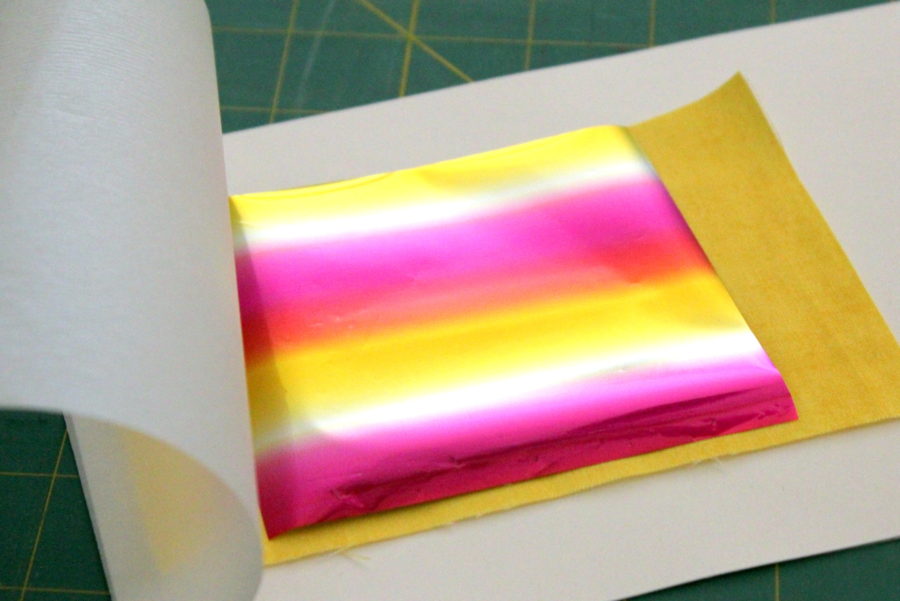 Step 5: Run through preheated laminator. Remove parchment paper and allow to cool. Peel foil transfer sheet away from the adhesive design.
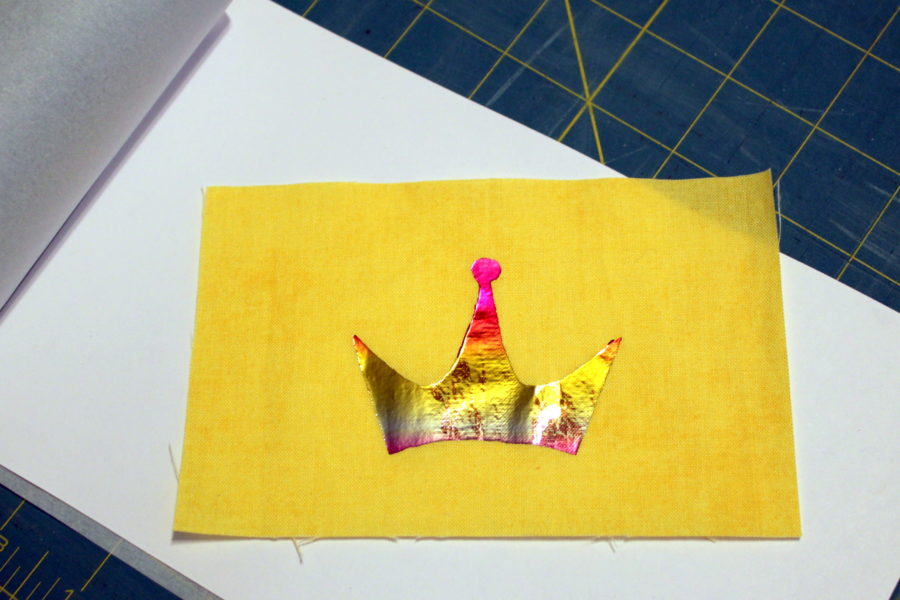 *Hint: It’s all about the pressure and length of time you apply to the foil that makes for good coverage. If you use an iron, put some muscle into pressing down on it.
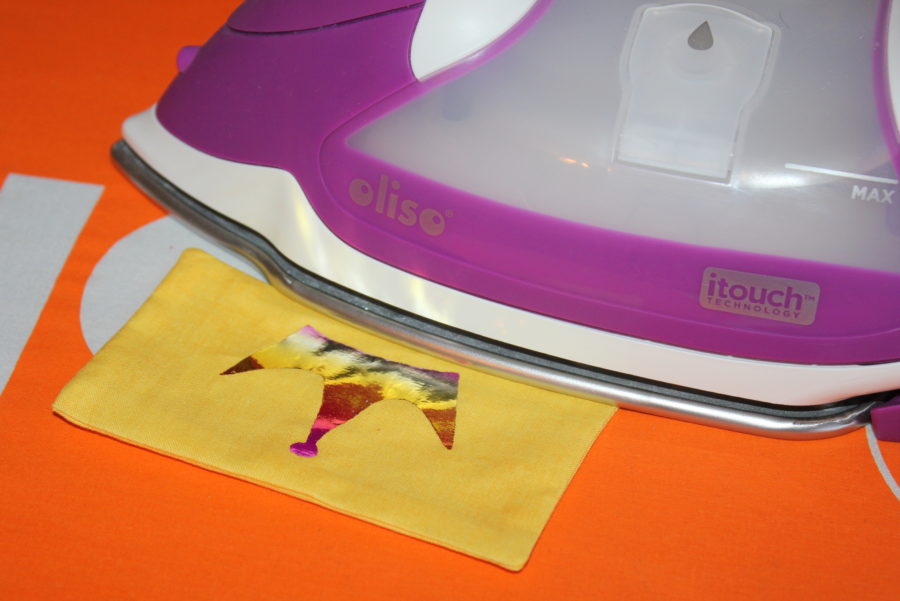
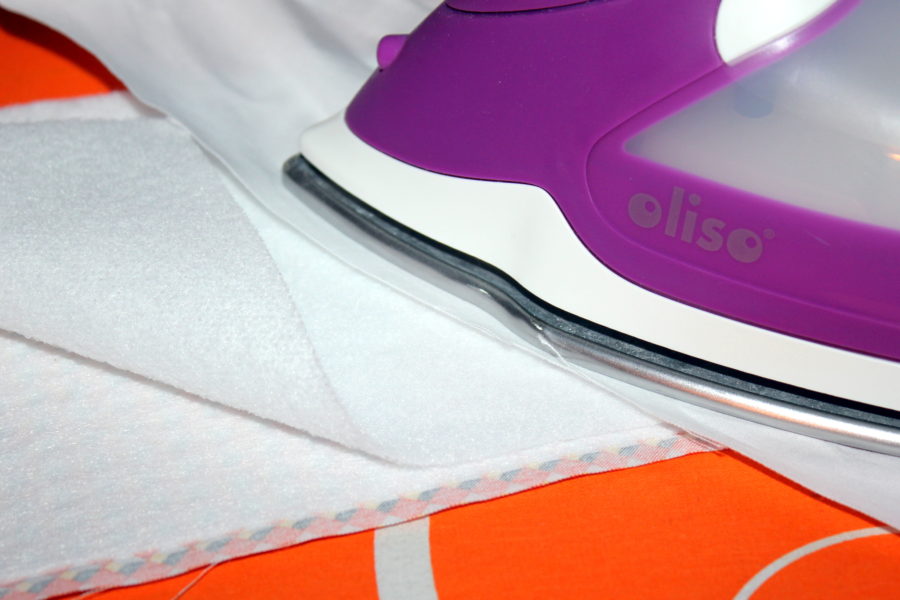
Step 6: Place right sides of pillow rectangles together. Sew around all sides leaving a 3” opening at the bottom. Clip corners and turn inside out. Press seams flat being careful not to let the iron touch the Deco Foil crown. The purple Oliso iron looks so beautiful when it's ironing.
*Hint: It’s all about the pressure and length of time you apply to the foil that makes for good coverage. If you use an iron, put some muscle into pressing down on it.
Step 6: Place right sides of pillow rectangles together. Sew around all sides leaving a 3” opening at the bottom. Clip corners and turn inside out. Press seams flat being careful not to let the iron touch the Deco Foil crown. The purple Oliso iron looks so beautiful when it's ironing.
 Step 7: Fill pillow with stuffing. Stitch opening closed by hand or machine.
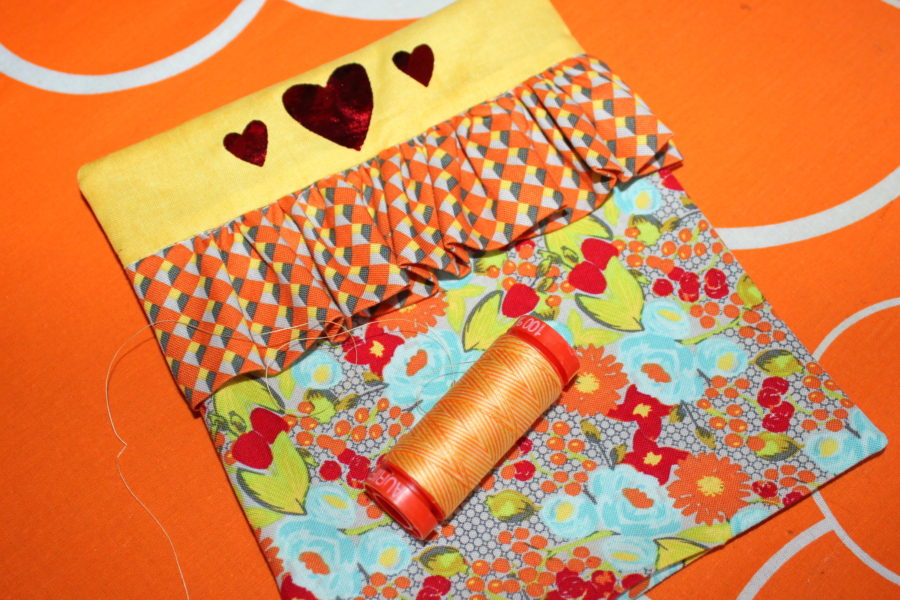
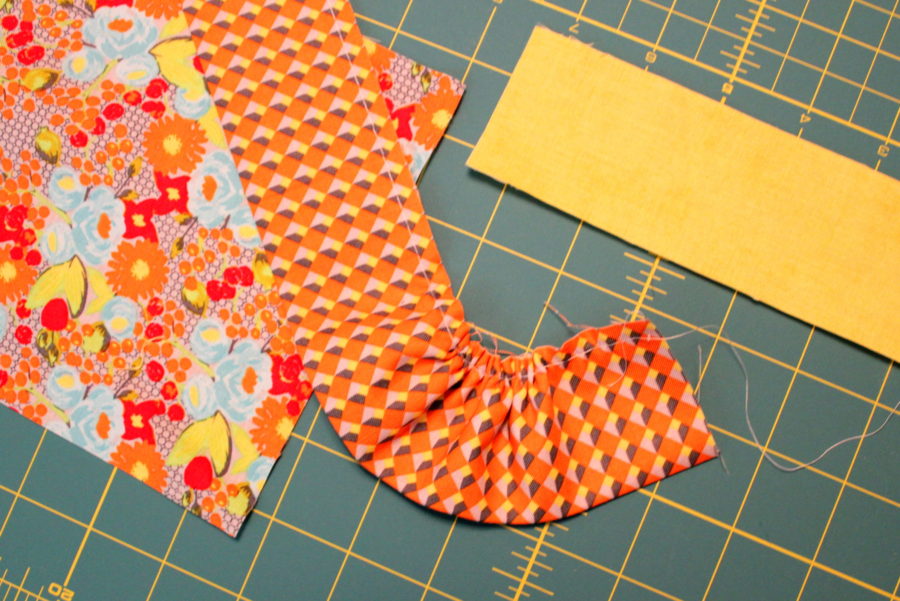 Step 3: Baste raw edge of the ruffle to 6" side of the 6” x 6½” fabric.
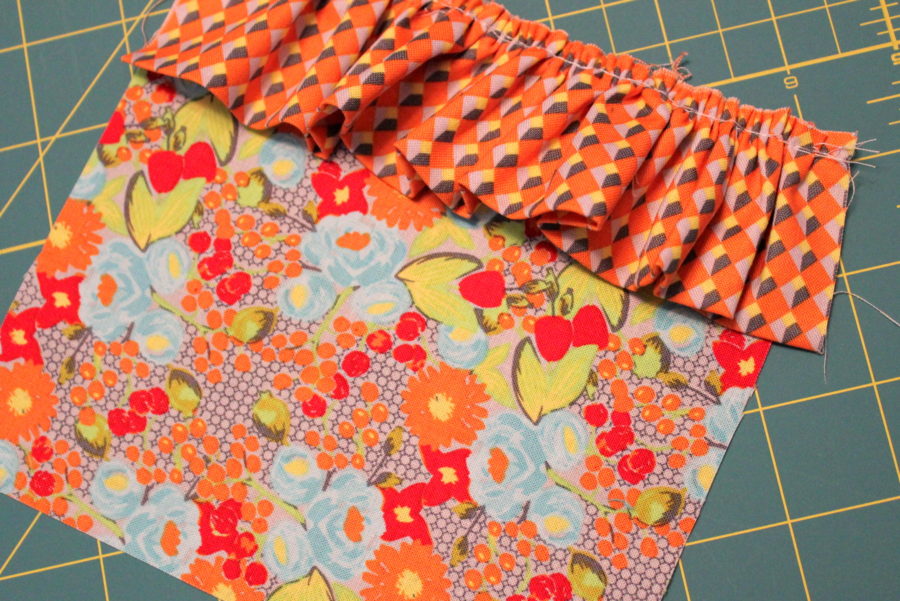 Step 4: With right sides together, sew 2” x 6½” fabric to 6” x 6½” fabric with ruffle. Press seams down.
Step 5: Apply 6” x 7” Heat n Bond Fleece Fusible High Loft to the wrong side of the quilt back.
Step 6: Place right sides of quilt front and quilt back together. Sew around all sides leaving a 3” opening at bottom or side. Clip corners and turn inside out. Press seams flat being careful not to let iron touch any Deco Foil design you may have used. Stitch opening closed by hand or machine, or topstitch around all edges close to the seam. Additional quilting can be added if desired.
Step 4: With right sides together, sew 2” x 6½” fabric to 6” x 6½” fabric with ruffle. Press seams down.
Step 5: Apply 6” x 7” Heat n Bond Fleece Fusible High Loft to the wrong side of the quilt back.
Step 6: Place right sides of quilt front and quilt back together. Sew around all sides leaving a 3” opening at bottom or side. Clip corners and turn inside out. Press seams flat being careful not to let iron touch any Deco Foil design you may have used. Stitch opening closed by hand or machine, or topstitch around all edges close to the seam. Additional quilting can be added if desired.
 You can find complete instructions for the entire Princess and the Pea Set HERE.
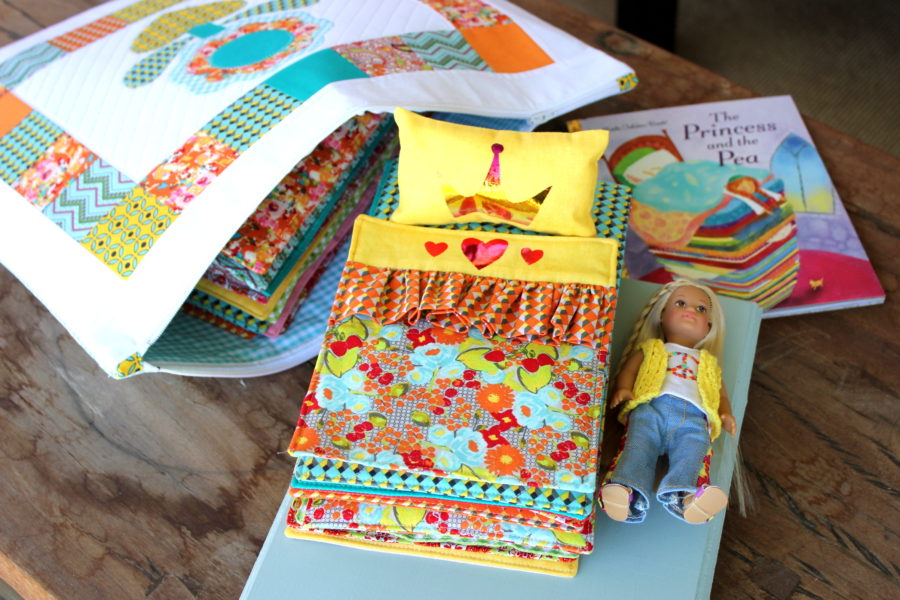
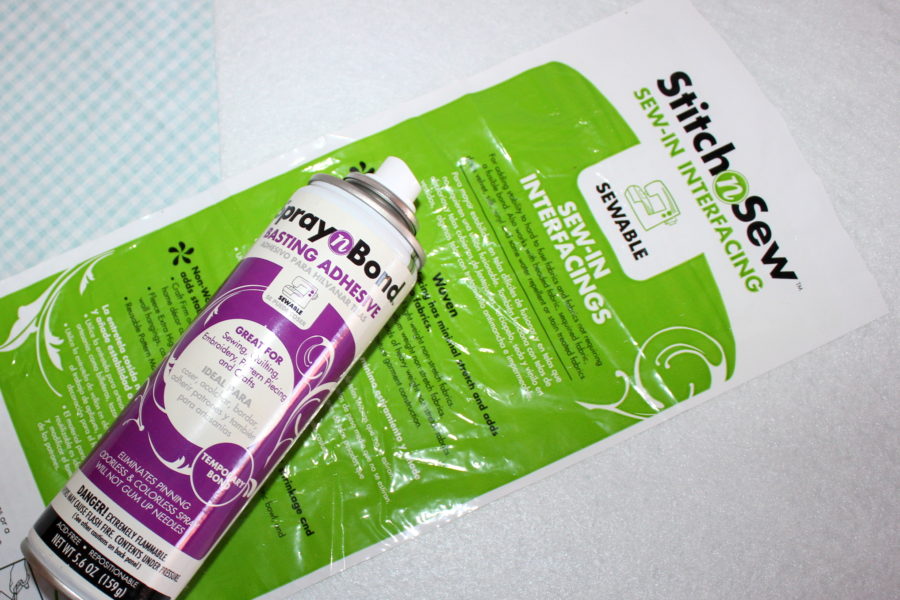
The zippered bag has firm fabric sides thanks to the Stitch n Sew Non-Woven Craft Sew-In Extra Firm interfacing. Applying it to the bag’s fabric is made easy using Therm O Web Spray n Bond Basting Adhesive. Lay front and back fabrics right side down on protective covering. Spray basting adhesive on wrong sides of the fabric. Lay each sprayed fabric piece on the interfacing. Smooth to remove wrinkles or creases. Quilt as desired to hold it permanently in place.
You can find complete instructions for the entire Princess and the Pea Set HERE.
The zippered bag has firm fabric sides thanks to the Stitch n Sew Non-Woven Craft Sew-In Extra Firm interfacing. Applying it to the bag’s fabric is made easy using Therm O Web Spray n Bond Basting Adhesive. Lay front and back fabrics right side down on protective covering. Spray basting adhesive on wrong sides of the fabric. Lay each sprayed fabric piece on the interfacing. Smooth to remove wrinkles or creases. Quilt as desired to hold it permanently in place.
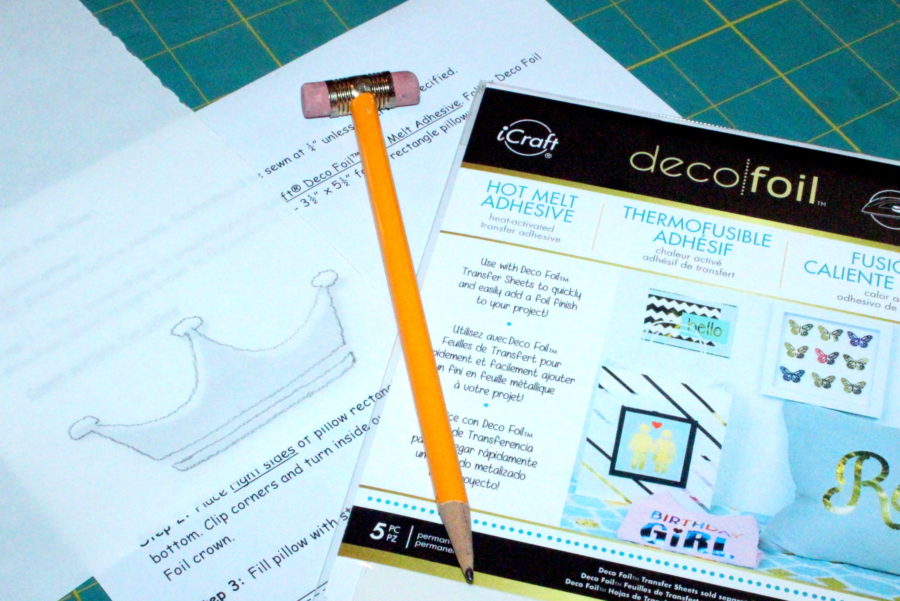
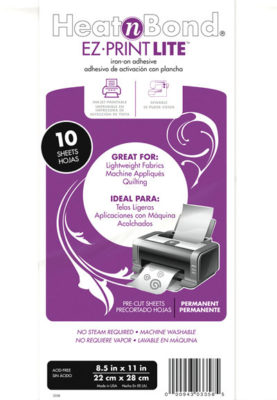
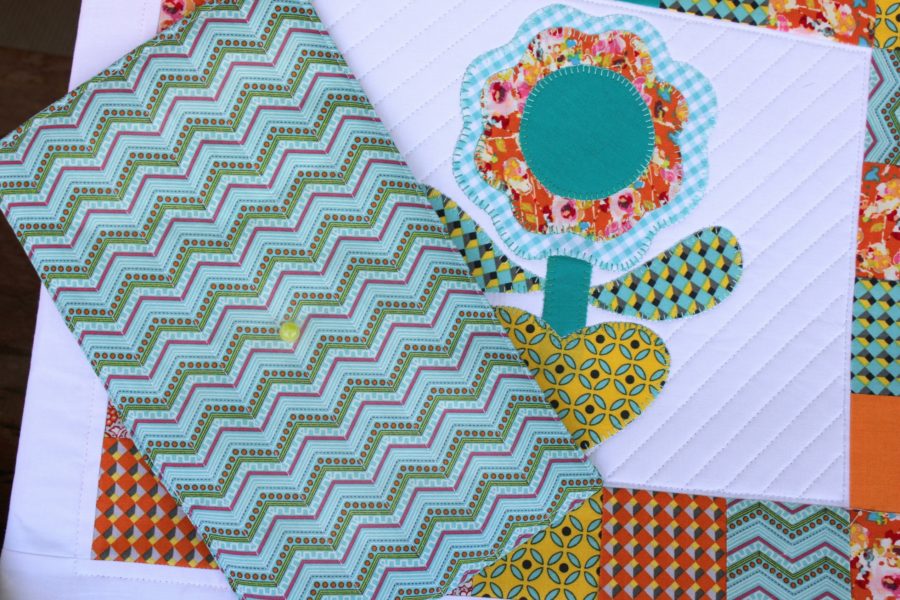
 Applying the applique to the zippered bag and mattresses is easy when using Heat n Bond EZ Print Lite sheets. Send the pattern straight to your printer from your computer. Iron design pieces to wrong sides of fabrics with a medium heat iron, no steam. Press for 2 seconds. Repeat until all surfaces have been bonded to the fabric. Let cool. Cut out applique pieces.
 Peeling the adhesive papers from the fabric is a breeze! Place applique shape, adhesive side down, on top of the project. Press and hold iron for 6 seconds on each section until the entire piece is bonded. Let cool. Sew around edges using a straight, zig-zag, or blanket stitch.
 The mattresses can be filled with Heat n Bond Fleece Fusible High Loft, pillow stuffing, or heavy batting. Mattresses can be thin, medium, or thick.
 Don’t forget the pea! Sew it to the mattress you’ll be placing at the bottom of the pile.
Written by Carol Swift