No Products in the Cart
 The supplies you will need are:
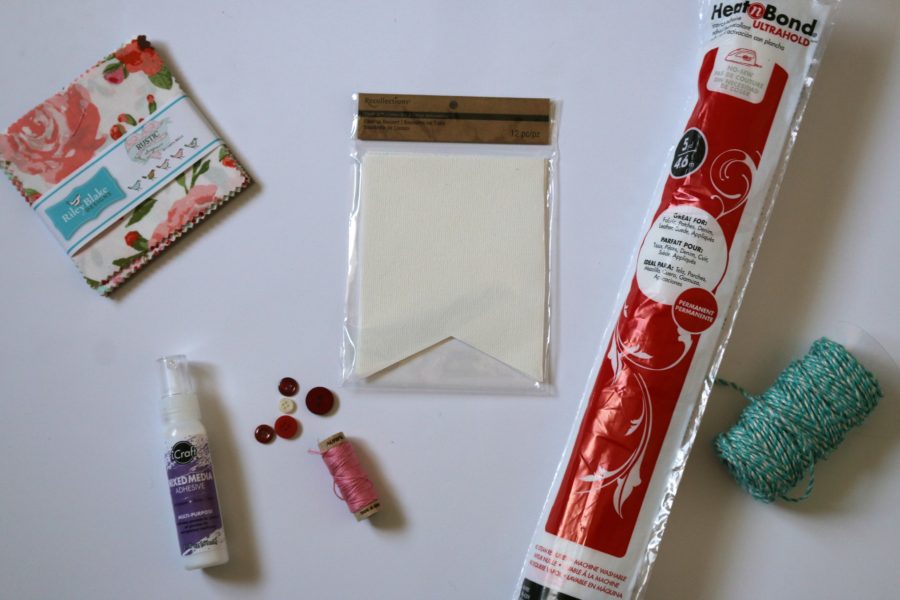 A Charm Pack of your favorite spring fabrics
HeatnBond® Ultrahold
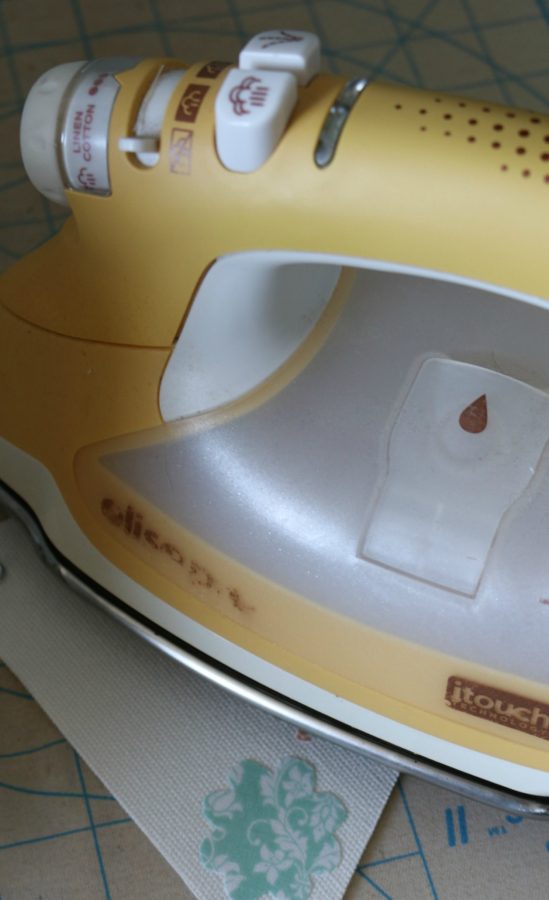
Oliso Iron
Scissors
6 Buttons
Premade Banner pieces or you can make your own
iCraft Mixed Media Adhesive
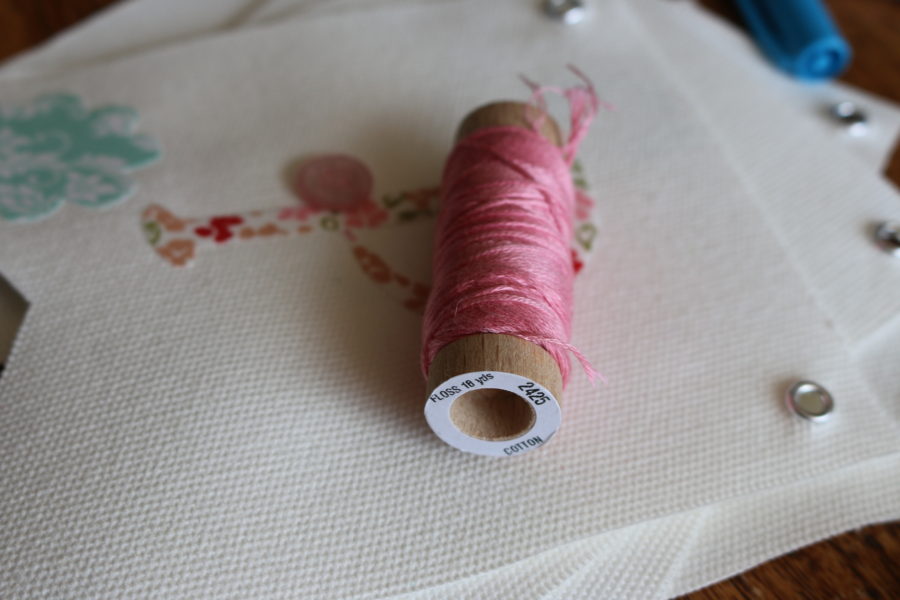
Aurifil Floss #2425
Twine or Ribbon
No Sew Bunny Pattern
A Charm Pack of your favorite spring fabrics
HeatnBond® Ultrahold
Oliso Iron
Scissors
6 Buttons
Premade Banner pieces or you can make your own
iCraft Mixed Media Adhesive
Aurifil Floss #2425
Twine or Ribbon
No Sew Bunny Pattern
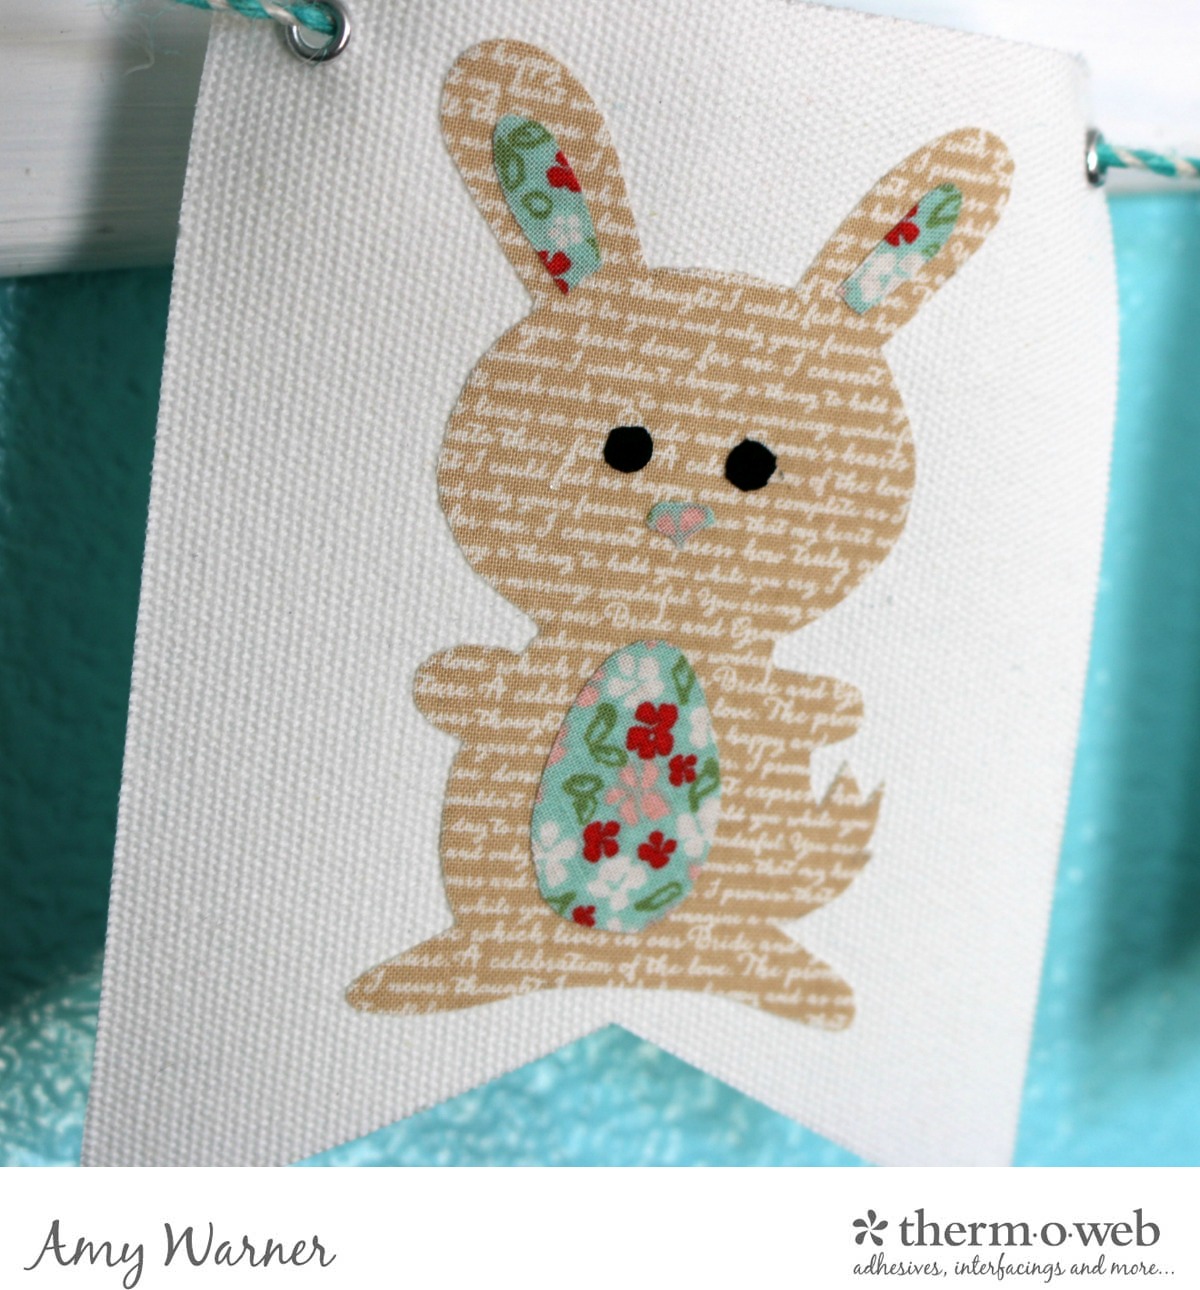
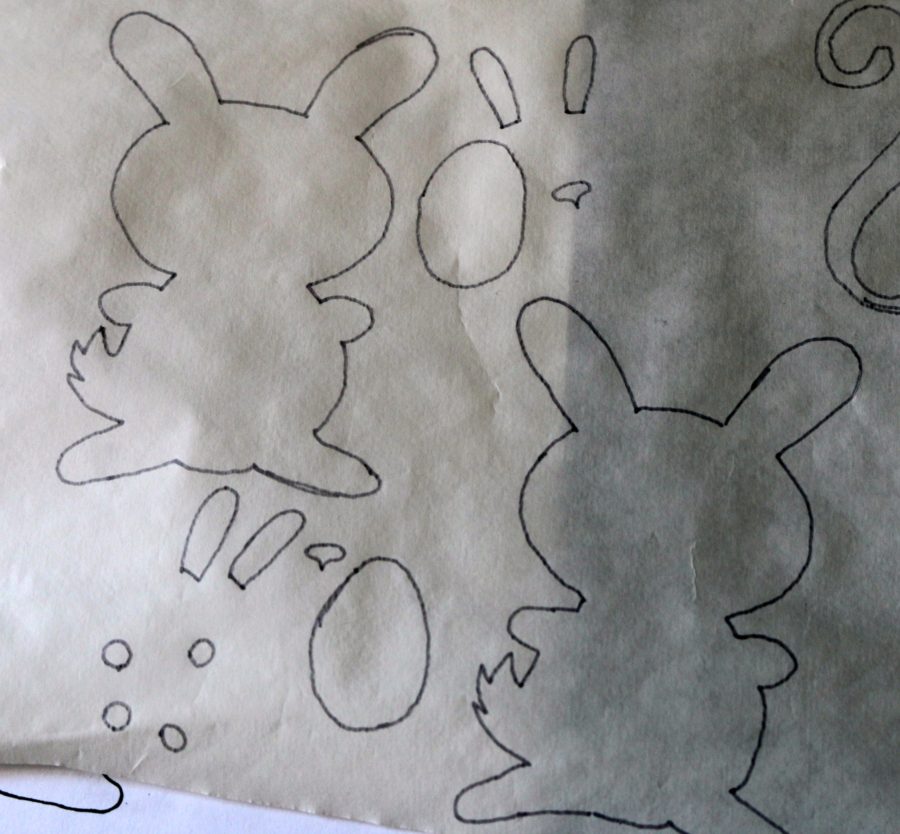 Step 2: Cut 1/4" around the pattern pieces. Iron pieces to the wrong side of your fabric. Cut directly on the pattern line.
Step 3: Place pieces on desired area of your banner. Iron in place.
Step 2: Cut 1/4" around the pattern pieces. Iron pieces to the wrong side of your fabric. Cut directly on the pattern line.
Step 3: Place pieces on desired area of your banner. Iron in place.
 Step 4: Make holes in the corner of your banner or (Optional) add grommets to the corner of each banner piece.
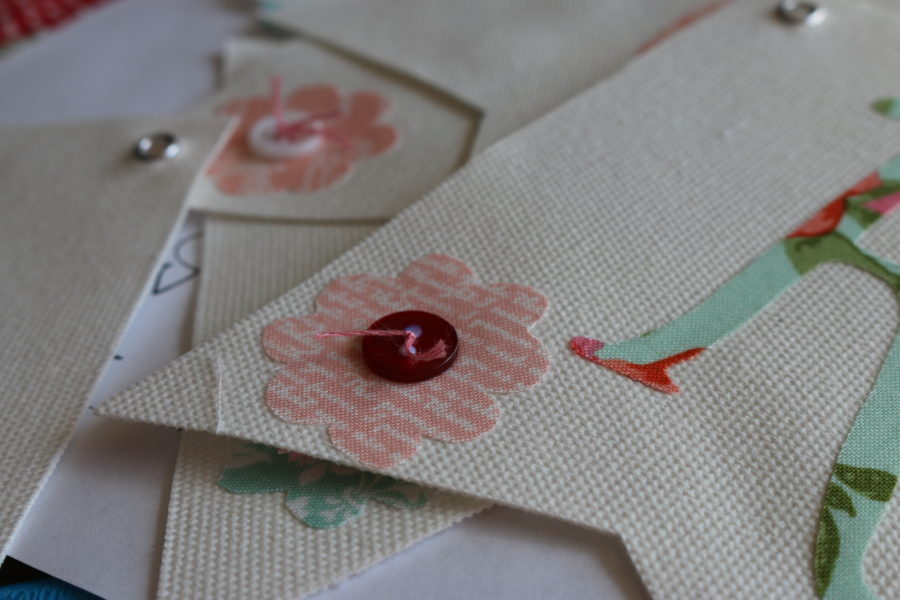
 Step 5: Thread a piece of floss through the button. Tie with a knot on the front.
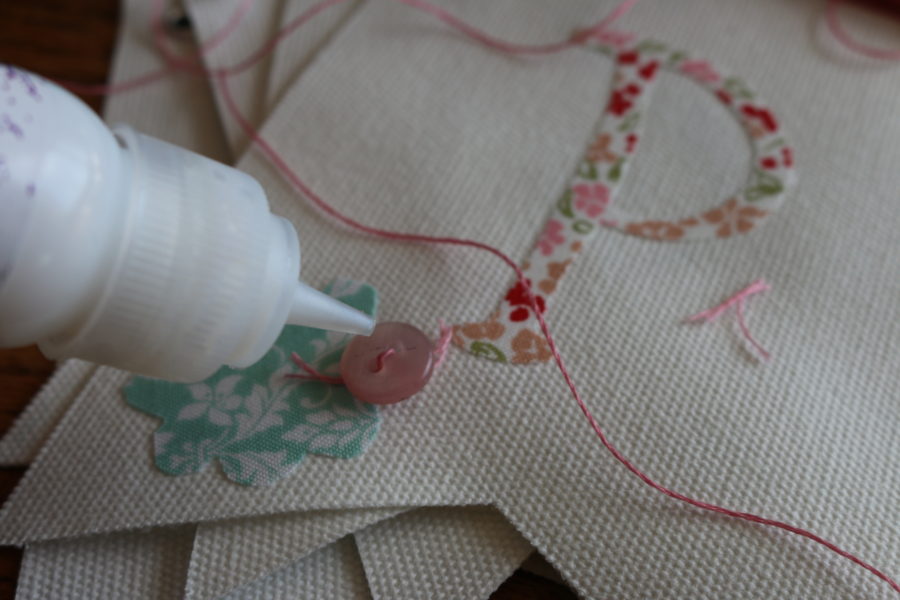 Step 6: Using your iCraft Mixed Media Adhesive put glue on the back of your button.
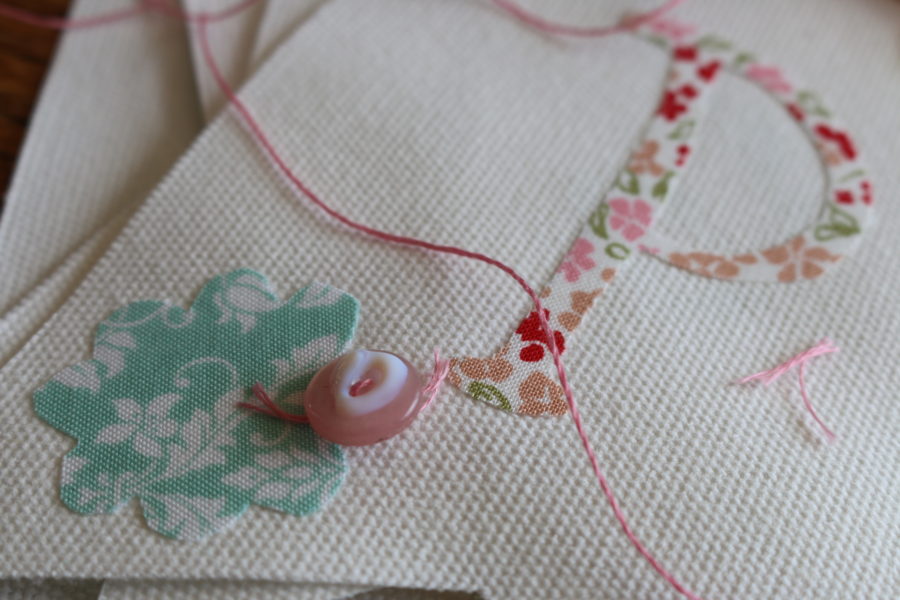 Step 7: Place button in the center of the flower.
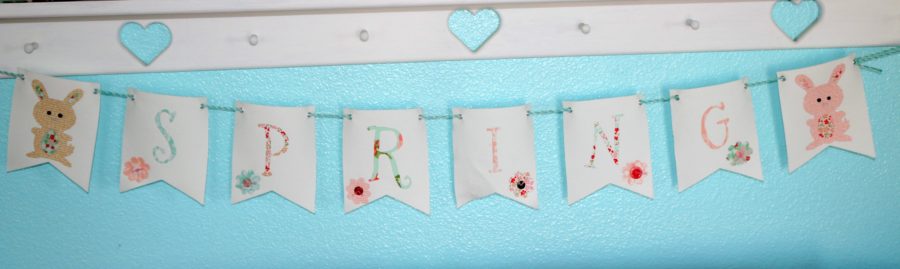
 Step 8: Run your twine or ribbon through the holes in the top of the banner.
Hang and Enjoy!!
Step 8: Run your twine or ribbon through the holes in the top of the banner.
Hang and Enjoy!!