No Products in the Cart
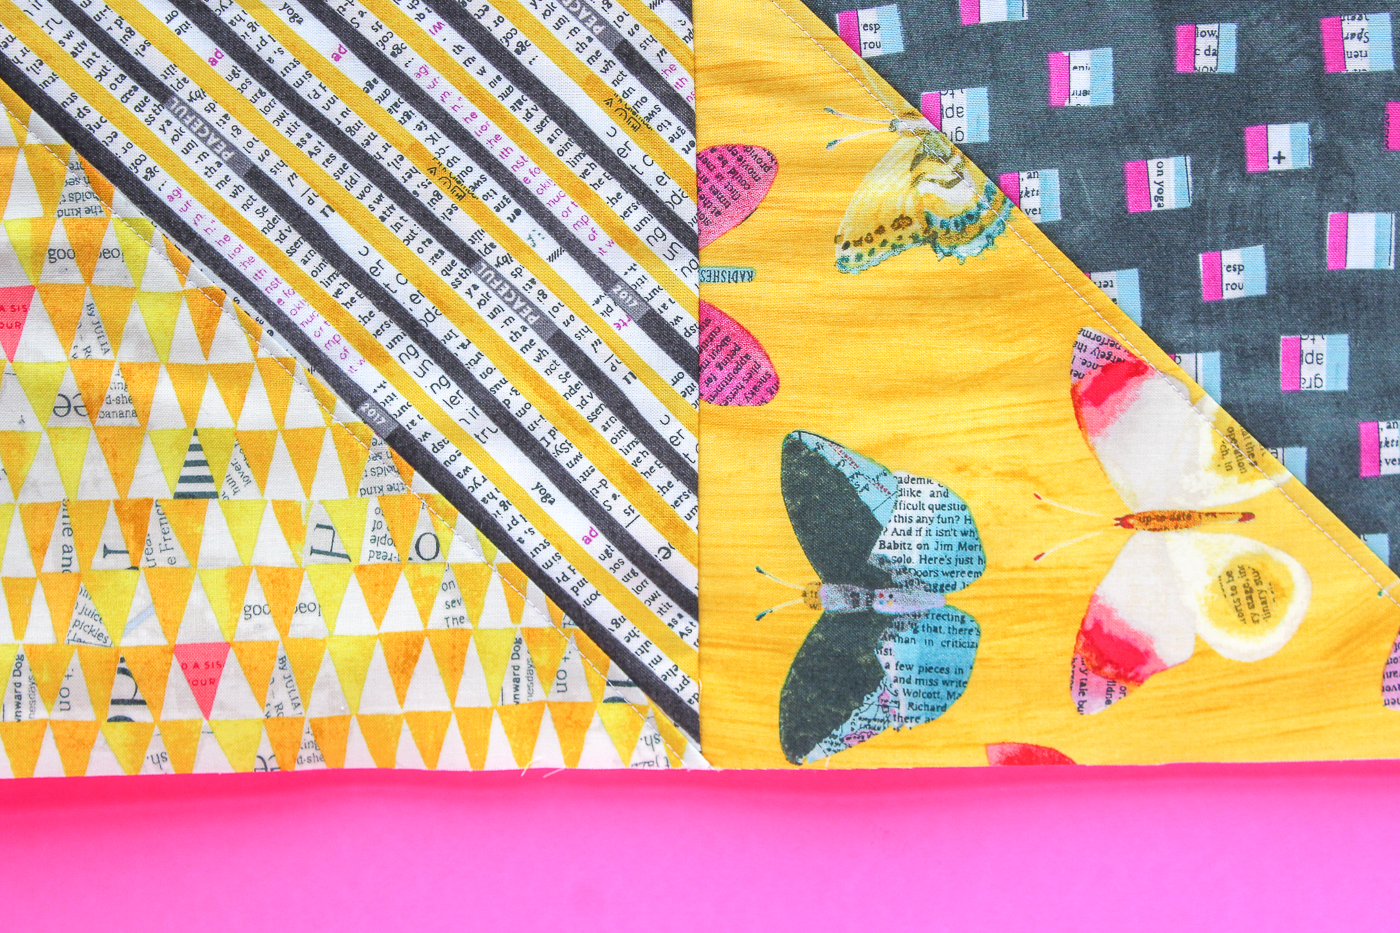
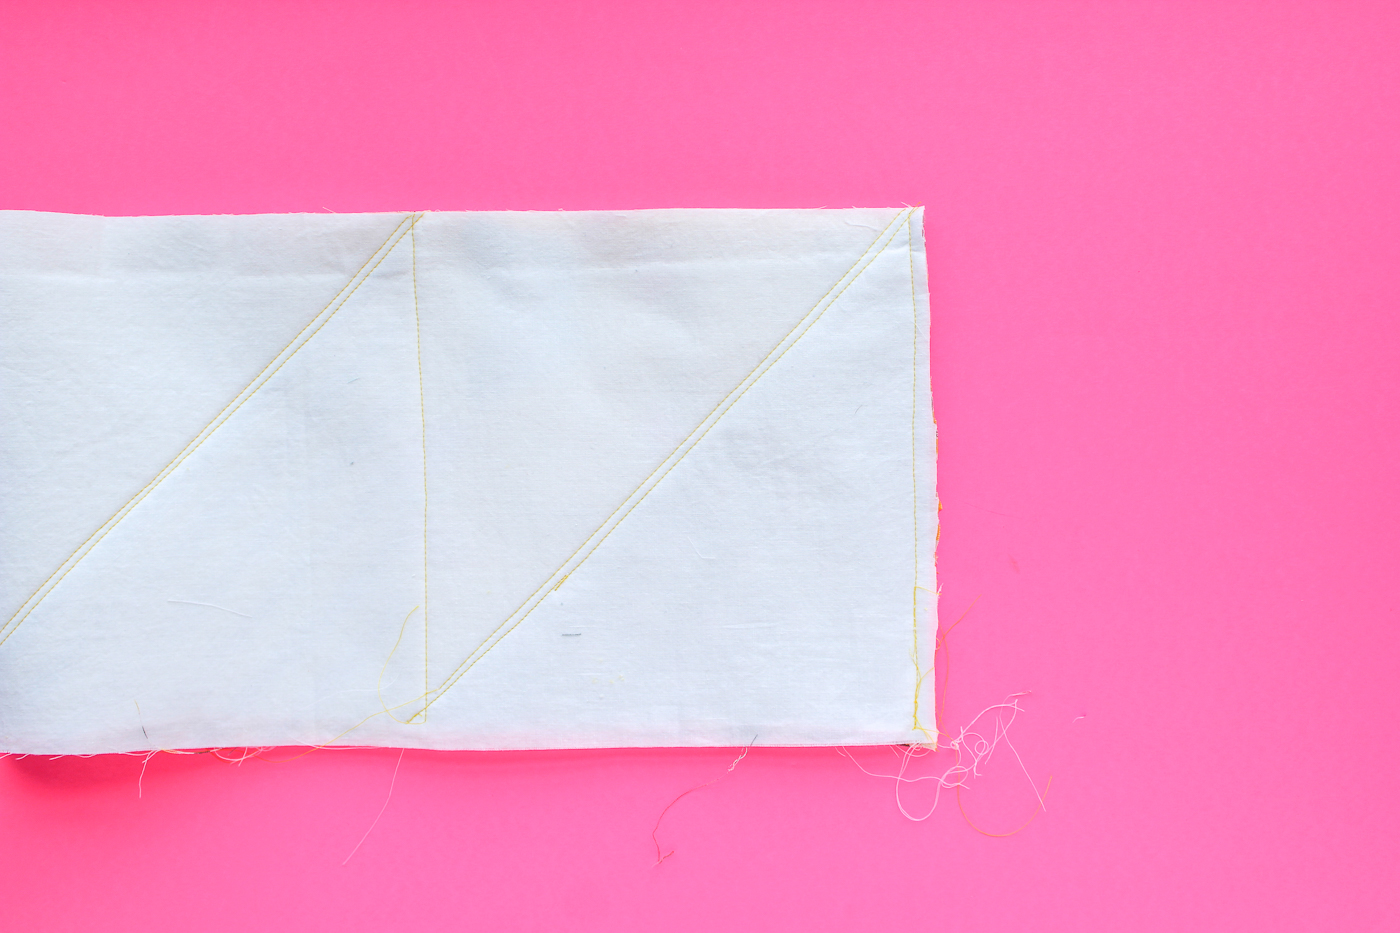
 Use the four squares to create 4 HST's. Then quilt as you go or piece together your HST's and you are ready to move to the next steps.
Square your piece. It should now measure 8.5" x 32.5".
Use the four squares to create 4 HST's. Then quilt as you go or piece together your HST's and you are ready to move to the next steps.
Square your piece. It should now measure 8.5" x 32.5".
 Fold the rectangle in half wrong sides out. Sew the to raw edges together. Square this edge (we will bind it later.)
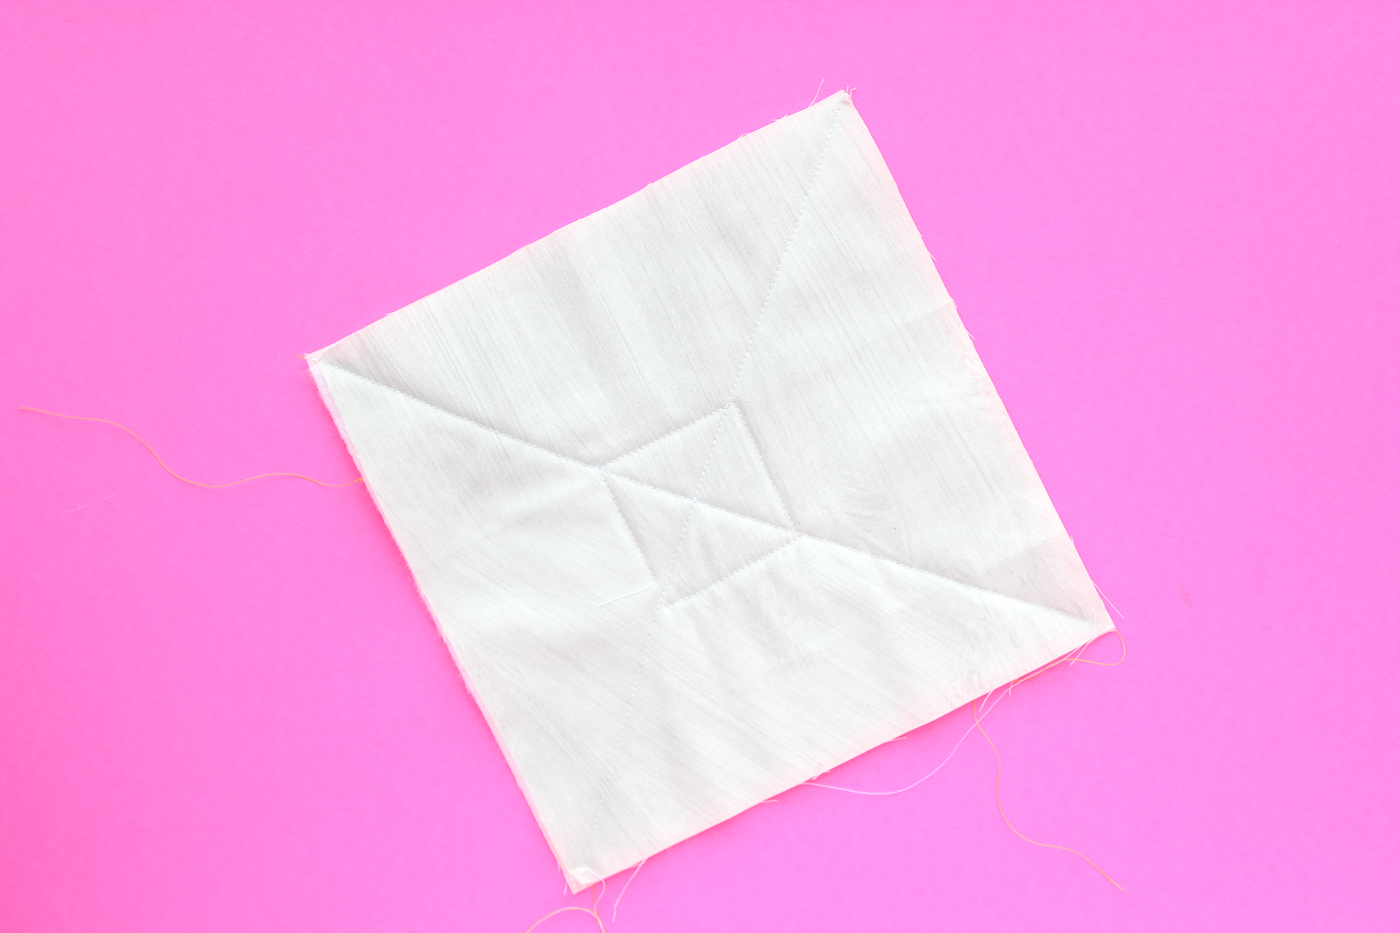
 Quilt the two bottom pieces together, you can use another piece of fleece in between the two squares.
 Pin the right side of the pieced strip to the square (pin on what will be the outside or the bottom of the square.)
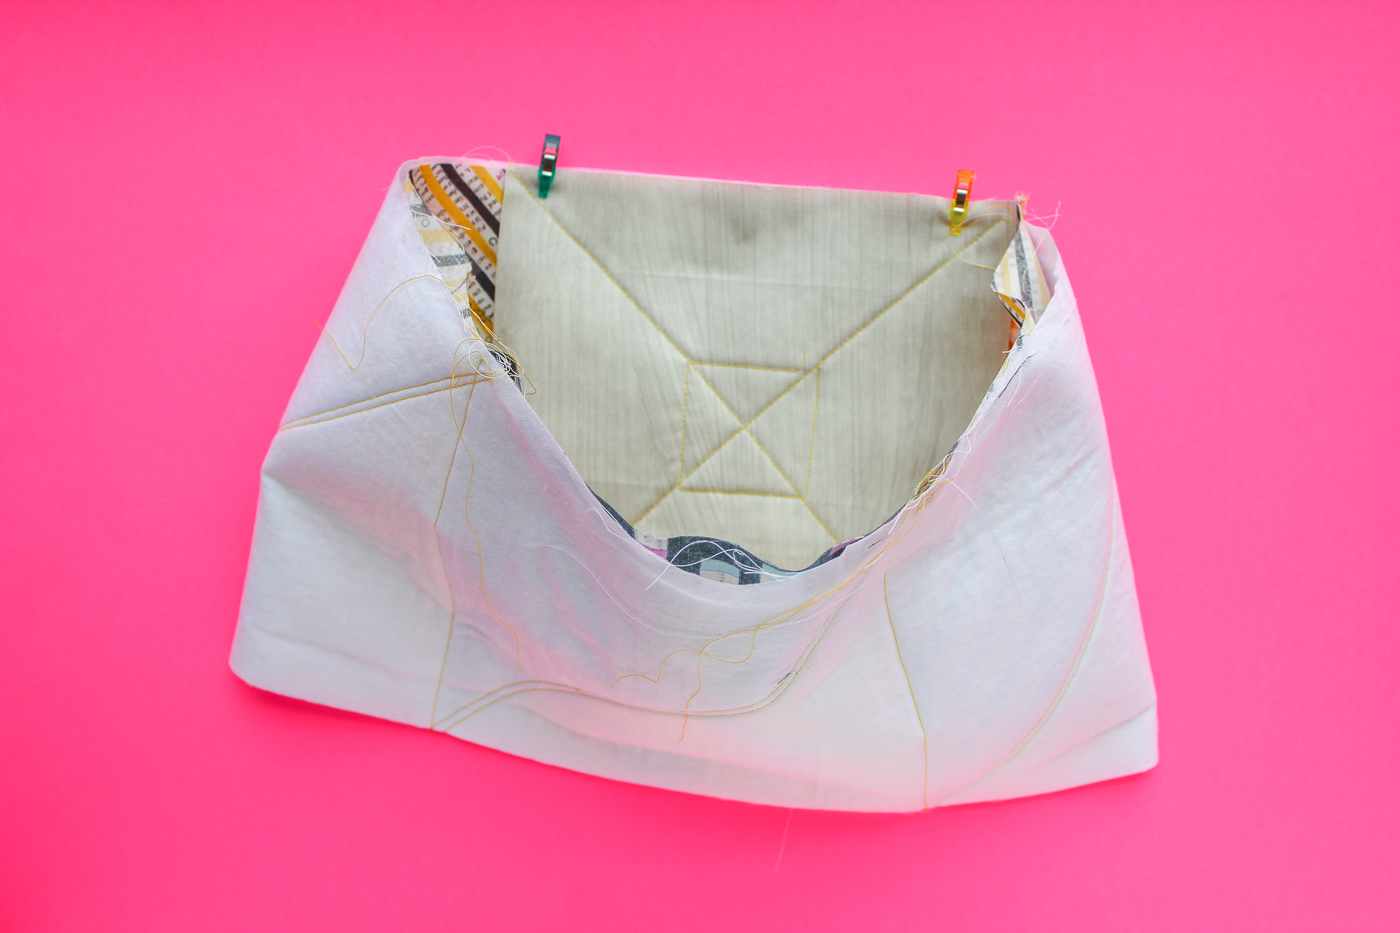 Sew this seam in place. Continue around the edges using the y-seam technique. If you need a refresher you can see my y-seam tutorial HERE. Now your box will look like this:
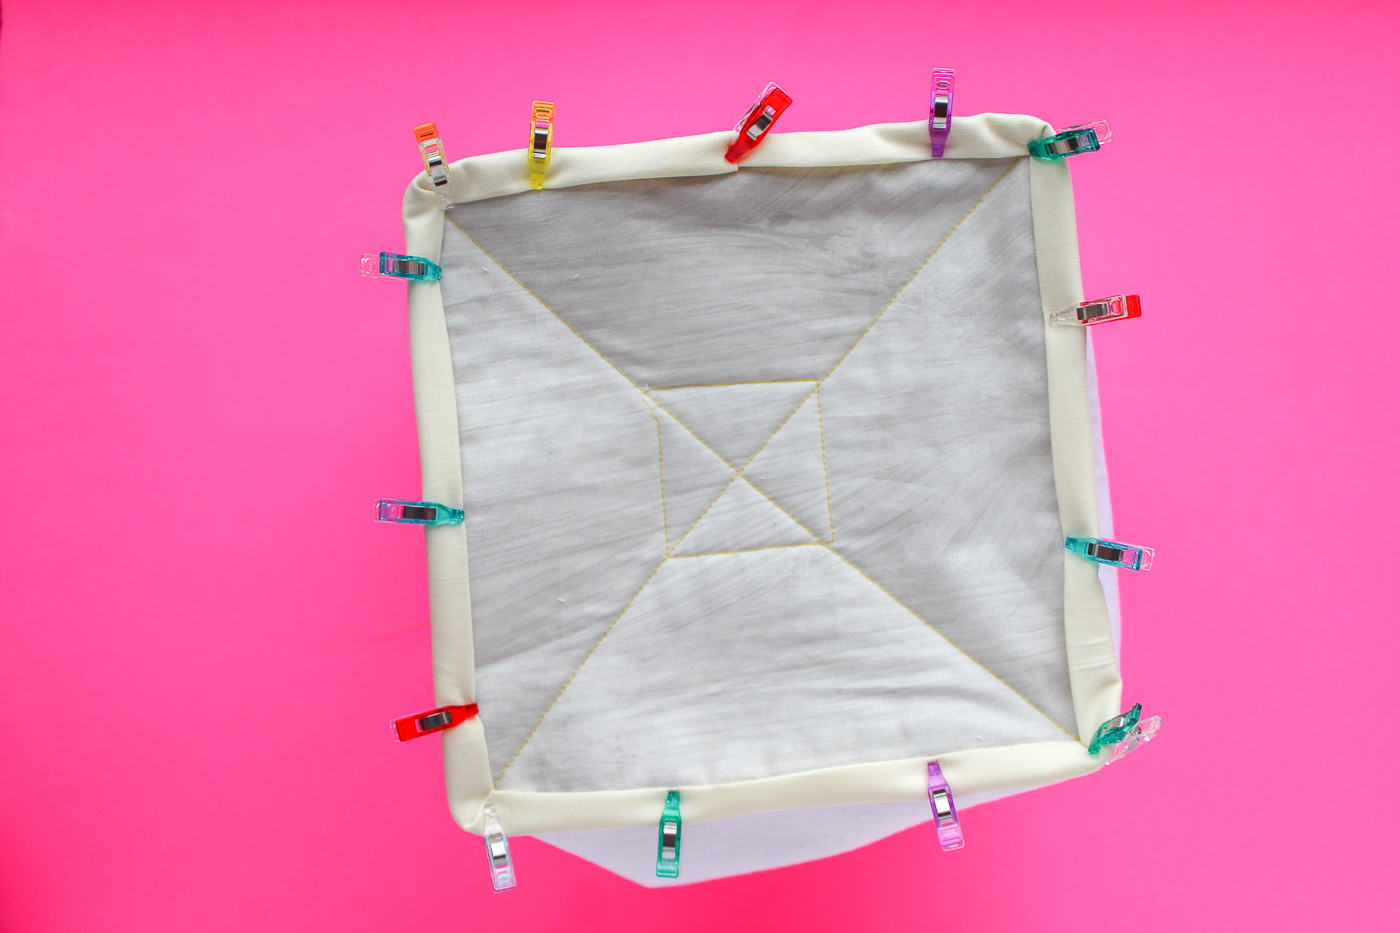
 Now it is time to add some binding to close up those raw edges. To create your own... take a long strip that is 1 1/2" wide. Press the strip in half. Then place it raw edge out towards the raw edge of the square. Then fold it over and sew it in place (see my binding tips and tricks HERE.)
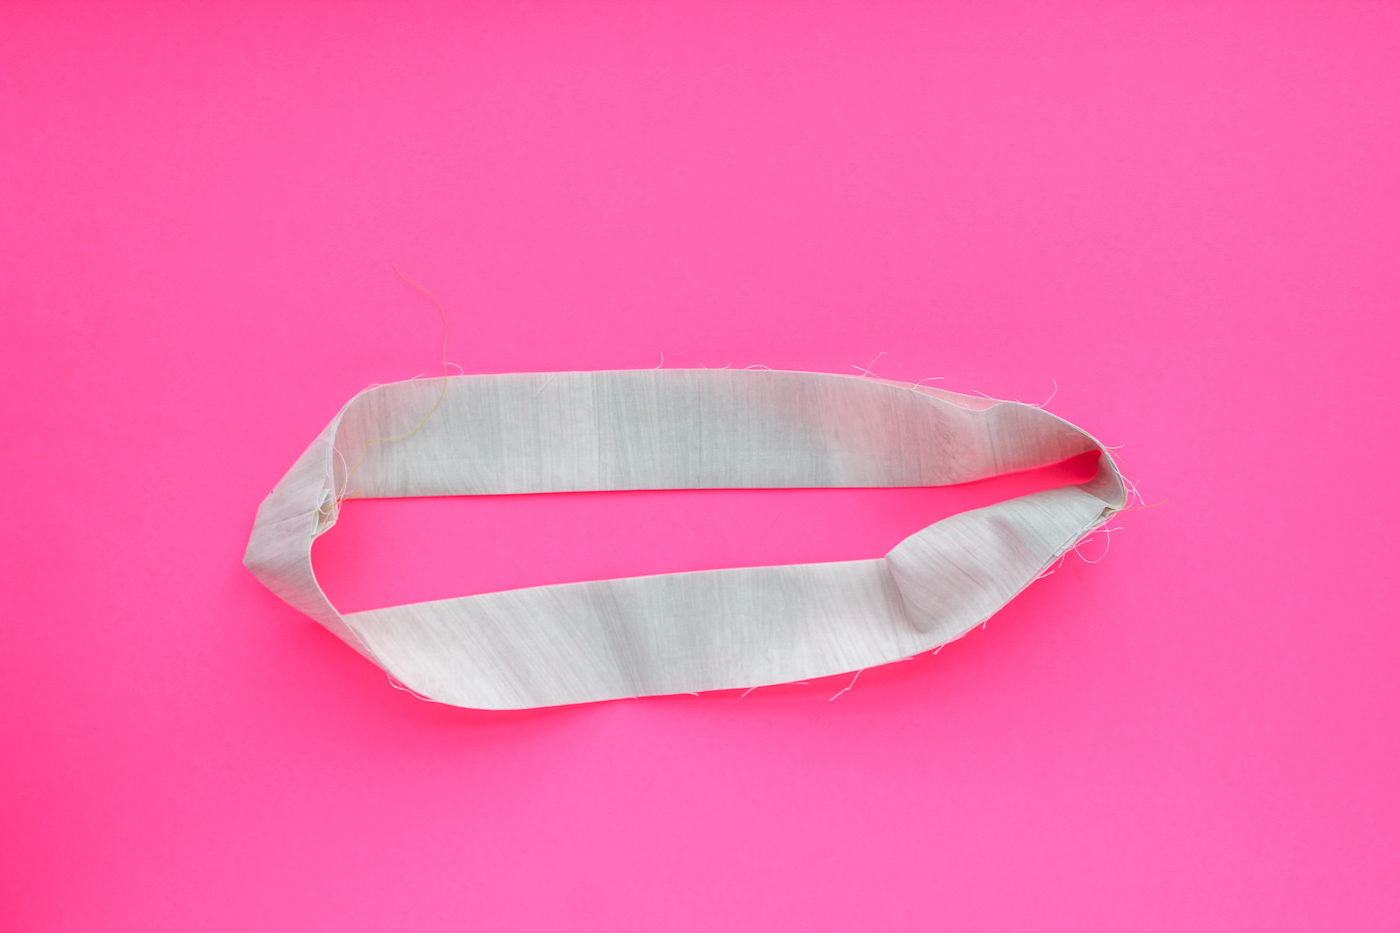
 You will also bind the raw edge on the side seam. Then turn the piece out. Take the last strip that measures 4" x 32 1/2" and sew the two short edges together. Press the seam open. Then press this in half so you have a band that is 2" wide.
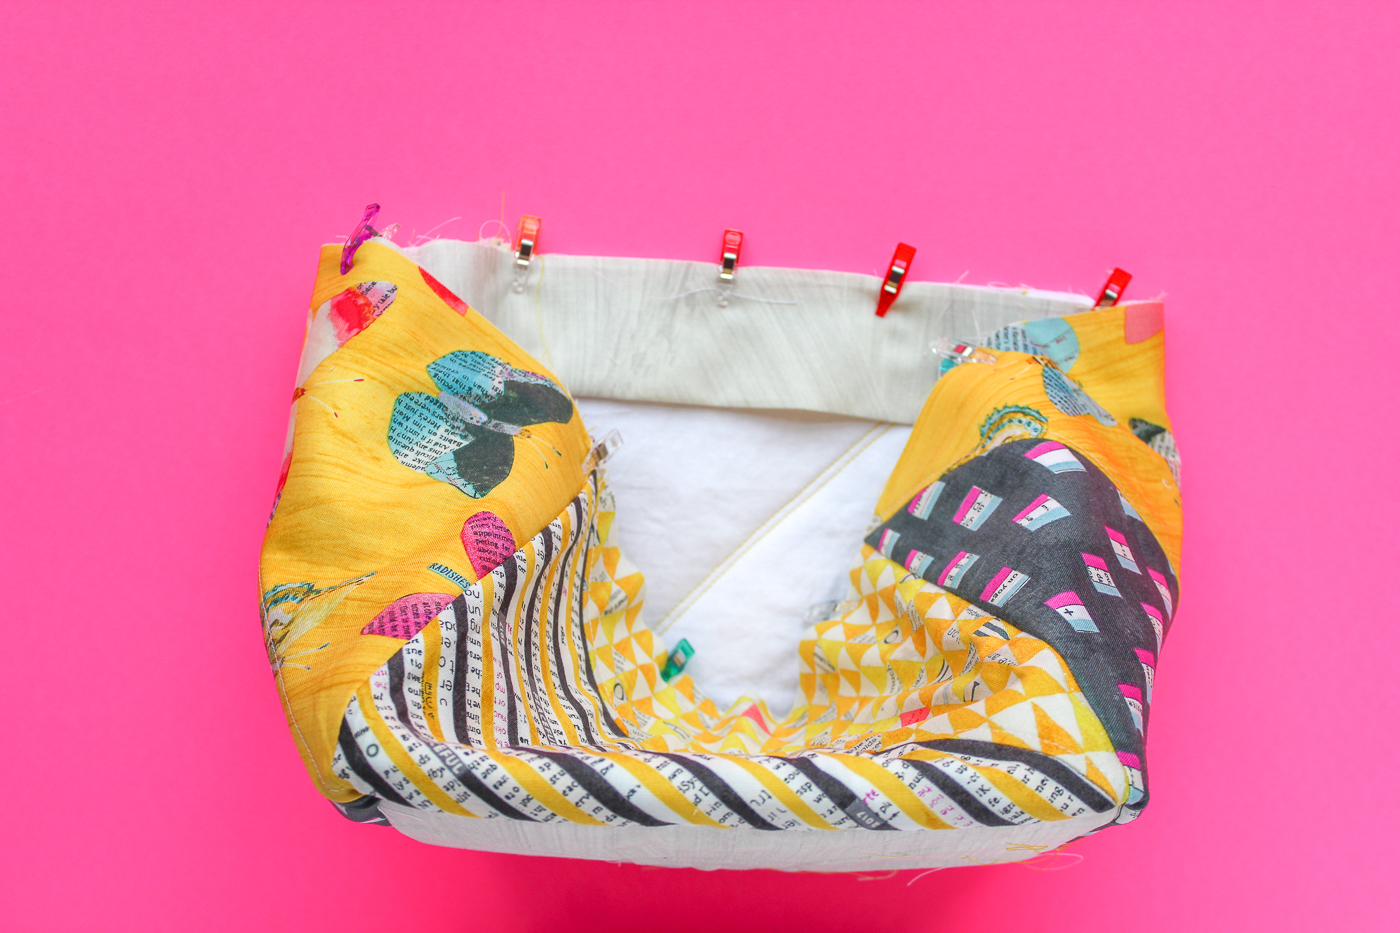
 Pin the raw edge of the band to the raw edge of the top of the square on the inside.
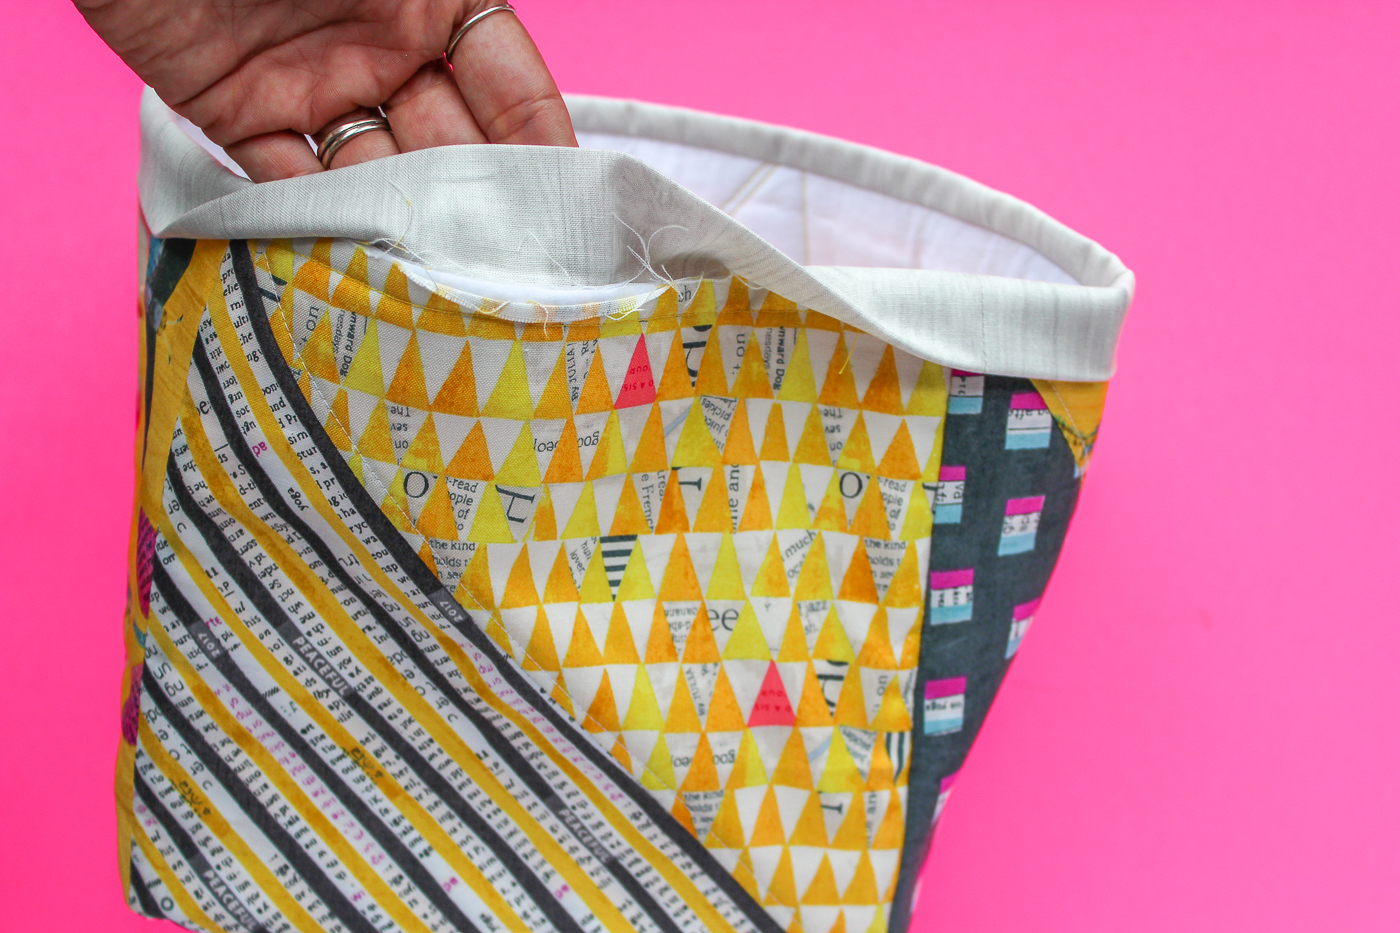
 Sew the band in place all the way around the top edge. Then fold it over and press to set the fold.
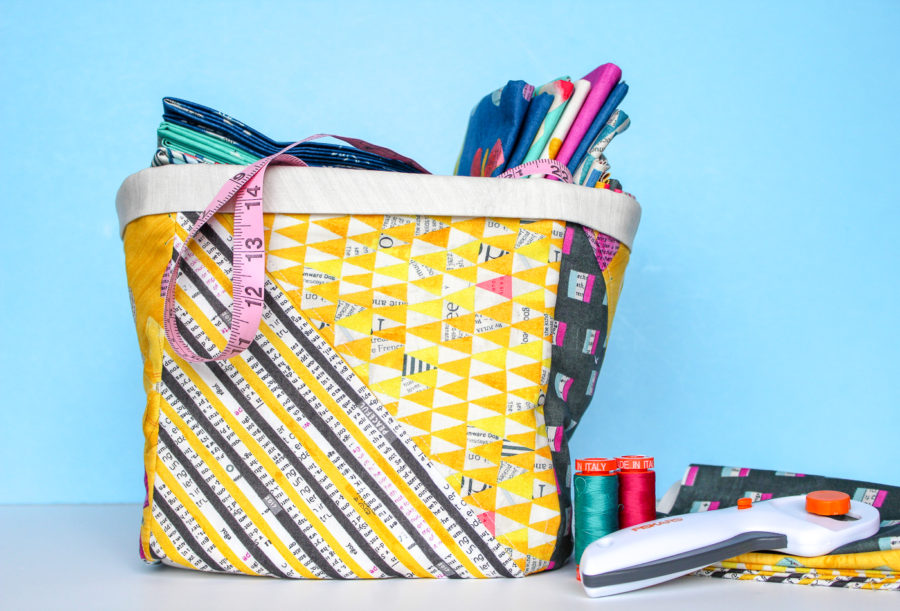
 You can add handles or labels as you choose. But I chose to keep them as is without any embellishments.
 Do you have any questions? Share them with me in the comments below.
You might also like:
Mermaid Stuffy // 15 Minute Tote Bag // Easy Sewing Patterns
Connect with Sew What Alicia