No Products in the Cart
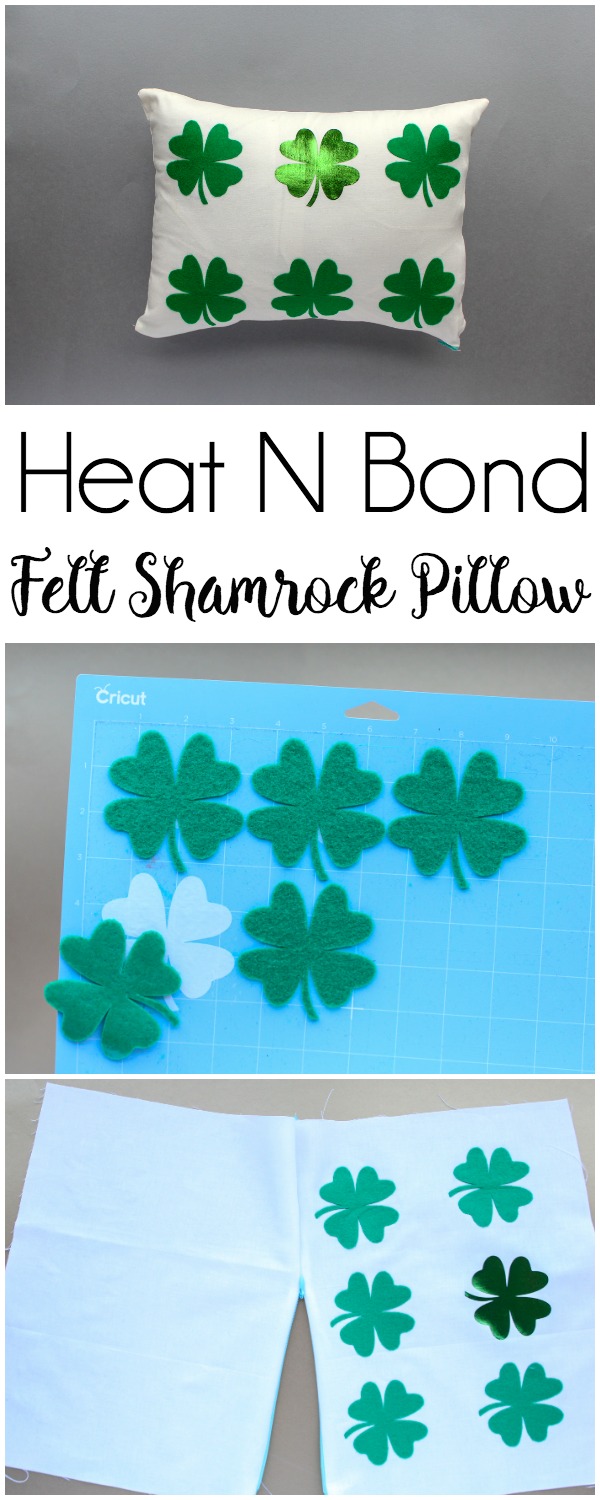
 Cut two rectangles of fabric that measure the same size as your pillow form. This will ensure a nice full pillow and a tight pillowcase that isn't loose. The fabric in this tutorial measures 11" x 14" as does the pillow form.
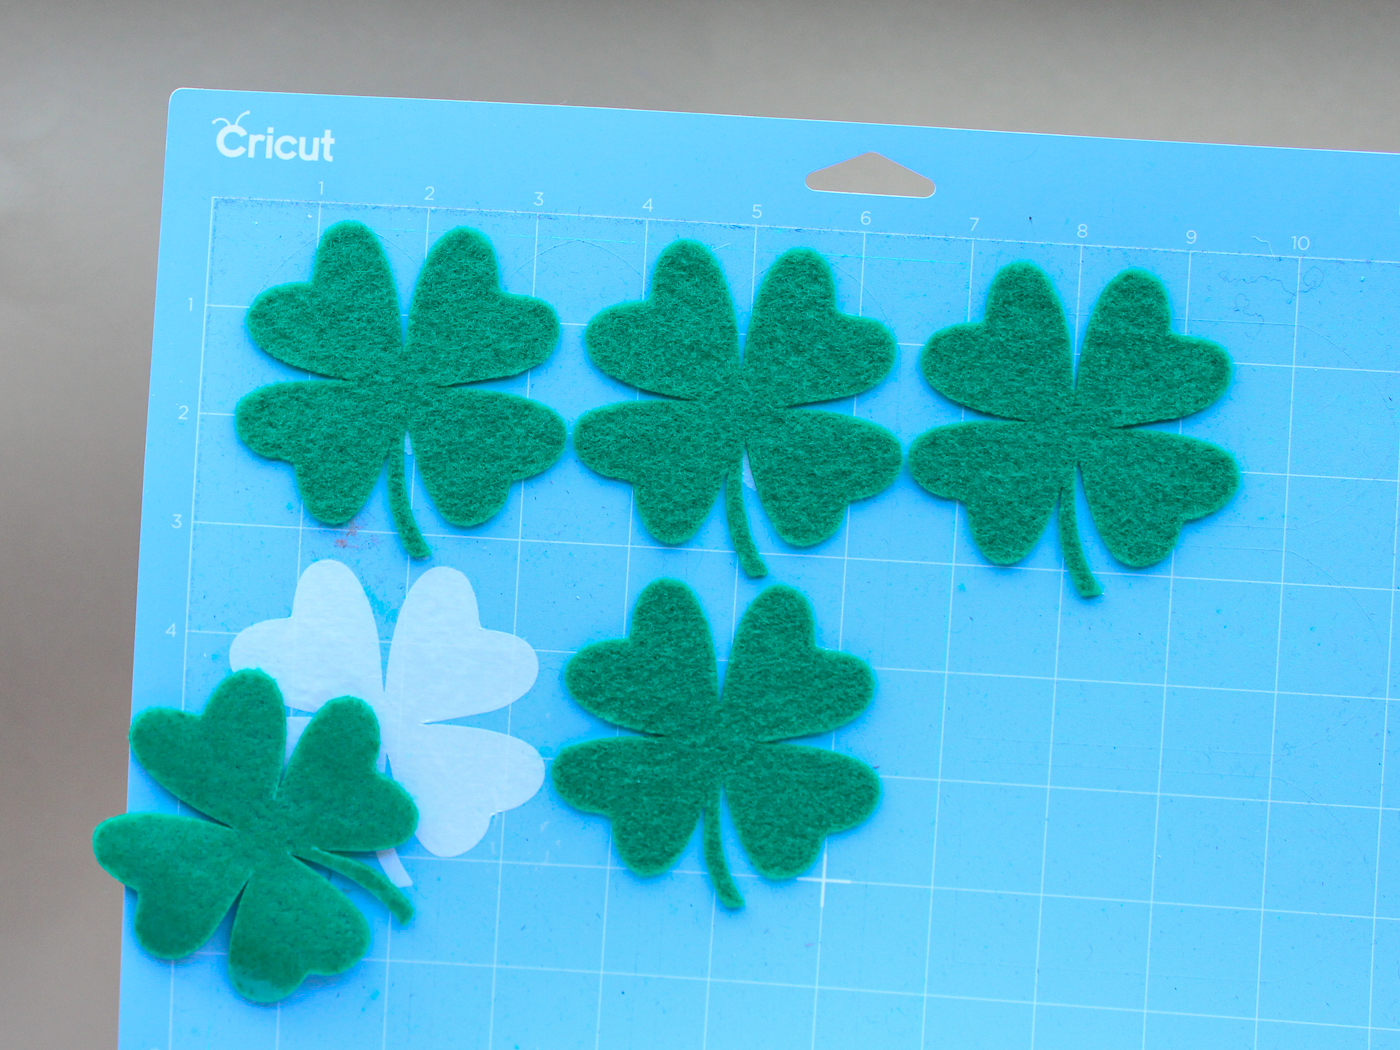
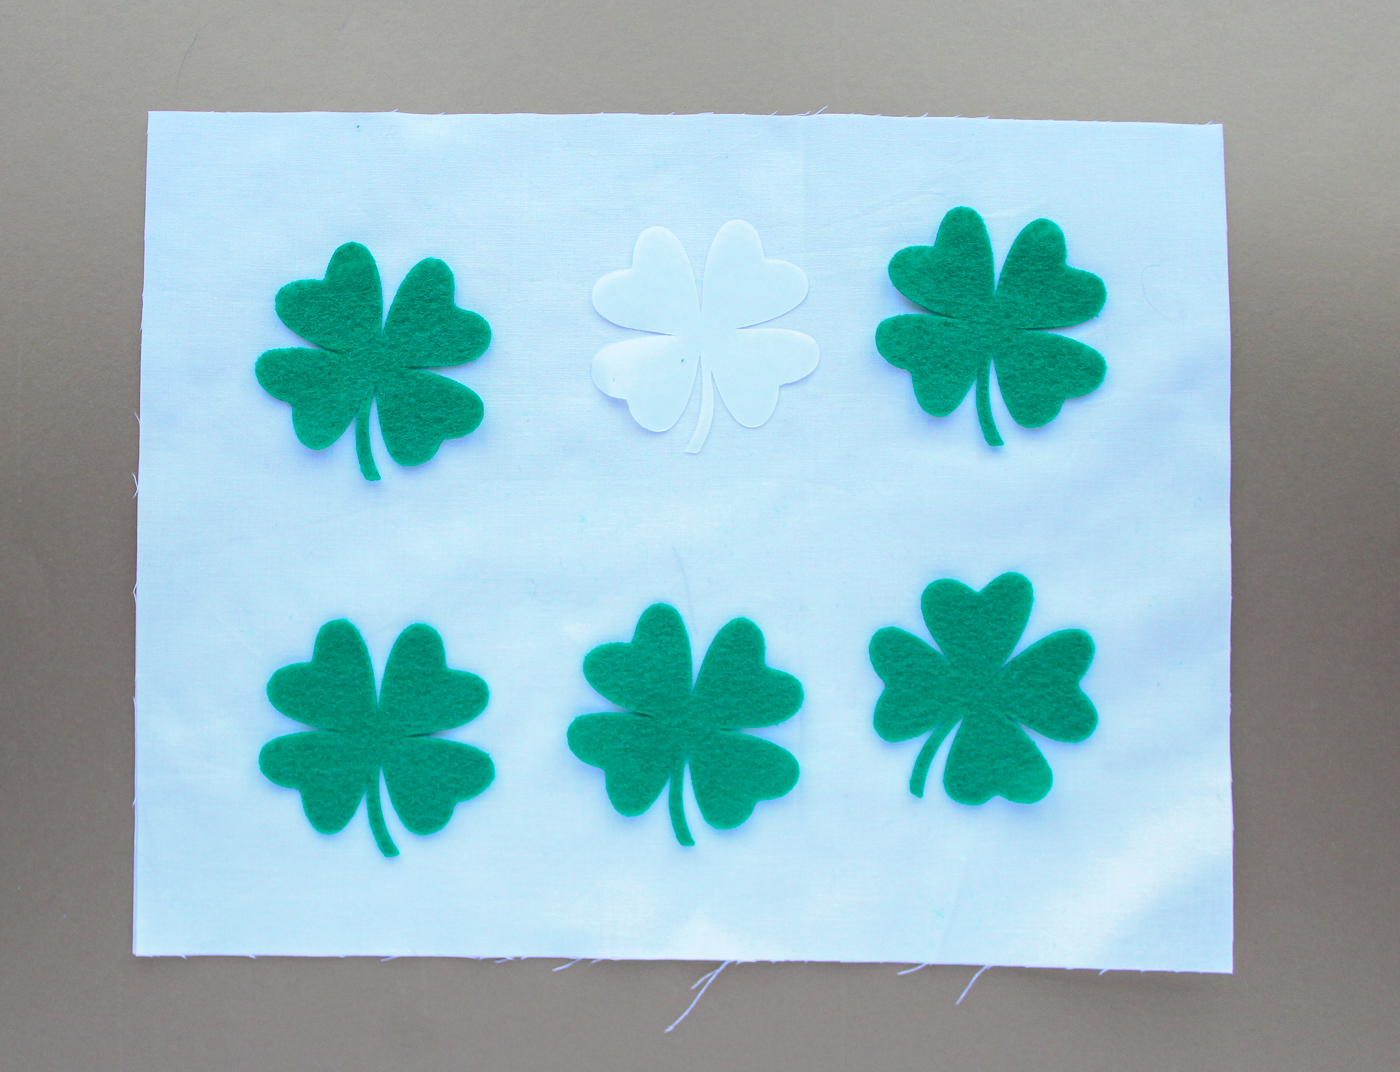
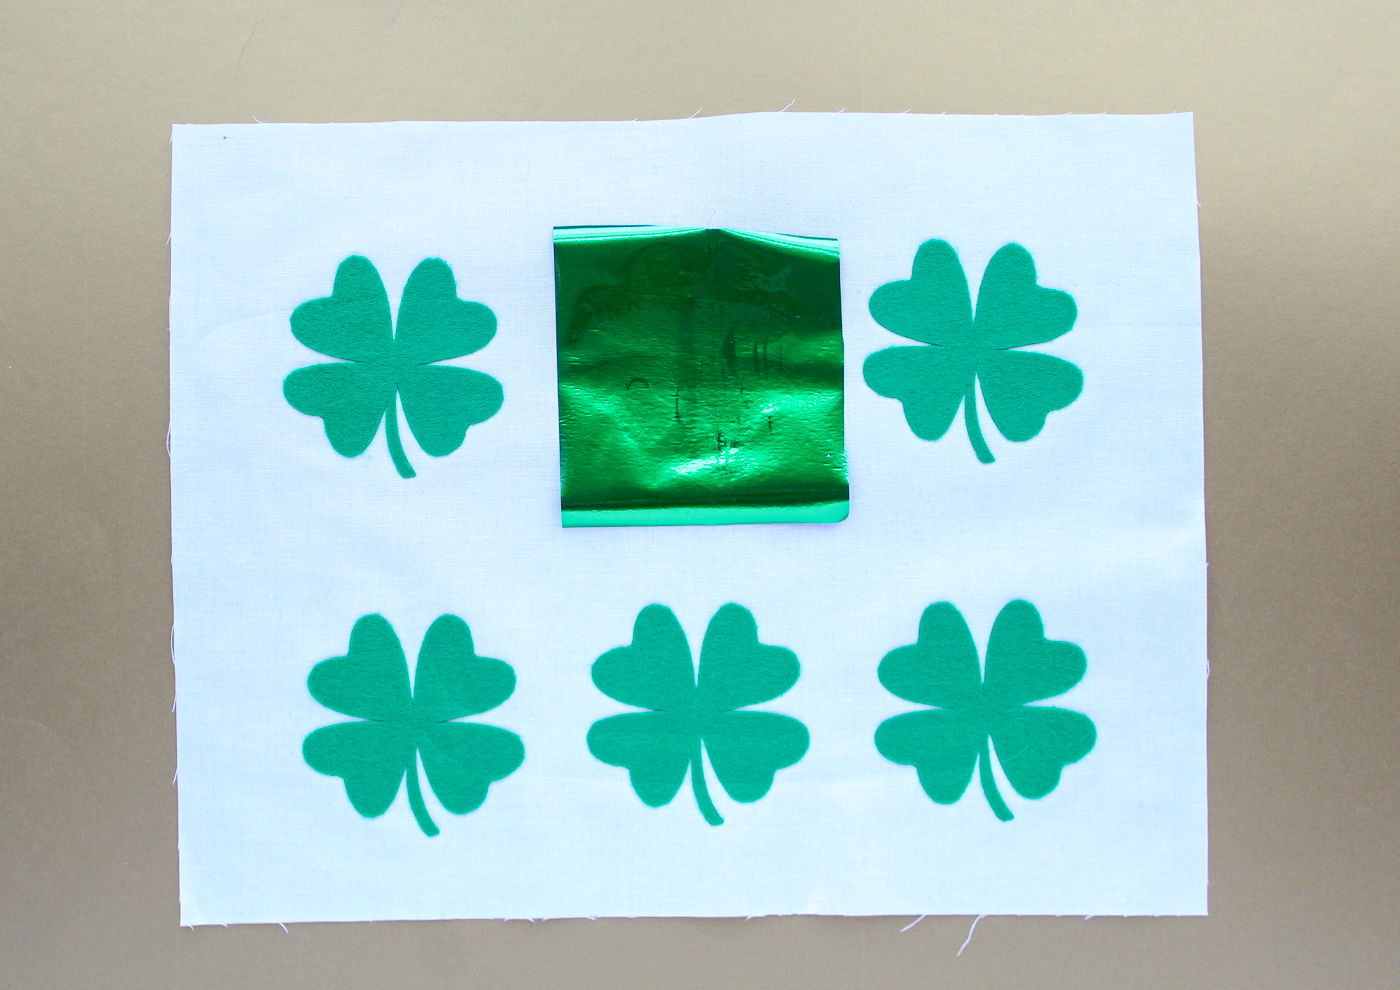
Cut one more shamrock from the Deco Foil Hot Melt Adhesive. For some visual interest try cutting this one mirrored the opposite way of the felt shamrocks. Line them all up on the fabric.
Cut two rectangles of fabric that measure the same size as your pillow form. This will ensure a nice full pillow and a tight pillowcase that isn't loose. The fabric in this tutorial measures 11" x 14" as does the pillow form.
Cut one more shamrock from the Deco Foil Hot Melt Adhesive. For some visual interest try cutting this one mirrored the opposite way of the felt shamrocks. Line them all up on the fabric.
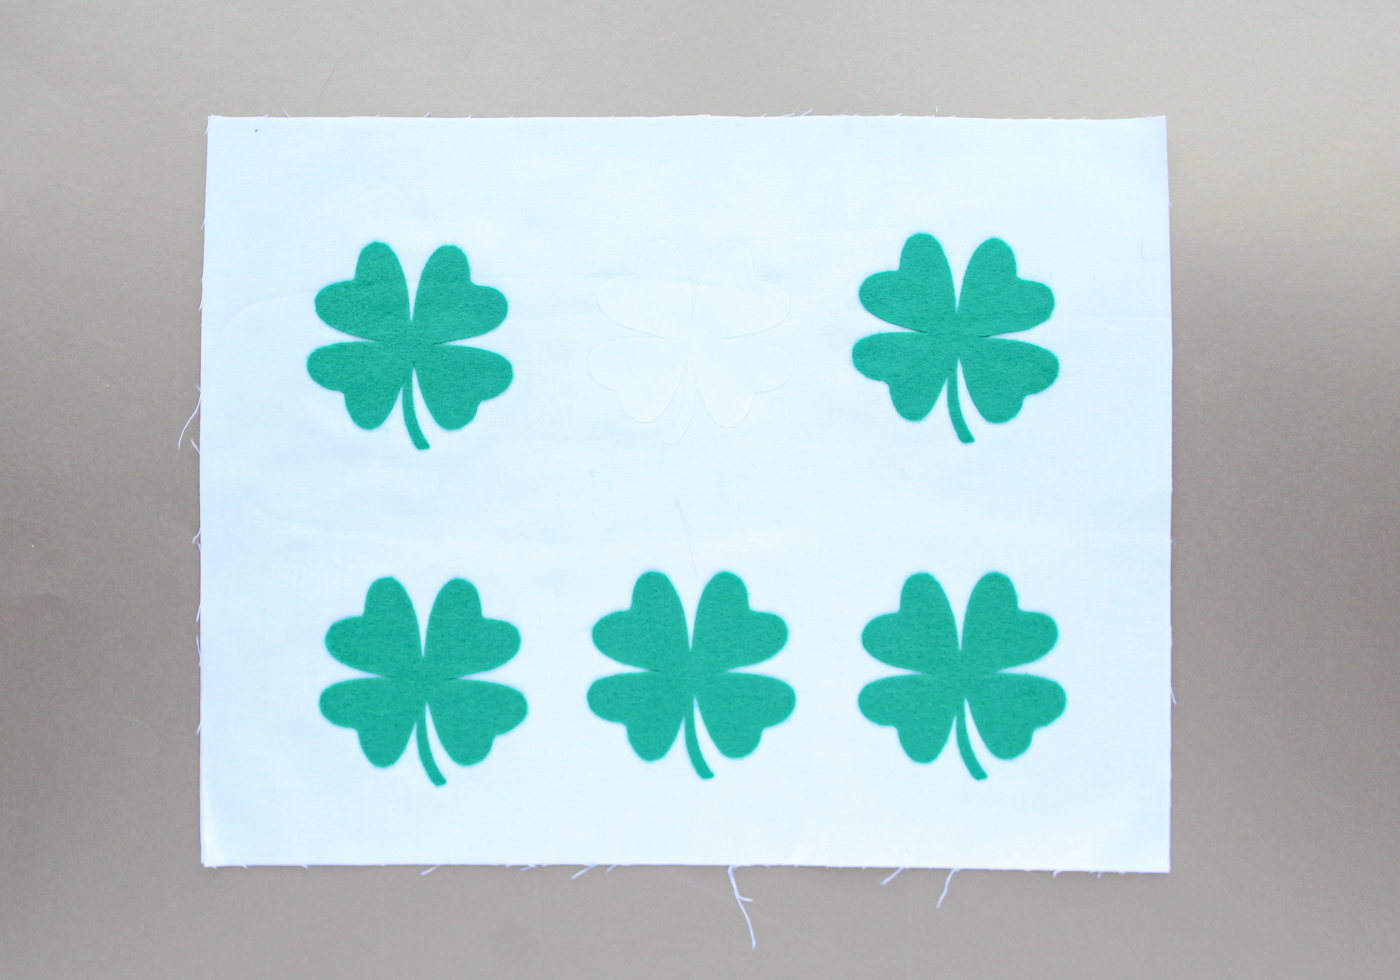
 Press the felt shamrocks onto the fabric. The EasyPress works really well to adhere the HeatnBond Ultra. You could also use a heat press or iron. Now press the hot melt onto the fabric.
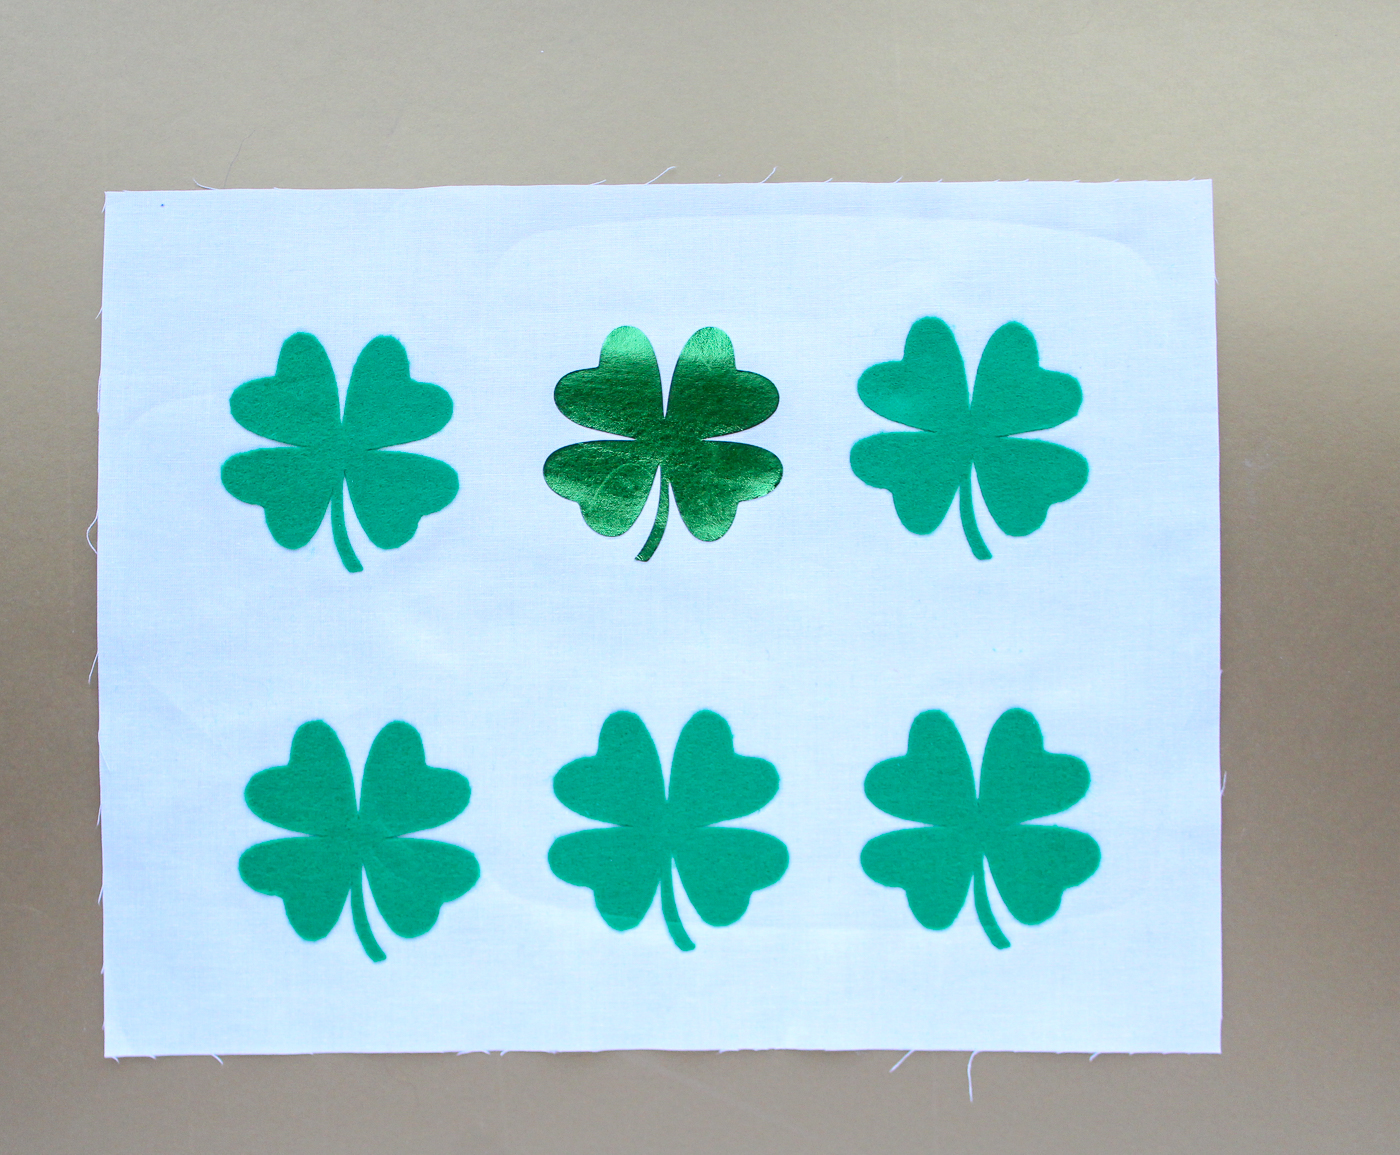
 Last, attach the Deco Foil to the adhesive once you have removed the paper. Make sure and adhere everything else because you won't be able to hit the pillow with heat again after the foil has been added.
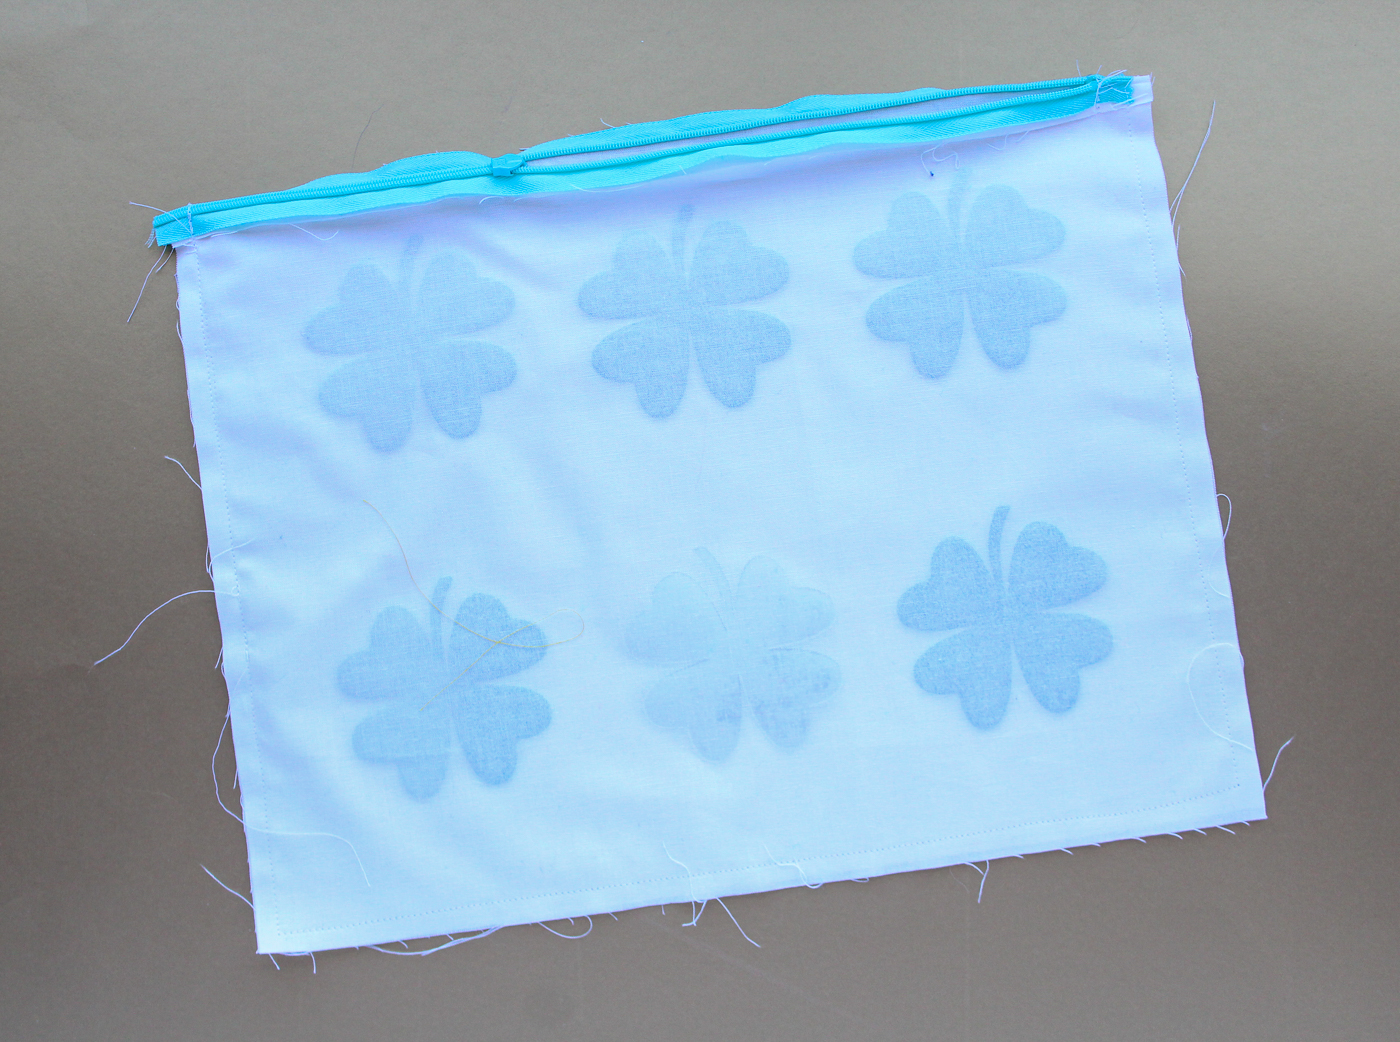
 Add an invisible zipper to the bottom of the front and back of the fabric pieces.
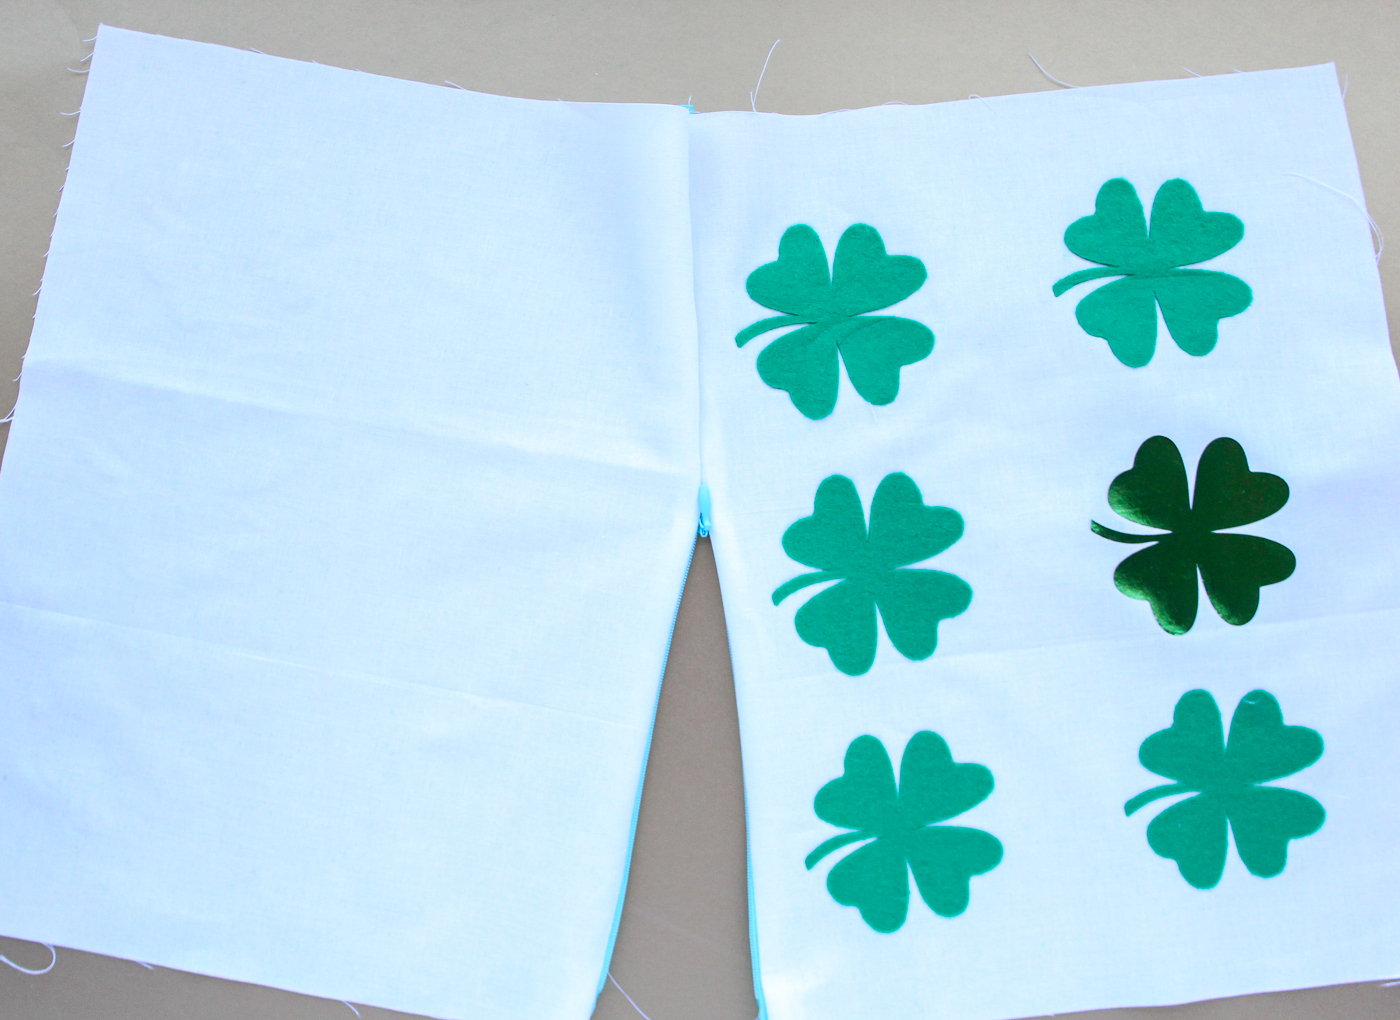 Line the two pieces upright sides facing. Open your zipper. Sew around the remaining three sides.
 Stuff the pillow form into the pillowcase you just created.
** Optional: Add some embroidered quilting lines to the felt shamrocks for even more visual interest (not pictured.)
Stuff the pillow form into the pillowcase you just created.
** Optional: Add some embroidered quilting lines to the felt shamrocks for even more visual interest (not pictured.)
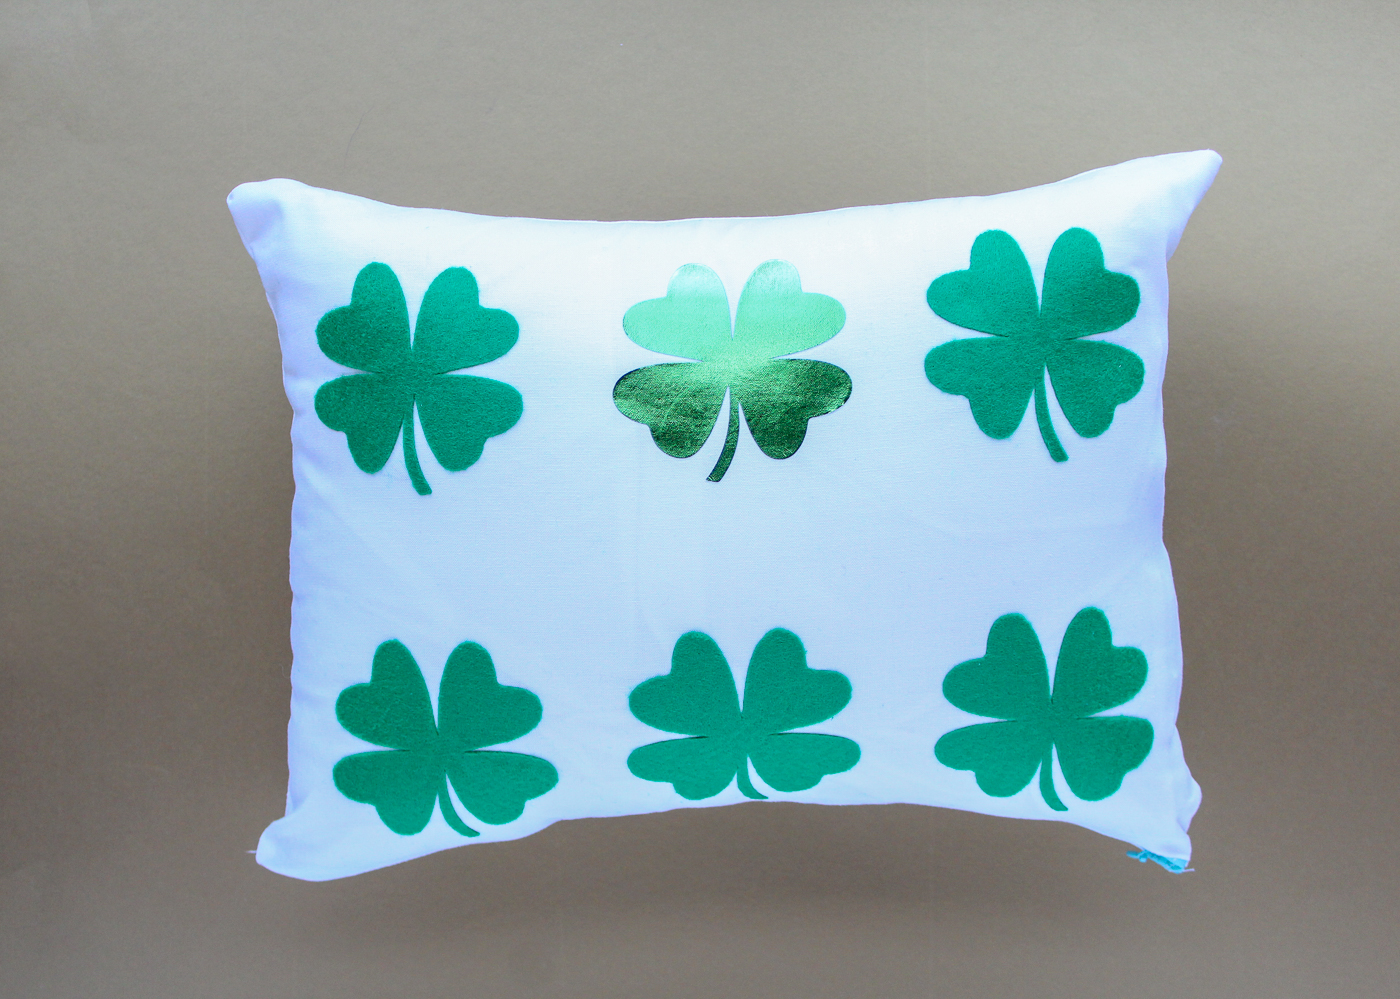 The HeatnBond Ultra combined with the felt and the EasyPress makes for a really wonderful felt appliqué. That is it! Now you have some fun decor for the luckiest of holidays!
You might also like these Sew What Alicia projects:
How to Read a Sewing Pattern // Felt Embroidery Hoop Art // Best Cricut for Sewing
The HeatnBond Ultra combined with the felt and the EasyPress makes for a really wonderful felt appliqué. That is it! Now you have some fun decor for the luckiest of holidays!
You might also like these Sew What Alicia projects:
How to Read a Sewing Pattern // Felt Embroidery Hoop Art // Best Cricut for Sewing
Connect with Sew What Alicia