Hey there! Andy here from
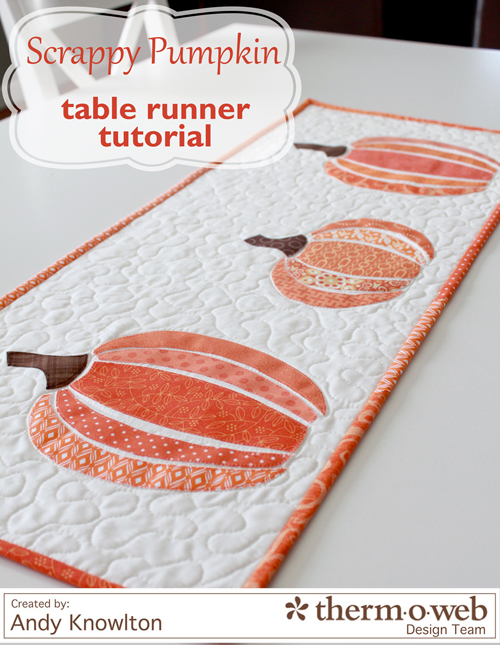
A Bright Corner and today I'm bringing you a tutorial for a Scrappy Pumpkin Table Runner. I know that Halloween is just over a week away, but guess what? This table runner is not only great for Halloween but works perfectly as Thanksgiving decor as well. So you can make one now and leave it out for another month! And if you're so busy right now you can't find time for any quilting projects, don't worry - I have a quick and easy no-sew variation too! Let's get started.
 Supplies needed:
Step 1:
Supplies needed:
Step 1: Print the
Scrappy Pumpkin templates on to the
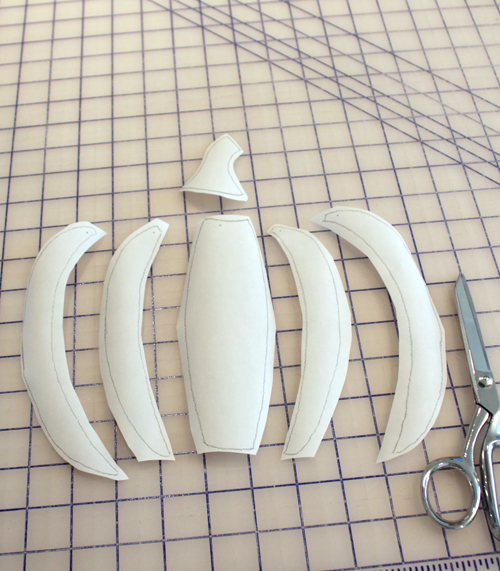
HeatnBond® Lite EZ Print Lite sheets. These sheets are great because you can just put them straight into your printer! There is one template for a tall pumpkin and one for a short. You will need to print the tall template twice. (You can use regular
HeatnBond® Lite here as well. Just print each template once on to regular paper, and using a pencil, trace the shapes for one short and two tall pumpkins onto the
HeatnBond® Lite.) Cut out around each shape, leaving about 1/4" all the way around. **The little dots you see on the template pieces mark the top end of each piece. This will help later when laying out each pumpkin.
 Step 2:
 Iron the
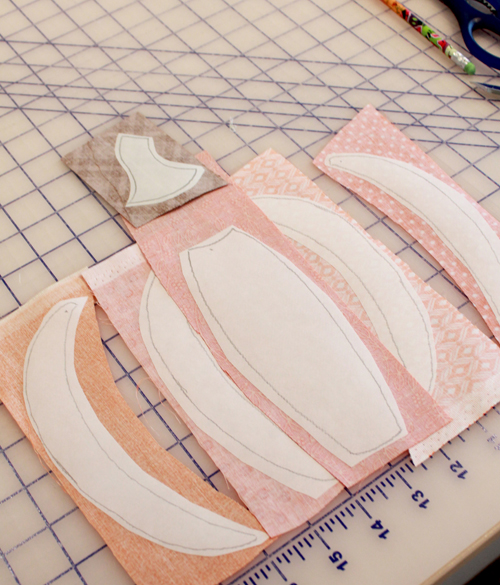
HeatnBond® Lite pumpkin shapes to the wrong side of your orange fabric scraps. Iron the stem shapes to the wrong sides of the brown fabric scraps. Using sharp scissors, cut out along the drawn line.
 Step 3:
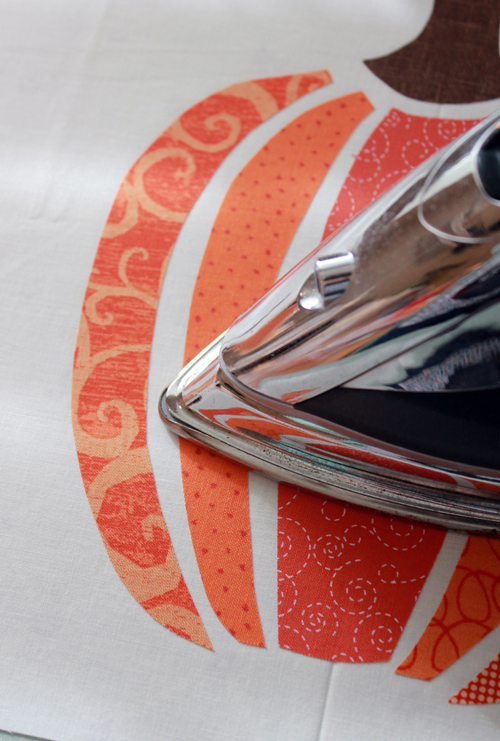
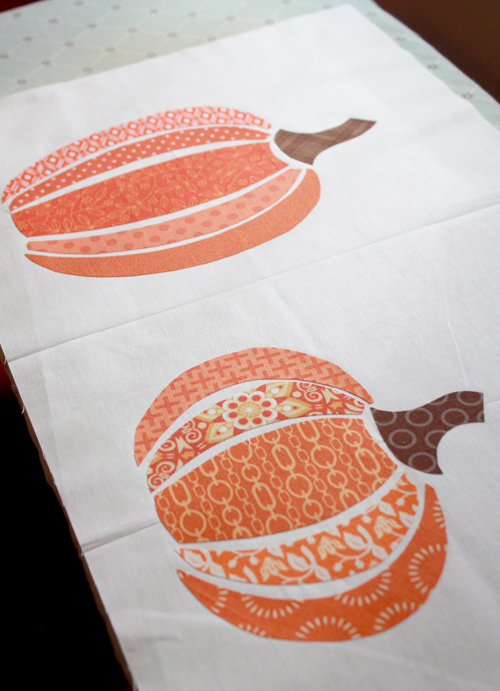
 Cut the table runner background piece to be 12.5" x 31.5". Find the center, and layout the short pumpkin shapes in the center of the table runner. Use the dots on the template pieces to know which end is the "top" of the pumpkin. Be sure to leave about 1" of space between the bottom of the pumpkin and the bottom edge of the table runner, to allow for the binding. When you are happy with the layout, peel off the paper backing and press pieces in place.
 Step 4:
 Repeat for the two tall pumpkins. Place each tall pumpkin on either side of the short one, lining up the bottoms of the pumpkins. Press in place.
 Step 5:
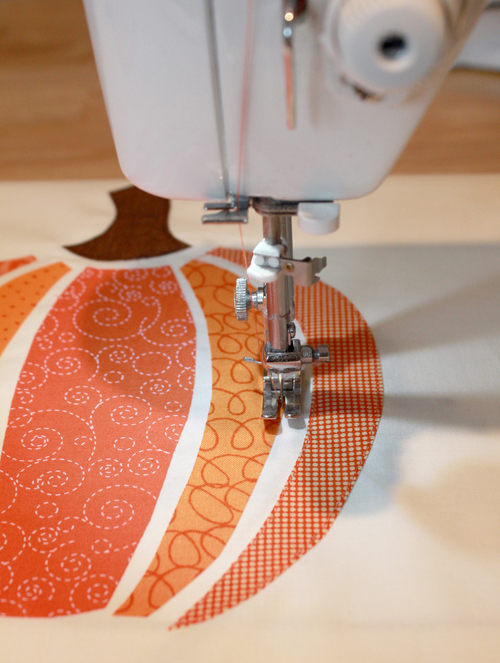
 Using coordinating thread and either a straight or zig zag stitch, sew around the outside edge of each piece.
 Step 6:
 Baste the layers of the table topper together using the
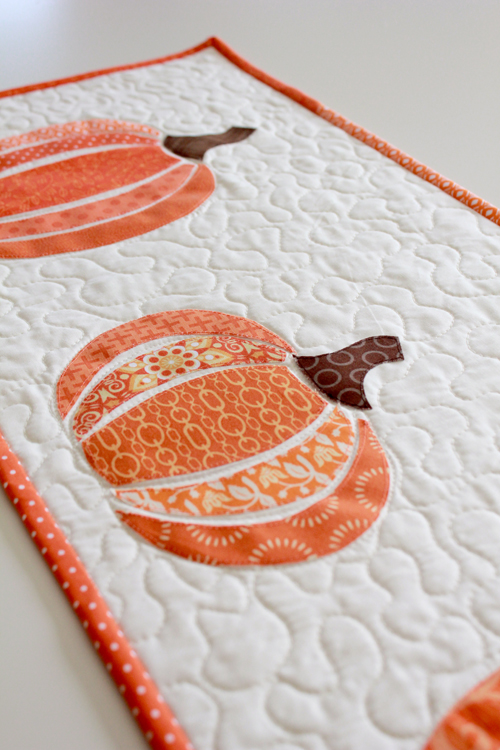
Spray n Bond® basting adhesive spray: backing (right side down), thin batting, top (right side up). Quilt as desired. For mine, I did meandering quilting around each pumpkin and did some straight line quilting between each pumpkin slice to add some definition.
 Step 7:
 Trim off the extra batting and backing, and bind as you would a quilt.
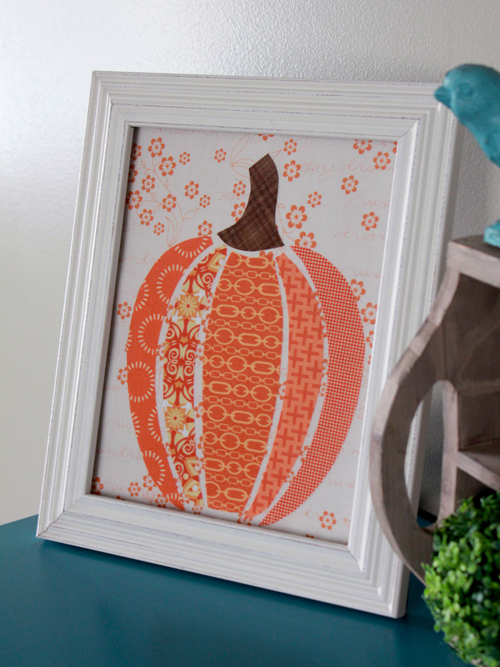
And now for the quick and easy, no-sew option! Print one tall pumpkin template onto a sheet of
HeatnBond® EZ Print Lite, cut out the pieces and iron on to fabric scraps as in the full project above. Cut a piece of background fabric to be 8" x 10". Find the center, and iron the pumpkin pieces on, leaving space along the top and bottom.
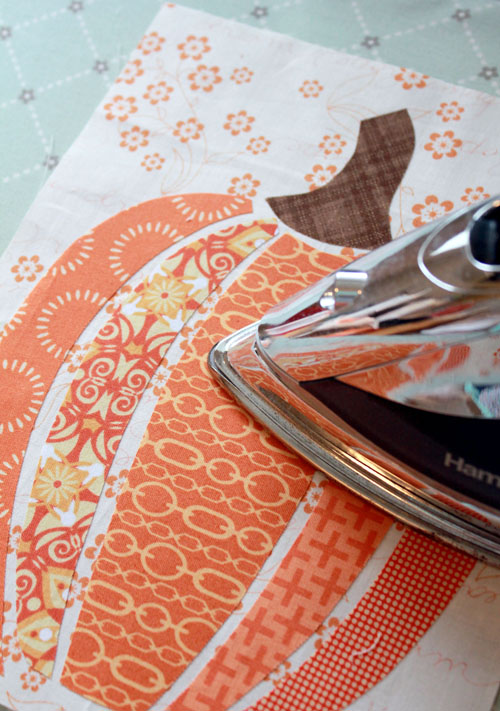
Now just slip that 8"x 10" piece of fabric into your favorite frame and display- no sewing needed! It's a quick and fun way to add a bit of Halloween to a room!
Written by Andy Knowlton



Caan’t print off the templates.