No Products in the Cart

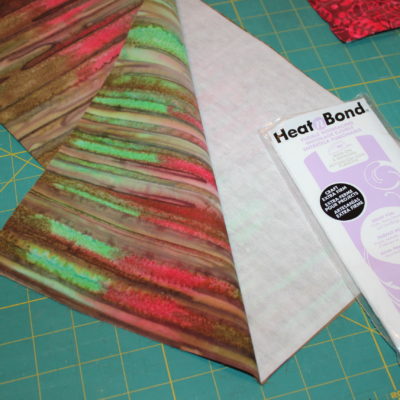
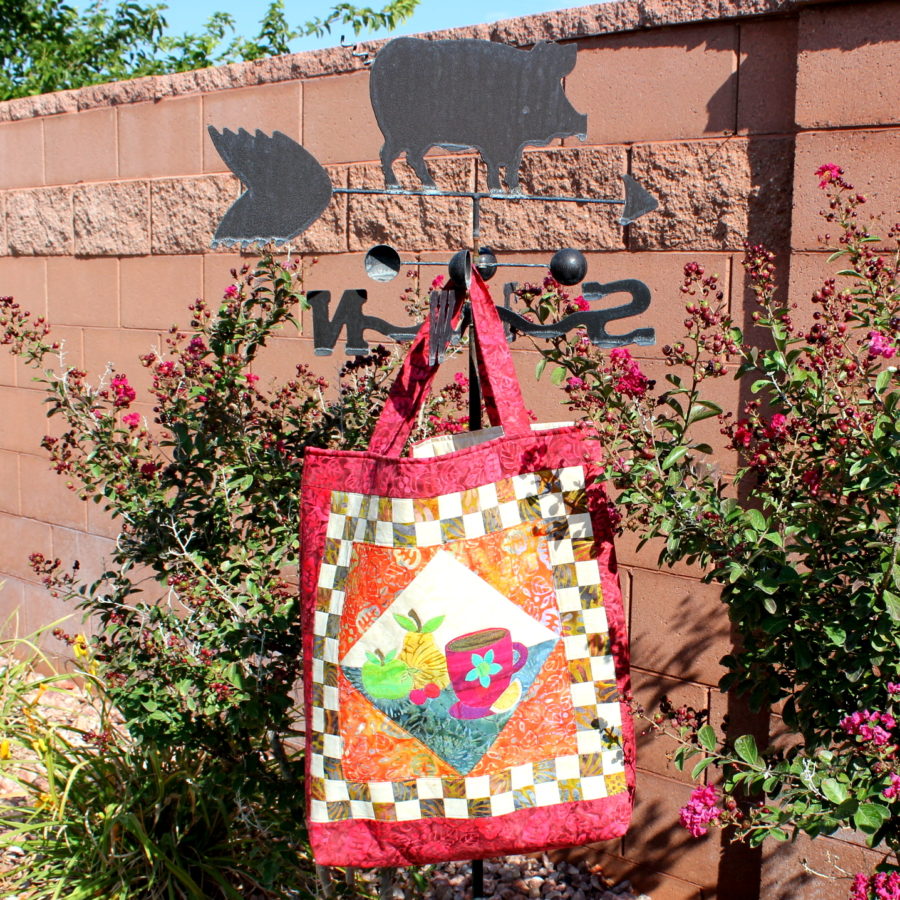
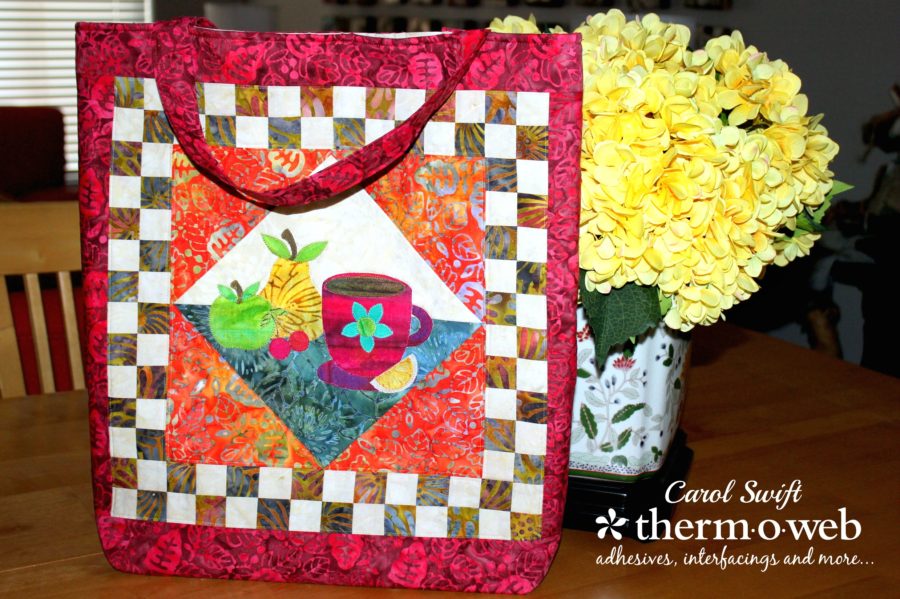 Thermoweb products like Heat n Bond EZ Print Lite Sheets make it easy to create the applique patterns without having to trace them by hand and the Heat n Bond Fleece Fusible High Loft adds stability to the bag without it being stiff. Sweet!
 Cutting instructions:
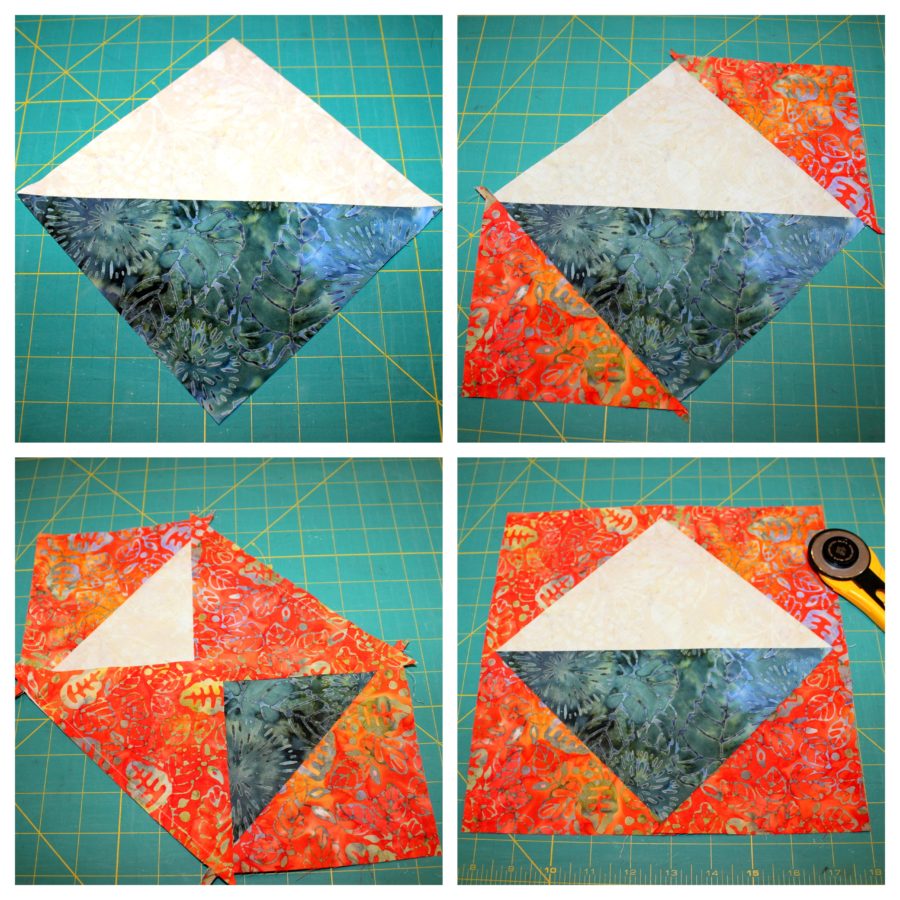
Cut 1 – 8” x 8” square in a light color for the center block
Cut 1 – 8” x 8” square in a dark color for the center block
Cut 2 – 6” x 6” for center block corners
Cut 2 – 1½” x WOF light-colored strips for checkered Border A
Cut 2 – 1½” x WOF dark colored strips for checkered Border A
Cut 2 – 2½” x 14½” strips for left and right sides of Border B
Cut 1 – 2½” x 18½” strip for the top of Border B
Cut 1 – 4½” x 18½” strip for the bottom of Border B
Cut 1 – 18½” x 20½” fabric for the bag back
Cut 2 – 4½” x 16½” fabric for straps
Cut 2 – 18½” x 20½” fabric for bag lining
Cut 1 – 18½” x 16½” fabric for the pocket
Cut 2 – 18½” x 20½” Heat n Bond Fleece Fusible High Loft
Cut 1 – 18¼” 8¼” Heat n Bond Non-Woven Craft Fusible Extra Firm for pocket
Cutting instructions:
Cut 1 – 8” x 8” square in a light color for the center block
Cut 1 – 8” x 8” square in a dark color for the center block
Cut 2 – 6” x 6” for center block corners
Cut 2 – 1½” x WOF light-colored strips for checkered Border A
Cut 2 – 1½” x WOF dark colored strips for checkered Border A
Cut 2 – 2½” x 14½” strips for left and right sides of Border B
Cut 1 – 2½” x 18½” strip for the top of Border B
Cut 1 – 4½” x 18½” strip for the bottom of Border B
Cut 1 – 18½” x 20½” fabric for the bag back
Cut 2 – 4½” x 16½” fabric for straps
Cut 2 – 18½” x 20½” fabric for bag lining
Cut 1 – 18½” x 16½” fabric for the pocket
Cut 2 – 18½” x 20½” Heat n Bond Fleece Fusible High Loft
Cut 1 – 18¼” 8¼” Heat n Bond Non-Woven Craft Fusible Extra Firm for pocket
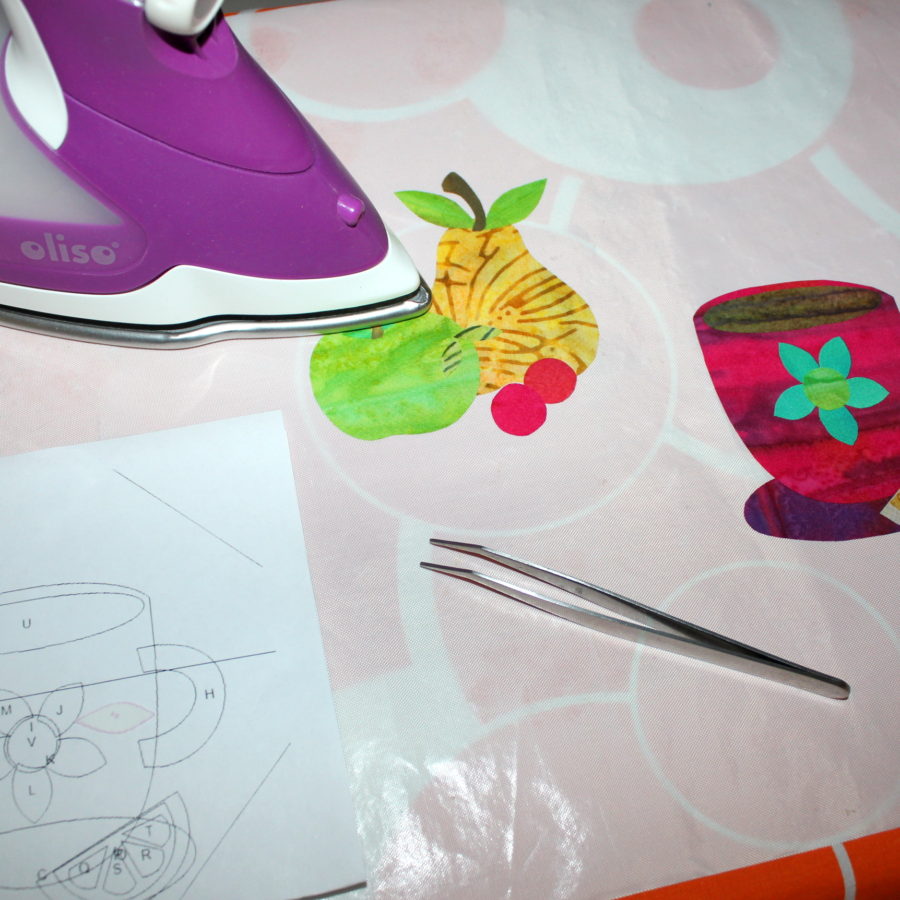
 Step 2: Using your inkjet printer, print out applique pattern pieces with Heat N Bond EZ Print Lite sheets or trace designs on the iron-on adhesive of your choice. Follow the manufacturer’s directions to iron adhesive pieces to the wrong sides of desired fabrics. Let cool. Cut out applique pieces. Remove protective paper and iron center block applique pieces following the manufacturer’s directions. Stitch around edges using a straight, zig-zag, or blanket stitch.
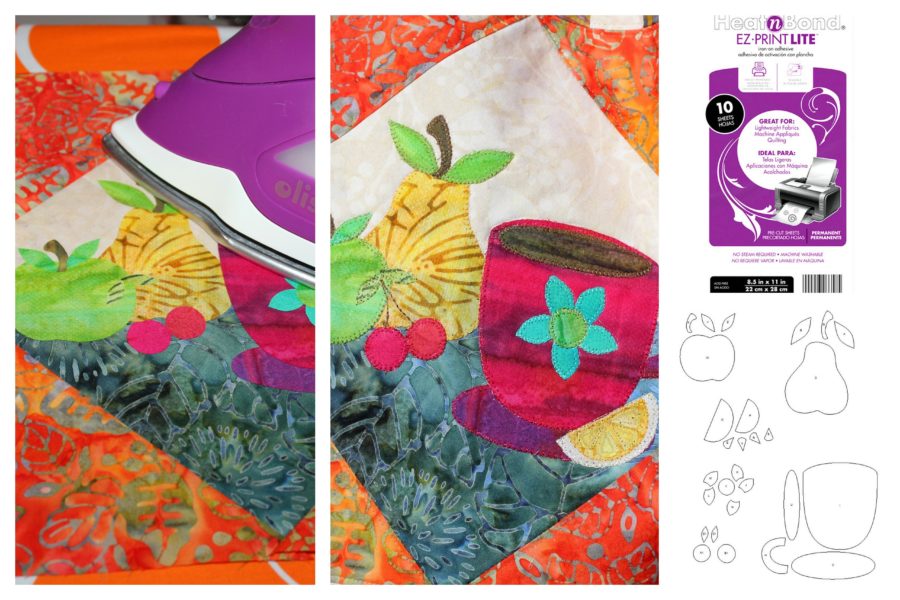 [tooltip text="TooltipText"]Applique tip #1: Using an applique pressing sheet to arrange the pieces first helps avoid mistakes. Lay the pieces on the applique sheet and tap with your iron. You don’t need to hold it very long. Let cool and peel off the sheet. Arrange on fabric and press in place. Tweezers are a big help picking up those tiny pieces![/tooltip]
 [tooltip text="TooltipText"]
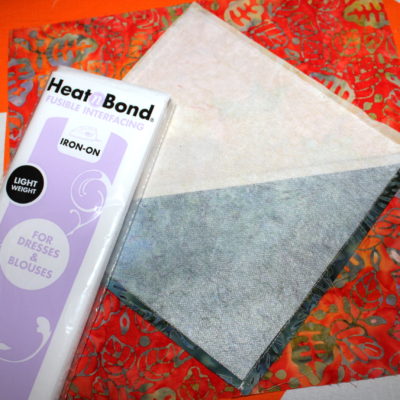
Applique Tip #2: Ironing Heat n Bond Fusible Interfacing – Light Weight to the back of an applique project can help stabilize the fabric when sewing around applique pieces and keeps threads from showing through.
[/tooltip]
[tooltip text="TooltipText"]
Applique Tip #2: Ironing Heat n Bond Fusible Interfacing – Light Weight to the back of an applique project can help stabilize the fabric when sewing around applique pieces and keeps threads from showing through.
[/tooltip]
 Step 3: Sew a one dark and one light 1½” x WOF strips together lengthwise. Press towards the dark side. Trim off the selvage. Repeat to make sets. Cut strips into 1½” strips to create 48 two block sets.
 Step 4: Sew 10 block sets together alternating dark and light blocks and matching seams. Press seams down. Repeat to make two rows. Sew block sets to the left and right sides of the center block. Press seams towards blocks. Sew 14 block sets together alternating dark and light blocks and matching seams. Press seams down. Repeat to make two rows. Sew block sets to top and bottom of the center block. Press seams towards blocks. Note the direction of the colors to ensure matching top, bottom, and side borders. Square up block to 14½” x 14½”.
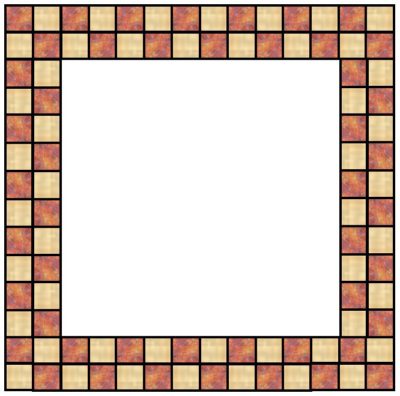 Step 5: Sew 2½” x 14½” strips to left and right sides of border A. Sew 2½” x 18½” strips to the top of border A. Sew 4½” x 18½” strips to the bottom of border A.
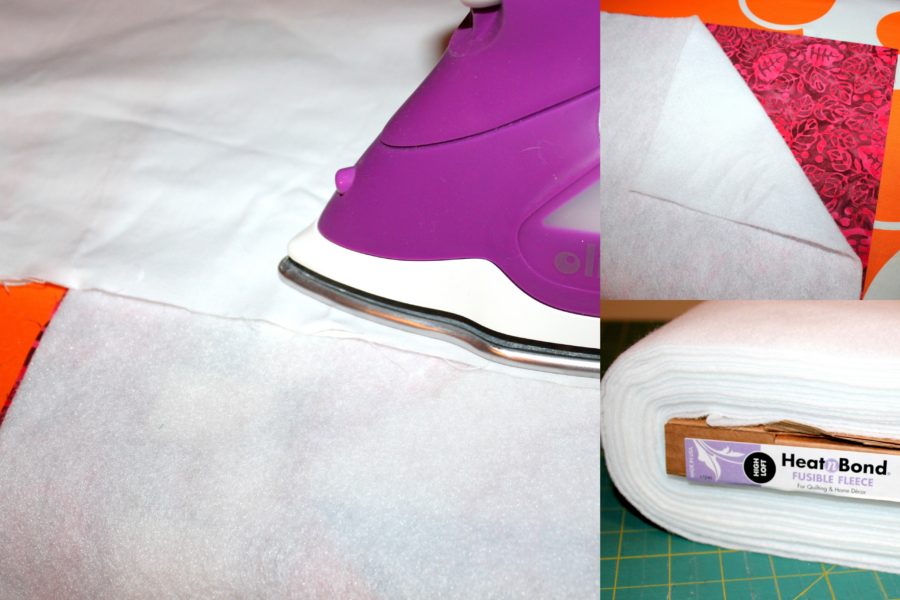
Step 6: Iron Heat n Bond Fleece Fusible High Loft to wrong sides of front and back bag following manufacturer’s instructions. Trim both so they are the same size. Quilt if desired. *Quilting can change the size and shape of the fabric, so be sure to square it up and make bag and bag lining fabric pieces all the same size.
Step 5: Sew 2½” x 14½” strips to left and right sides of border A. Sew 2½” x 18½” strips to the top of border A. Sew 4½” x 18½” strips to the bottom of border A.
Step 6: Iron Heat n Bond Fleece Fusible High Loft to wrong sides of front and back bag following manufacturer’s instructions. Trim both so they are the same size. Quilt if desired. *Quilting can change the size and shape of the fabric, so be sure to square it up and make bag and bag lining fabric pieces all the same size.
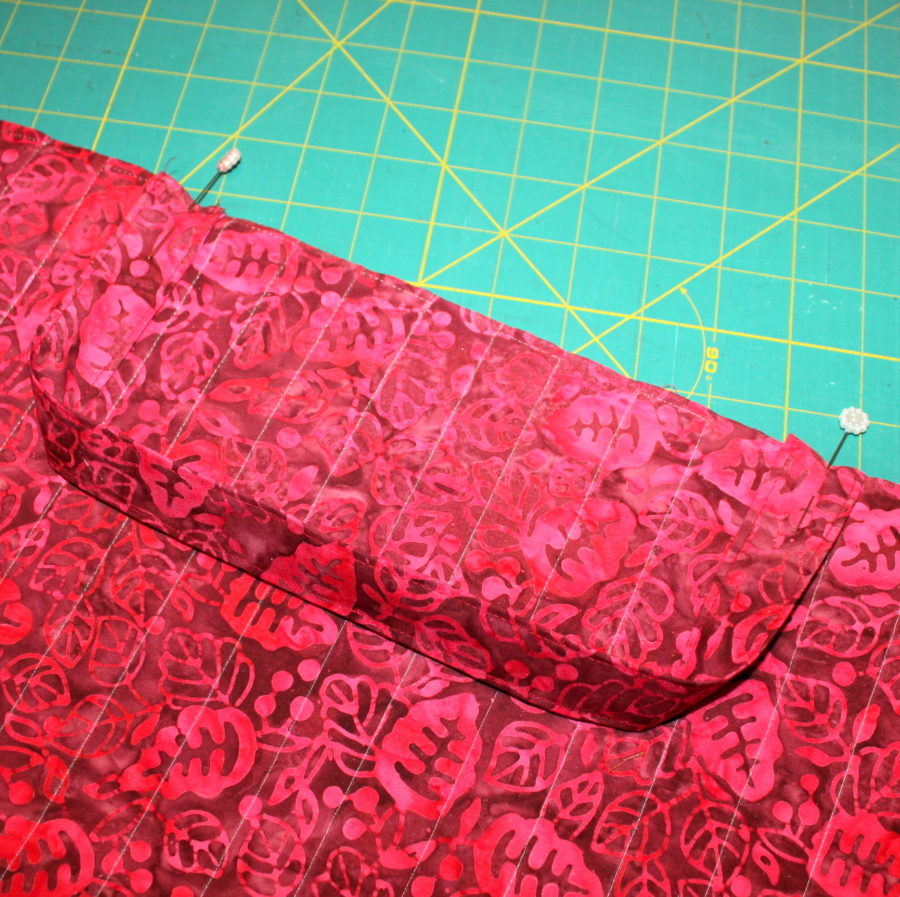
 Step 7: Iron Heat n Bond Non-Woven Craft Fusible Extra Firm to half of the wrong side (lengthwise) of 18½” x 16½” fabric for pocket following manufacturer’s directions. Fold the pocket fabric in half lengthwise, wrong sides together. Press to crease fold.
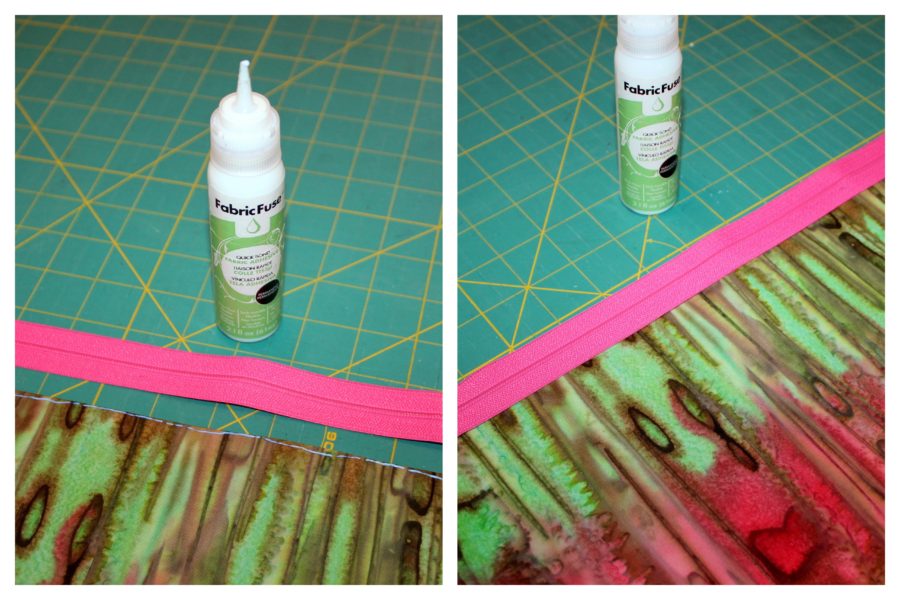
 Step 8: To create zipper pocket on the back of the bag: Apply a thin line of ThermOWeb Fabric Fuse Liquid Adhesive along the folded edge of the right side of the fabric. Lay wrong side of zipper’s edge along adhesive and finger press in place. Allow time to dry.
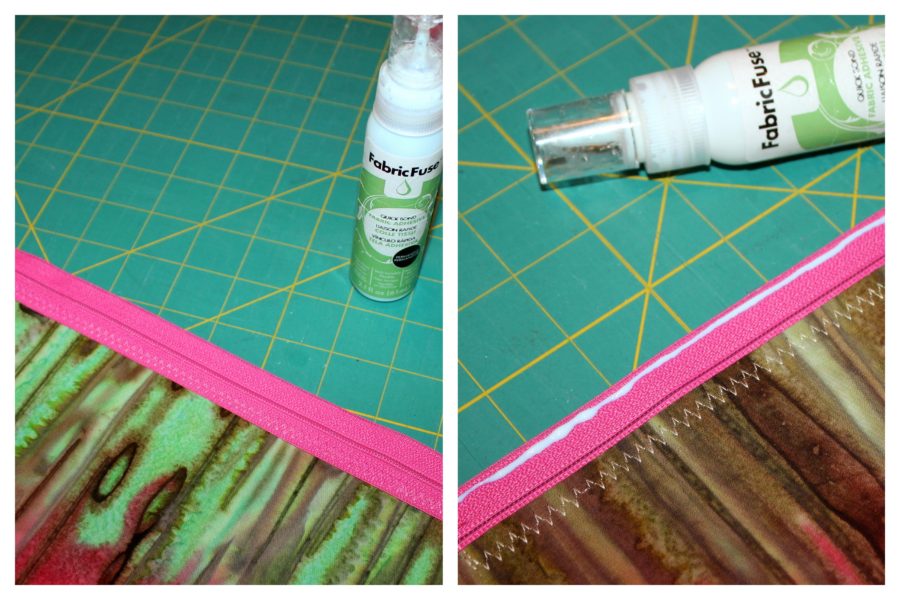
 Stitch close to zipper edge using a straight or decorative stitch. Slide the zipper open near the edge to enable sewing. Apply a thin line of adhesive to the wrong side of zipper edge.
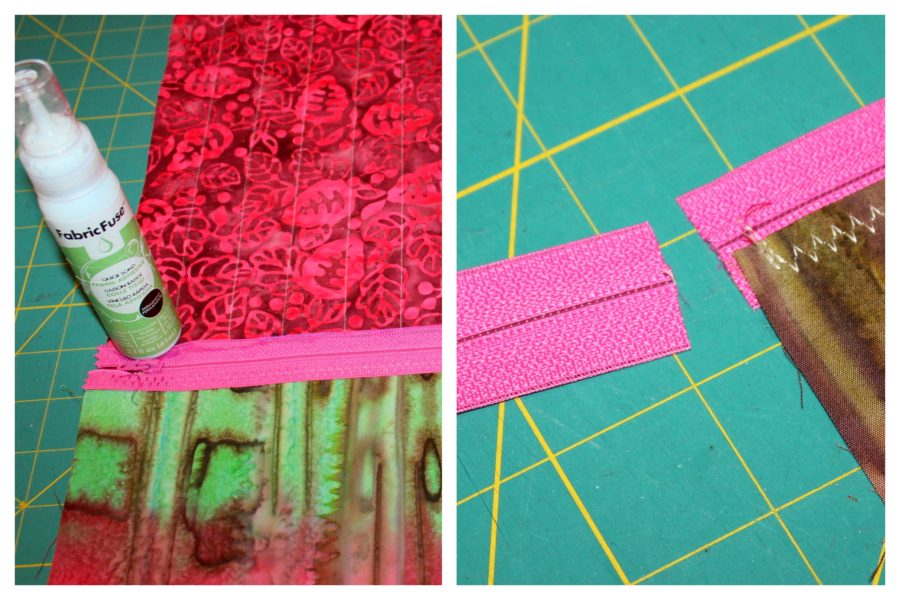
 Line up the pocket with bottom and sides of bag placing zipper towards the top of the bag. Pin/clip to secure in place and finger press zipper with adhesive in place on fabric bag. Allow time to dry. Sew along the top edge of the zipper to secure it to the bag. Trim off excess. Sew a straight stitch across cut end of the zipper to prevent the tab from coming off. Baste around pocket’s raw edges to secure in place.
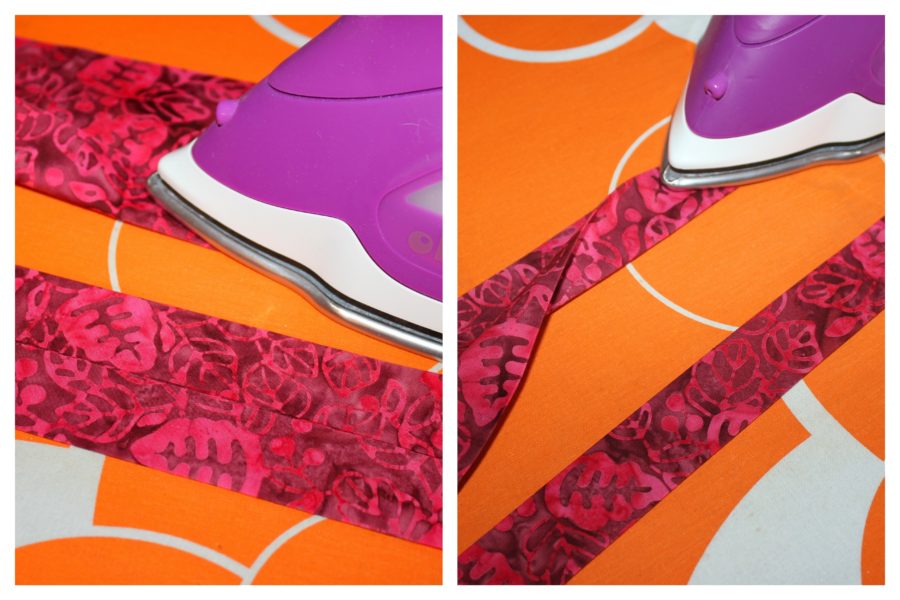
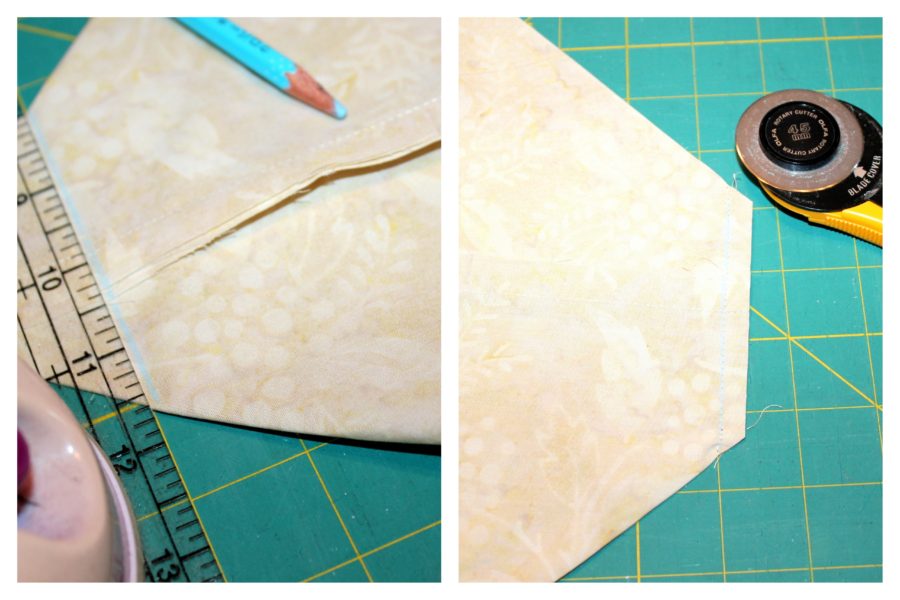
 Step 9: To make the straps: Fold strap fabric pieces in half lengthwise, wrong sides together. Press to the crease. Fold in long edges towards the center. Press again to the crease. Fold in half again and press. Stitch down both long sides close to edges.
 Pin/clip straps to right sides of fabric on both bag and lining at the top, placing them 5” from both sides. Stitch close to edge to hold in place.
 Step 13: Place the bag lining inside the bag, right sides together. Sew around the top leaving a 5” opening. Turn bag inside out. Press along top folding in the opening. Topstitch around the top of the bag close to the edge.
Written by Carol Swift