No Products in the Cart
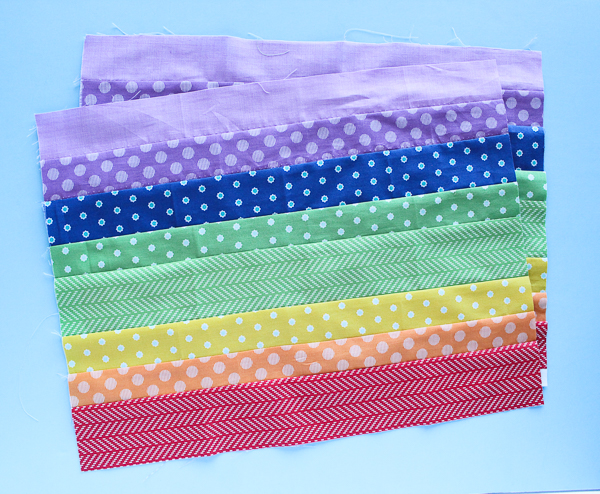
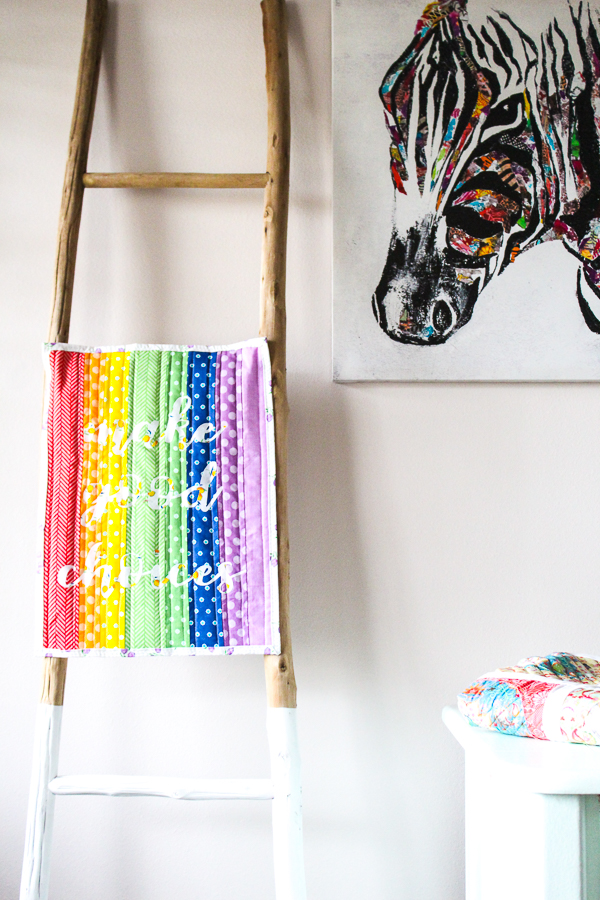
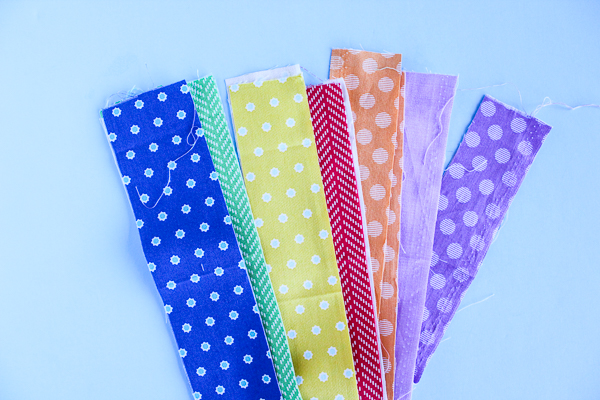 Sew the strips together in the order of the rainbow. Press the seams open. Square the raw edges.
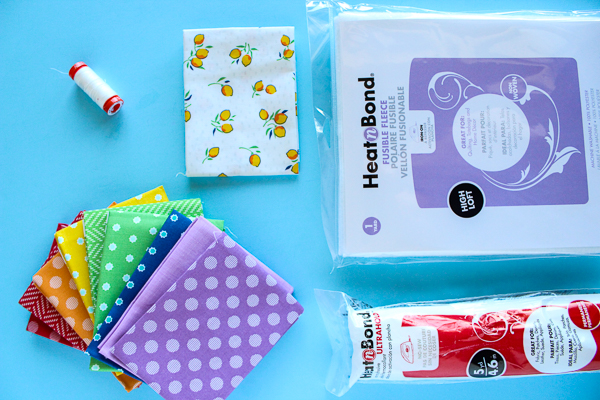
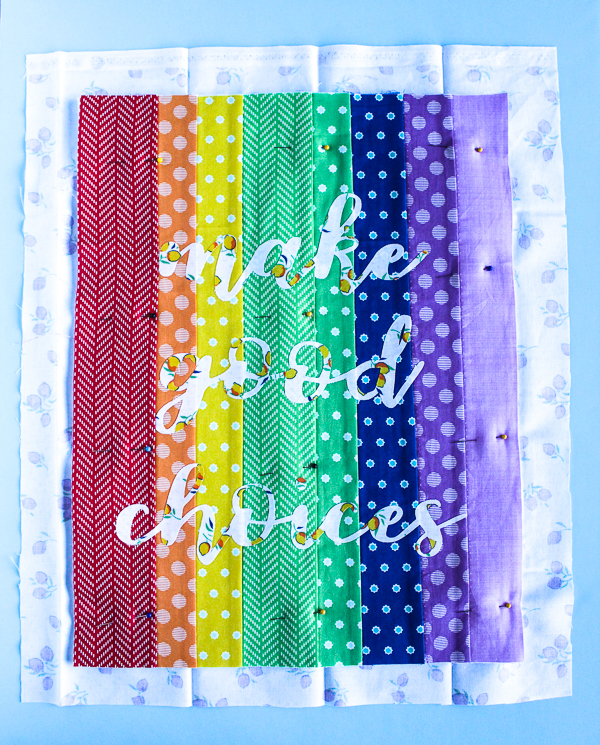
 Cut a piece of HeatnBond Fusible Fleece Interfacing the same size as the front of the mini quilt. Press the fleece to the quilt top to activate the fusible fleece and smooth the wrinkles from the top. To create the appliqué attach the Heat N Bond to a white fat quarter. Using your cutting machine of choice and a script font cut out your favorite quote.
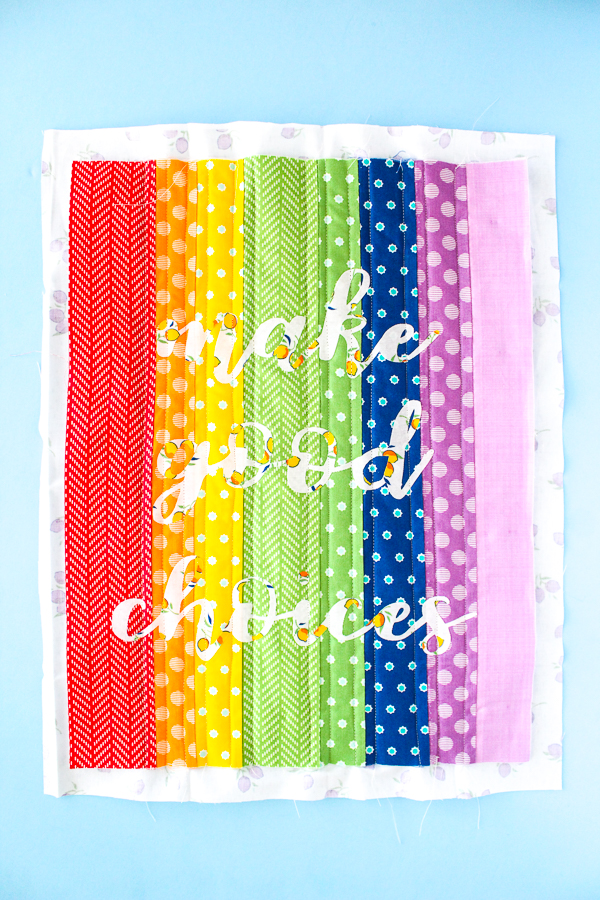
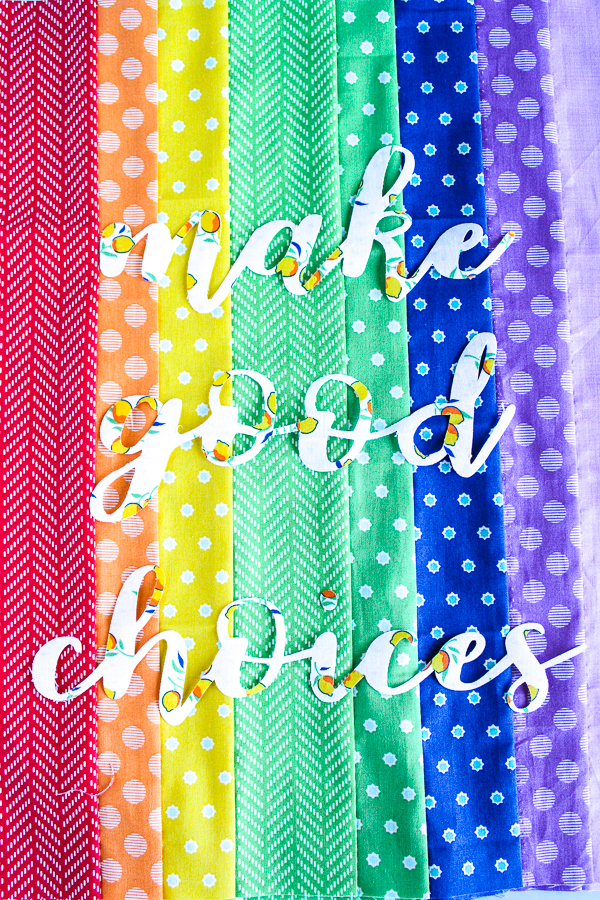 Attach the appliqués to the front of the quilt. Use another of the fat quarters from the bundle to serve as the backing. Cut the backing so that it is 2" wider than the front all the way around.
 Quilt the mini using your quilting method of choice. For this one, we used a straight stitch down each color of the rainbow.
 Now cut the backing down to 1" on each side. Fold it towards the front 1/2" and then fold it over again to create the binding. (See THIS POST for a more detailed explanation of this binding method.)
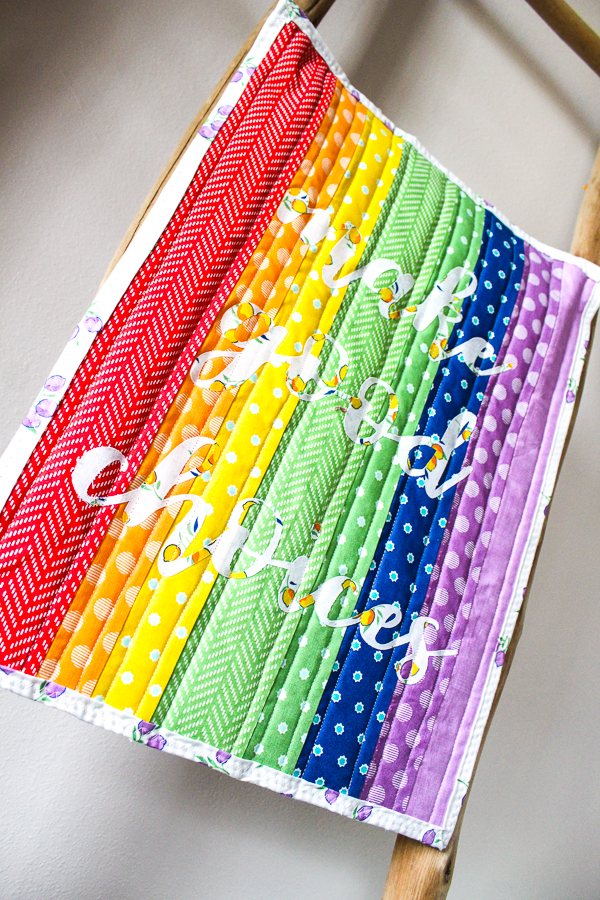 Attach tabs on the back to hang the quilt.

Connect with Sew What Alicia
Facebook // Pinterest // Instagram // Twitter
Here are a few of my recent projects that you might enjoy!
Rainbow Doodle Stitched Mini Quilt // Self Binding Minky Blanket // Rainbow Quilt Patterns