Heart Applique Fabric Headband with HeatnBond

by Thermoweb on May 04, 2020
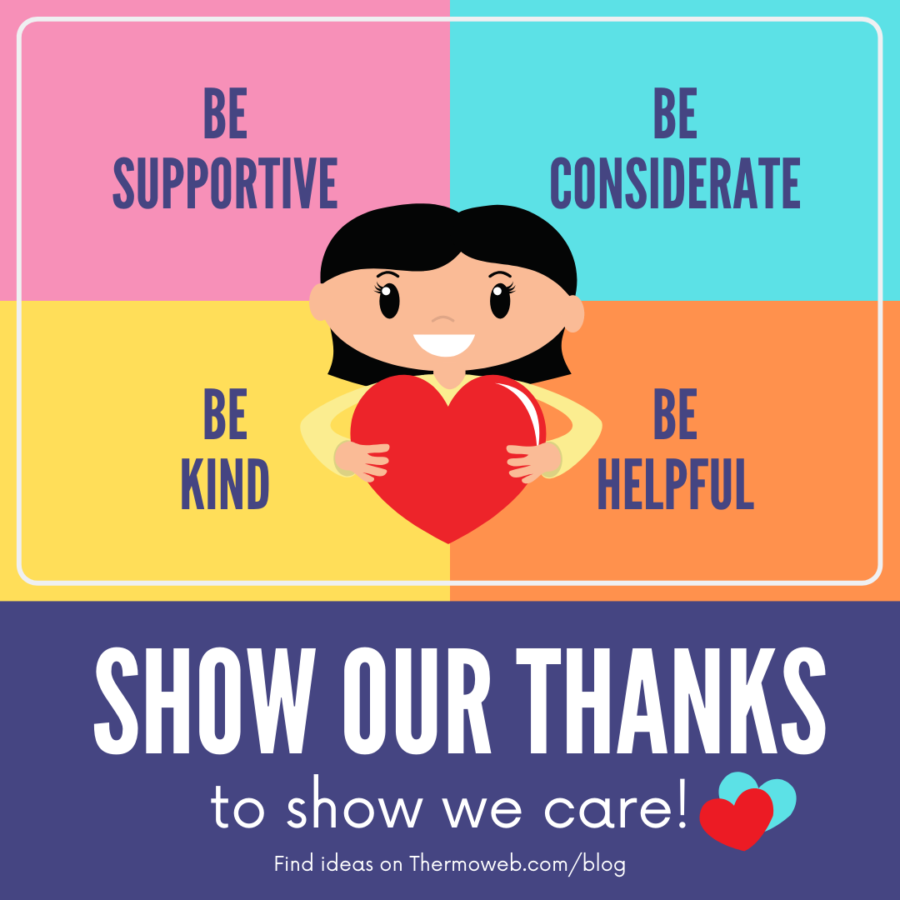
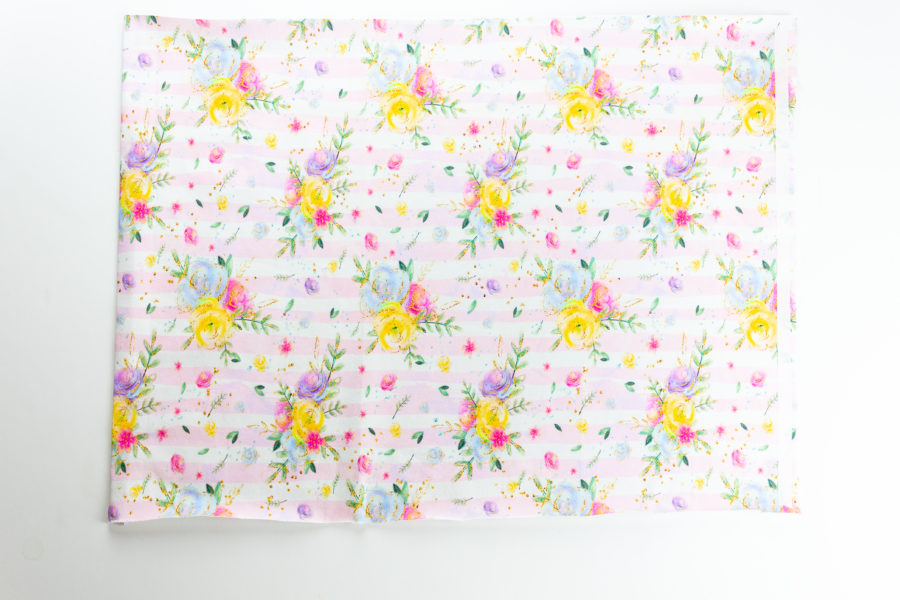
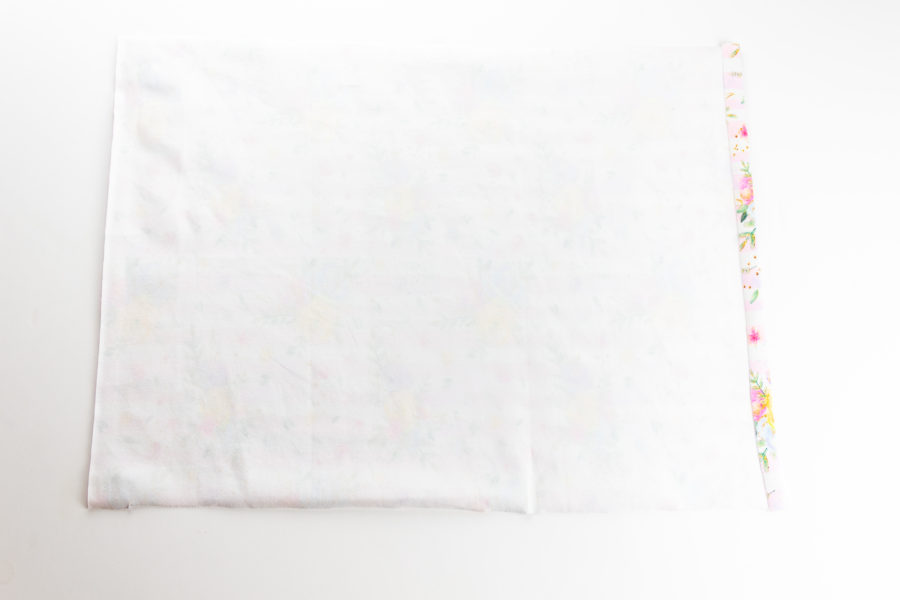
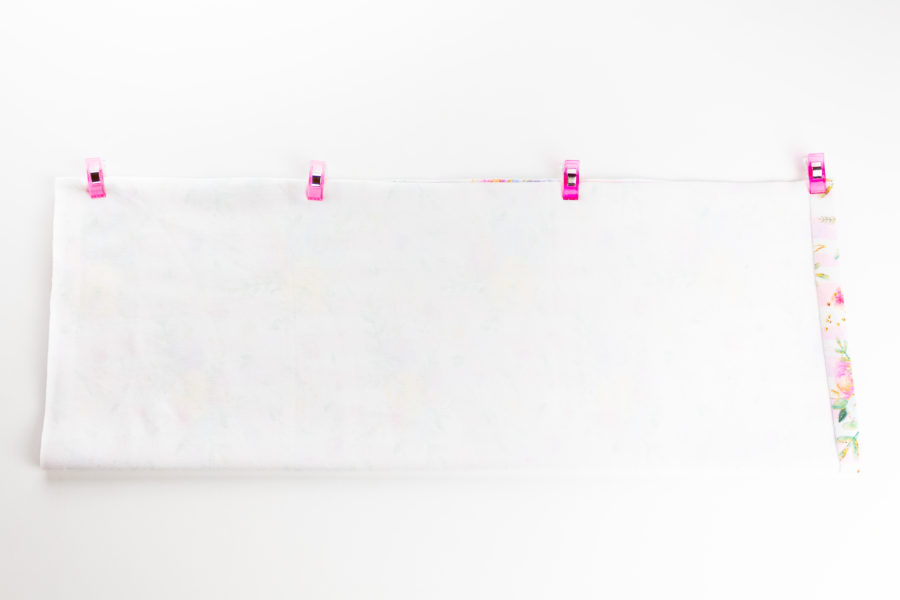
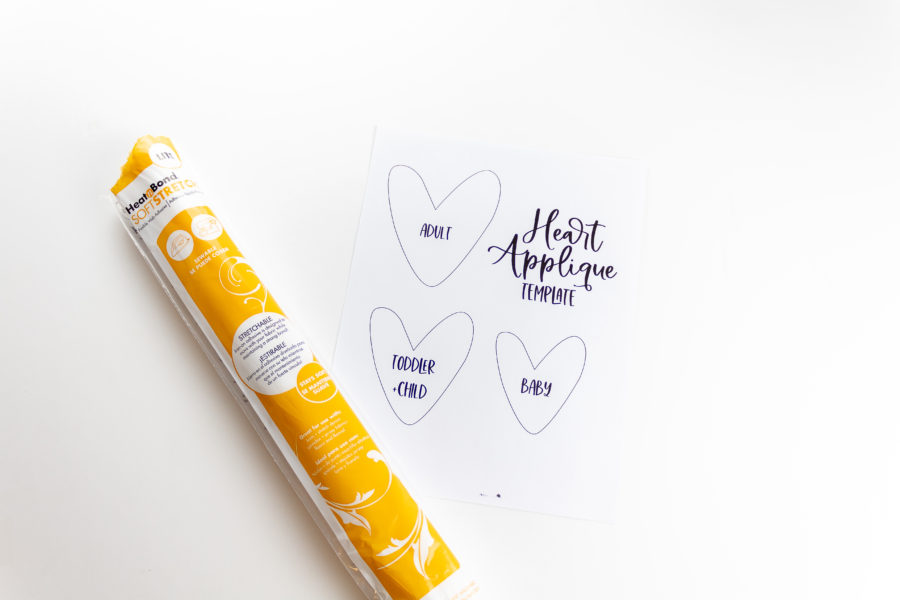
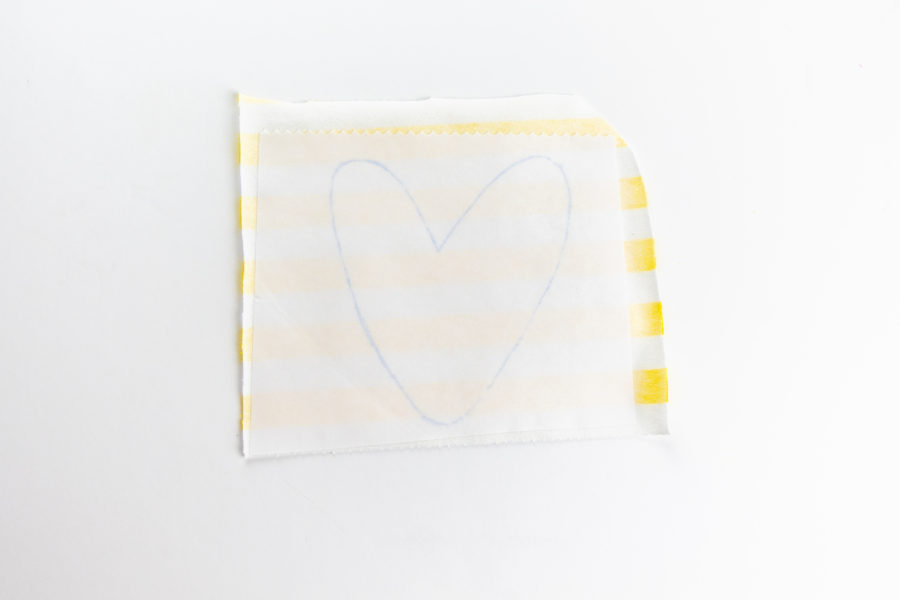
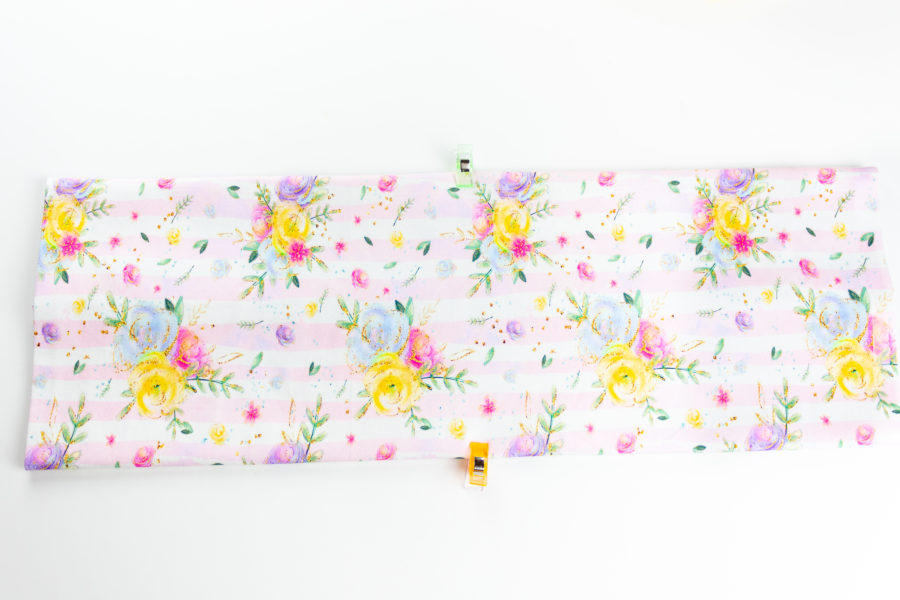
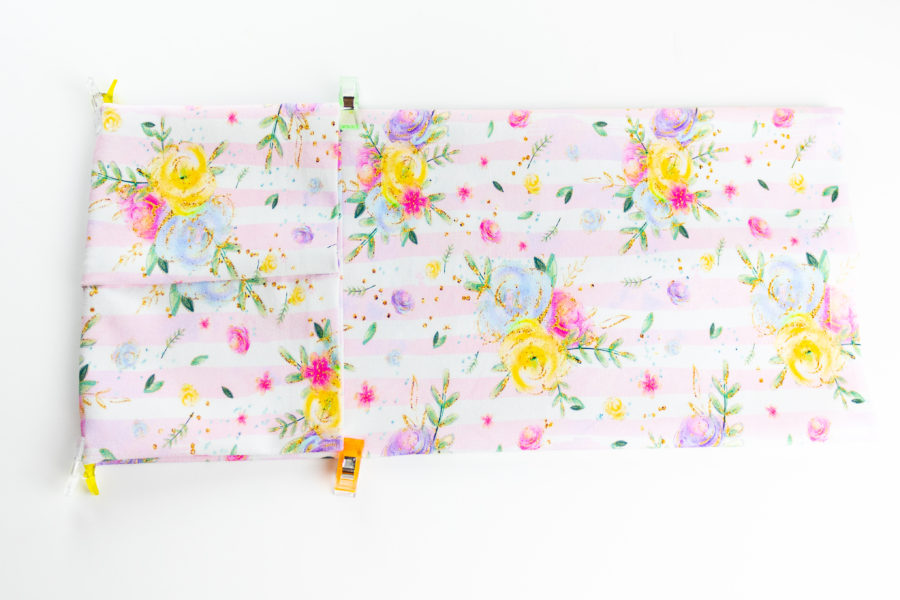
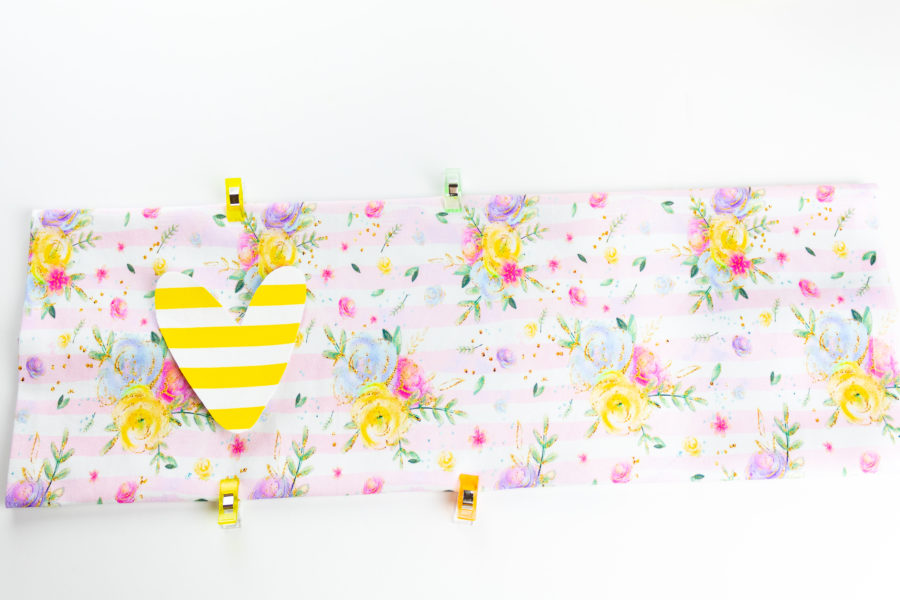
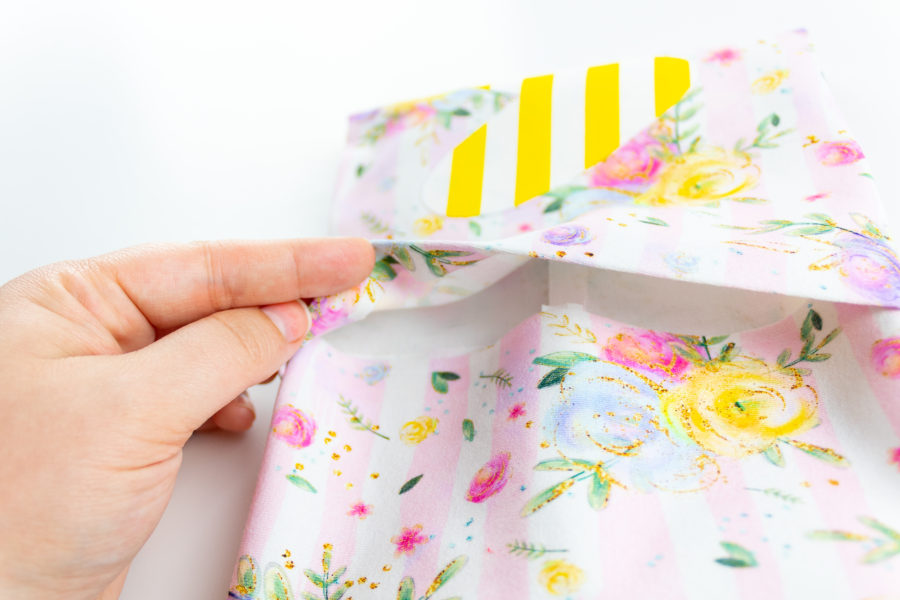
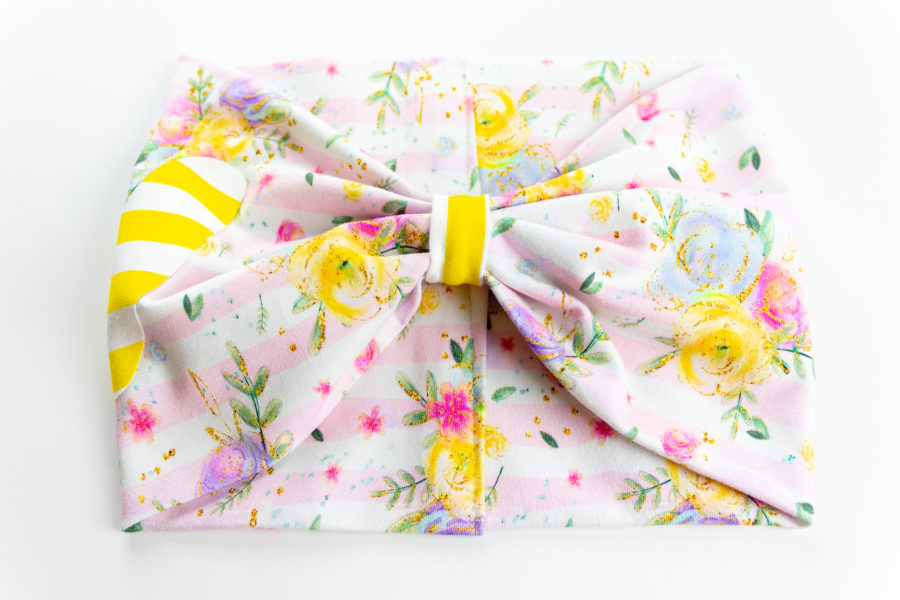
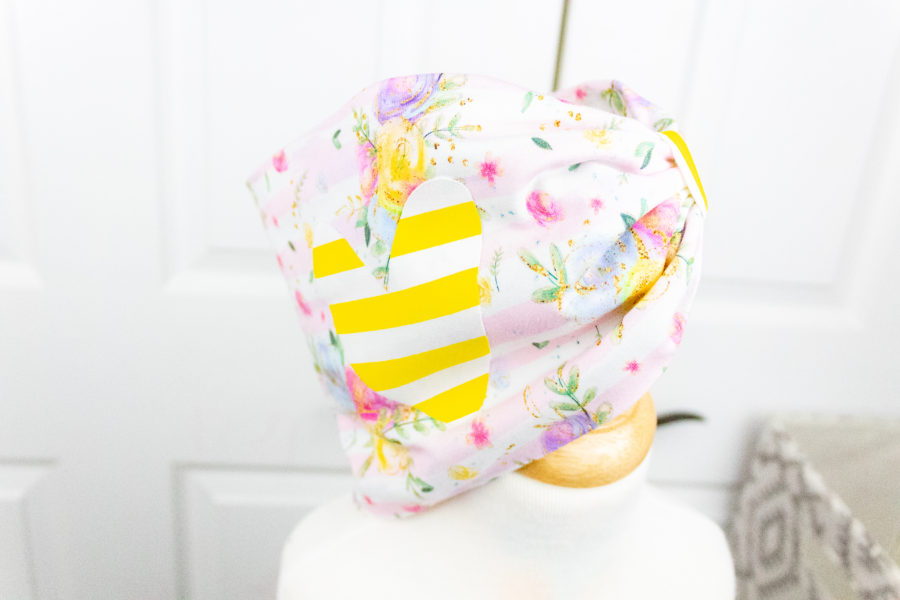
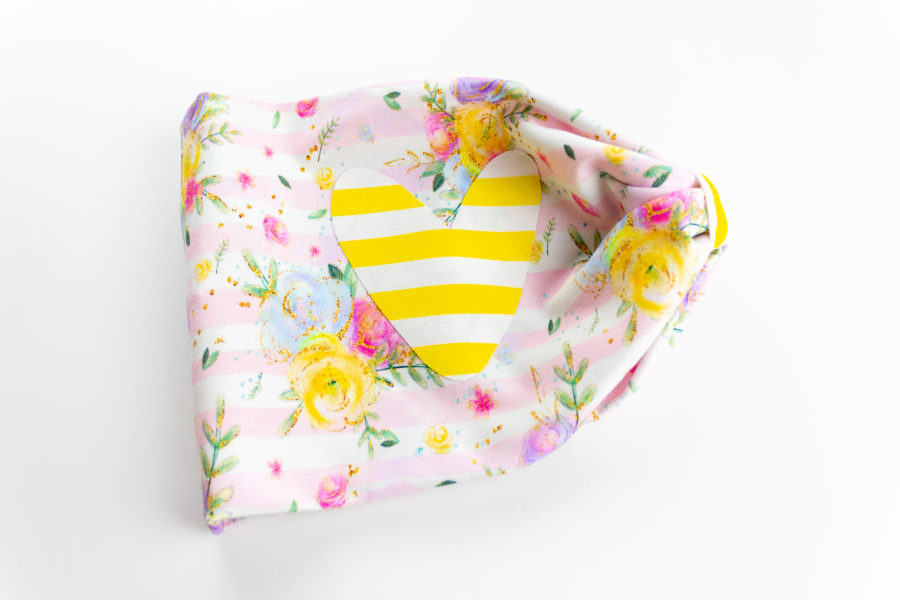
Hello! It's Gail from Boo and Lu Designs and The Simple Life Pattern Company. As a part of Thermoweb's Show Thanks Week, I am sharing with you this quick and easy heart applique headband tutorial.

Heart Applique Headband

Supplies Needed Sewing Instructions
  • Apply your 5/8" HeatnBond Soft Stretch Lite to the right side of one short side of your fabric. Your HeatnBond will be right along the edge.
  • Peel off the paper backing.
  • Turn your fabric over so that the wrong side is facing up. Fold the short edge that does not have HeatnBond on it wrong sides together 1/2" and press.
  • Fold your headband in half, right sides together, so that the long raw edges align. Pin/clip in place.
  • Sew or serge along the pinned edge with a 1/2" seam allowance.
  • Turn right side out and press the seam in the center of the headband.
  • Print out your heart applique template and cut out the corresponding size.
  • Trace your heart applique onto the paper side of your HeatnBond Soft Stretch Lite roll.
  • Cut a square just slightly larger than the heart.
  • Using your iron, press your HeatnBond onto your knit fabric.
  • Once the fabric has cooled down cut the heart shape out with scissors and peel off the paper backing.
  • Fold your headband in half to find the center.
  • Mark with pins/clips.
  • Fold one side of your headband in towards the center and mark the fold with pins or clips.
  • Place the heart so that it is centered on the 1/4 point of your headband (the area that you marked with pins/clips in the previous step)
  • With the adhesive side facing the right side of the headband press to adhere your heart applique to the headband.
  • Take the HeatnBond side of your headband and place it into the side that is folded under.
  • Press well to adhere the pieces together.
  • Topstitch along the seam if desired
  • Fold your headband centerpiece in half, right sides together, so the long raw edges are aligned. Pin/clip in place.
  • Sew along the pinned/clipped edge using a 3/8" seam allowance
  • Turn right sides out and press flat so that the seam is in the center.
  • Find the center front of your headband and cinch it together.
  • Hold it in place with a pin or clip.
  • With the bow center wrong sides out, wrap it around the cinched portion of the headband and pin/clip.
  • Sew as close as you can to the headband without catching any of the headband in the seam. (You want your bow center tightly wrapped around the headband)
  • Be sure to backstitch a few times to secure it well.
  • Trim the seam allowance to approximately 1/4".
  • Turn the bow center right side out so that the seam is hidden.
  • Now put it on or wrap it up to donate to your favorite essential workers to show your gratitude for all that they do!
I hope that you've enjoyed this tutorial, happy sewing! xoxo, Gail **Special note as this is Gail's first post for us and we're thrilled to have her here on our team! We think you will be as well!
LEAVE A COMMENT

Please note, comments must be approved before they are published


BACK TO TOP