No Products in the Cart
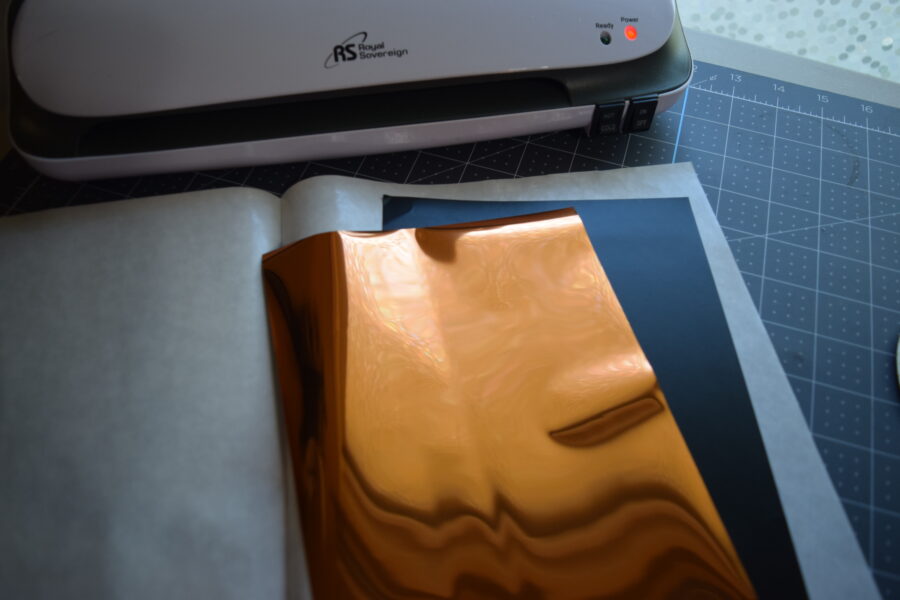
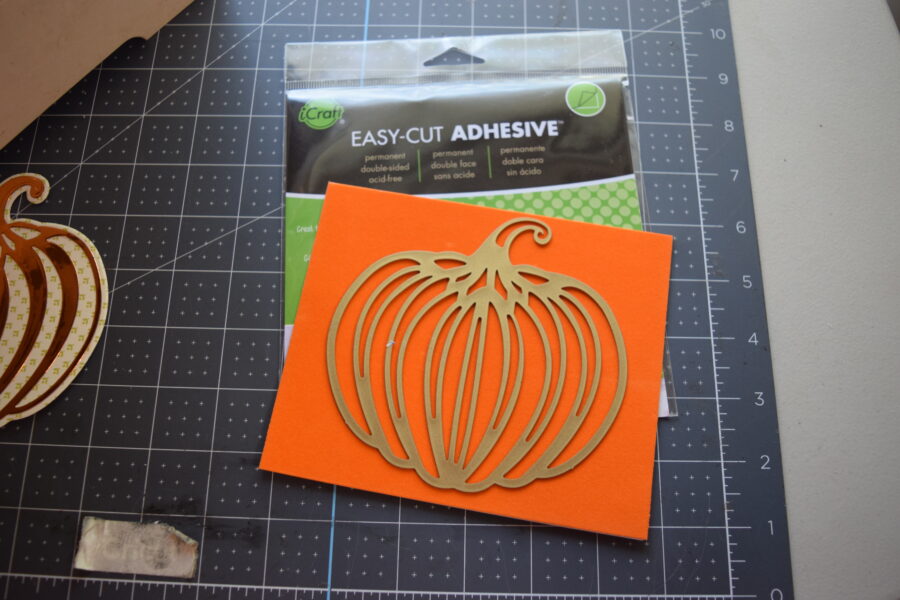
 For today's project, I am going to start off by foiling a Toner Sheet with a Deco Foil Transfer Sheet in Copper.
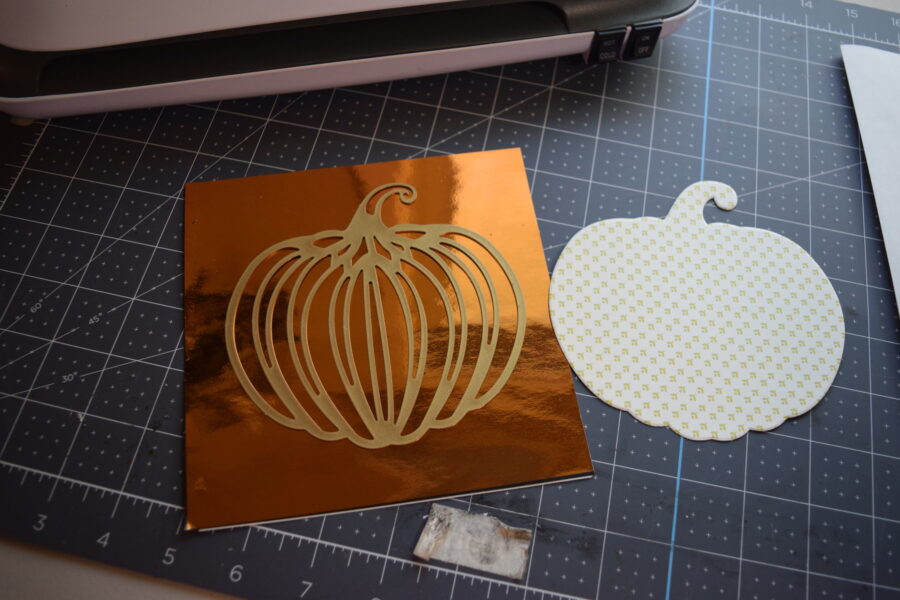
 Next, I am going to cut the pumpkin detail die with our Deco foiled Toner Sheet that I have backed with our iCraft Adhesive sheet. Using this product will make it easier for me to adhere the detailed die cut to the patterned pumpkin layer.
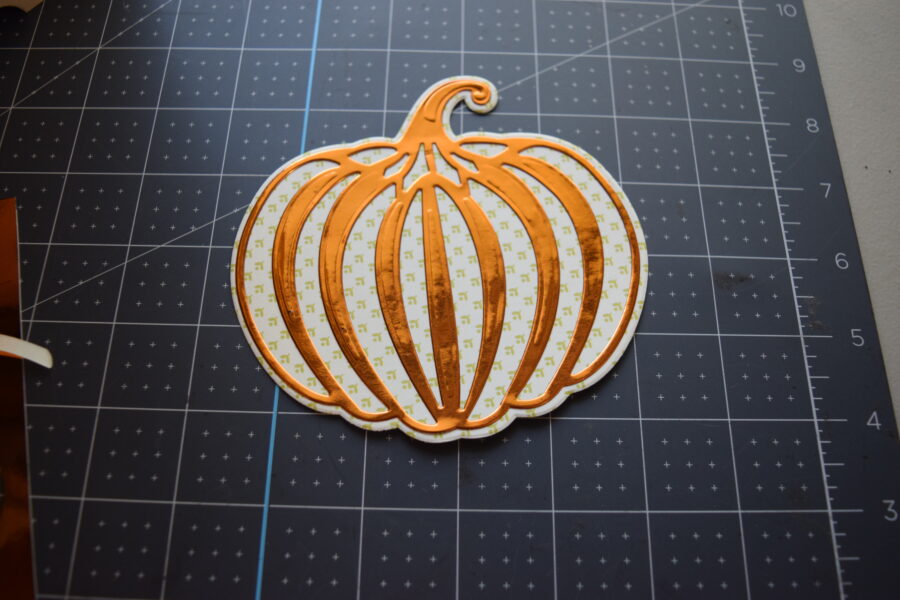
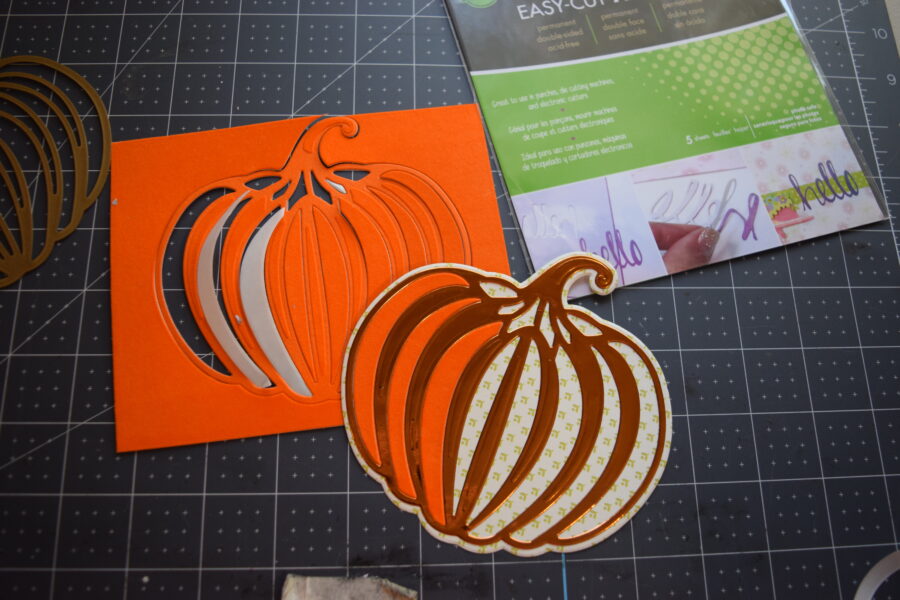
 Once the die is cut, I just peel off the backing and adhere it over the pumpkin die. The deco-foiled Toner sheet looks great against the patterned paper.
 Next, I am going to back a sheet of the Orange Glow Deco flock with our iCraft Easy-Cut adhesive, Next, I cut out the flock with the detail die and now I can peel and stick the flocked negative images inside the foiled die cut.
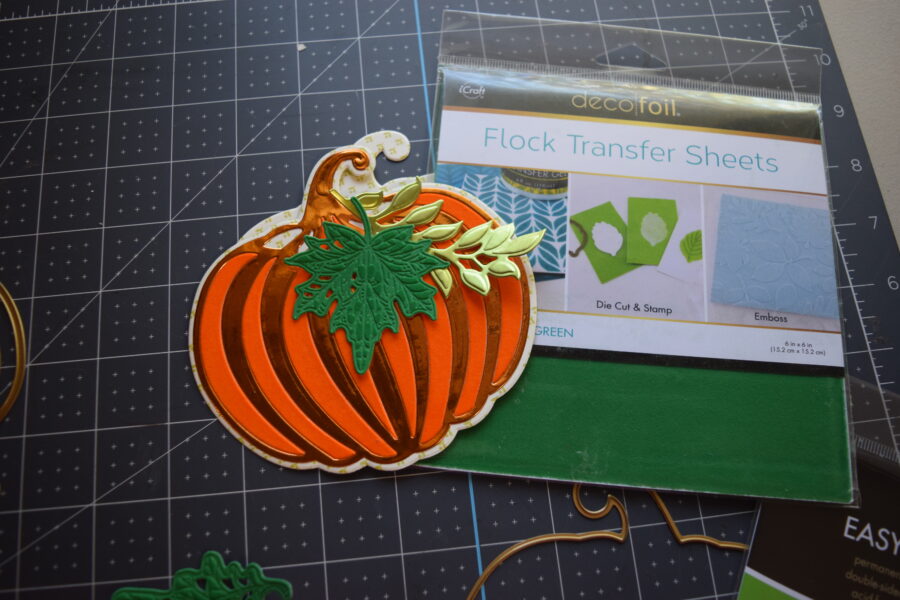
 Once this layer is cut I can take the negative pieces of the pumpkin, peel the back off the Easy Cut Adhesive, and adhere them to the negative spaces.
 Next using our Emerald Green Flock Transfer sheet, I cut out some leaves. I also cut some out in a contrasting green matte foil. Look at the detail of the leaf with the flock transfer sheets. It's beautiful.
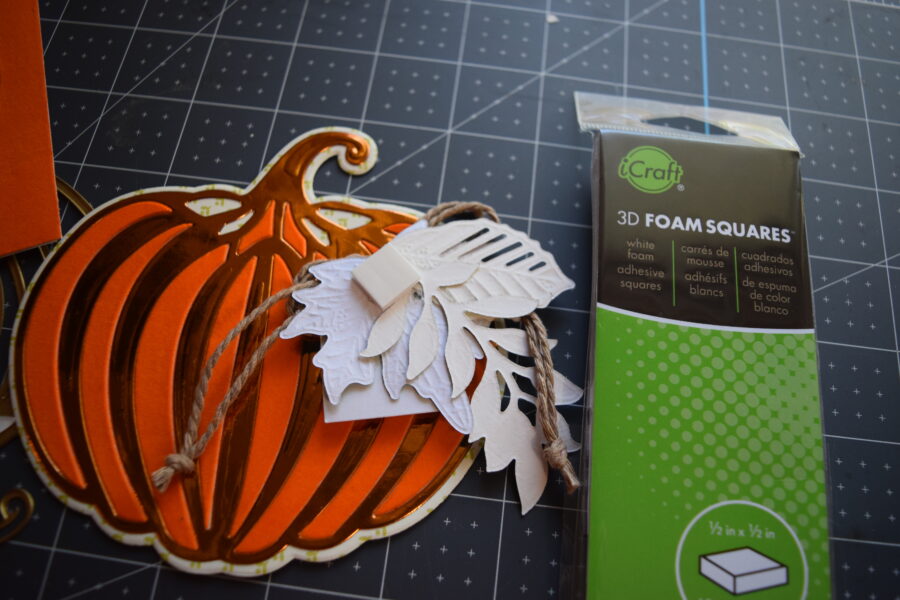
 After arranging them, I also use some twine for a bow and a nice sentiment made from chipboard. I use our Ultra bond liquid glue to attach them together into one piece.
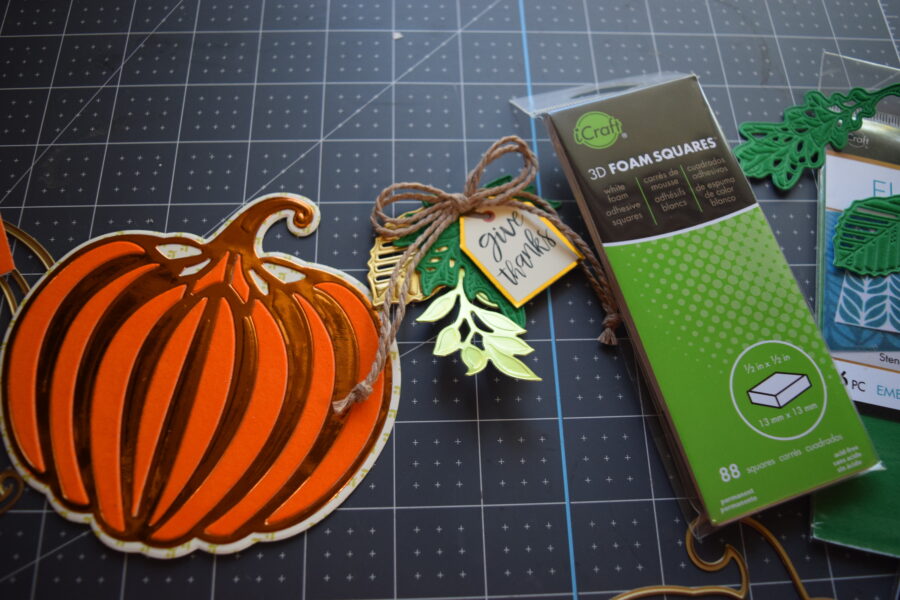 Next, I attach the piece to the pumpkin with our 3D foam squares.
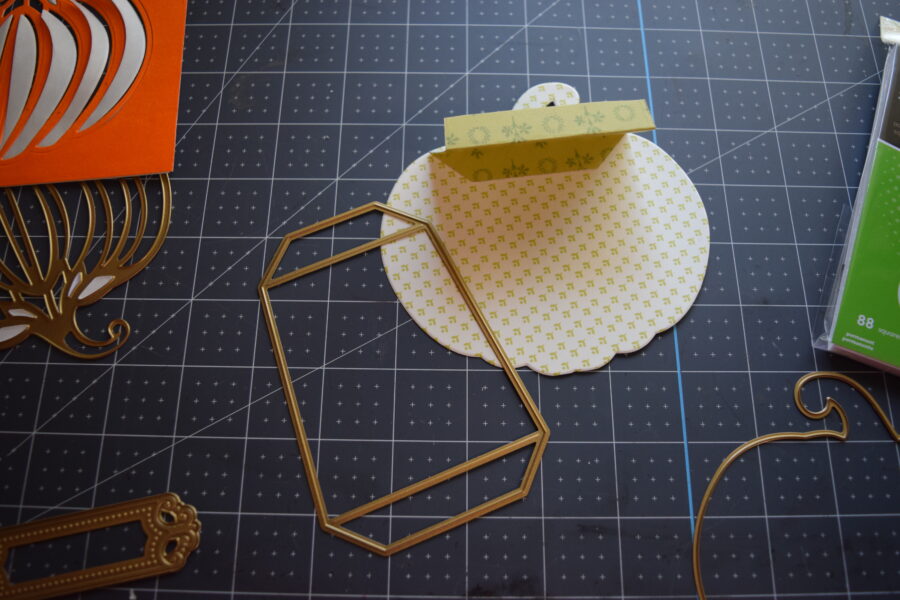
 To make the place card stand, I use an easel stand die and modify it to fit my place card.
 I finish the place card with a stopper that you can personalize with the name and add a few more die-cut leaves to finish the design.
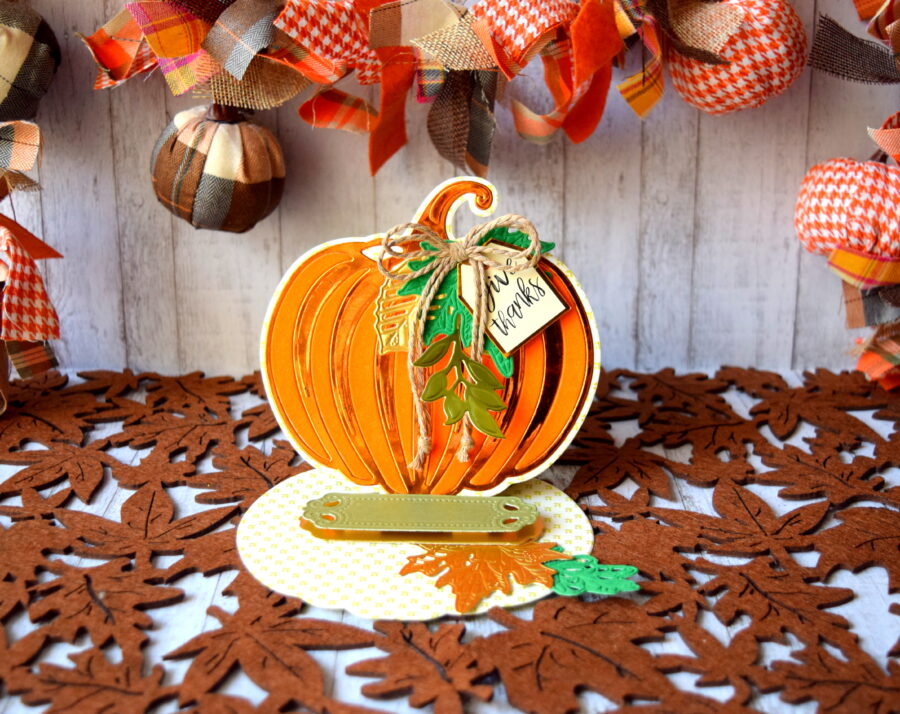
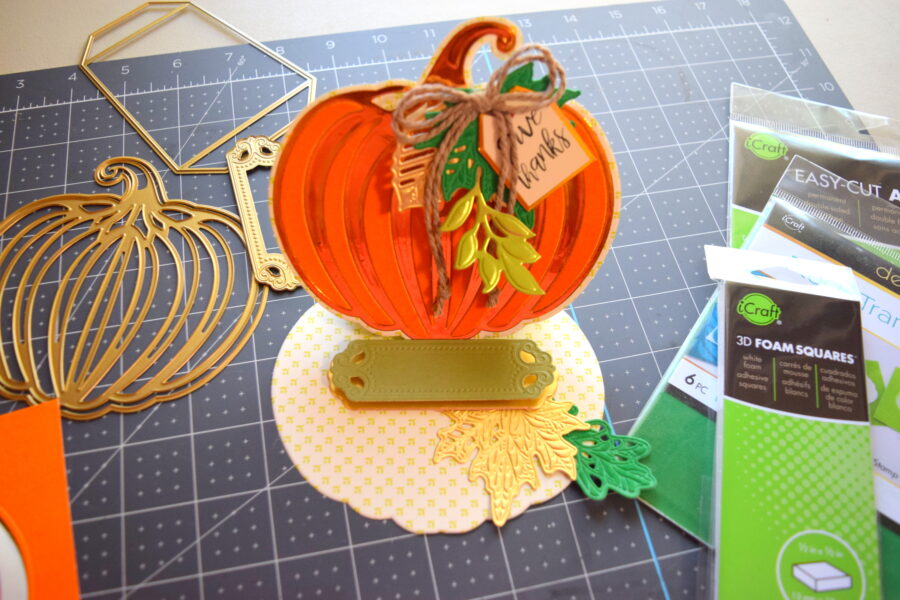 The finished project is now table-ready.
Thank you so much for stopping by today. We'd love to see your fall-themed foiled projects so be sure and tag them on social media with #ThermOWeb and #DecoFoil.
Therm-O-Web Supplies Used:
The finished project is now table-ready.
Thank you so much for stopping by today. We'd love to see your fall-themed foiled projects so be sure and tag them on social media with #ThermOWeb and #DecoFoil.
Therm-O-Web Supplies Used: