No Products in the Cart

 Supplies:
Deco Foil™ Transfer Gel
Deco Foil™ Transfer Sheets • Emerald Watercolor
Zots™ Singles • Small
Memory Tape Runner XL™
3D White Foam Squares • Combo Pack
Glitter Dust Photo Corners • Gold
Purple Tape
Supplies:
Deco Foil™ Transfer Gel
Deco Foil™ Transfer Sheets • Emerald Watercolor
Zots™ Singles • Small
Memory Tape Runner XL™
3D White Foam Squares • Combo Pack
Glitter Dust Photo Corners • Gold
Purple Tape
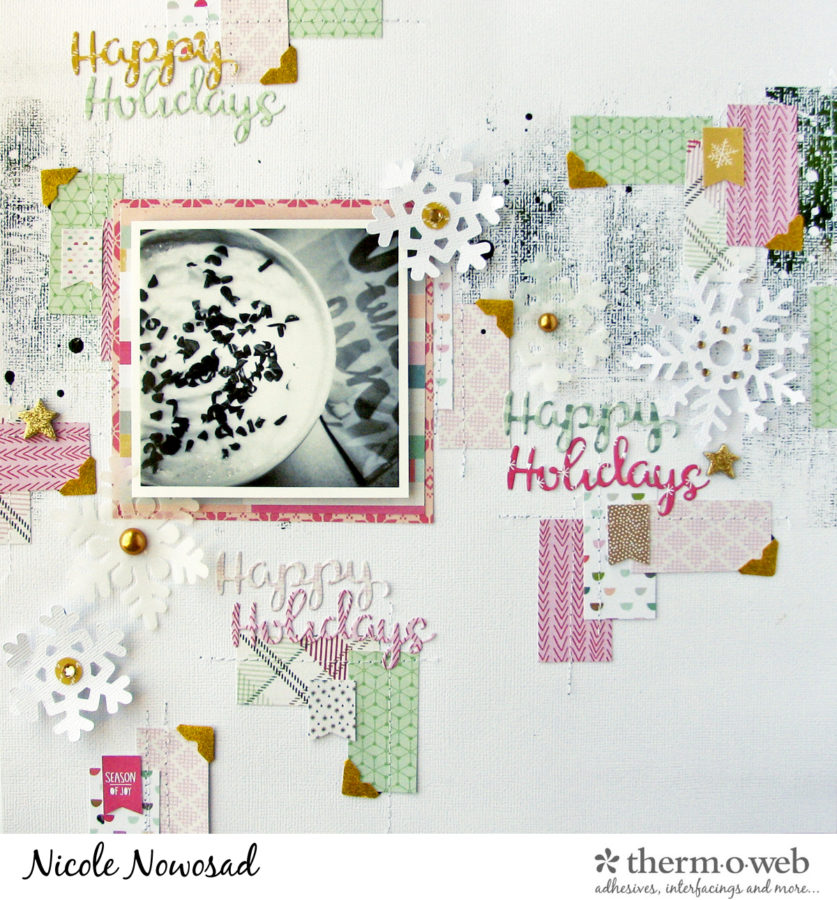
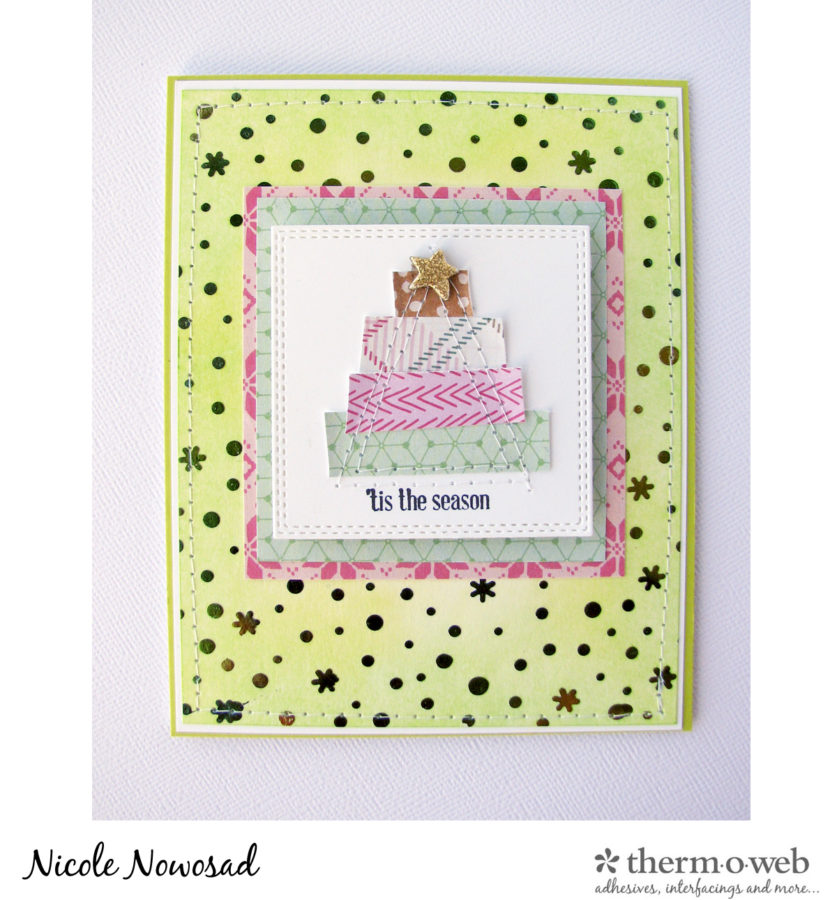
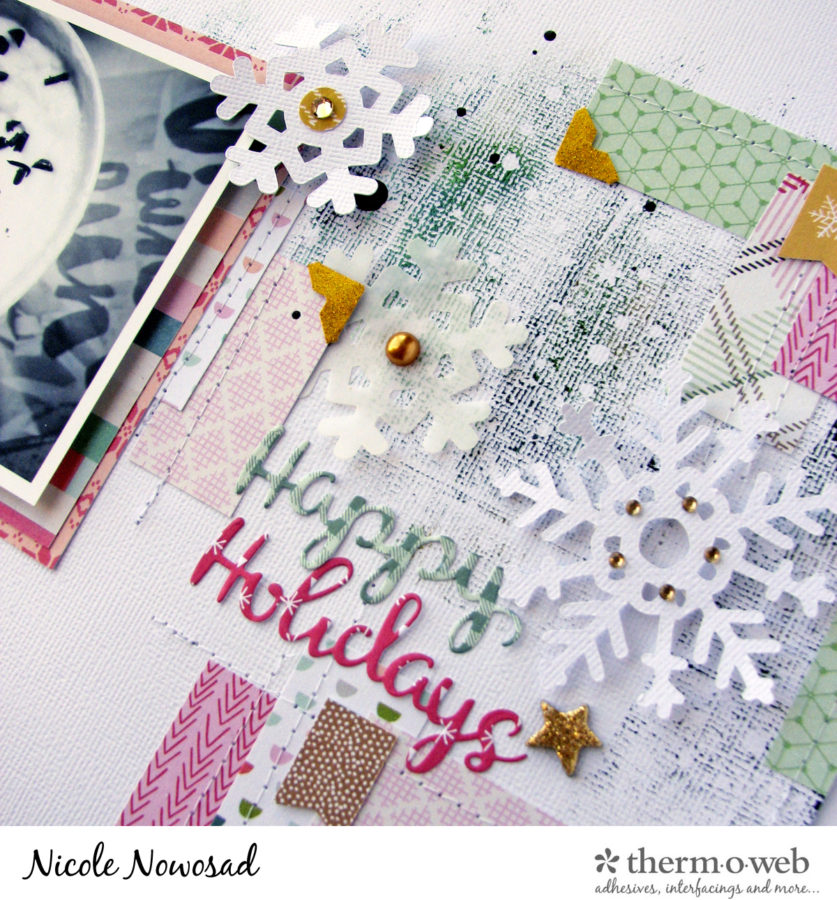
 Take a piece of textured white cardstock and using a 1/2" paintbrush, lightly dry brush Deco foil Transfer Gel across part of the surface of the background. Set aside to dry.
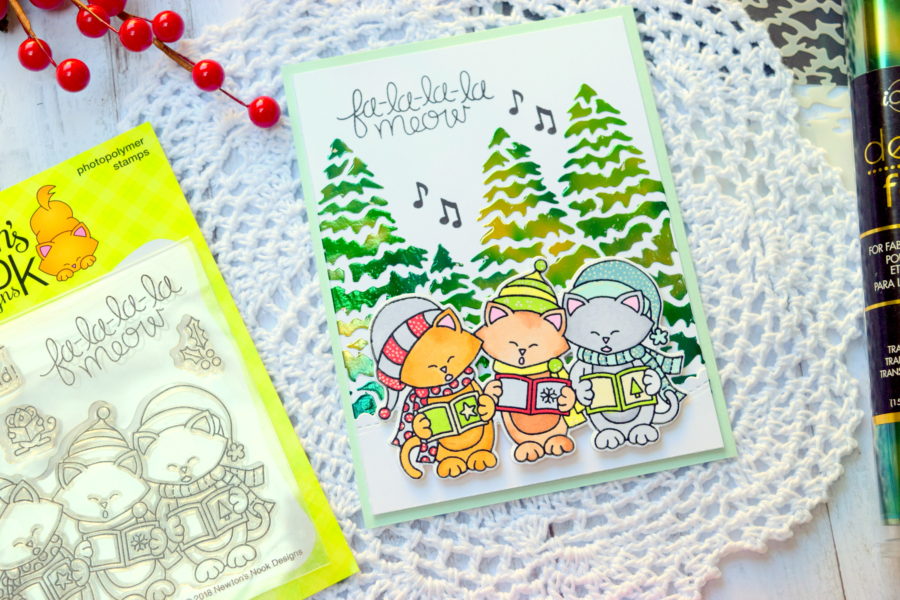
Once the stenciled background is dry, run it through a heated laminator with your favorite Deco foil Foil transfer sheet. Add distress ink over top of the foiled design to create a base for a card front. Decorate card front as you wish.
Take a piece of textured white cardstock and using a 1/2" paintbrush, lightly dry brush Deco foil Transfer Gel across part of the surface of the background. Set aside to dry.
Once the stenciled background is dry, run it through a heated laminator with your favorite Deco foil Foil transfer sheet. Add distress ink over top of the foiled design to create a base for a card front. Decorate card front as you wish.
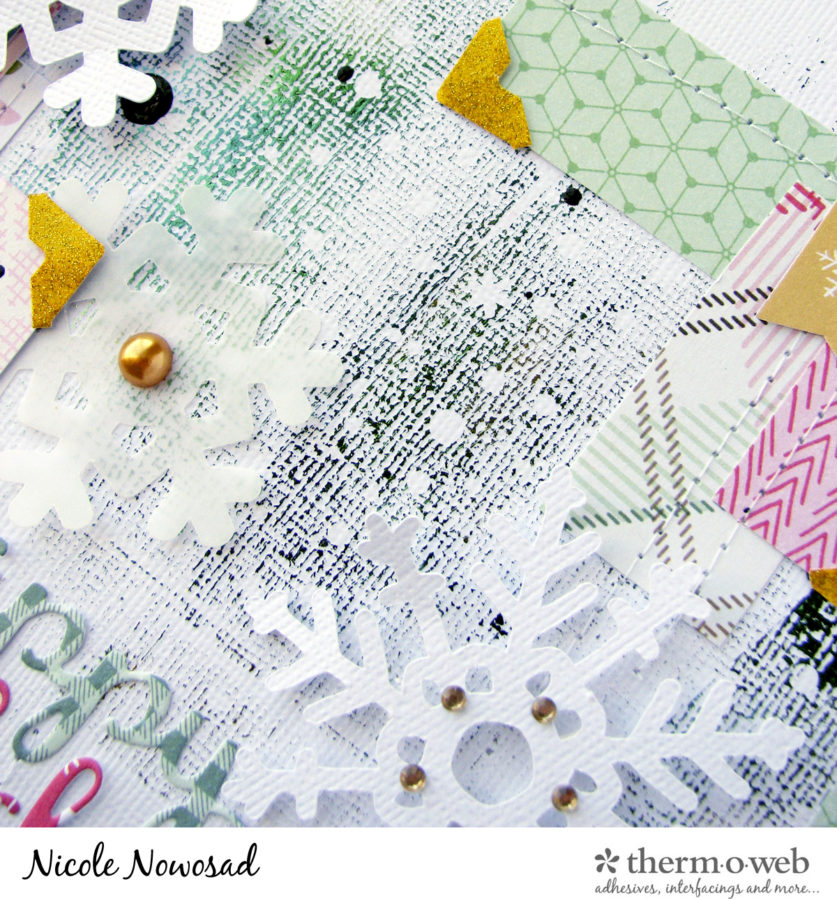
 Using the leftover foiled pieces, with the stencil patterns missing, cut into thin strips and place over the (now dry) dry brushed textured cardstock; run through a heated laminator to reveal the positive part of the foil onto the dry brushed cardstock.
 Repeat the design across the textured cardstock until you have the distressed watercolour foil across the background that was dry brushed. Alternate the strips so that the dry brushed look alternates across your design.
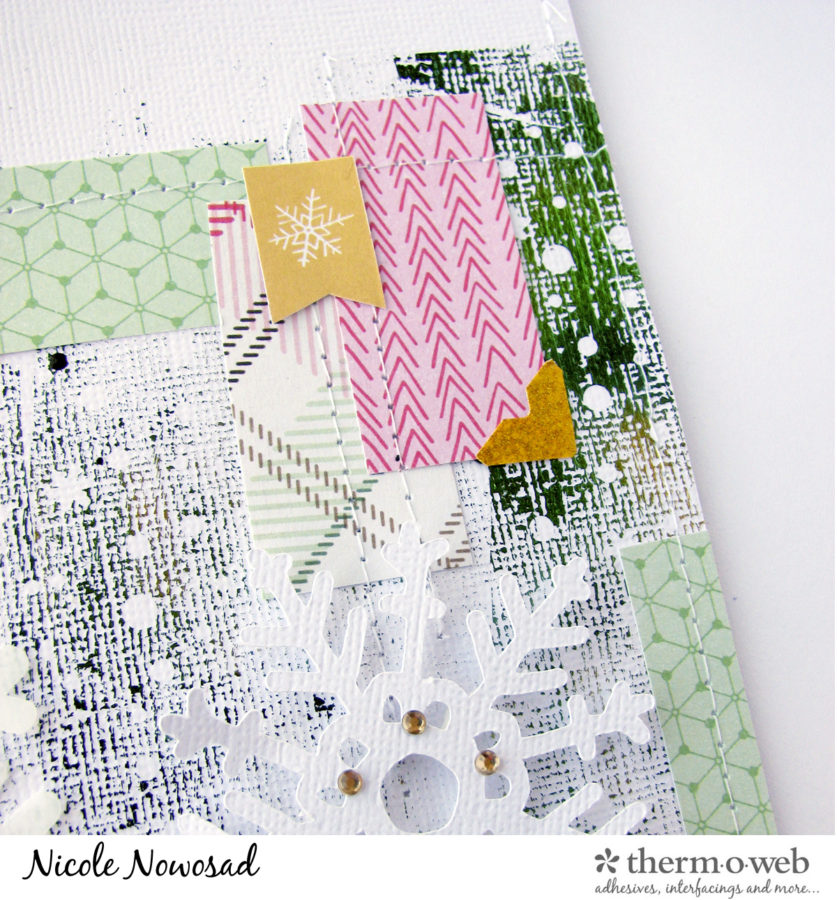
 Add Glitter Dust photo corners to the edge of some of your patterned paper to add a little more sparkle!
 Now, sit back and watch how you can create these two projects too!
[embed]https://youtu.be/imzJrYXzNMw[/embed]
I hope you are inspired to use all that lovely foil up on a background for your next project!
Now, sit back and watch how you can create these two projects too!
[embed]https://youtu.be/imzJrYXzNMw[/embed]
I hope you are inspired to use all that lovely foil up on a background for your next project!
 Be sure to take time to go visit our friends at Newton's Nook and see what their team has created! Before you go...please take a moment to get yourself entered to win a $25 Gift Card to shop with us!
a Rafflecopter giveaway
Be sure to take time to go visit our friends at Newton's Nook and see what their team has created! Before you go...please take a moment to get yourself entered to win a $25 Gift Card to shop with us!
a Rafflecopter giveaway