No Products in the Cart



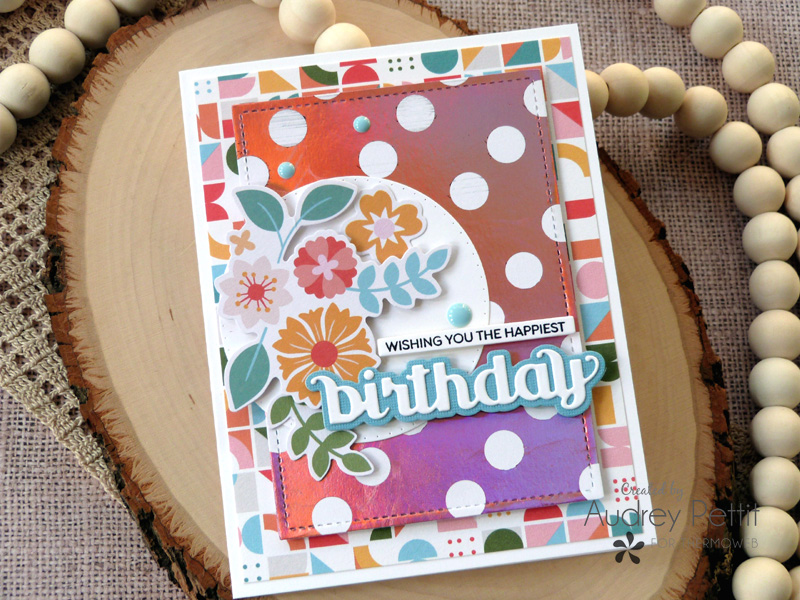
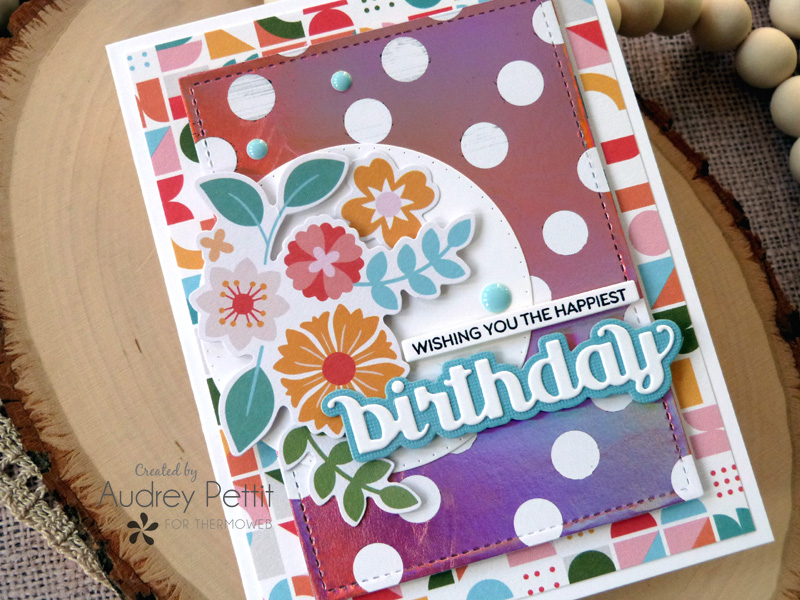 Send someone you love the brightest and happiest of birthday wishes with a very special handmade card featuring our amazing Fairy Tale collection of iCraft Deco Foil transfer sheets and any one of our playful toner sheets designs. The metallic shimmer of our Fairy Tale foils adds such beautiful detail to cards and reflects a rainbow of color as you move it around. It's sure to capture the heart of any card recipient.
I've got the complete step-by-step tutorial for creating this card to share, so let's take a closer look.
Send someone you love the brightest and happiest of birthday wishes with a very special handmade card featuring our amazing Fairy Tale collection of iCraft Deco Foil transfer sheets and any one of our playful toner sheets designs. The metallic shimmer of our Fairy Tale foils adds such beautiful detail to cards and reflects a rainbow of color as you move it around. It's sure to capture the heart of any card recipient.
I've got the complete step-by-step tutorial for creating this card to share, so let's take a closer look.
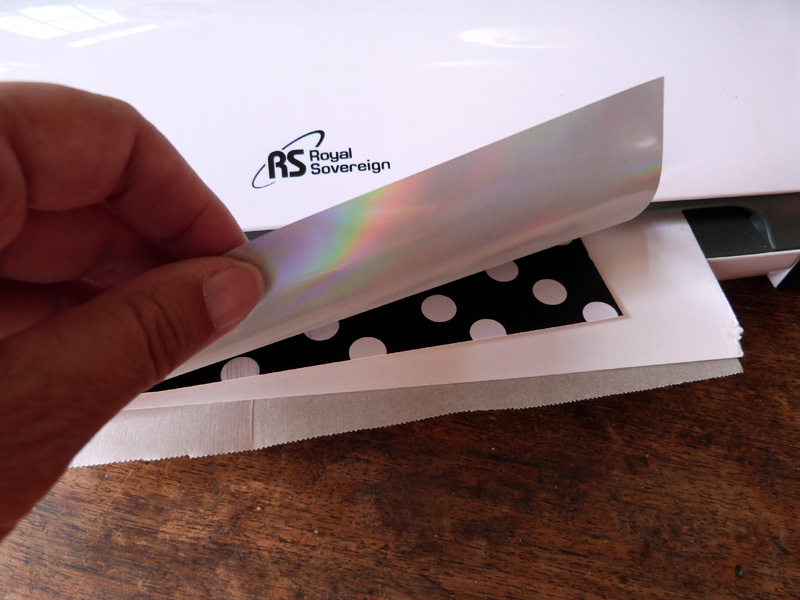 To begin, turn on your laminator machine set to the 3mm setting, and let it heat up. Place a Toner Sheet (design side up) between a piece of folded parchment paper. Place a piece of Deco Foil Transfer sheet onto the Toner Sheet with the colored side facing up and the shiny silver side facing the Toner Sheet design. Run this sandwich through your laminator.
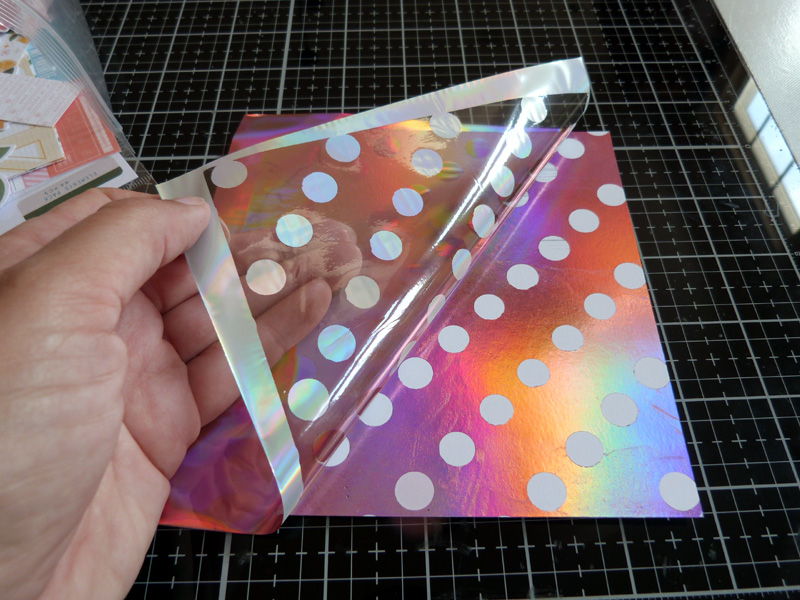 Peel off the Transfer Sheet to reveal your beautifully foiled Toner Sheet.
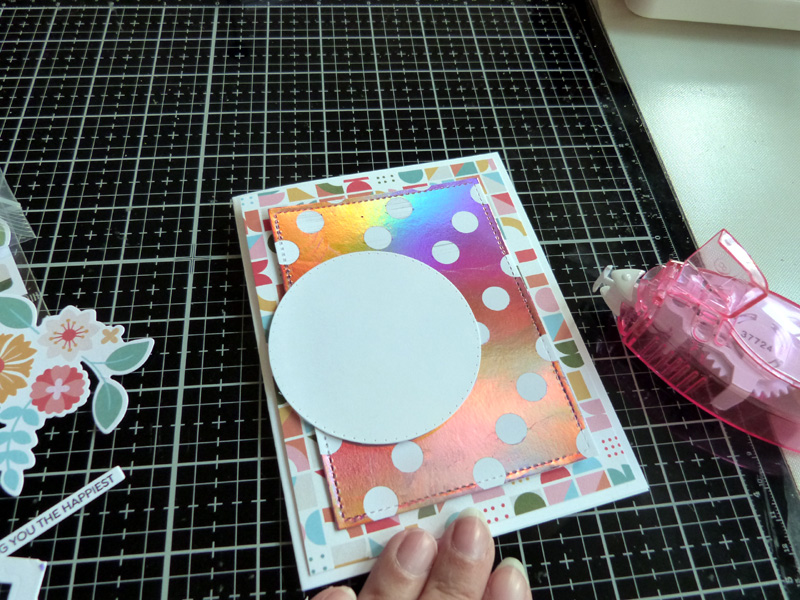 Cut and die cut the papers you will need for your card. You will need a standard A2 card base made from white cardstock and the second layer of patterned paper. Die-cut a stitched rectangle from the foiled Toner Sheet paper. Lastly, die-cut a circle from white cardstock.
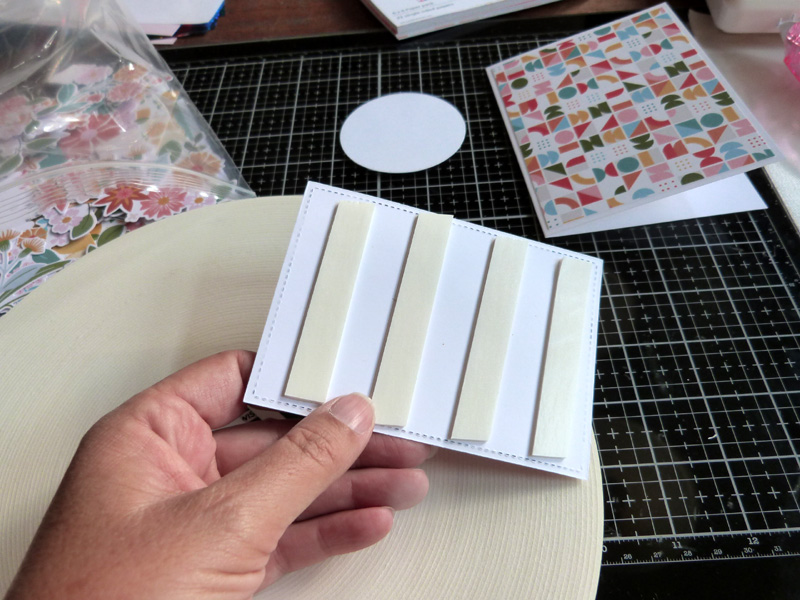 Adhere the patterned paper to the card base with tape runner adhesive. Cut strips of our new Foam Tape Roll adhesive to cover the back of the foiled die-cut. Adhere the die-cut to the center of the card. Adhere the die-cut circle to the left side of the card.
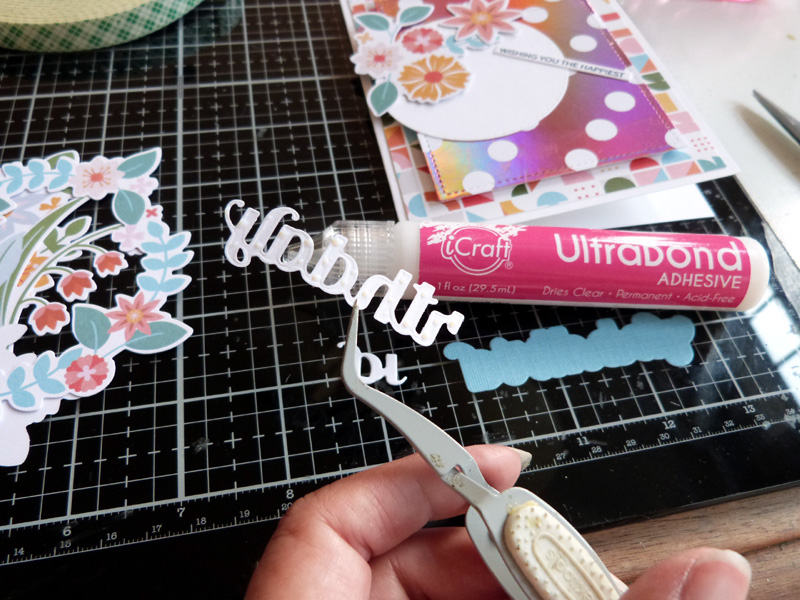 Die-cut a birthday word sentiment from white cardstock. Die-cut the coordinating shadow piece from light blue cardstock. Using very small dabs of UltraBond Adhesive, adhere the sentiment to the shadow. Stamp a secondary sentiment onto white cardstock using black ink. Die-cut it out or hand trim it into a strip. Adhere clusters of flowers to the die cut circle using a mixture of UltaBond Adhesive and Foam Tape. Pop the sentiment pieces up with foam tape and add them to the bottom of the circle. Finish with a scattering of enamel dots.
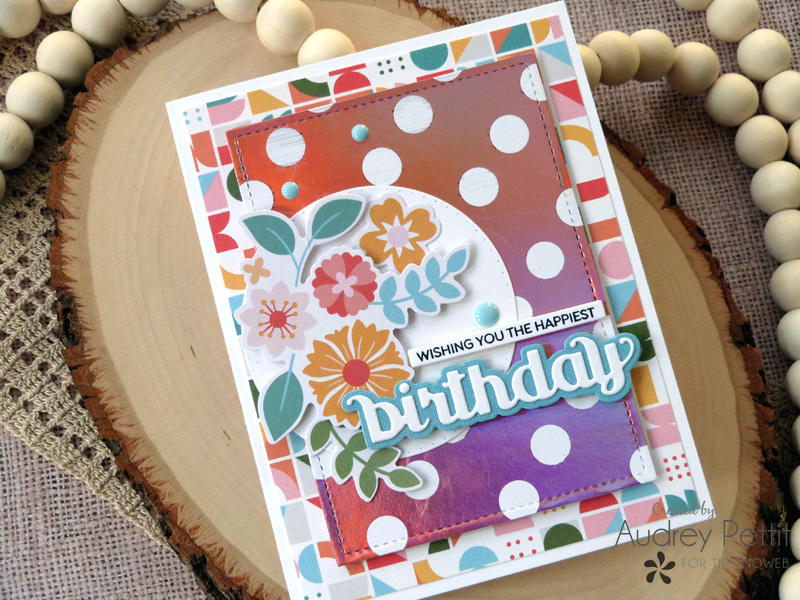 Enjoy!
