No Products in the Cart
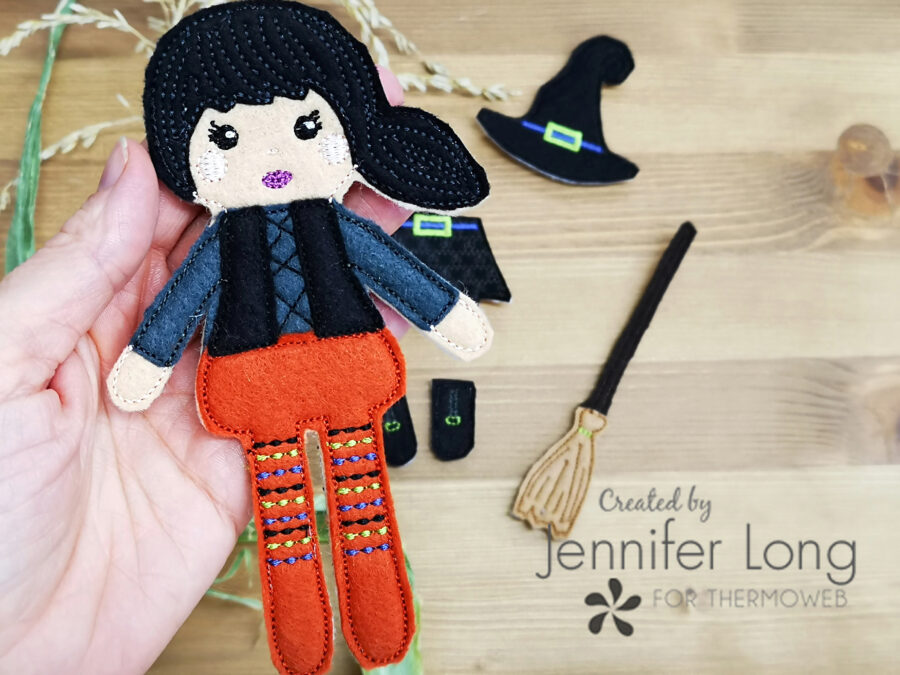
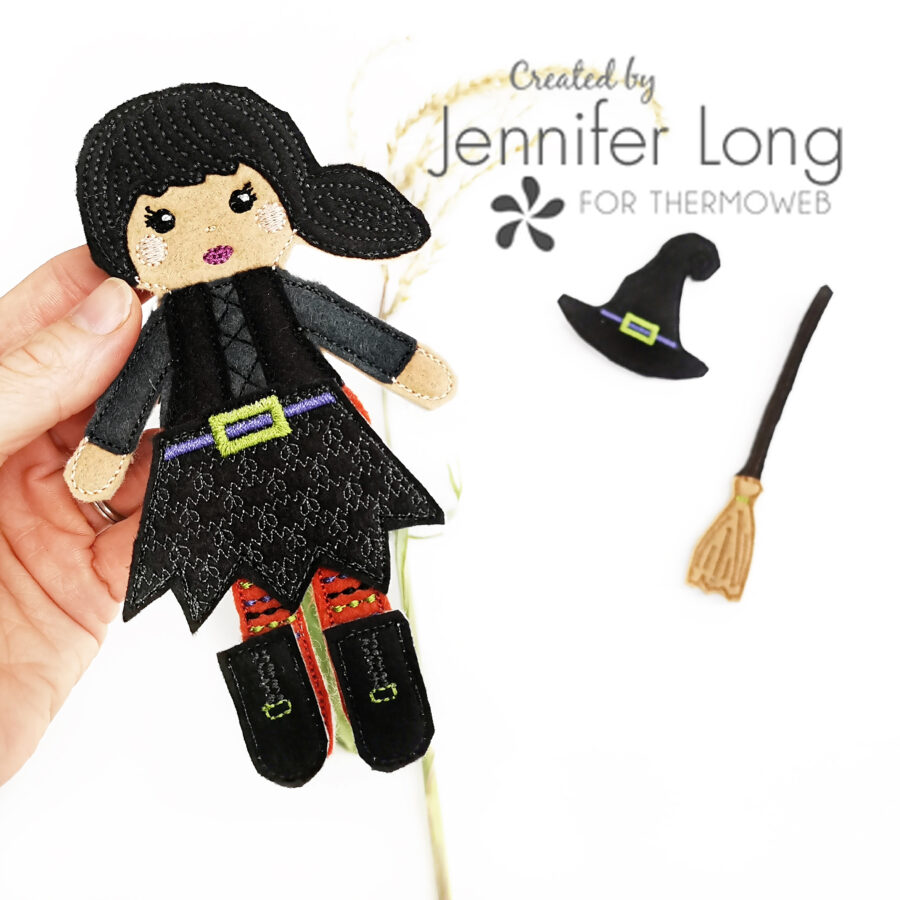 Hi friends, this is Jennifer Long from Bee Sew Inspired. I am back with another fun Felt Doll project designed for your home embroidery machine! This felt doll is a friendly little Witch Doll with removable skirt, boots, hat and broom!
 Beginner Friendly! These felt dolls don't require any special skills... they are so easy to make on your home embroidery machine, the children in your life can even help!!! You will need about 1 hour per Felt Doll and Accessory set to complete this project from start to finish!
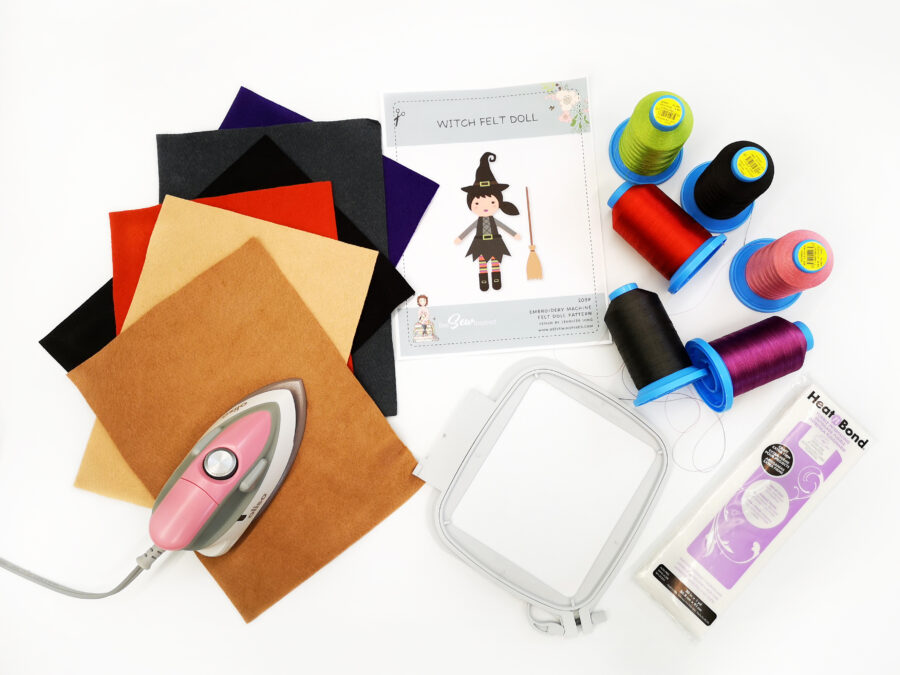
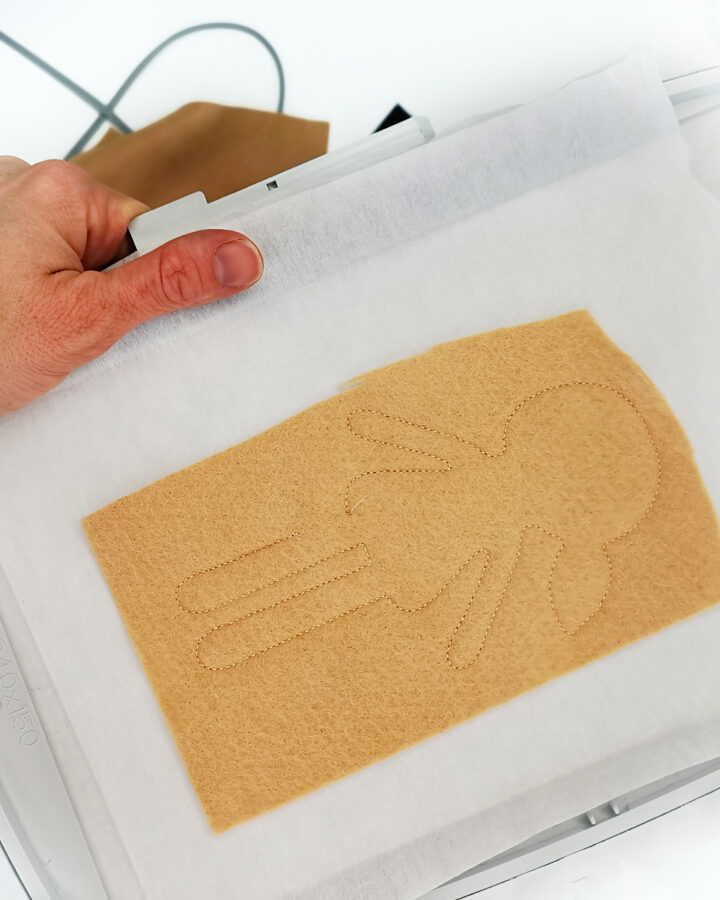
 Basic Instructions: Each Felt Doll or Felt Doll Accessory, is made in one complete hooping. You can download, print and follow the Embroidery Step Sheet to know when to change colors and trim applique steps. Click HERE to grab the pattern and files. Download the Embroidery Files to use on your home embroidery machine. You will need to have at least a 5x7 hoop on your machine. The files are formatted in (DST, EXP, JEF,PES,VP3 and XXX) to work in all home embroidery machines.
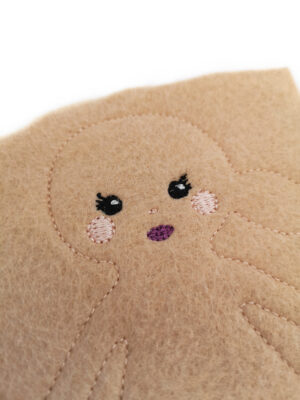 2. Next, Stitch out the embroidery face details in the appropriate color choices.
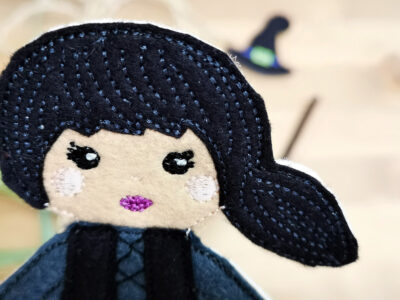
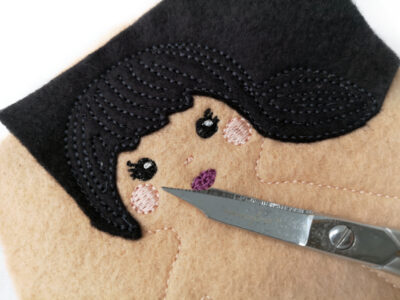 3. Lay the black felt on top and stitch out the Witch's hair detail. Using your curved embroidery scissors, trim around the edge of the doll's face as shown.
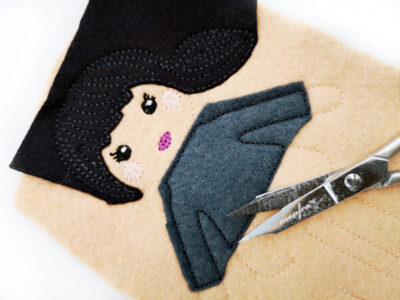 4. Repeat the applique process with the Witch's long-sleeved shirt. Make sure you are using a coordinating thread color.
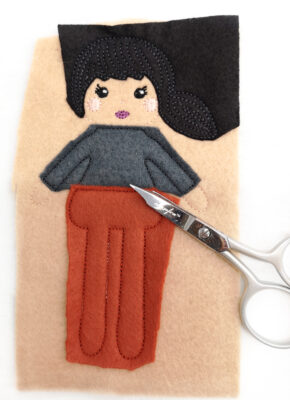 5. Next, let the orange legging felt fabric on top and stitch, applique and trim around any edges that are overlapping on the doll's body.
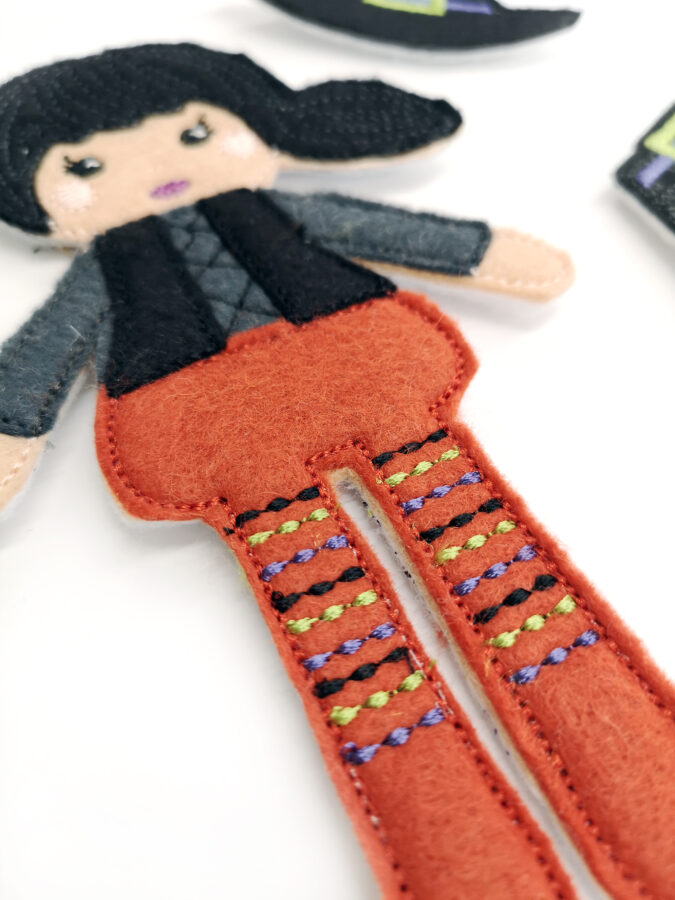 6. Using a fun assortment of Halloween embroidery thread colors, stitch out the stripe legging details.
 7. Stitch out the doll's vest details, applique and then trim around the entire vest and any loose thread edges not cut by your machine.
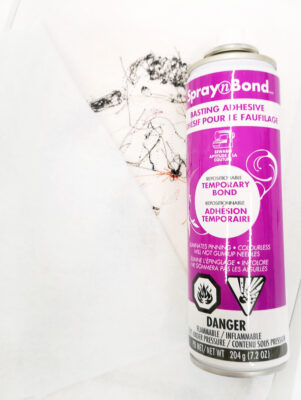
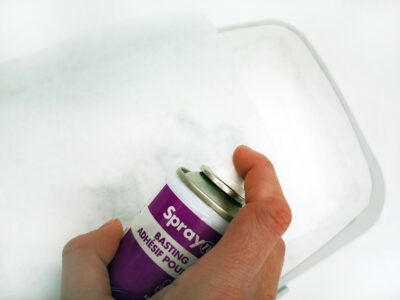 8. Remove the hoop from your embroidery machine and using the SpraynBond Basting adhesive, spray the entire backside of the stabilizer in the hoop. Press a white piece of backing felt in place and reposition the hoop back into the machine. This is called "floating the backing." I LOVE using the SpraynBond Basting adhesive for this step because you will never again get a folded piece on the back. It will always stitch out with a perfectly smooth backing.
Final Outline Steps:
Using your coordinating body-color threads, stitch out outline steps so all three layers are stitched together.
Remove the Felt Doll from the hoop. Using your straight, sharp scissors, trim evenly around the outside perimeter at 1/8” through all the layers of the Felt Doll.
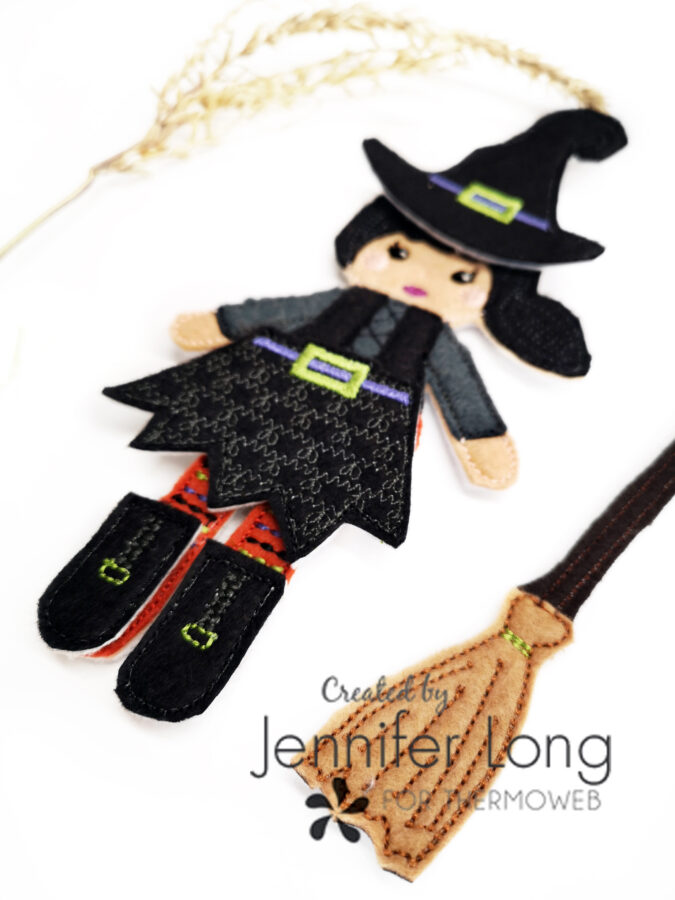
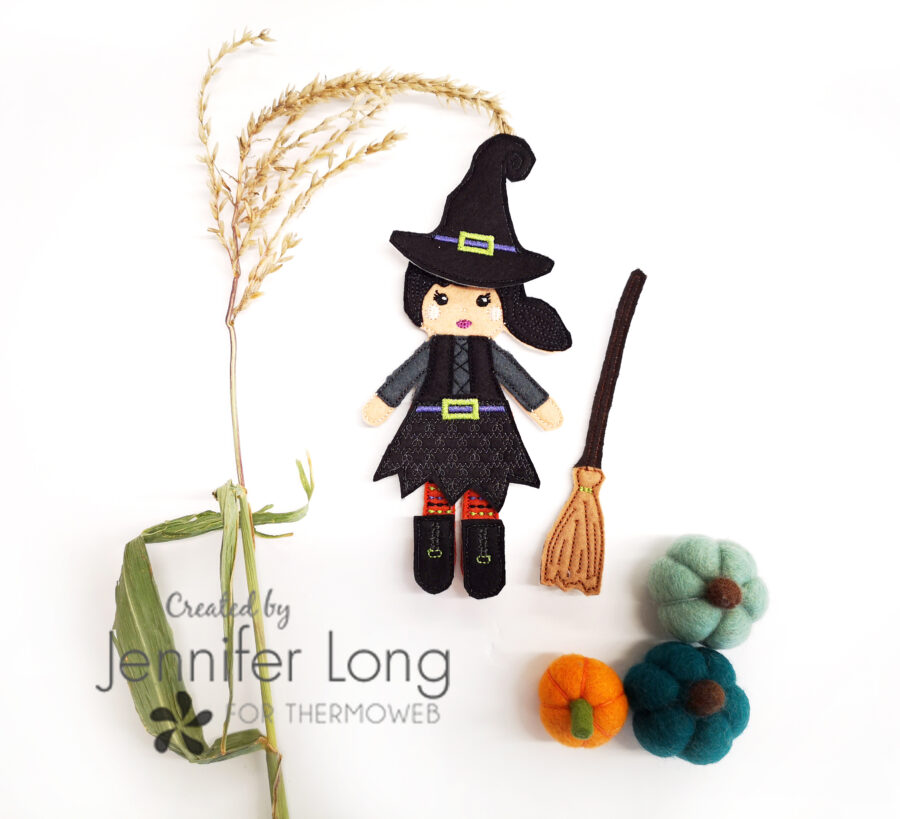
Your Felt Doll is complete!!! Repeat this process for the Witch Doll Accessory hoop. Place your Felt Dolls and Accessories in a little bag and have them in your purse or vehicle for “On the Go” fun anytime!!! This Witch Felt Doll is part of a series of Felt Doll Embroidery Patterns being released monthly! Make sure you sign up for the FREE Doll Making Newsletter at www.beesewinspired.com to be INSPIRED and know when the next patterns will be released!

 Thank you for joining me here today! I can't wait to see your Witch Felt Dolls. Please tag me on social media @beesewinspired. I would love to reshare and tag you back!