No Products in the Cart



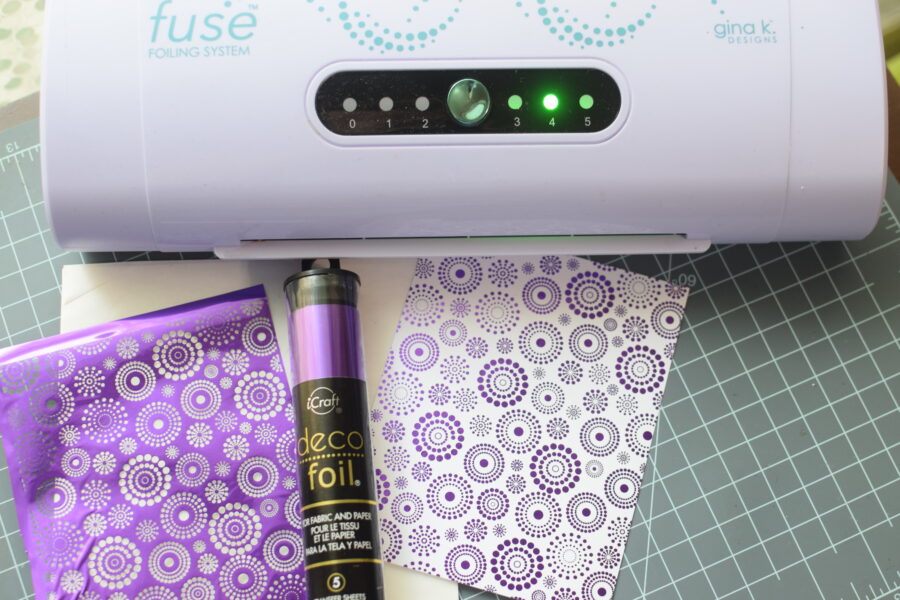
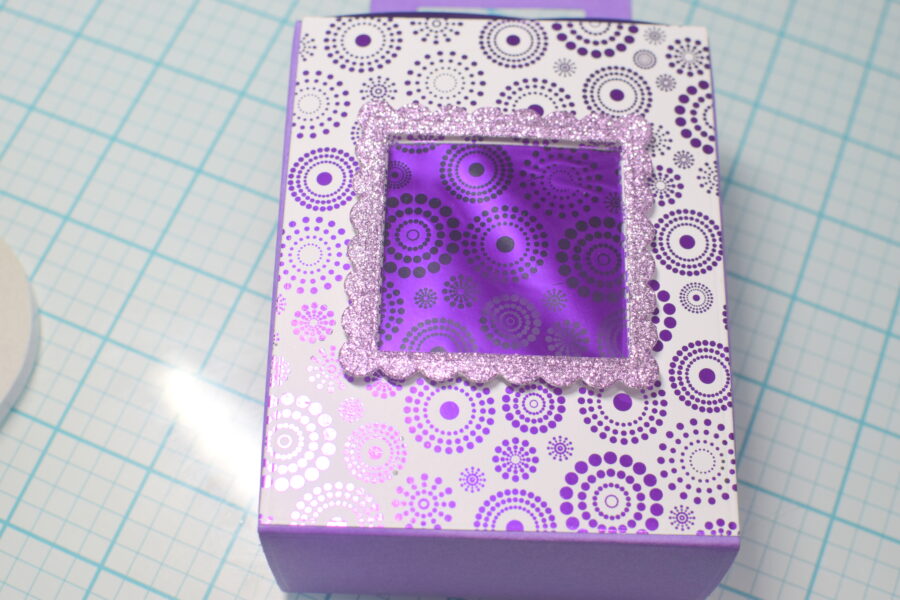
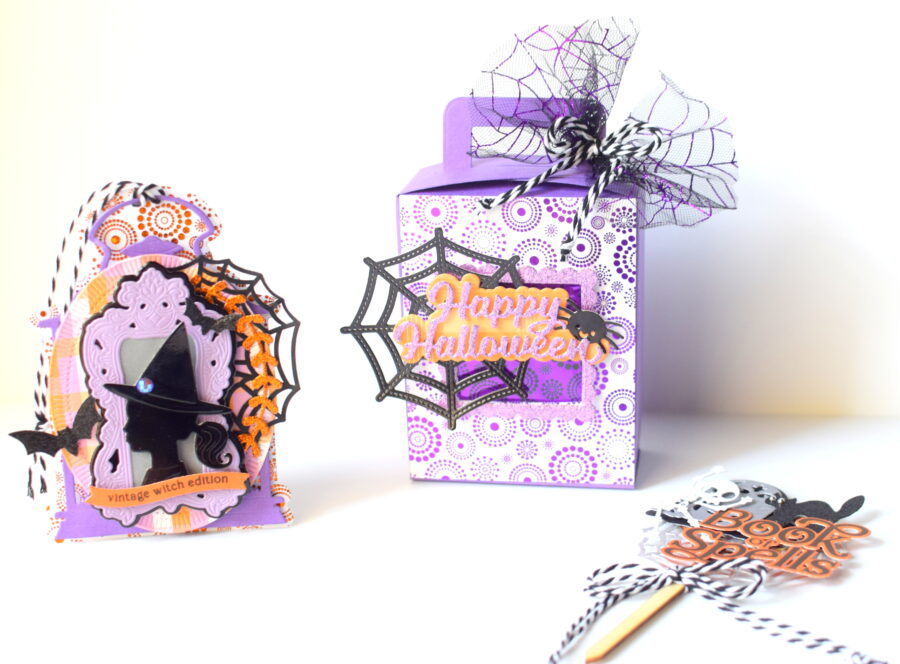 Starting with the treat box, I foiled the Dazzled toner card front for the Treat Box with the purple Deco Foil Transfer sheet. I love how vibrant the color looks on this design.
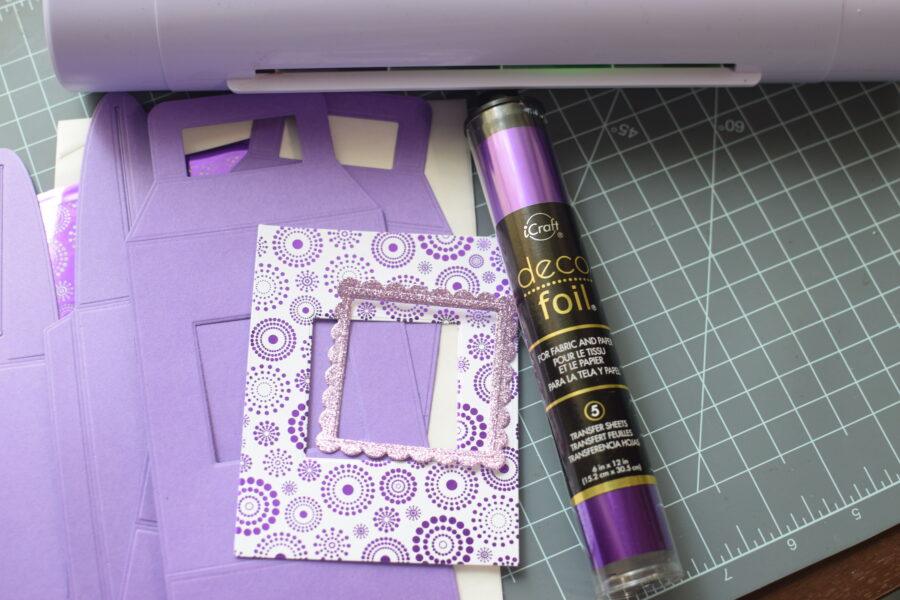
 Next, I cut out the pieces of the box to assemble. I used double-sided adhesive tape to secure them. Even though the A2 size of the Toner Card Front wasn't big enough for the whole front of the box die, I was able to adapt it to the design.
 I thought it would be fun to use the negative foil for the window on the box. I adhered it would adhesive to the back of the Toner Card Front and then adhered it to the box cardstock.
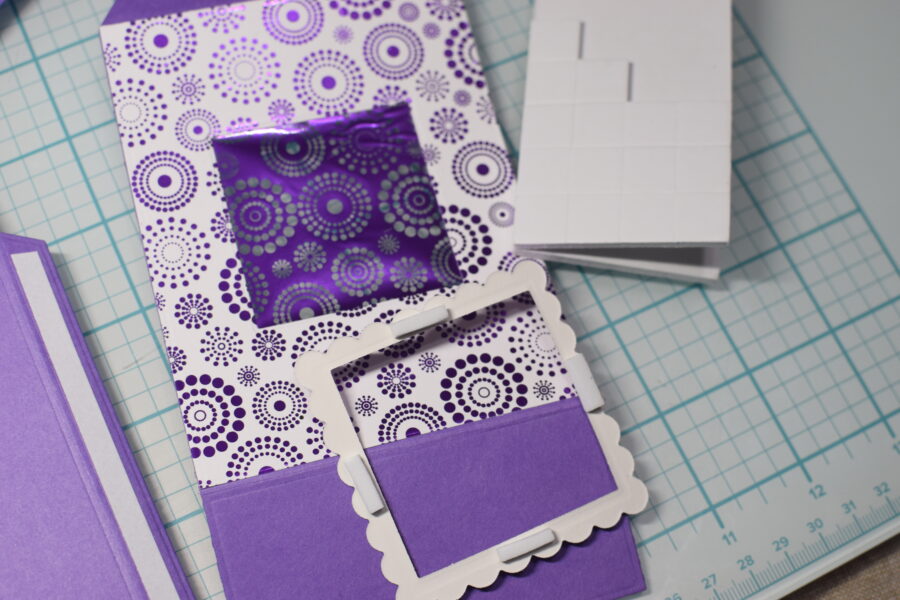 I framed it with a scallop die-cut square. I love the contrast of the negative foil and the toner card front. Makes it interesting to look at.
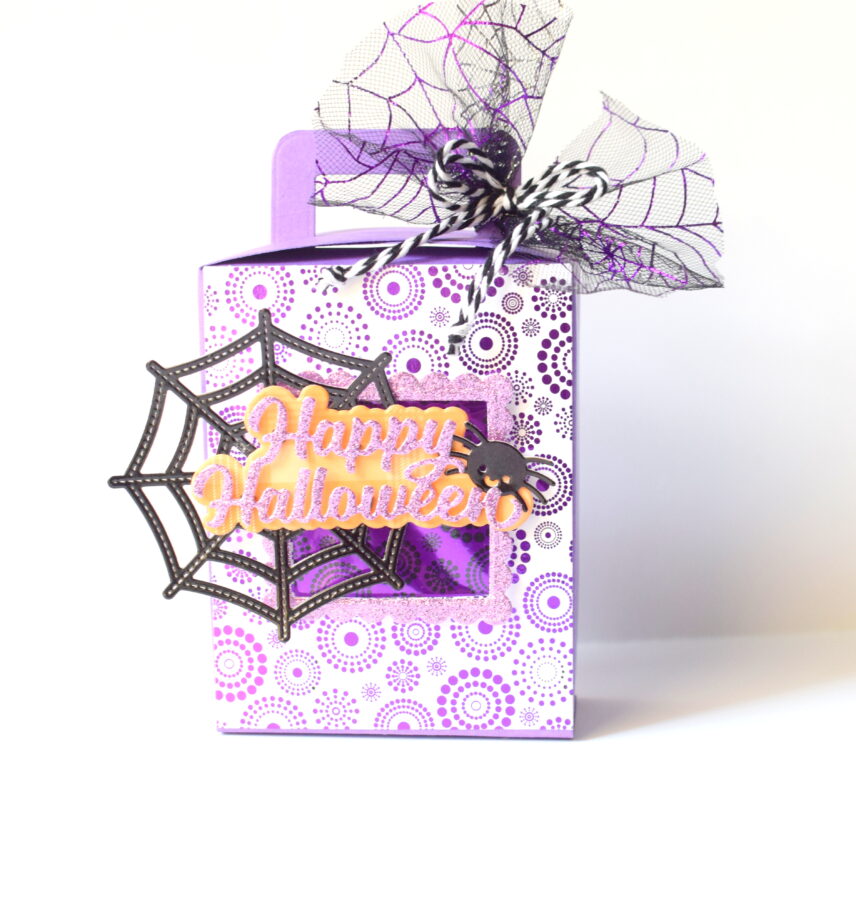
 To make the box festive, I added a few Halloween spiderweb, spider, and sentiment dies.
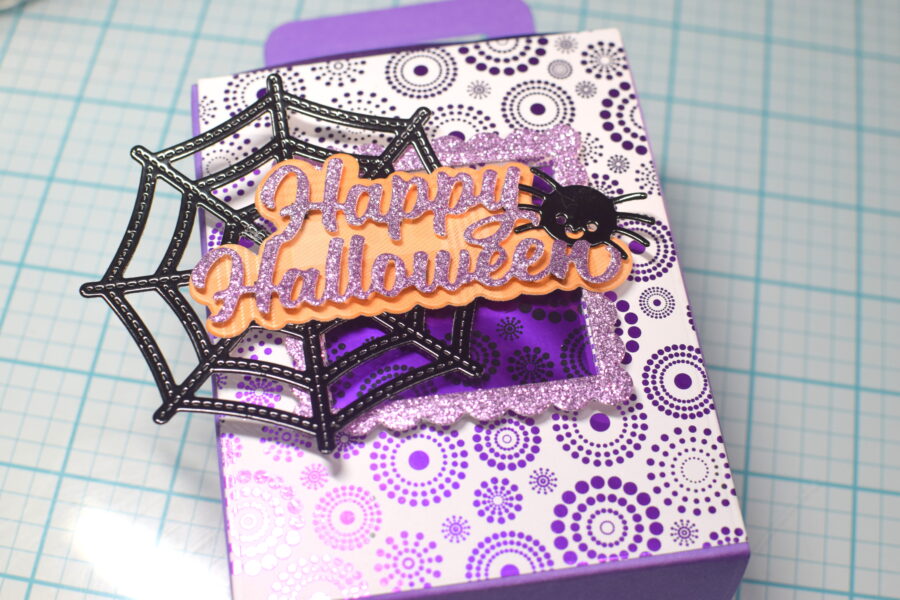 Now I can fill up this finished box with some spooky treats!
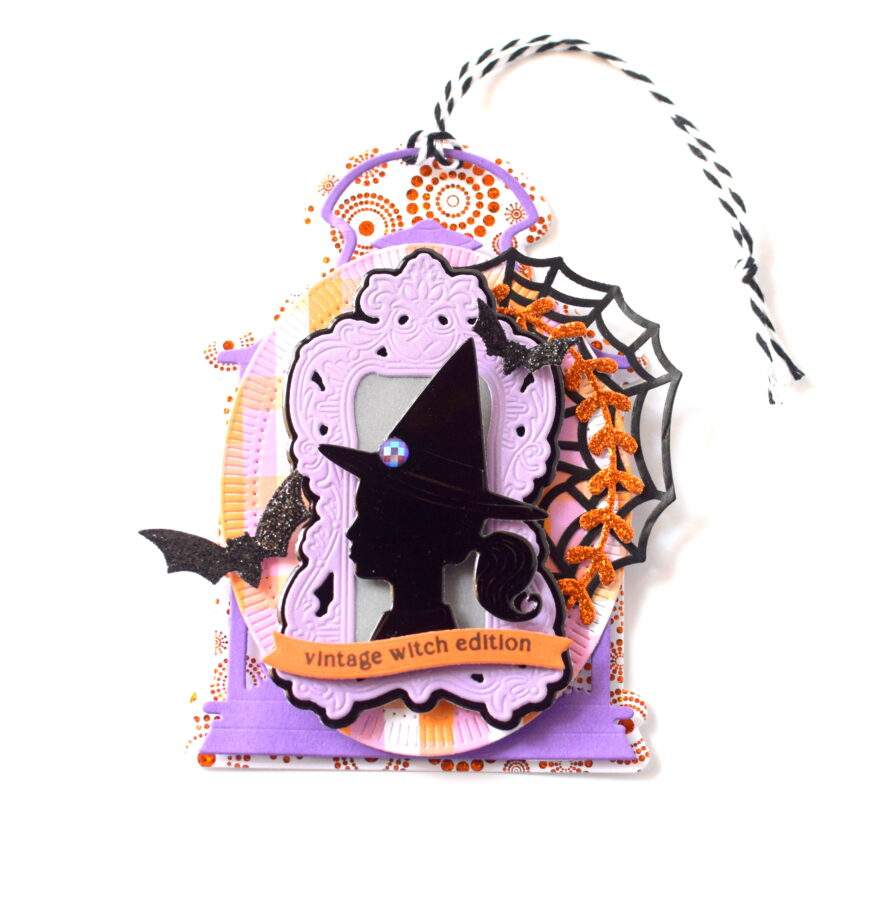
 I wanted to make a fun tag out of a Spooky lantern die from Picket Fence Studios. It was just big enough to fit the A2 Toner Card Front. First, I die-cut a bunch of Halloween-themed dies to create a collage on a tag cut from a fun spooky lantern die from Picket Fence Studios.
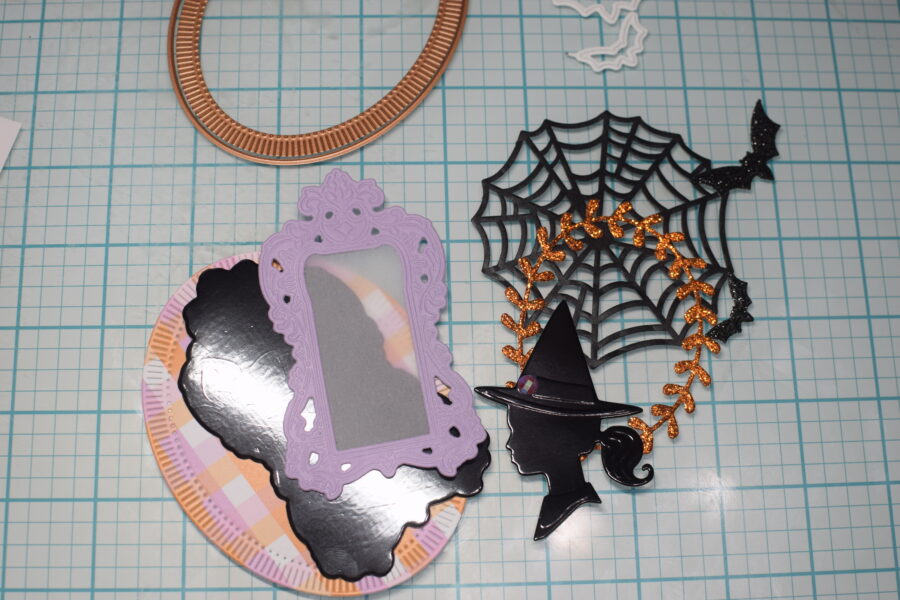 Using the Dazzled Toner Card front and some Fancy Foil from Gina K, I cut out the lantern die and adhered to my tag.
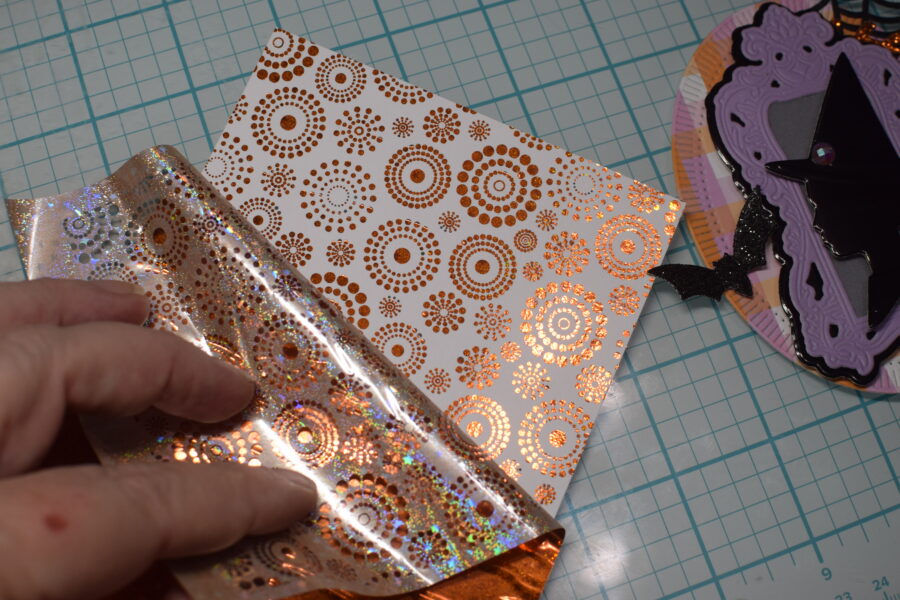 I cut out the design and used our 3D foam squares to mount the layered tag.
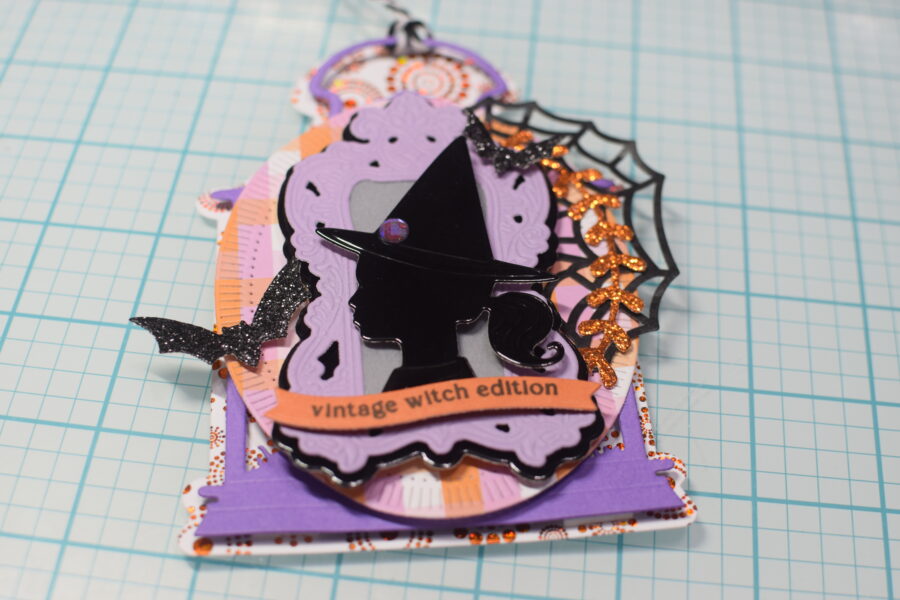 I love the way it turned out and all of the layered details.
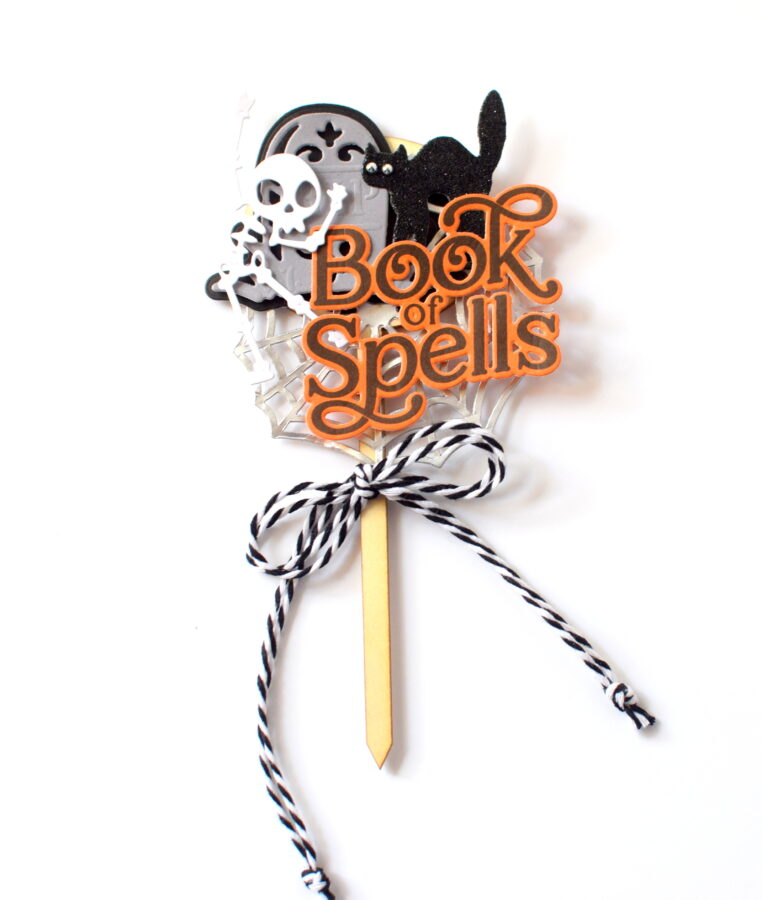
 And finally, I just had some garden chalkboard signs and thought it would be fun to throw some fun Halloween dies on the top of the pic. So I collaged a spiderweb die cut, a gravestone and cat dies from Anna Griffin, and a skeleton and sentiment from the Stamp Market.
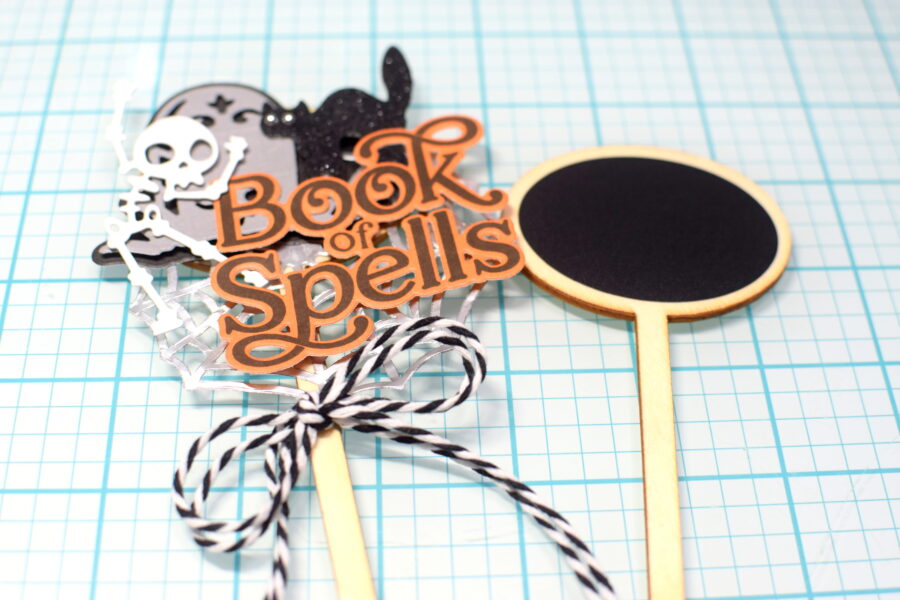 It would be a great cupcake topper or gift bag tie-on!
  I hope you enjoyed these ideas today and will share your own on socials. Be sure to tag them with #thermoweb #tonercardfronts #decofoil
Therm-O-Web supplies:
I hope you enjoyed these ideas today and will share your own on socials. Be sure to tag them with #thermoweb #tonercardfronts #decofoil
Therm-O-Web supplies:
Written by Shemaine Smith
