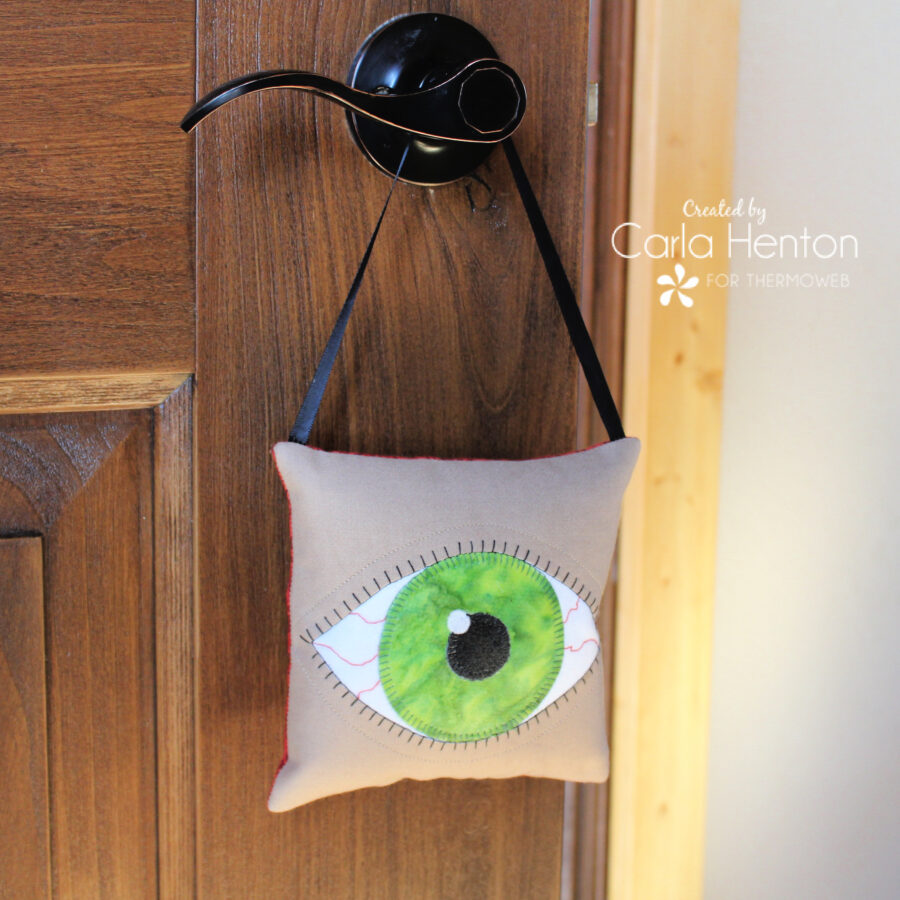
Don't ya just love decorating for Halloween? Just imagine an eyeball door hanger on every knob in the house. Wouldn't that be a hoot?
Halloween Stitch Fabric Eyeball Doorhangers with Liquid Vinyl
Don't ya just love decorating for Halloween? Just imagine an eyeball door hanger on every knob in the house. Wouldn't that be a hoot? Carla here, from Creatin' in the Sticks, and I'm on the Thermoweb blog today to show you how to make an eyeball or two. The sheen in the eye is so easy to do with
HeatnBond Liquid Vinyl. You will think someone is watching you everywhere you go...
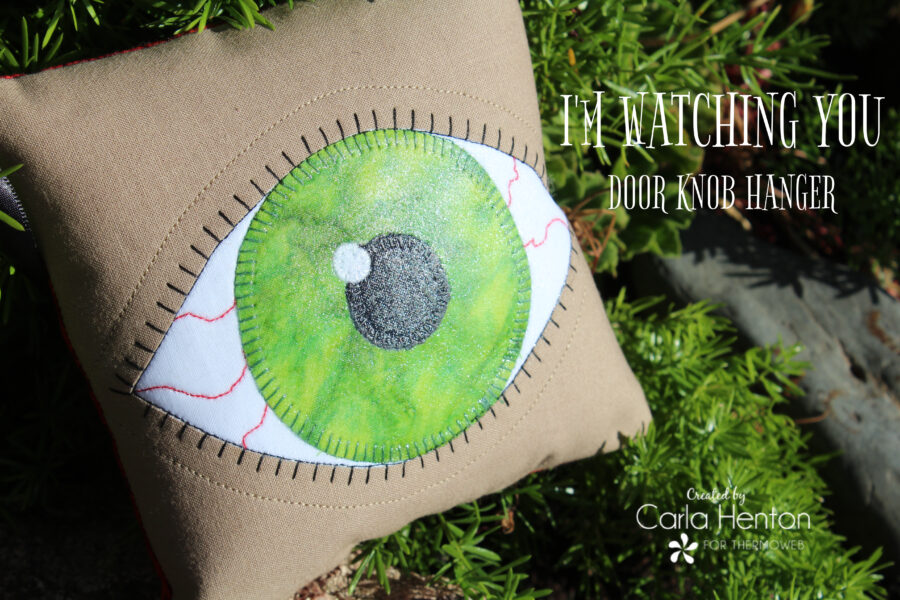
I'm Watching You - Door Knob Hanger
By Carla at
Creatin’ in the Sticks
Finished size: 6″ x 6″ without the ribbon hanger
Please read all the instructions before starting.
All seams are stitched at 1/4″ unless otherwise stated.
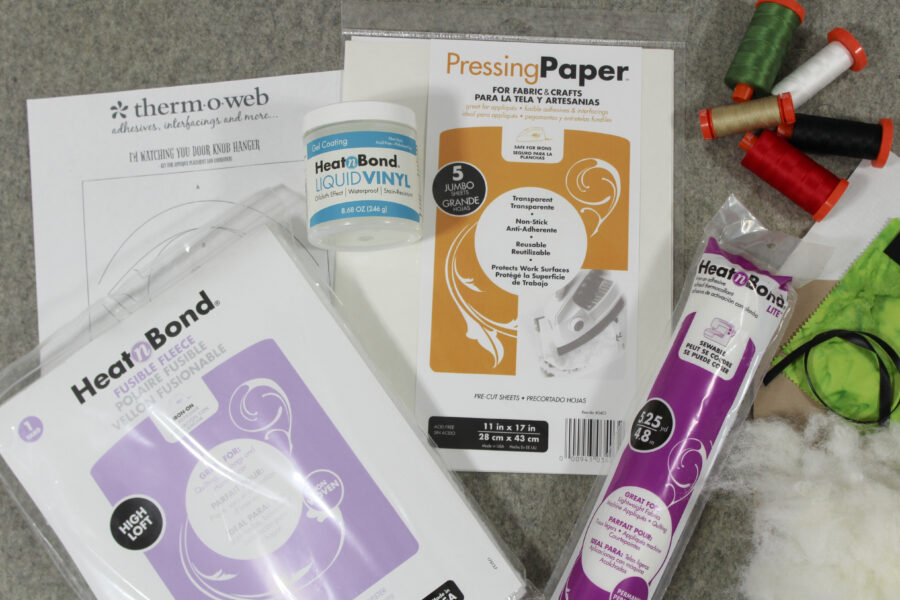
Supplies
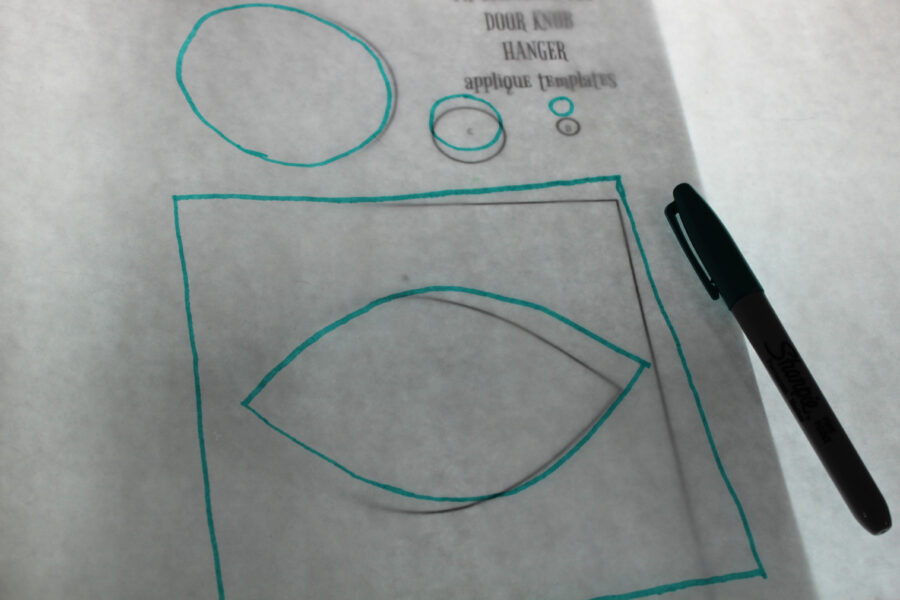
 Pattern:
Print the FREE PDF templates HERE-I'M WATCHING YOU Door Knob HangerTemplates
HeatnBond Fusible Fleece
HeatnBond Lite Fusible Adhesive
HeatnBond Liquid Vinyl
Pattern:
Print the FREE PDF templates HERE-I'M WATCHING YOU Door Knob HangerTemplates
HeatnBond Fusible Fleece
HeatnBond Lite Fusible Adhesive
HeatnBond Liquid Vinyl.
Pressing Paper
Fabric:
1– 6 ½” x 6 ½” square of tan cotton, 1– 6 ½” x 6 ½” square of white cotton, and 1– 6 ½” x 6 ½” square of red cotton
Small scraps of black and white cotton fabrics for the pupil and the highlight, and one small piece of color (green batik) for the eyeball raw edge applique.
Other supplies:
Aurifil thread: 50wt #2692, 2890, 2250, 2021, and 2326
13" of black narrow ribbon
Inkjet printer, fiberfill, Iron (I love my
Oliso Pro), sewing machine, sharp scissors, Chopstick, and other basic sewing supplies.
Instructions
Step 1 -Prepare the background
Begin by cutting one 6½” square of HeatnBond Fleece. Place the 6 ½” x 6 ½” piece of white fabric right side down on an ironing surface. Bond the 6½” square of HeatnBond Fleece to the wrong side of the white fabric square following the manufacturer’s instructions.
Step 2 – Fusible Applique
Trace the patterns on the paper side of HeatnBond® Lite iron-on adhesive
. Follow the manufacturer’s instructions for tracing the patterns.
Cut around the square and bond the HeatnBond to the wrong side of the tan fabric square following package instructions.
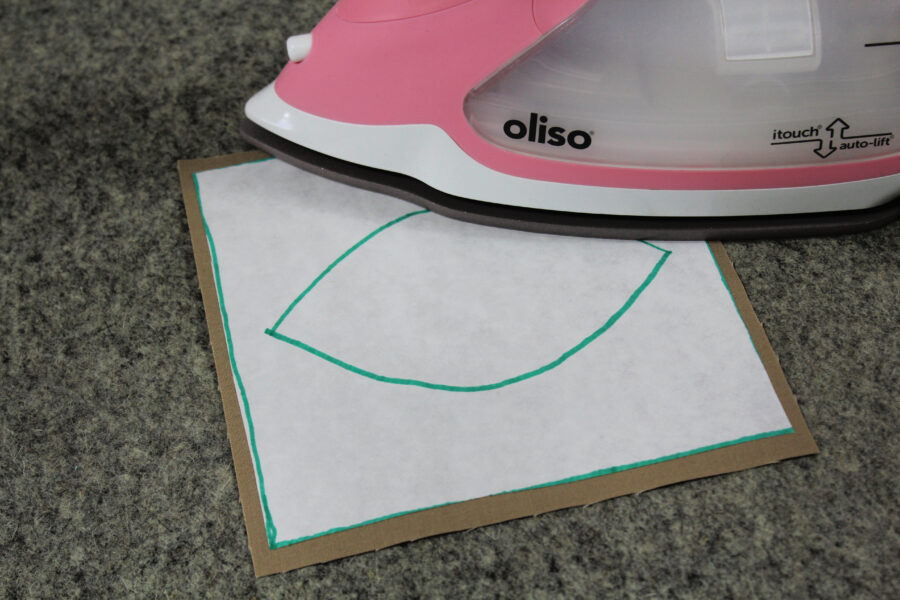
Cut on the traced line to remove the center on the fabric square.
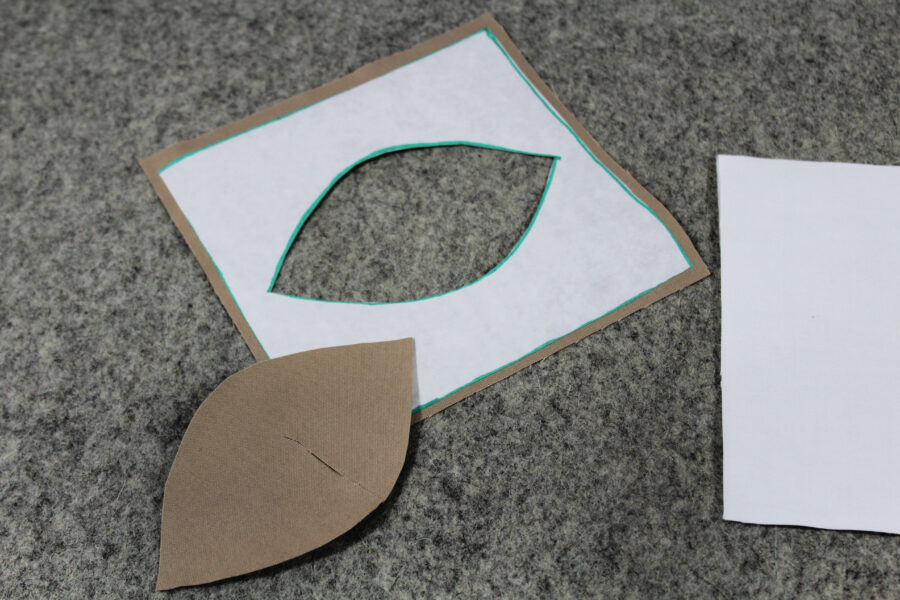
Place the fleece-backed white square on an ironing surface, fabric side up. Remove the backing paper from the tan square and place it, adhesive side down, on the white fabric. Next, follow the manufacturer’s instructions for bonding HeatnBond to the wrong side of fabrics for the other parts of the eyeball. The next step is to cut out all applique pieces, peel off the backing paper and place the applique with the adhesive side down on the background piece of fabric. Use the key in the pattern as a guide for placement.
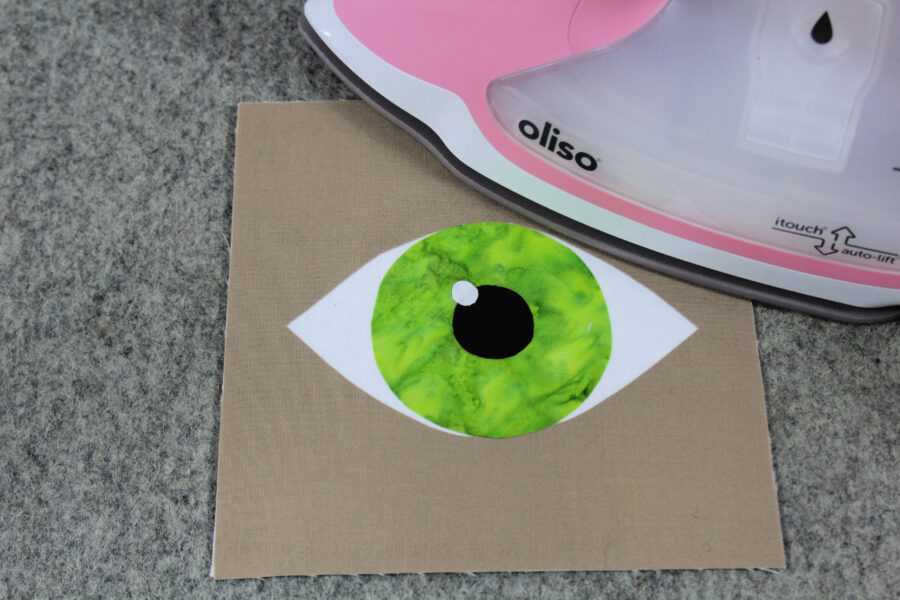
Finally, fuse all the pieces to the background at once following the manufacturer package instructions.
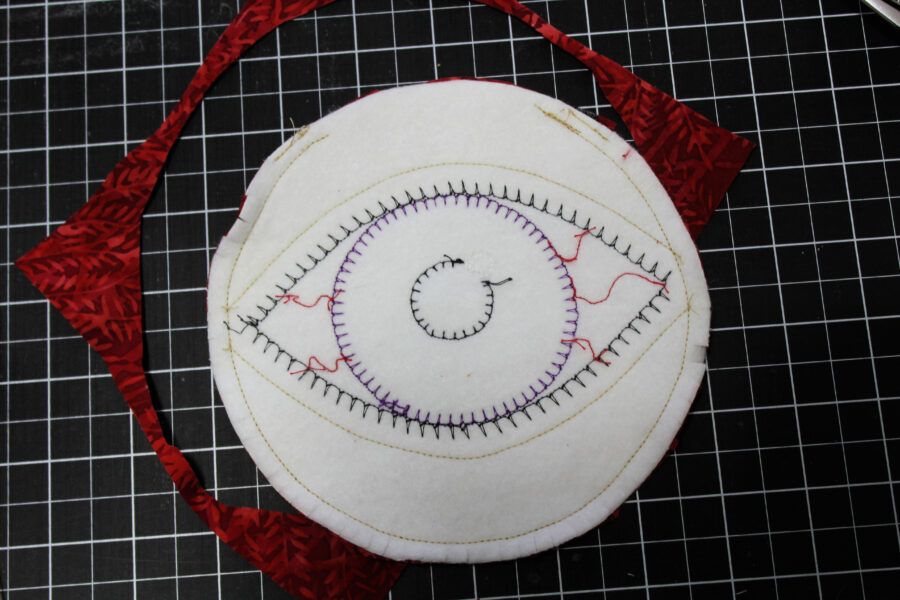
Step 3 – Stitch
Stitch around the tan fabric with a large blanket stitch using black (#2692) Aurifil 50 wt. thread.
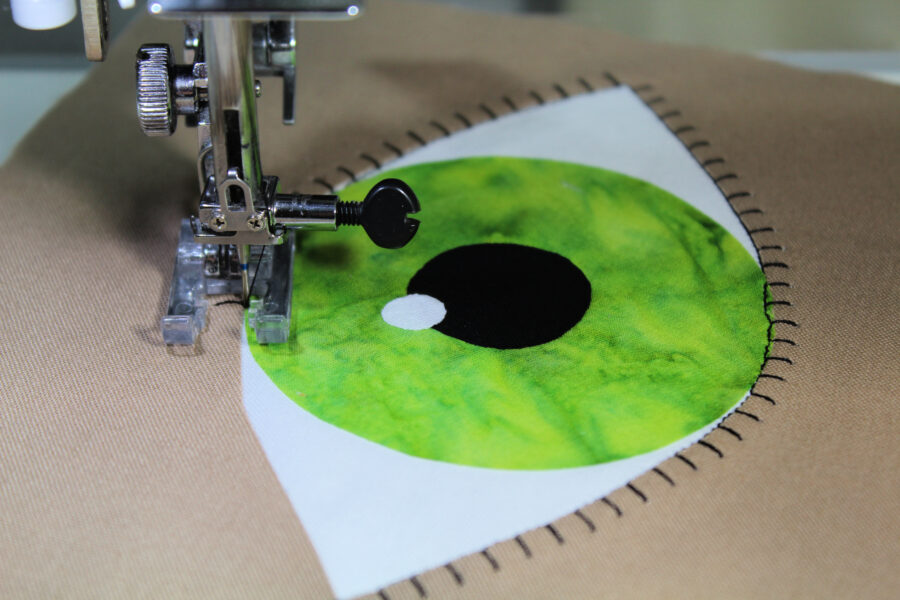
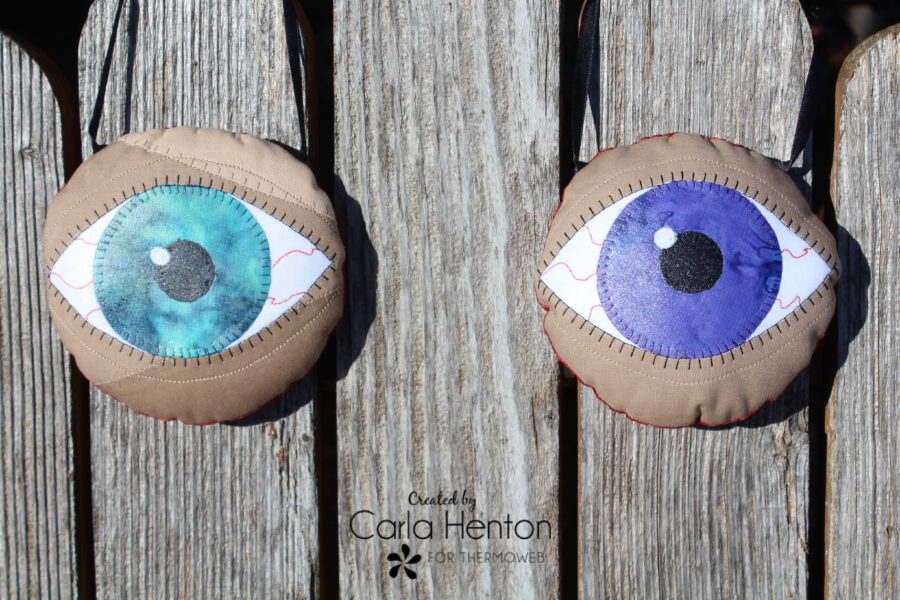
Now stitch the pupil and iris, and highlight with a blanket stitch in matching thread. Mark and stitch the bloodshot lines and the lid lines with a straight stitch. Use the key in the pattern as a guide.
Step 4 – Apply HeatnBond Vinyl
To make the eye look wet with a semi-gloss finish, apply HeatnBond Vinyl to the eyeball. Protect the work surface with HeatnBond Pressing Paper. Place the eyeball face up on the paper and paint a thin layer of Liquid Vinyl over the eye. Do not paint the vinyl on the tan fabric.
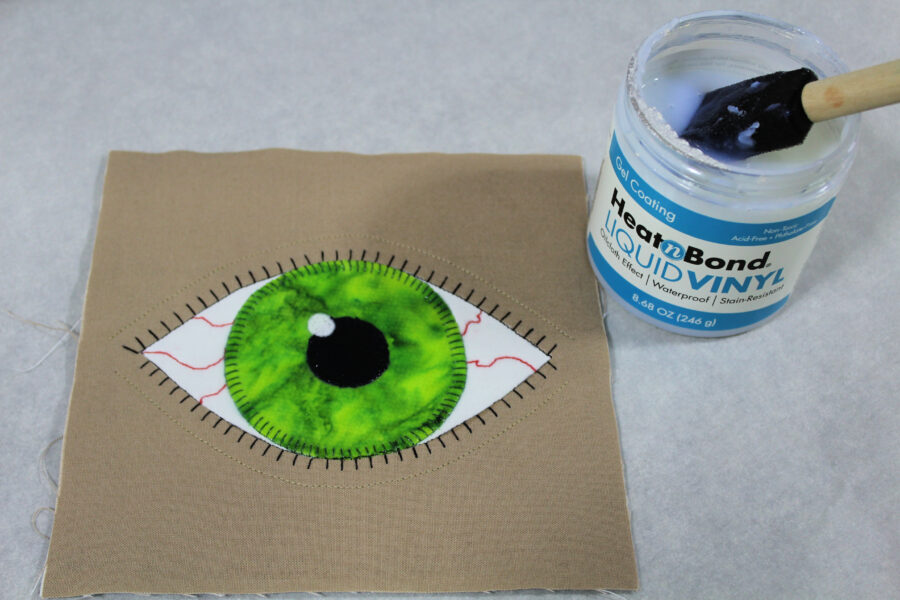
Rinse the brush and let the eye dry for 45 minutes. Preheat iron to medium heat, no steam. Place the eye between 2 pieces of parchment paper and press for 45 seconds. Remove the paper and let the eye cool. To finish, repeat the above process 2 more times for a total of 3. For best results, use new parchment paper each time.
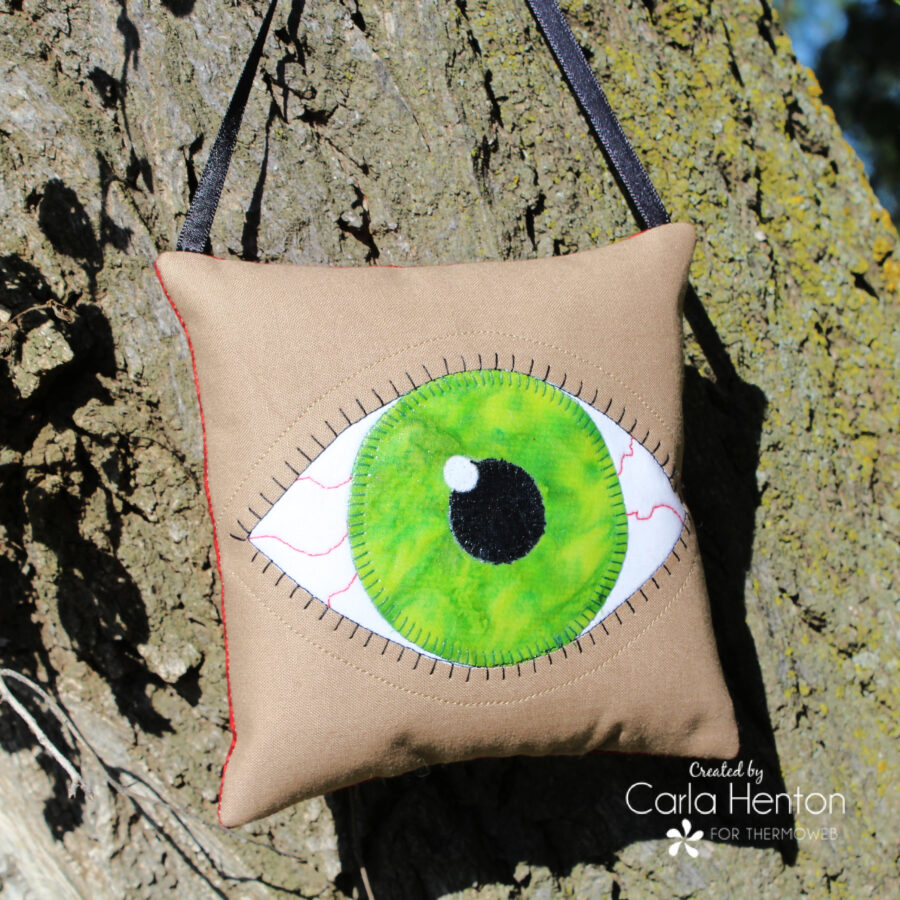
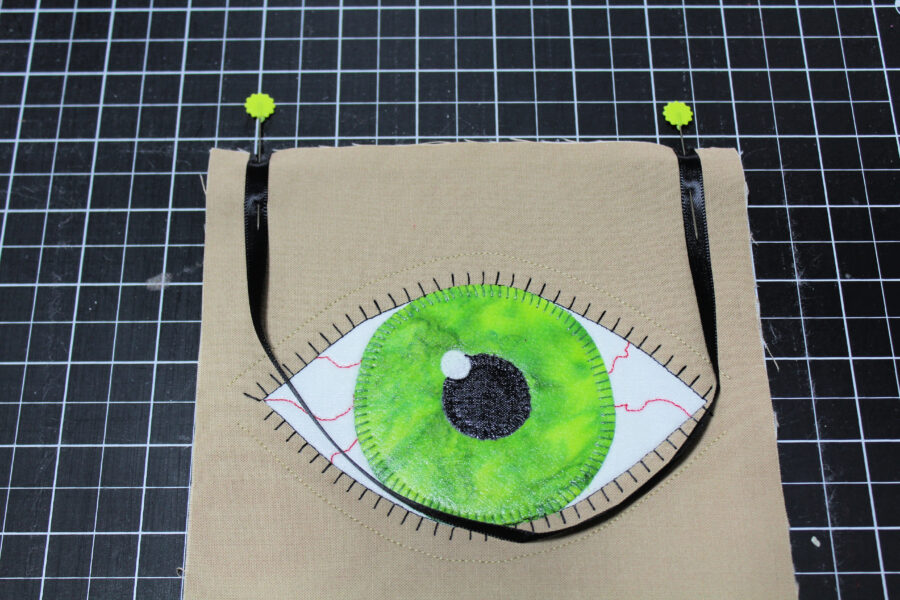
Step 5 – Finish the Door Hanger
Pin the ribbon to the top of the tan square ½” from the side edges. Stitch across the ends of the ribbon 1/8” from the top edge.
Next, place the red fabric backing square right sides together sandwiching the ribbon between and pin. Leave an opening in the bottom for turning right side out and stitch around 1/4" from the edge. After the stitching is finished, clip the corners off and turn the right side out. Use a chopstick to gently push the corners out. Finally, stuff the doorknob hanger lightly with fiberfill and stitch the opening closed.
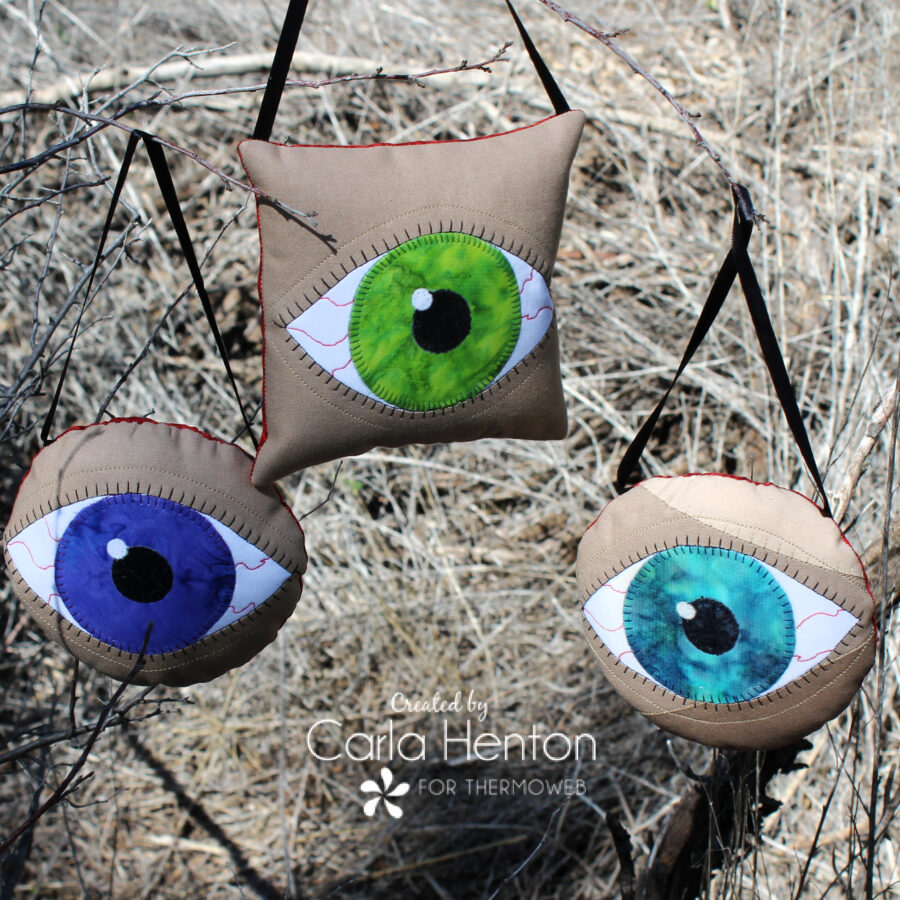
Wanna have some more fun? What if we made more eyeballs and cut them out in circles?
I've included a circle template with the pattern. Cut the circles before stitching the eyeballs to the backing.
Clip the seams, turn the eyeball right side out, stuff with fiberfill, and stitch the opening closed.
Happy Halloween!
Carla