No Products in the Cart
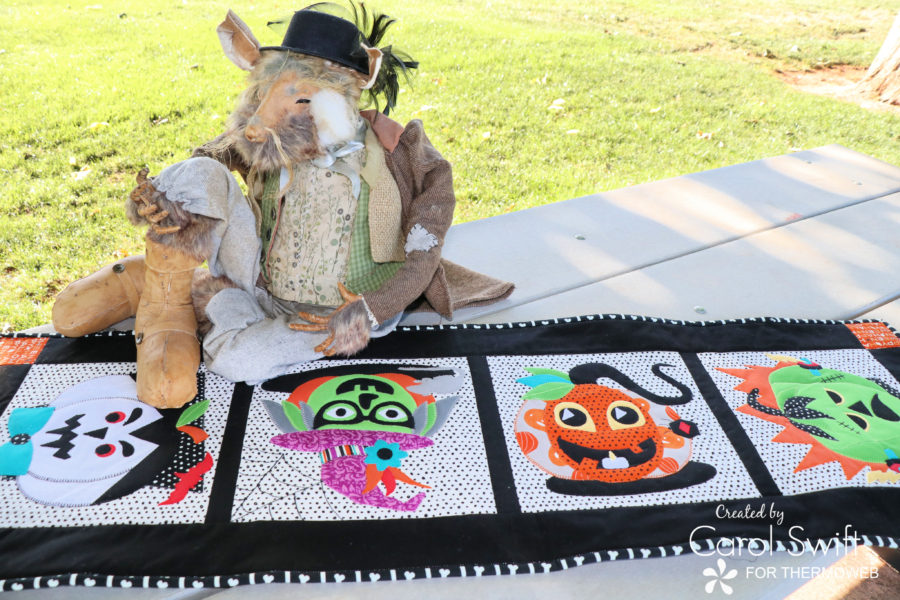 Here’s a list of what was used in the “Chills and Thrills” table runner:
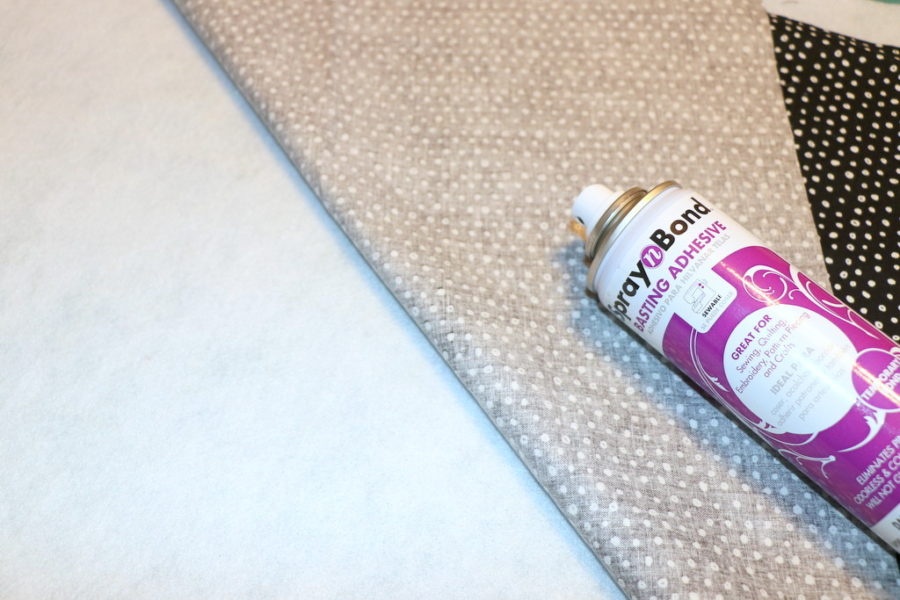
Spray n Bond Basting Adhesive Stitch n Sew Fleece Sew-in High Loft/Batting Aurifil Thread Oliso Iron
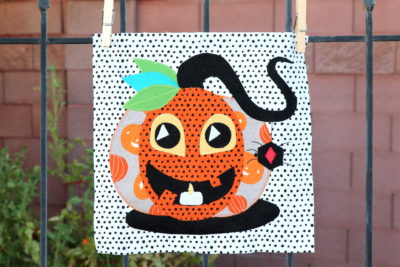
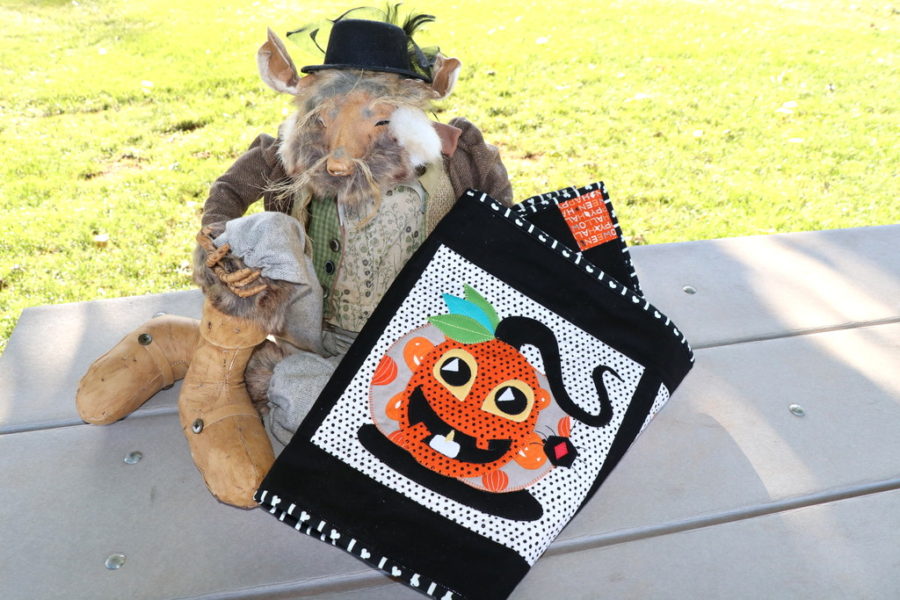
Creepy Bunny loves all the ThermOWeb products! Therm O Web’s Spray n Bond Basting Adhesive and Stitch n Sew Fleece Sew-in High Loft make it so easy to assemble the runner. There’s nothing frightening about using either one of them!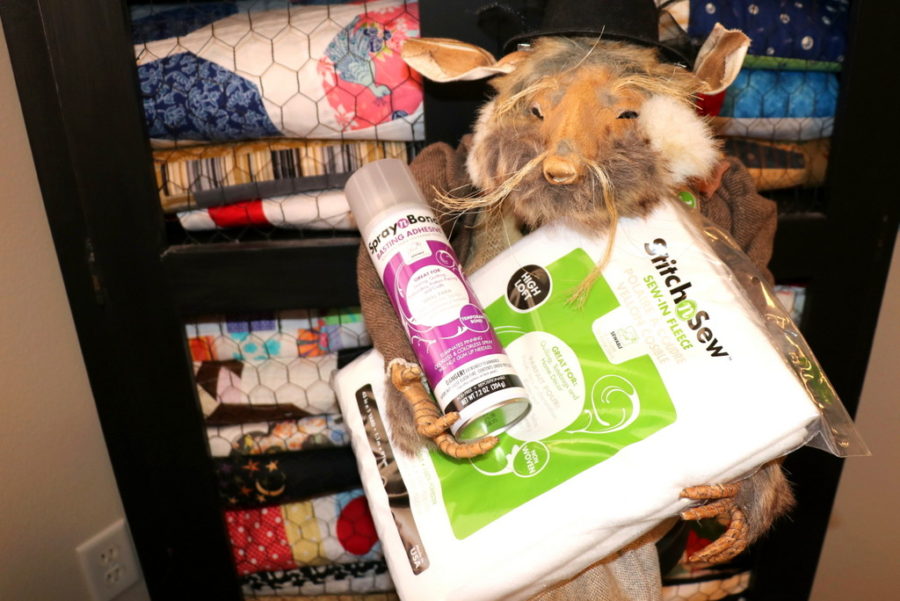 Finished Chills and Thrills Halloween blocks:
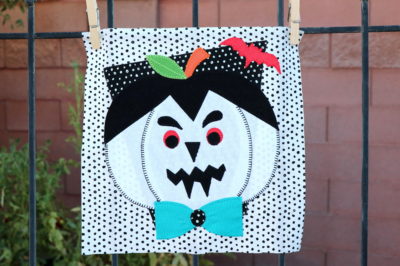 “Frankie”
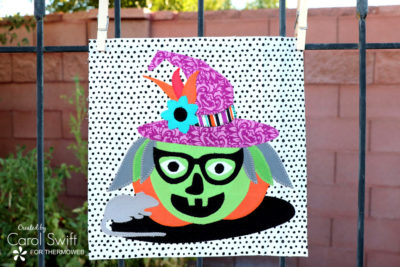
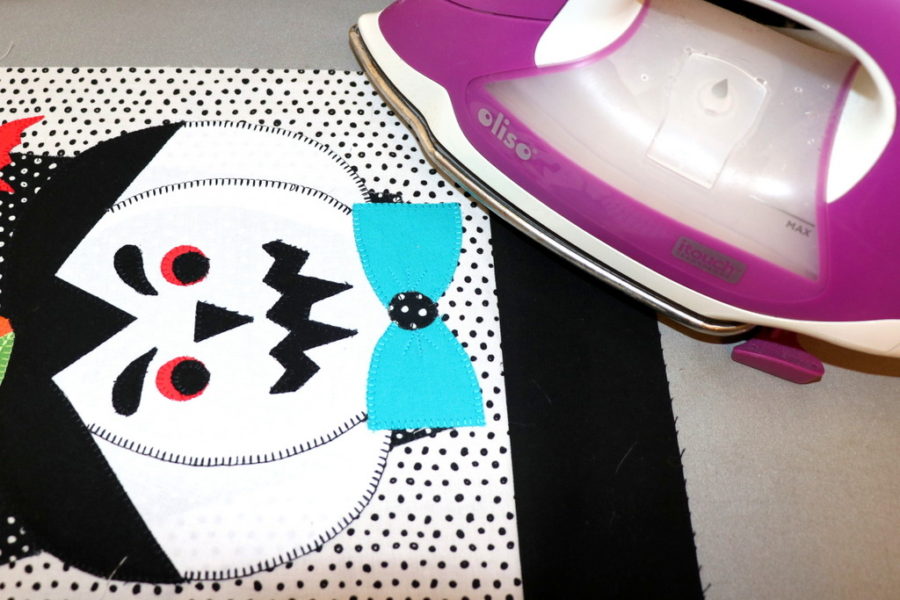
 “Wanda Witch”
 “Peter Pumpkin”
 Fabric needed: (Applique block fabric amounts are not included in this list)
1 ½ yard – Border A and Sashing
1/8 yard – Border A corners
1/3 yard – Binding
1 ½ yard – Runner back
Cutting instructions:
Cut 3 – 1½” x 10½” strips, Sashings
Cut 2 – 3” x 10½” strips, left and right Border A
Cut 2 – 3” x 43½” strips, top and bottom Border A
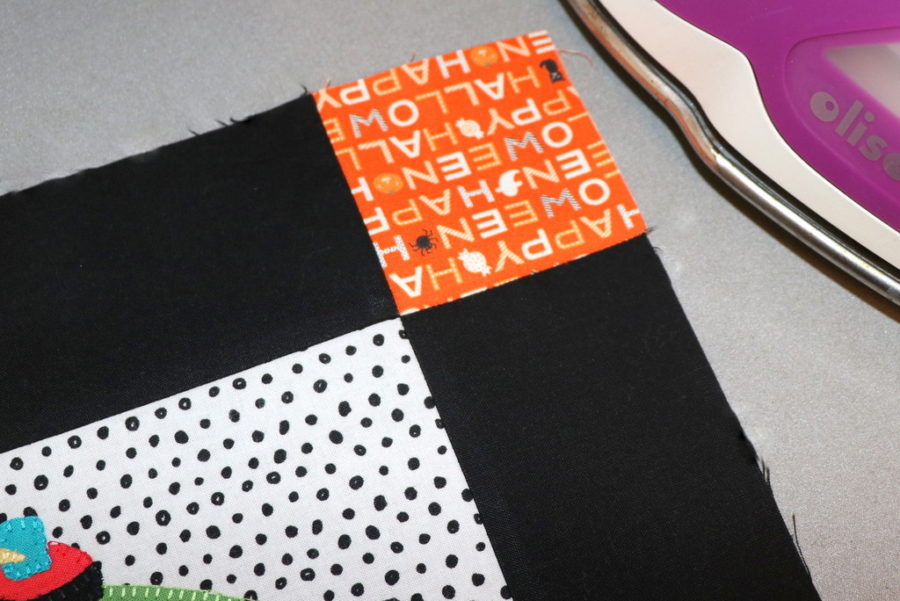
Cut 4 – 3” x 3” squares, Border A corners
Cut 4 – 2½” x 43” strips, Binding
Sewing/Applique Instructions: Seams are sewn 1/4” wide
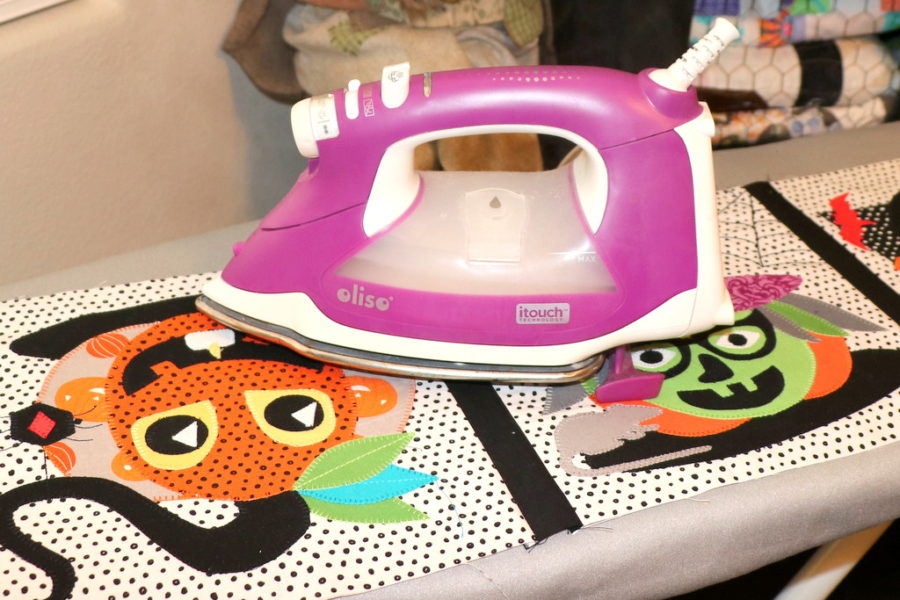
Step 1: Applique - If you haven’t already done so, prepare ThermOWeb “Halloween Chills and Thrills” applique patterns using iron-on adhesive; follow package directions. Sew around edges of applique designs using a blanket, zig-zag, or straight stitch.
Fabric needed: (Applique block fabric amounts are not included in this list)
1 ½ yard – Border A and Sashing
1/8 yard – Border A corners
1/3 yard – Binding
1 ½ yard – Runner back
Cutting instructions:
Cut 3 – 1½” x 10½” strips, Sashings
Cut 2 – 3” x 10½” strips, left and right Border A
Cut 2 – 3” x 43½” strips, top and bottom Border A
Cut 4 – 3” x 3” squares, Border A corners
Cut 4 – 2½” x 43” strips, Binding
Sewing/Applique Instructions: Seams are sewn 1/4” wide
Step 1: Applique - If you haven’t already done so, prepare ThermOWeb “Halloween Chills and Thrills” applique patterns using iron-on adhesive; follow package directions. Sew around edges of applique designs using a blanket, zig-zag, or straight stitch.
 Step 2: Sashings – With right sides together, sew 1½” x 10½” strips between prepared applique blocks. Press seams to sides.
 Step 3: Border A – With right sides together, sew 3” x 10½” strips to left and right of applique blocks. Press seams to sides.
 Step 4: With right sides together, sew 3” x 3” square to the ends of each 3” x 43½” strip. Press seams towards the middle.
 Step 5: With right sides together, sew Step 4’s strips to top and bottom of applique blocks, matching seams. Press seams down.
 Step 6: Table runner assembly - Protect the area where you will be working by placing an old sheet of paper under and around the area you’ll be spraying. Place the batting on your working surface. Using the basting spray, spray a few inches across the top portion of the batting from one edge to the other. Place the wrong side of runner backing face down over the sprayed surface of fleece/batting. Smooth fabric to ensure it adheres to the sprayed fabric. Continue this method of spraying and smoothing just a few inches at a time until you reach the bottom of the runner back. Check for creases or folds.
 Turn over to have fleece/batting facing up. Lay runner front, wrong side down, on batting using the same spray and smooth method as the backing.
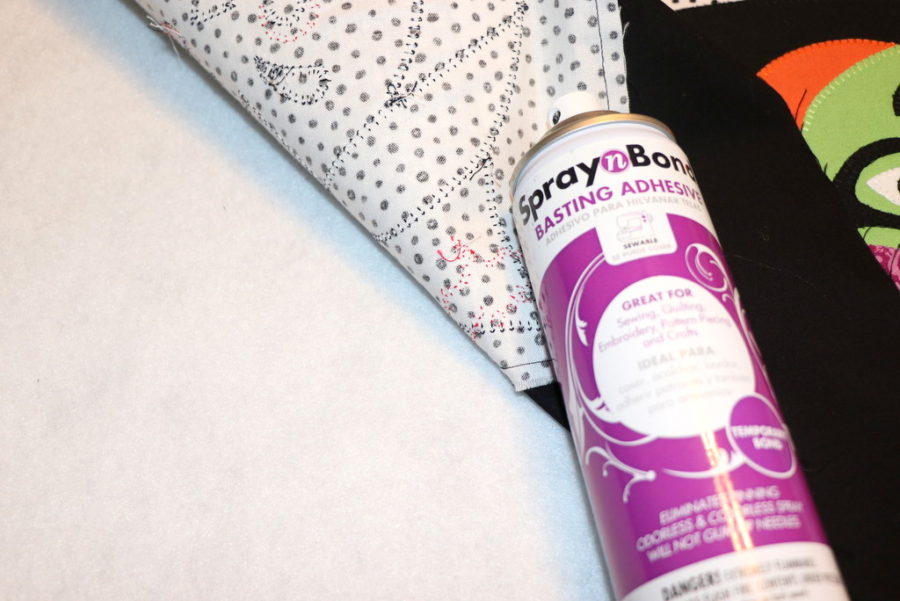 Trim edges and square-up quilt.
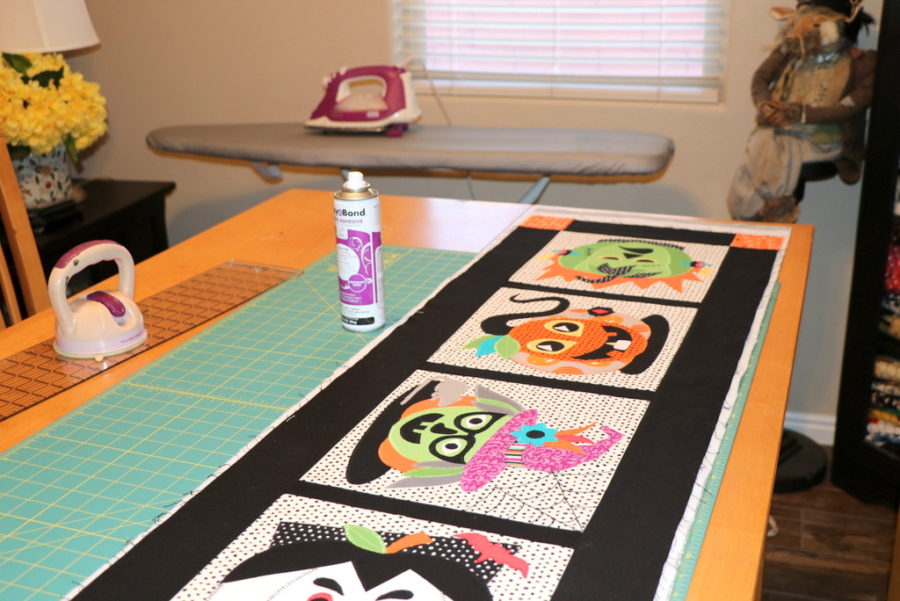 Quilt as desired. Add binding using your favorite method.
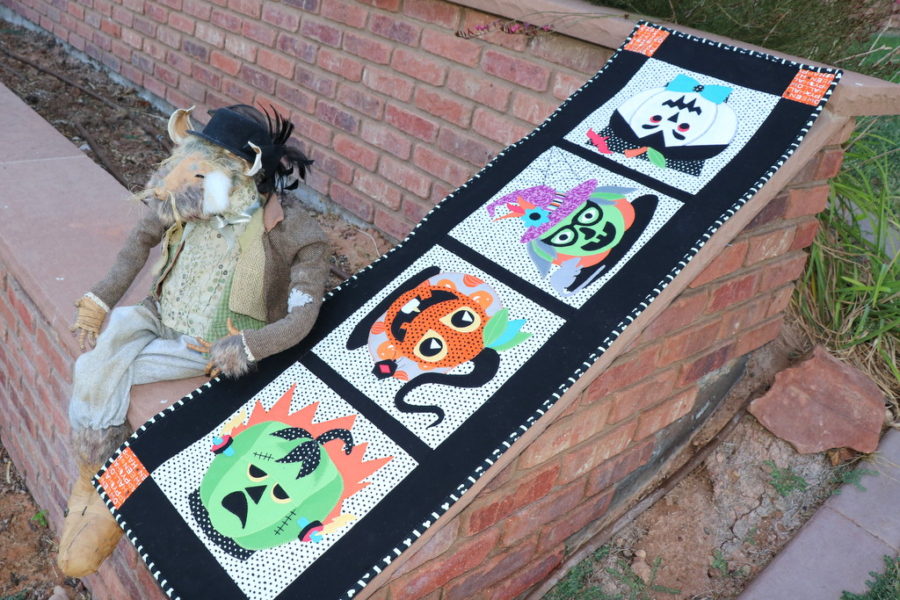 We'd love to see your finished "Thrills and Chills" table runners. Be sure to tag us on Instagram with #thermoweb so we can see what you've created.
Written by Carol Swift