No Products in the Cart
 Smooches anyone?? February is the month of love, hugs, and kisses! Katrina from Paper, Scissors, Glue and Hybrid Too here on the blog sharing a very "smoochy" layout with several colors of Deco Foil! Well, Jetson did NOT want to be smooched by Hazel, to be honest!
 Therm O Web Supplies Used
ALL NEW Deco Foil TONER SHEETS RELEASE
Memory Runner XL
Memory Runner XL Refill
Sticky Strip Runner
3D Foam Squares – Combo Pack
Deco Foil Card Front – Reverse Polka
Deco Foil Toner Sheets
Deco Foil Transfer Sheets – Enchanted Rose
Deco Foil Transfer Sheets-Glass Slipper
Deco Foil Foil Transfer Sheets-Lily Pad
Deco Foil Foil Transfer Sheets-Prince Periwinkle
Deco Foil Foil Transfer Sheets-Pink Melon
Deco Foil Foil Transfer Sheets-Summer Rainbow
Easy Tear-Tape 1/2 inch
Purple Tape-1/2 inch
Ultra Bond Liquid Adhesive
Gina K Designs Foam Tape – White
Other Supplies Used:
Pink Paislee Lucky Us
Cut File
Therm O Web Supplies Used
ALL NEW Deco Foil TONER SHEETS RELEASE
Memory Runner XL
Memory Runner XL Refill
Sticky Strip Runner
3D Foam Squares – Combo Pack
Deco Foil Card Front – Reverse Polka
Deco Foil Toner Sheets
Deco Foil Transfer Sheets – Enchanted Rose
Deco Foil Transfer Sheets-Glass Slipper
Deco Foil Foil Transfer Sheets-Lily Pad
Deco Foil Foil Transfer Sheets-Prince Periwinkle
Deco Foil Foil Transfer Sheets-Pink Melon
Deco Foil Foil Transfer Sheets-Summer Rainbow
Easy Tear-Tape 1/2 inch
Purple Tape-1/2 inch
Ultra Bond Liquid Adhesive
Gina K Designs Foam Tape – White
Other Supplies Used:
Pink Paislee Lucky Us
Cut File
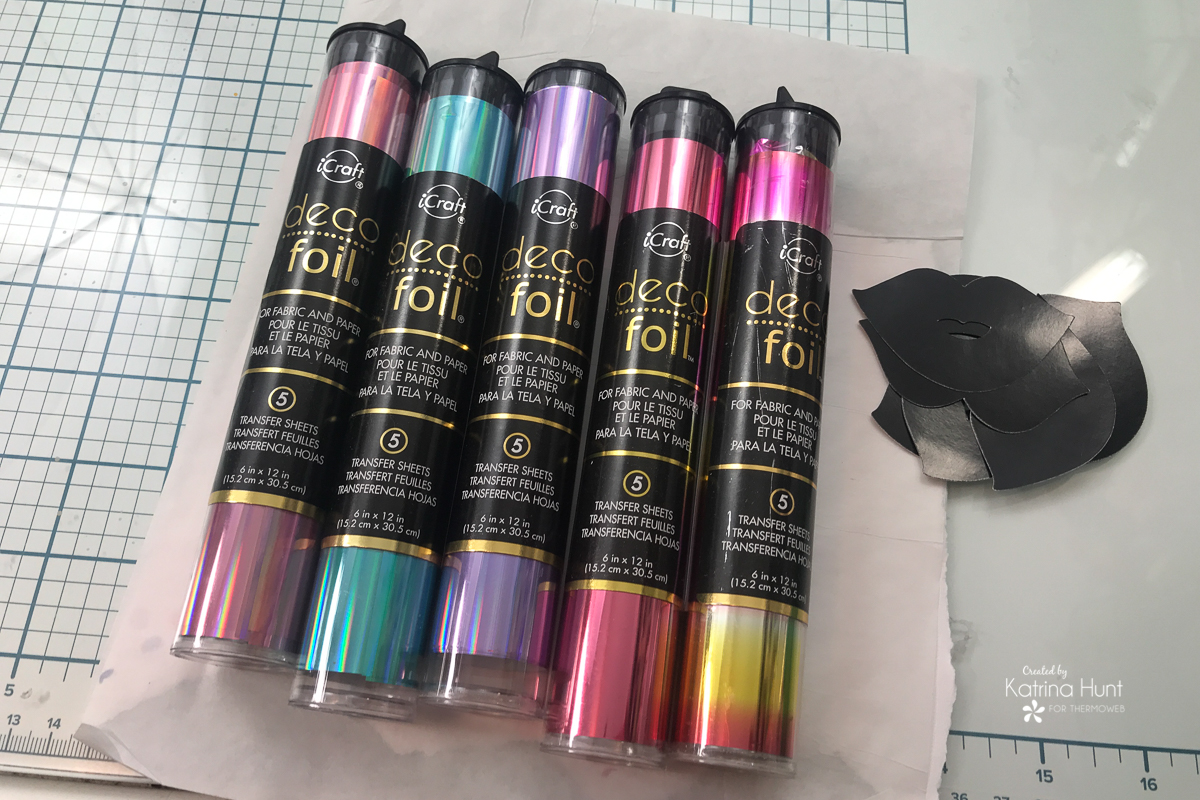
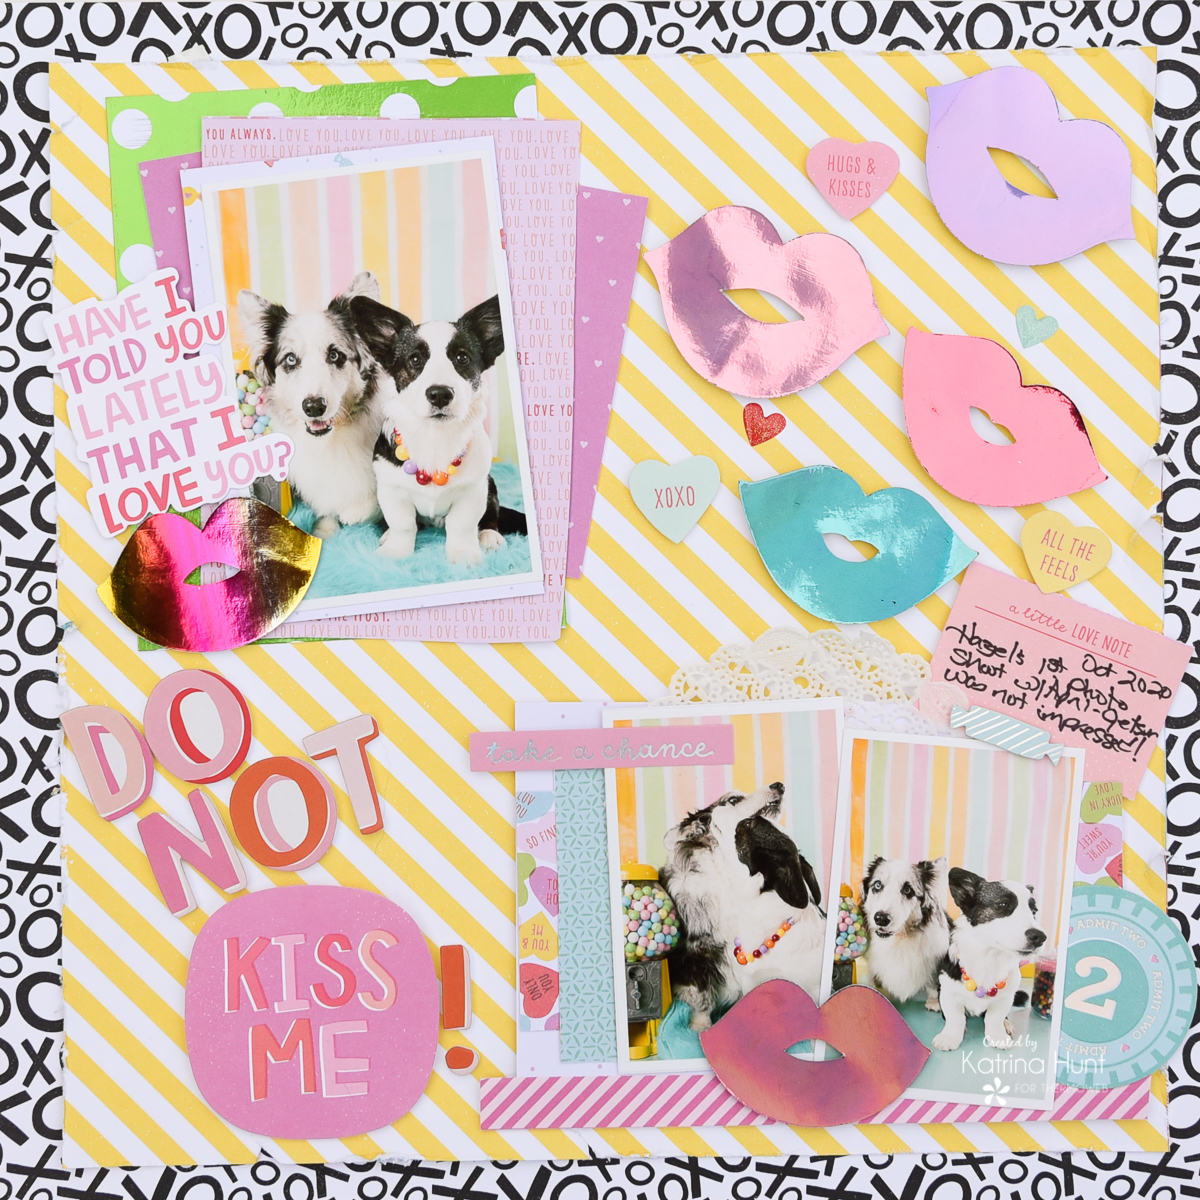 While I was trying to come up with an idea for this layout all I could think of was lips, lips, lips! I had these pictures already printed out, so I thought they would be fun to incorporate into my project.
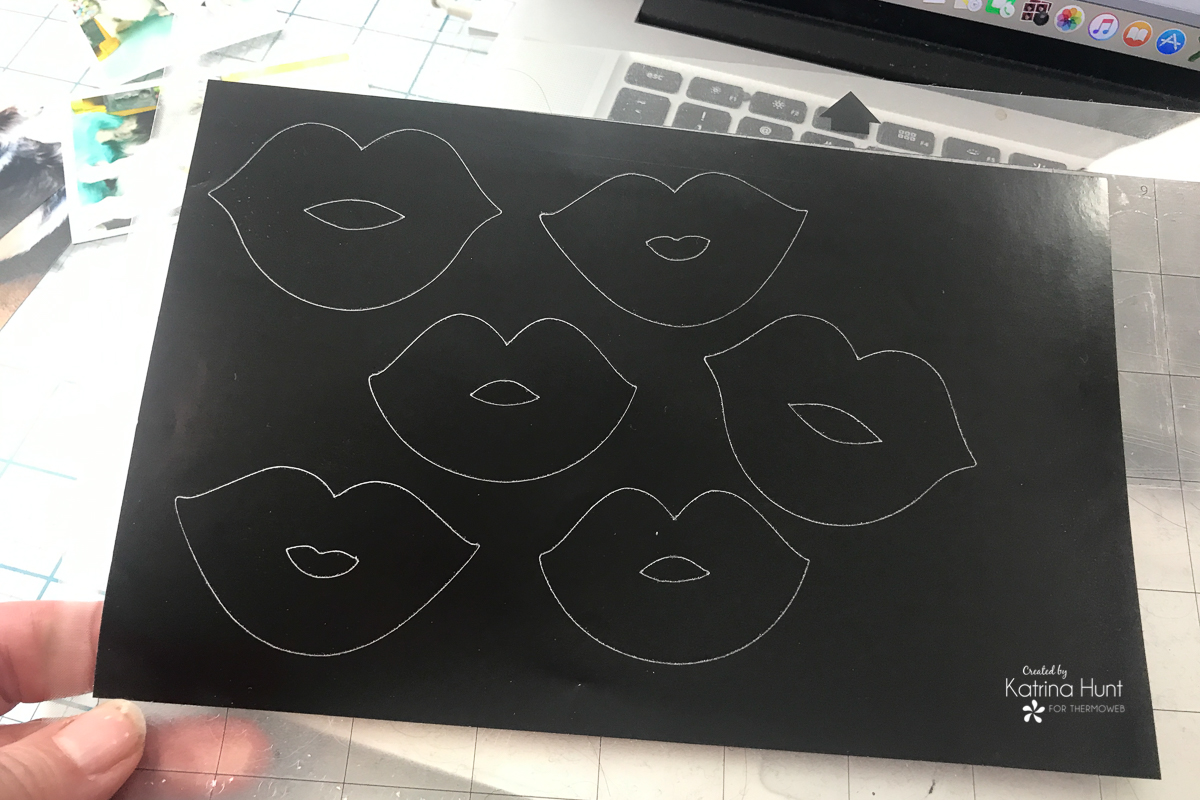
I started by warming my laminator up while I was working on my cut file of the lips. To figure out sizing, I created a mock layout in my Silhouette Studio software with boxes the size of my pictures. This allowed me to size the lips the right size. Bonus, I was able to use a scrap piece of my Deco Foil Toner Sheet for all the lips on the page!
While I was trying to come up with an idea for this layout all I could think of was lips, lips, lips! I had these pictures already printed out, so I thought they would be fun to incorporate into my project.
I started by warming my laminator up while I was working on my cut file of the lips. To figure out sizing, I created a mock layout in my Silhouette Studio software with boxes the size of my pictures. This allowed me to size the lips the right size. Bonus, I was able to use a scrap piece of my Deco Foil Toner Sheet for all the lips on the page!
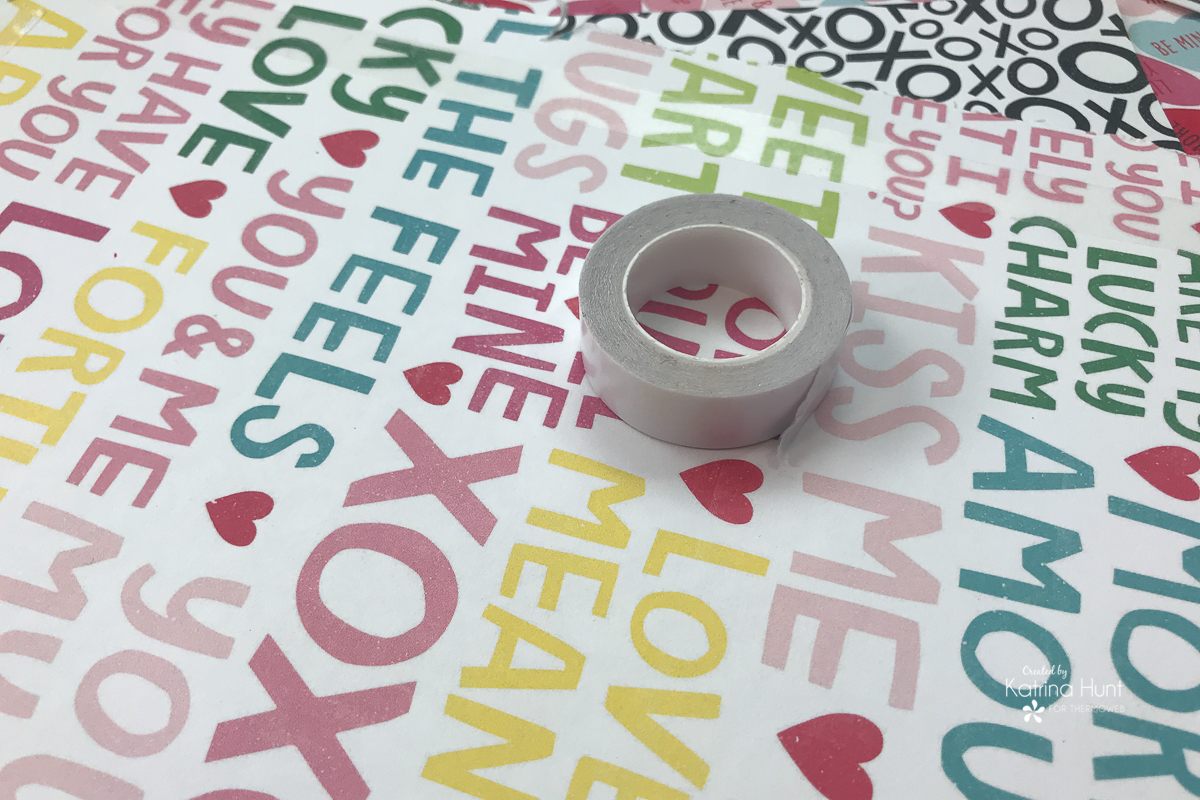
 I also went ahead a worked a little on the background for my layout while waiting for the laminator to heat. . I used the Easy-Tear Tape (seriously, my favorite to work with on bigger sheets of paper!) to adhere my yellow striped paper to the XOXO paper.
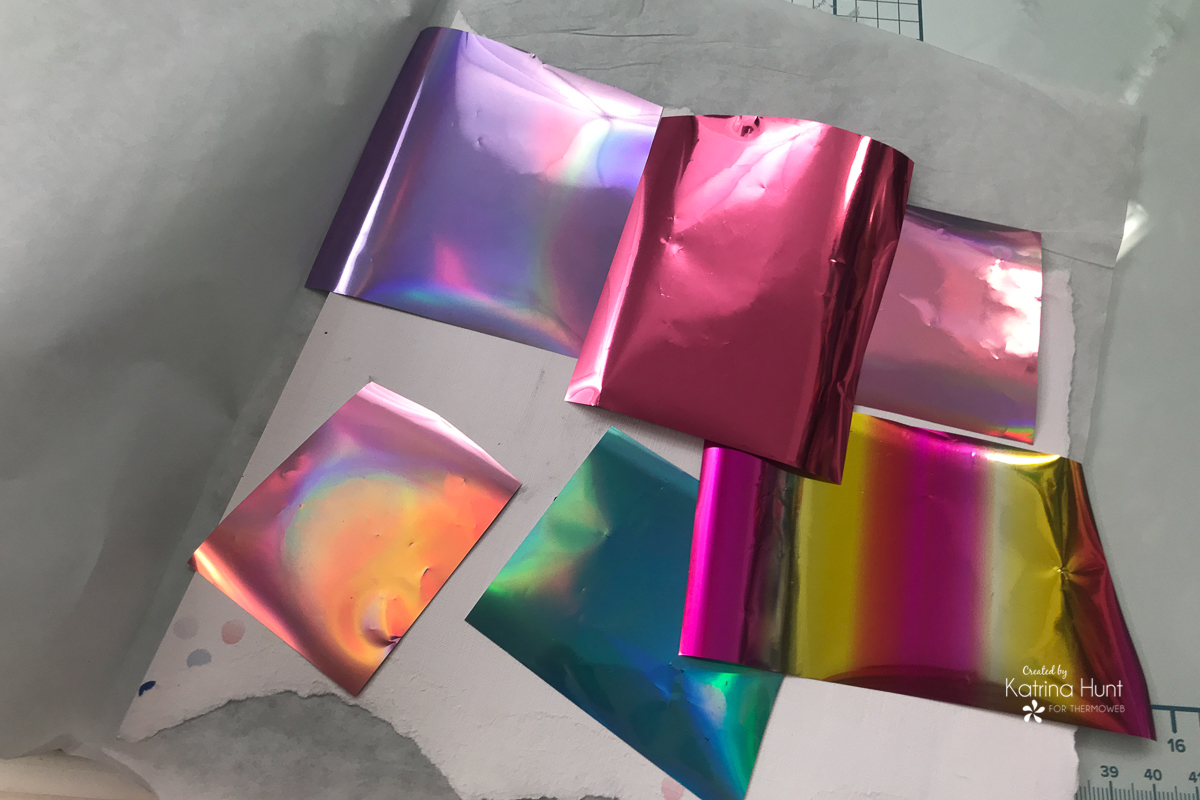
 I love to make things streamlined and not have to repeat steps, so I foiled all the lips at one time I cut the foil a little oversized to the lip die cuts, just in case the die-cut moved while going thru the laminator.
 And after the trip thru the laminator here is the magic that happened!
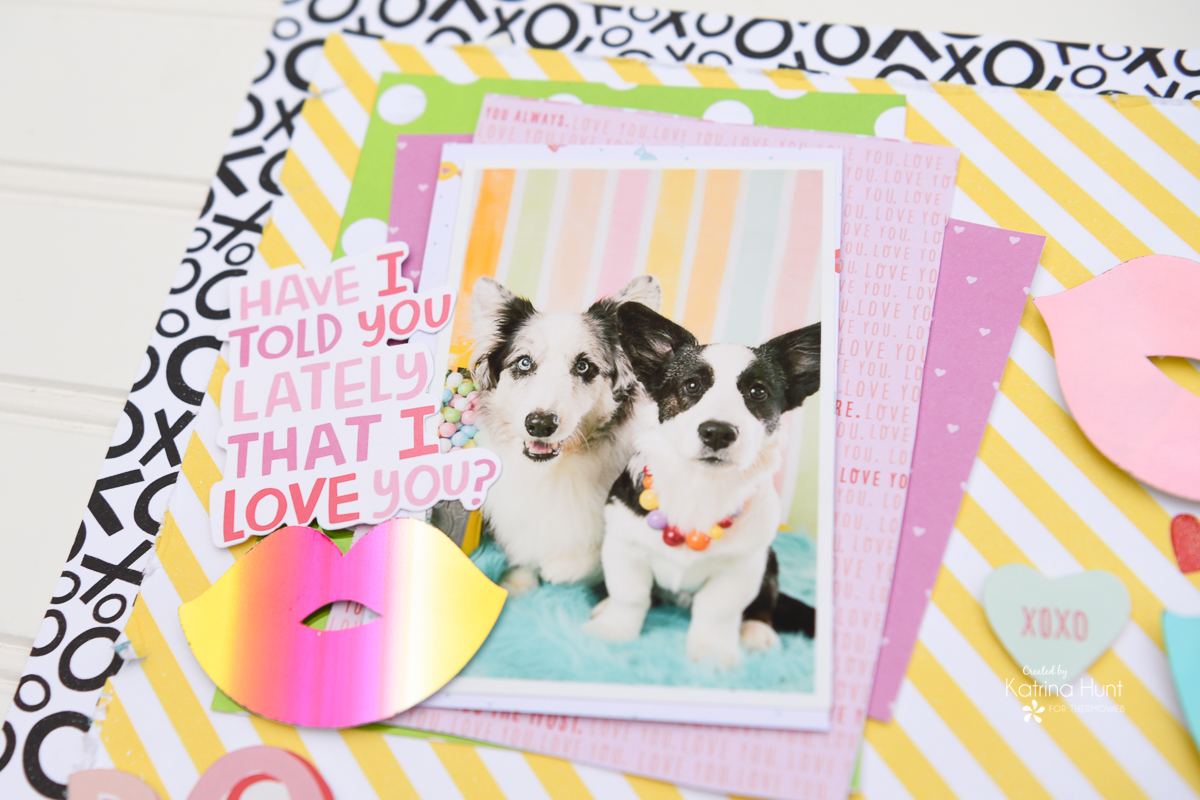
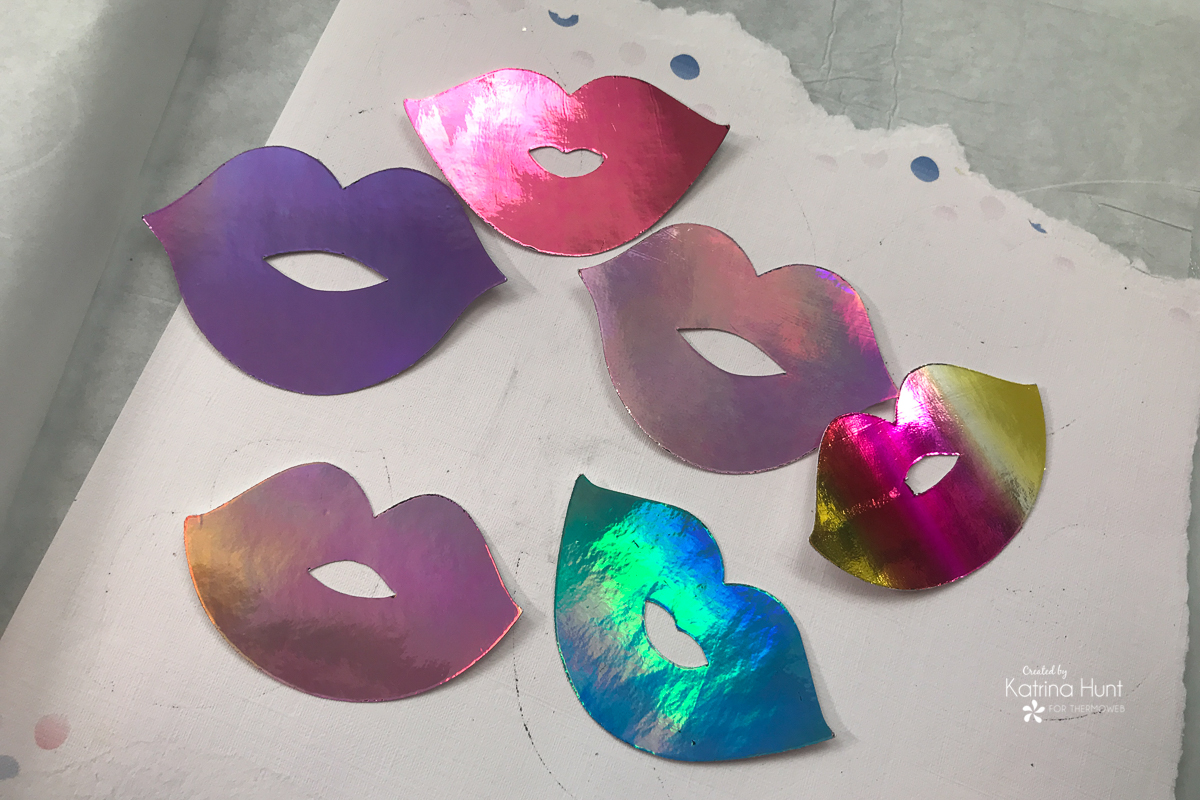 To adhere them to my layout, I used the 3D Foam Squares, along with Gina K Foam Tape. This allows those lips to pop off the page.

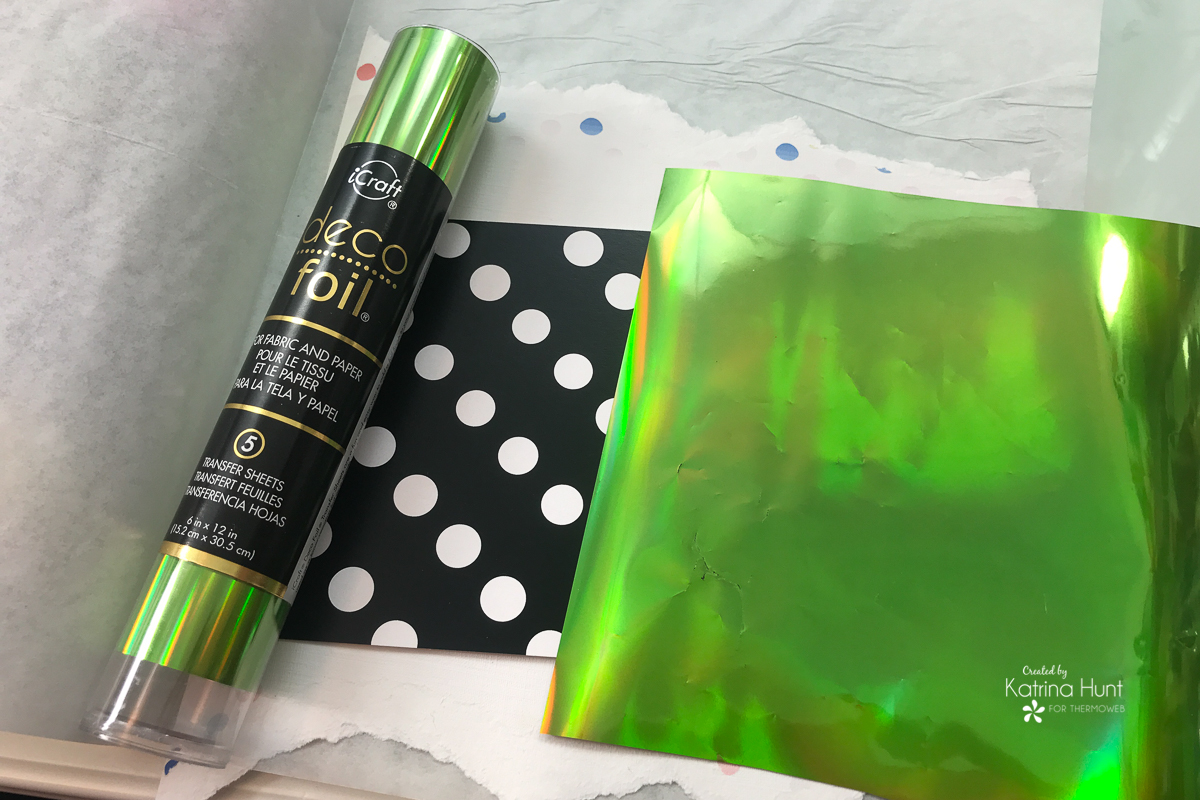 Ok, everyone ohhh and ahhh at the picture below for a couple of seconds!! I will admit, I did when I peeled back the sheet!
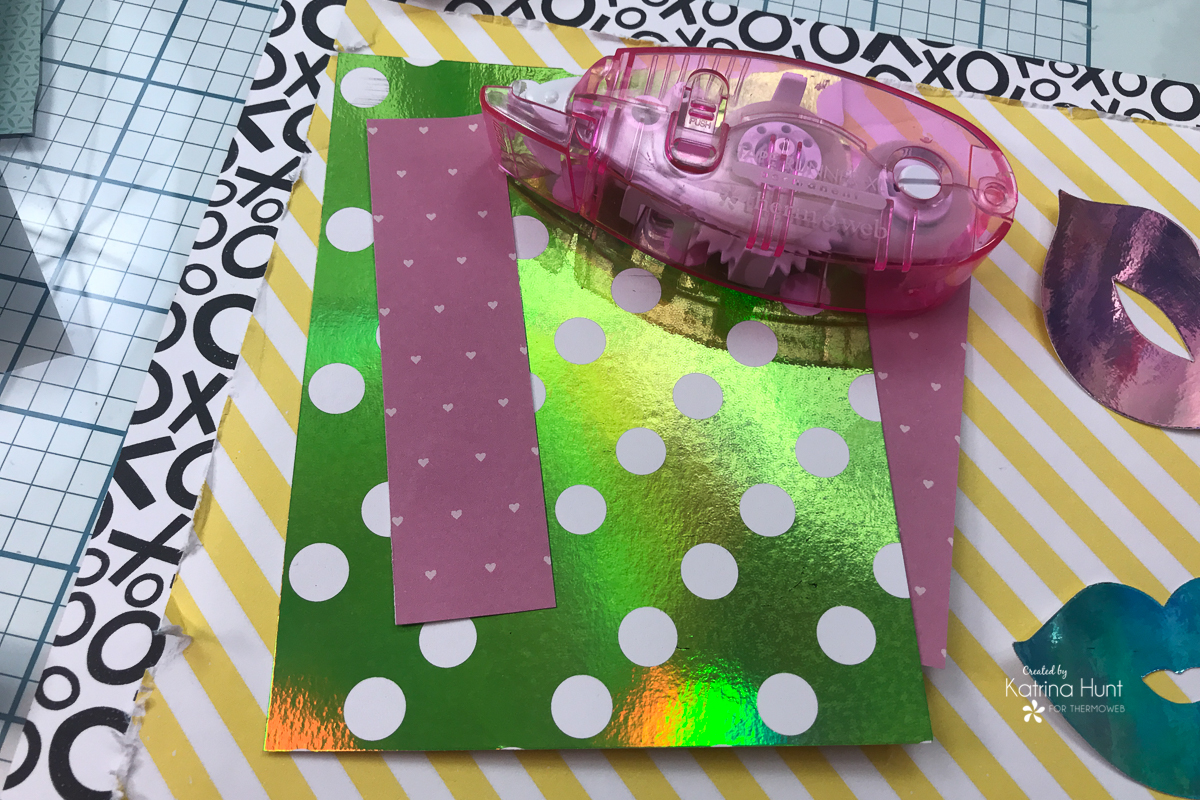
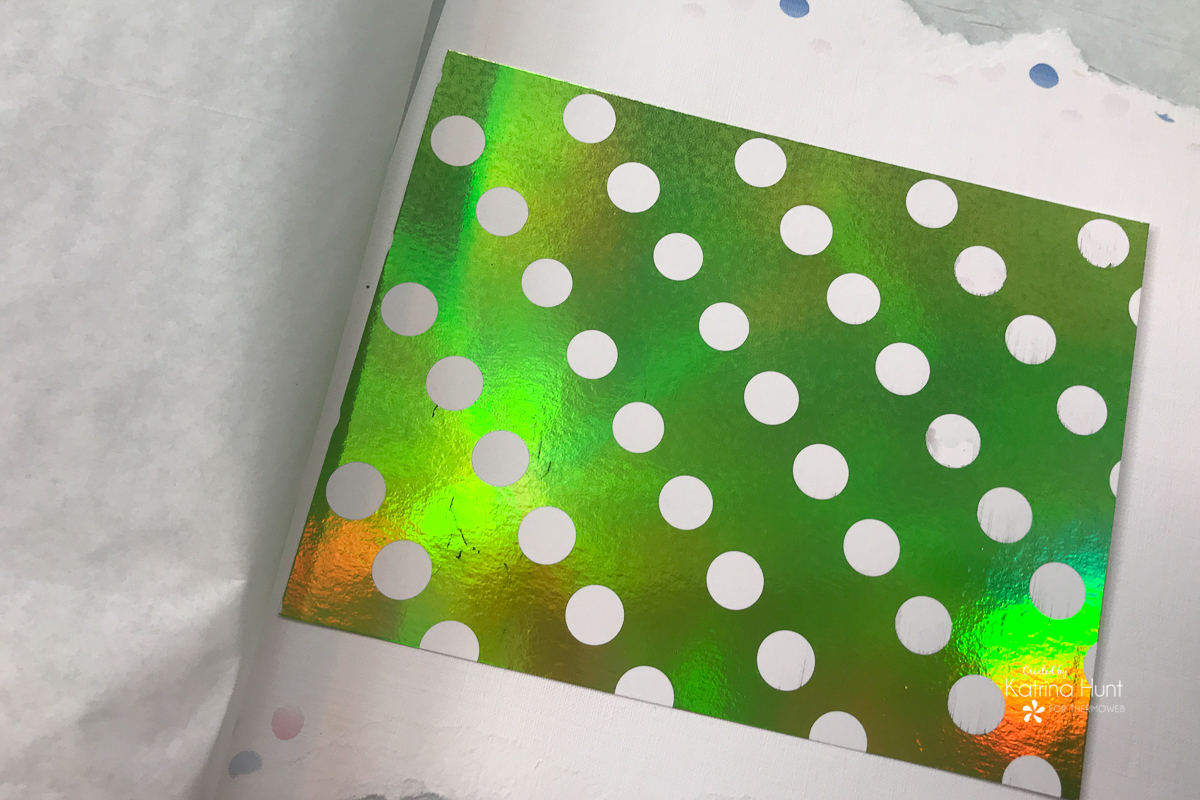 My plan was to use this full sheet as a layer for my photo. I tend to use lots of pattern paper layers behind my photos, but I didn't want this to get completely hidden. I used some strips of paper on top and behind to add layers, but not cover it completely. This is a great way to use up some scraps if they aren't quite big enough. You can just cut them to fit.
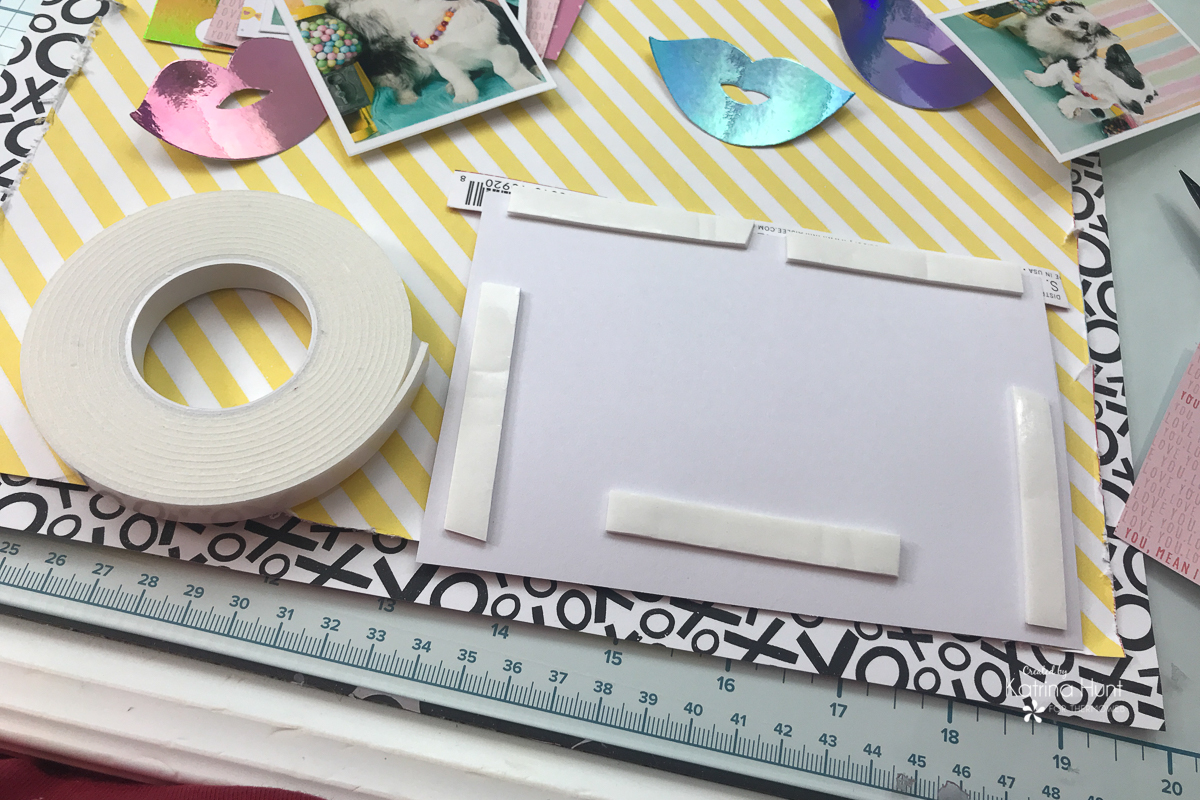
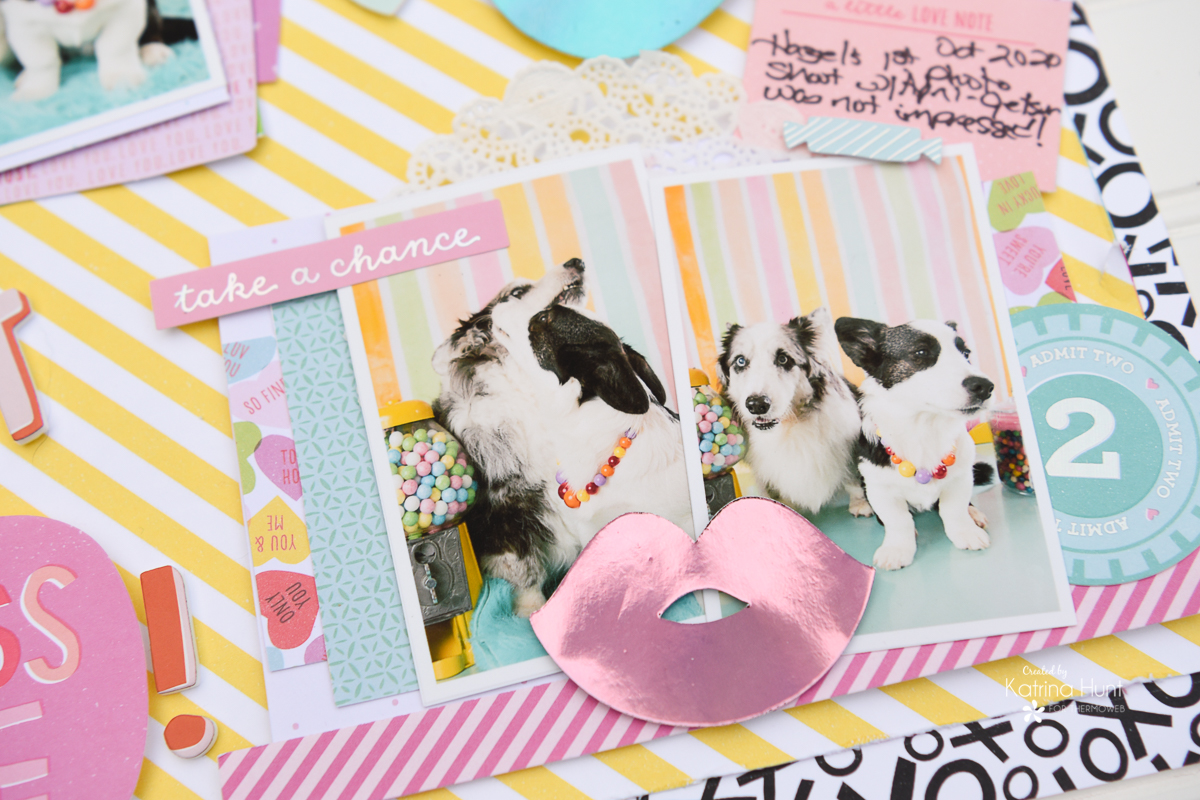
 For the bottom corner, I wanted those two pictures to stand out a little more than the picture above. To accomplish this, I used the Gina K Foam Tape on each layer to raise it slightly higher than the next one. I also used the same tape on the picture backs.
 One more set of lips to accent the two pictures and my layout was complete!
 And that's all the smooching I have for you today!!! Thanks for stopping by and I hope you create something smoochy for yourself!!!
This post contains affiliate links. For more information, see our disclosure HERE.
And that's all the smooching I have for you today!!! Thanks for stopping by and I hope you create something smoochy for yourself!!!
This post contains affiliate links. For more information, see our disclosure HERE.