No Products in the Cart
 Get the Party Started Cards with Newton's Nook and DecoFoil
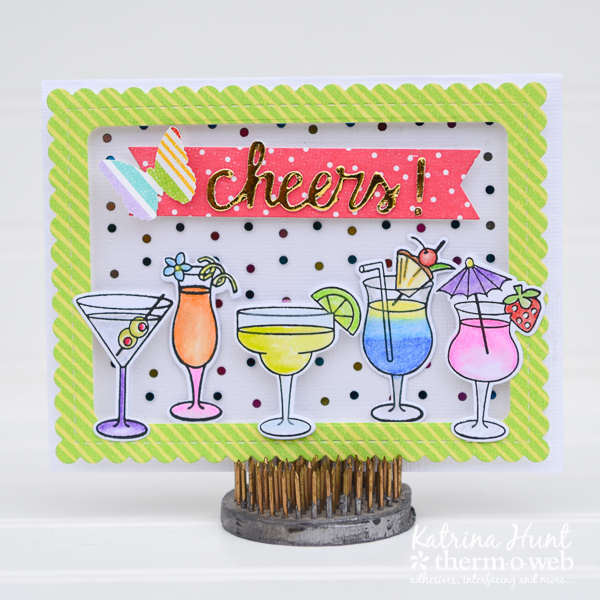
Hey there! It's Katrina here and I hope you are enjoying our swap with Newton's Nook. I know I am! They have such cute stuff and their stencils are amazing with the Deco Foil Transfer Gel! I created a couple of cards for you today, with quite a few step out photos, so let's get started with my first card!
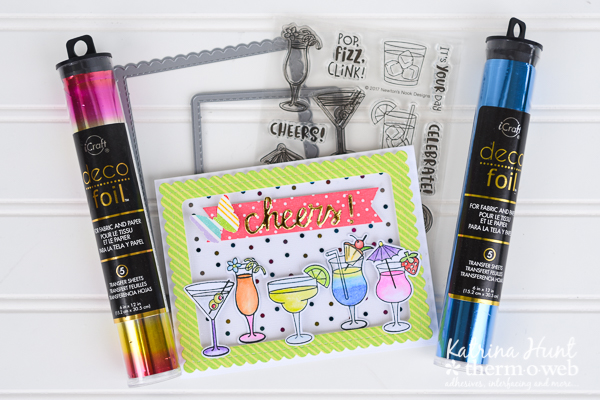
 And here's a shot of most of the products I used for this card. The dies are Newton's Nook dies that I thought would create a cute frame for my drinks!
 Therm O Web Supplies Used:
Therm O Web 3D Foam Squares-1/4 inch
Therm O Web 3D Foam Sticky Strips 1/2 inch
Therm O Web Memory XL Tape Runner
Therm O Web Deco Foil Clear Designer Toner Sheets-Polka Dots
Therm O Web Purple Tape
Therm O Web Deco Foil-Gold
Therm O Web Deco Foil – Summer Rainbow
Therm O Web Deco Foil – Denim
12″ inch Laminator
Therm O Web DecoFoil White Foam Adhesive
Newtons Nook Stamp Set and Dies - Cocktail Mixer
Newton's Nook Die Set-Frames and Flags
Other Supplies Used: Cardstock-American Crafts; Digital Papers-Mommyish, Punch-Martha Stewart; Versafine Ink in Onyx; Primsacolor Pencils with Gamasol.
Therm O Web Supplies Used:
Therm O Web 3D Foam Squares-1/4 inch
Therm O Web 3D Foam Sticky Strips 1/2 inch
Therm O Web Memory XL Tape Runner
Therm O Web Deco Foil Clear Designer Toner Sheets-Polka Dots
Therm O Web Purple Tape
Therm O Web Deco Foil-Gold
Therm O Web Deco Foil – Summer Rainbow
Therm O Web Deco Foil – Denim
12″ inch Laminator
Therm O Web DecoFoil White Foam Adhesive
Newtons Nook Stamp Set and Dies - Cocktail Mixer
Newton's Nook Die Set-Frames and Flags
Other Supplies Used: Cardstock-American Crafts; Digital Papers-Mommyish, Punch-Martha Stewart; Versafine Ink in Onyx; Primsacolor Pencils with Gamasol.
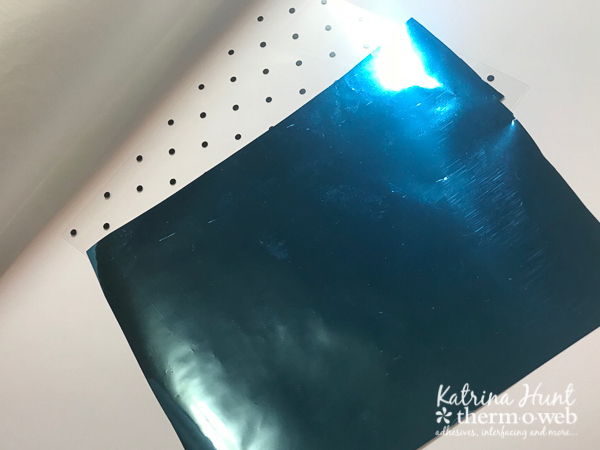
 Layer each piece over each other, aligning the dots as you like them. Use the Memory XL tape runner to adhere the two pieces together and then to your card base. Note, I did not align the dots as they are below, I changed my mind a few times!
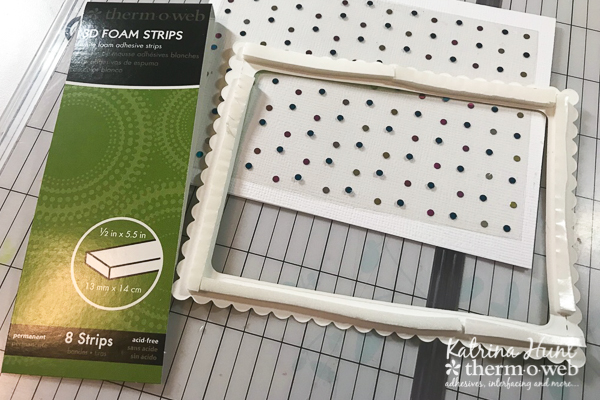
 Next cut out a frame from pattern paper that is slightly smaller than your card base. I measured my die and then made a card base 1/4 inch larger on each size. This turned out to be a regular sized card! Cut your 3D Foam Sticky Strips in half, along the long side, this will give you smaller strips that will fit on the edges of your frame. Adhere to the card base, covering the clear toner sheet edges.
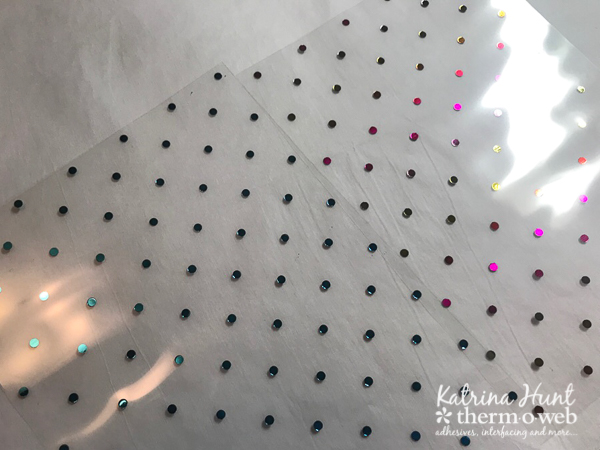
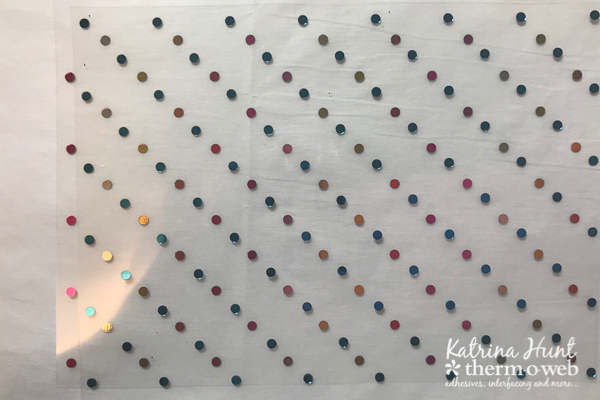
 Here you can see the different color polka dots from the two foils!
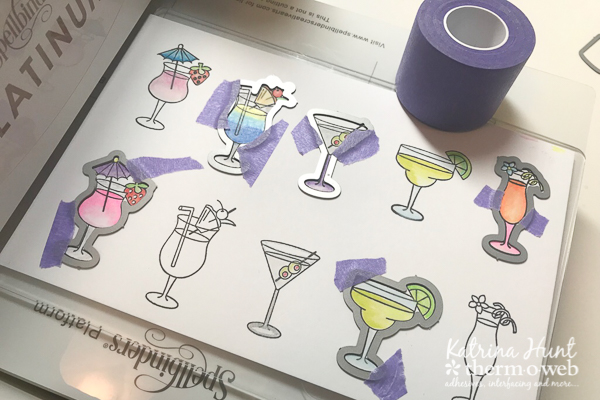
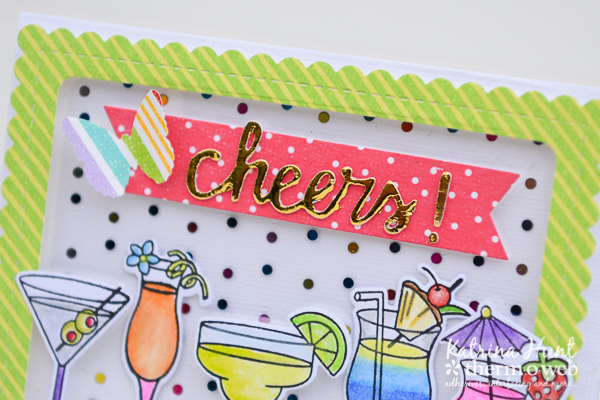
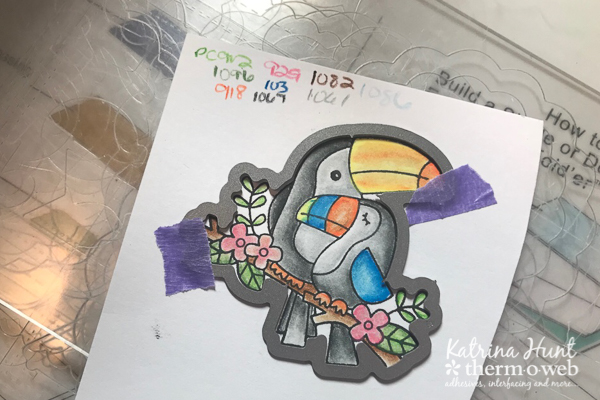
 Stamp and color your images and then using the new Purple Tape, adhere the dies to your colored images and die cut out. Apply to the front of your card using 3D Foam Squares for some and the others just applying the Memory Runner XL to the die cut and adhere to the clear toner sheet for different layers.
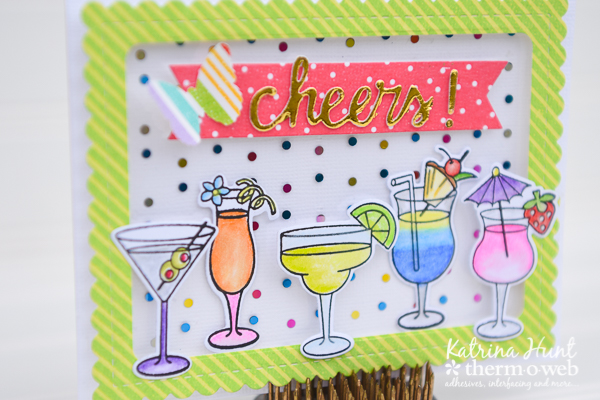
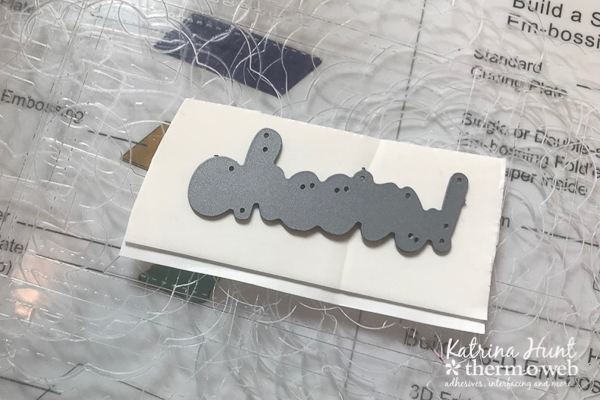
 Die cut the banner for the "cheers" and set to the side. Die cut "cheers" from the Deco Foil White Foam Adhesive and apply Deco Foil in Gold over the top of the die cut by rubbing with your fingertips. Then peel off the backing and apply to your banner. Adhere to card front with 3D Foam Squares.
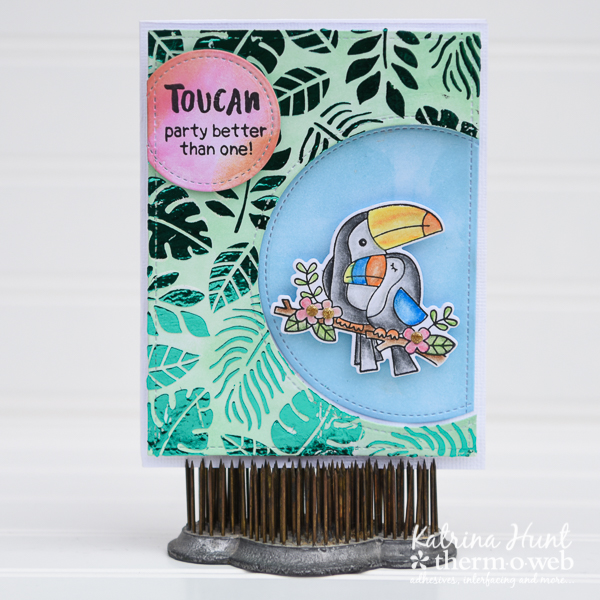
 This card was so much fun to make! Next up is a card I made using the Deco Foil Transfer Gel. Look at those fun shiny leaves!
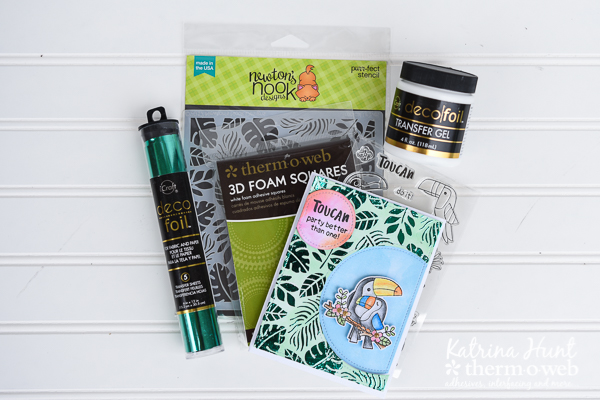
 And here's a look at most of the products I used!
 Therm O Web Supplies Used:
Therm O Web 3D Foam Squares-Combo Pack
Therm O Web Memory XL Tape Runner
Therm O Web Deco Foil Transfer Gel
Therm O Web Purple Tape
Therm O Web Deco Foil - Jade
12″ inch Laminator
Therm O Web DecoFoil White Foam Adhesive
Newton's Nook Stamp Set and Dies-Toucan Party
Newton's Nook Stencil-Tropical Leaves
Other Supplies Used: Distress Oxide Ink, Lawn Fawn Dies, Cardstock-American Crafts and Coordinations, Versafine Ink in Onyx, PrismaColor Pencils with Gamasol.
Therm O Web Supplies Used:
Therm O Web 3D Foam Squares-Combo Pack
Therm O Web Memory XL Tape Runner
Therm O Web Deco Foil Transfer Gel
Therm O Web Purple Tape
Therm O Web Deco Foil - Jade
12″ inch Laminator
Therm O Web DecoFoil White Foam Adhesive
Newton's Nook Stamp Set and Dies-Toucan Party
Newton's Nook Stencil-Tropical Leaves
Other Supplies Used: Distress Oxide Ink, Lawn Fawn Dies, Cardstock-American Crafts and Coordinations, Versafine Ink in Onyx, PrismaColor Pencils with Gamasol.
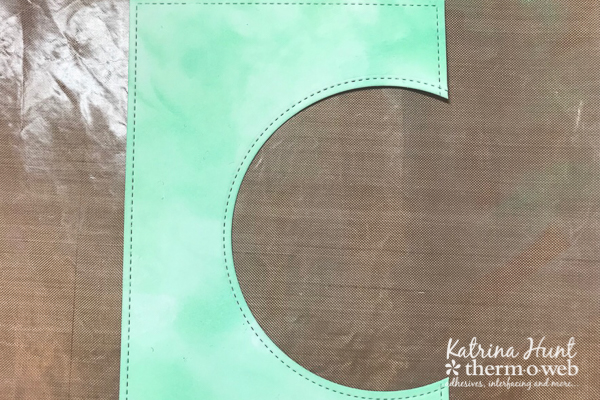
 Next die cut a rectangle that is about the size of your card front, then place a circle die part of the way off of the rectangle, making sure your stamped and colored image will fit in the area that you are die cutting out.
 Once you have run the card front thru the die cutter, then using distress ink, blend ink onto the card front.
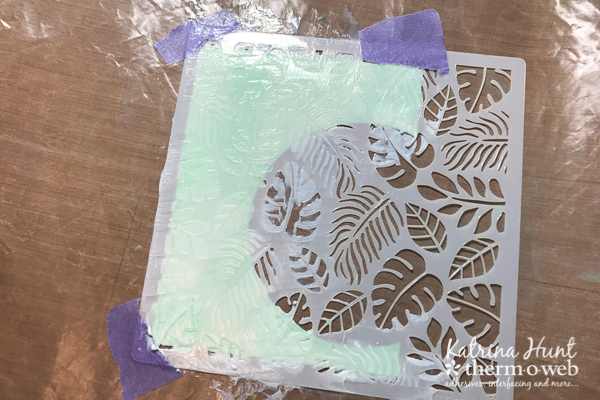
 Once you have the color you like, then apply the stencil over the card front and hold in place with the Purple Tape. Spread the Deco Foil Transfer gel over the entire card front. Carefully peel up your stencil and make sure to wash it right away. Let your card front dry. You can speed up drying by using a heat gun, just make sure to move it around and not hold it in one place.
 Foil the stenciled card front by covering with foil and running thru a laminator. Peel foil off and adhere to card base using 3D Foam Squares. Note, I forgot to take a picture of the front after foiling!
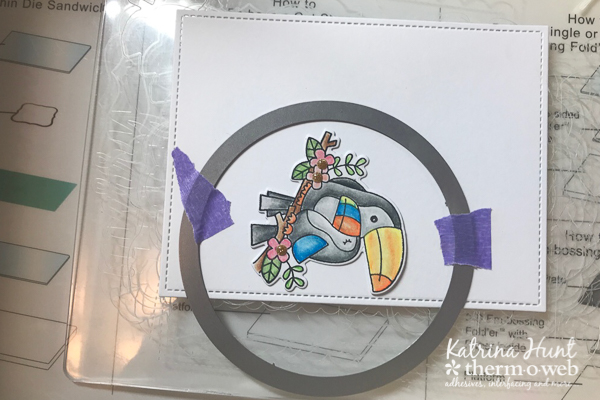
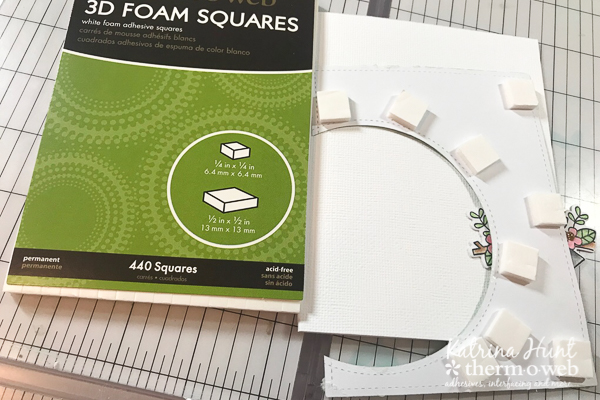 Using the piece that was cut out from the card front, ink with Distress Ink and then slide it back into the cut area, but do not use foam adhesive to attach, just use your tape runner and apply directly to card base. Then adhere your die cut stamped image inside that area with 3D Foam Squares.
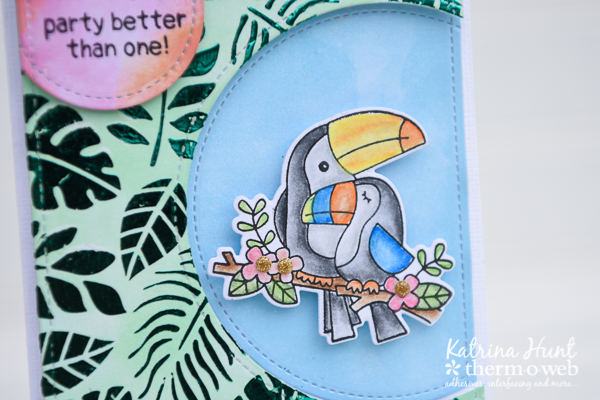 Next, create a smaller die cut using the steps above to place your sentiment on. Once that is die cut, use Distress Inks to customize the die cut for your card and adhere to card front with a little of the Deco Foil White adhesive cut up and applied to the back. This will keep the bulk down in case you are mailing.
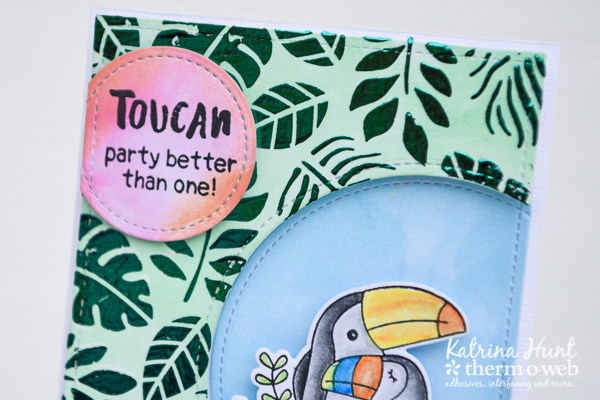 I just love how this turned out with those leaves! It looks like you are looking thru the leaves at the toucans!
Hope you enjoyed my projects and have a great week!
I just love how this turned out with those leaves! It looks like you are looking thru the leaves at the toucans!
Hope you enjoyed my projects and have a great week!
 How would you like to win a prize pack including a $25 store credit to Therm O Web AND a $25 store credit to Newton’s Nook Designs?