Hi, I'm Carla from
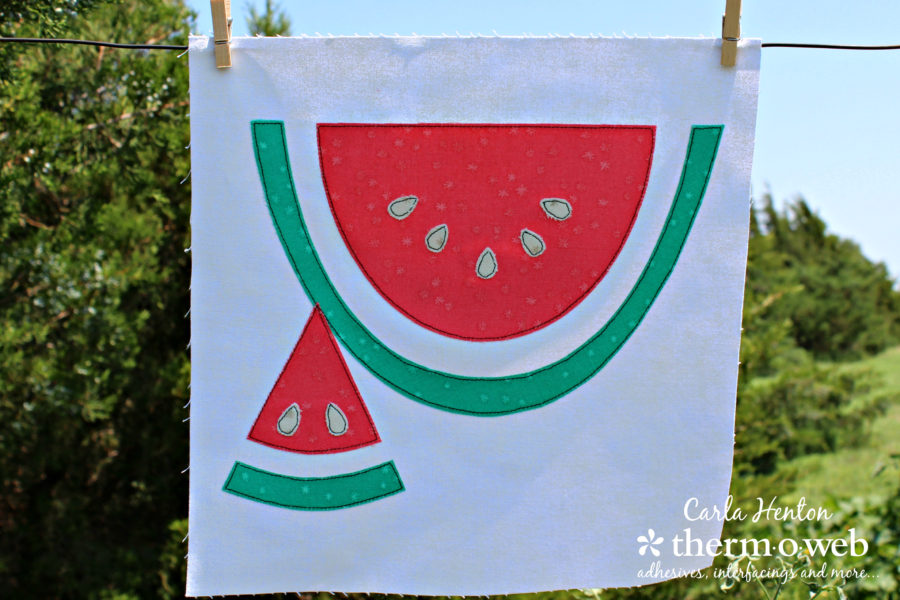
Creatin' in the Sicks and I'm excited to team with other Thermoweb Fabric Design team members to offer some super fun fruit quilt blocks. Watermelon happens to be one of my favorite summertime snacks so designing a quilt block was a treat for sure. The pieces for this appliqued quilt block are printed with an inkjet printer on
HeatNBond® EZ Print Lite. That's right, no tracing! The templates are on one sheet and reversed for you so you can make a stack of these quilt blocks in no time at all.
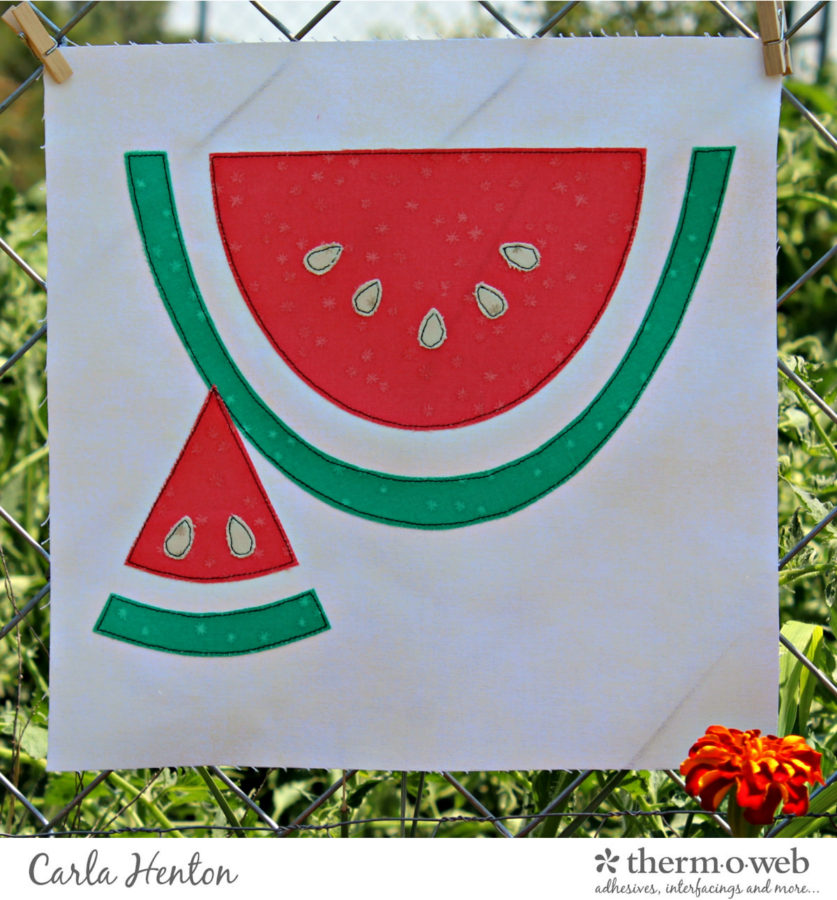
HeatNBond EZ Print Lite Watermelon Slice Quilt Block
Unfinished Size: 10 ½” x 10 ½” Finished Size: 10” x 10”
By Carla Henton at
Creatin’ in the Sticks
please read through the complete instructions before starting.
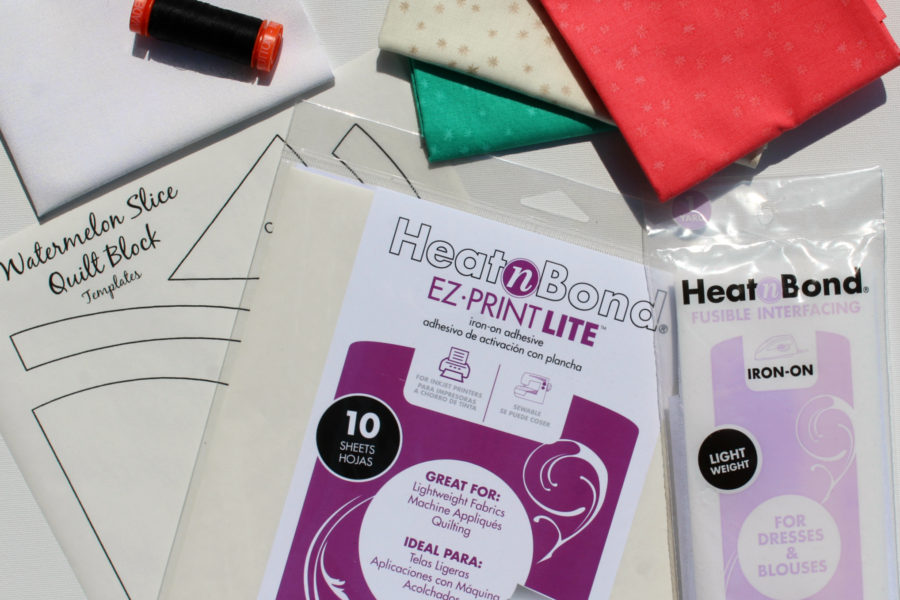
Supplies:
 Pattern - Download HERE
HeatNBond® EZ Print Lite
Pattern - Download HERE
HeatNBond® EZ Print Lite - 1 sheet or
HeatnBond Lite if you want to trace the templates
Fusible Interfacing - Light Weight
Fabric:
Watermelon applique -
(Meriwether by Amy Gibson for Windham Fabrics)
White background - 10 1/2" x 10 1/2"
Other Supplies:
Aurifil thread: 50wt # 2692
Inkjet printer
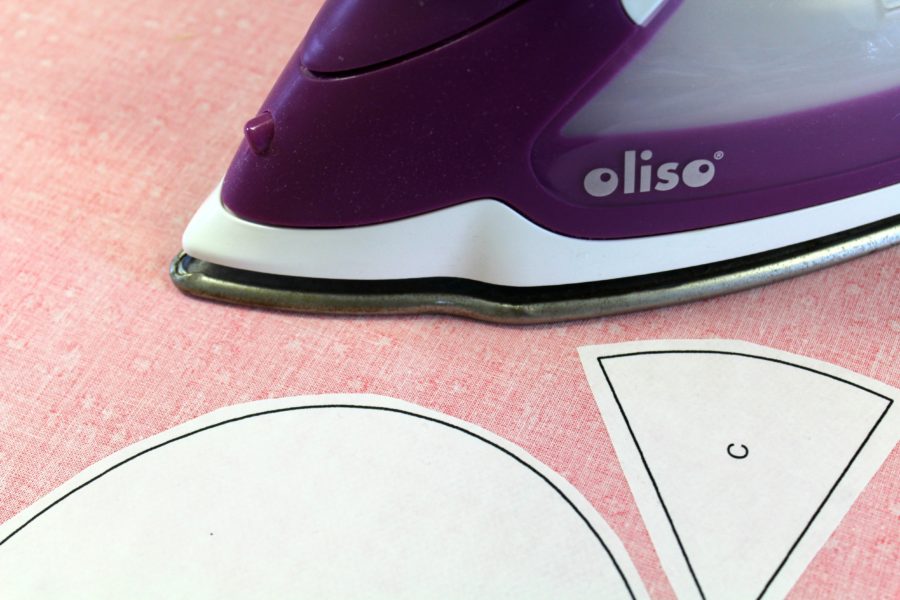
Iron – I love my
Oliso Pro
Basic sewing supplies – scissors, thread, needles, pins, sewing machine, etc.
Watermelon Slice Quilt Block Instructions:
Prepare the applique patterns:
If you are using
HeatNBond® EZ Print Lite, print the applique template pieces with your inkjet printer. Follow the package instructions for printing.
NO TRACING! How awesome is that?
With
HeatnBond Lite on the roll, the pattern pieces will need to be traced on the paper side of the adhesive. Follow the manufacturer’s instructions for tracing the patterns and bonding to the wrong side of fabrics. The patterns have been reversed for you.
**TIP** To prevent the fabrics (the seeds) from showing the background fabrics, simply bond
Fusible Interfacing - Light Weight to the back of the fabric before applying the
HeatnBond Lite. The interfacing will just add another layer of protection from “show through.”
Construct the applique block:
Next, cut out all applique pieces on the solid black lines, peel off the backing paper, and place applique with the adhesive side down on the 10 ½” x 10 ½” background piece of fabric following the key below.
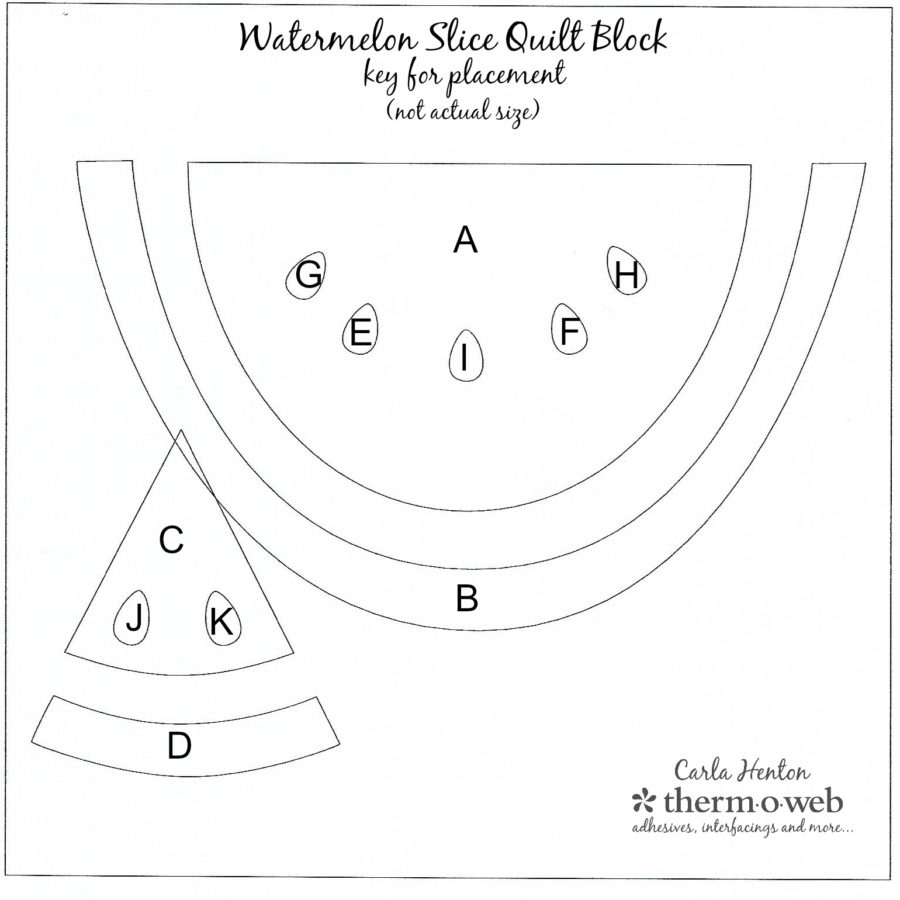
Bond the Applique Pieces to the Background
Following the package instructions, work in sections to press the entire applique to the background until the entire applique is fused.
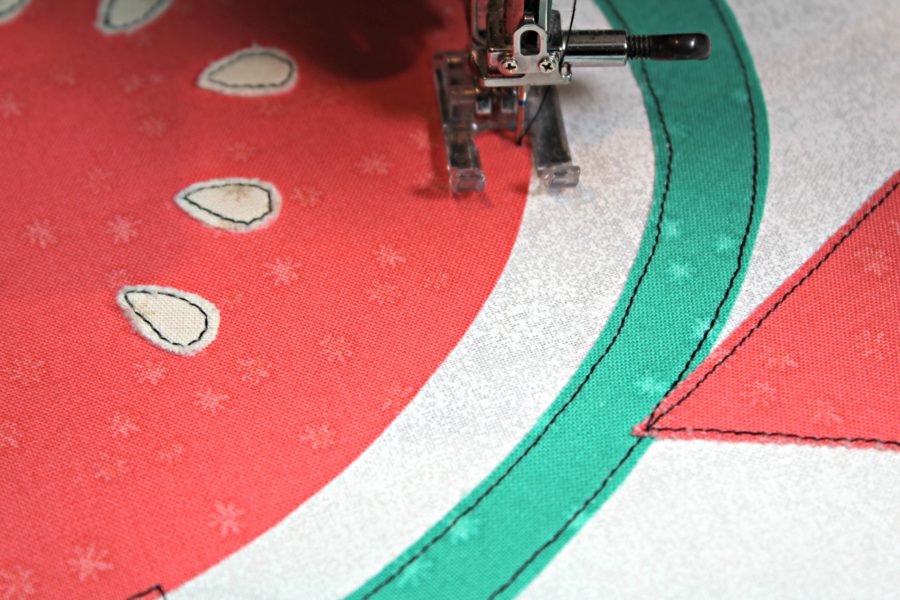
Stitch around appliques
Use a straight stitch to stitch around each applique piece with black thread or use a zigzag or blanket stitch with matching thread.
Have fun making fruit blocks. Soon, I will be back to show a neat way to put them together into a project.
Carla